Showing posts with label quilt. Show all posts

Friday, December 20, 2013

Custom Jersey Quilt II

Social media is a fun thing. I usually am really diligent about sharing the things I make on my shop's affiliated social media sites, but sometimes I just forget. I'd forgotten to 'Pin' my first custom made jersey quilt over on Pinterest when I'd first made it, and despite doing as much, some quilt loving folks on the internet 'pined' my quilt anyway!! This led to a Pinterest user in Texas stumbling across my quilt and then contacting me via Etsy shop last month about making another jersey quilt for her young son.  How fun is that?! 

Well, I finished up this fun jersey quilt on Sunday and shipped it off Monday (2 days ahead of schedule - woot!), just in time for to arrive before Christmas. The little football player's mom contacted me about making him a special Christmas gift with her son's football jersey.  This football player is only 10, so his jersey was little and cute compared to the last jersey I worked with which was for a professional football player. Since this football player is a growing boy, I decided to go with a more simple design in the hopes that he'll continue to cherish it, even when his feet stick out the end!  The final design ended up being 52 by 58 inches. The ultimate size of a jersey quilt is always a bit fickle, especially when working with one primary panel, because you ultimately have to work out the main panel first. The size can vary grately depending on the size of the jersey and how much workable material you have to work with.  

The quilt is cotton stripes on top, with soft plush LSU themed fleece on the back. The quilt is finished off with 1 inch purple bias tape. I thought bias tape would be a better, more grown up finish for the quilt rather than satin, and I really liked how it turned out. 


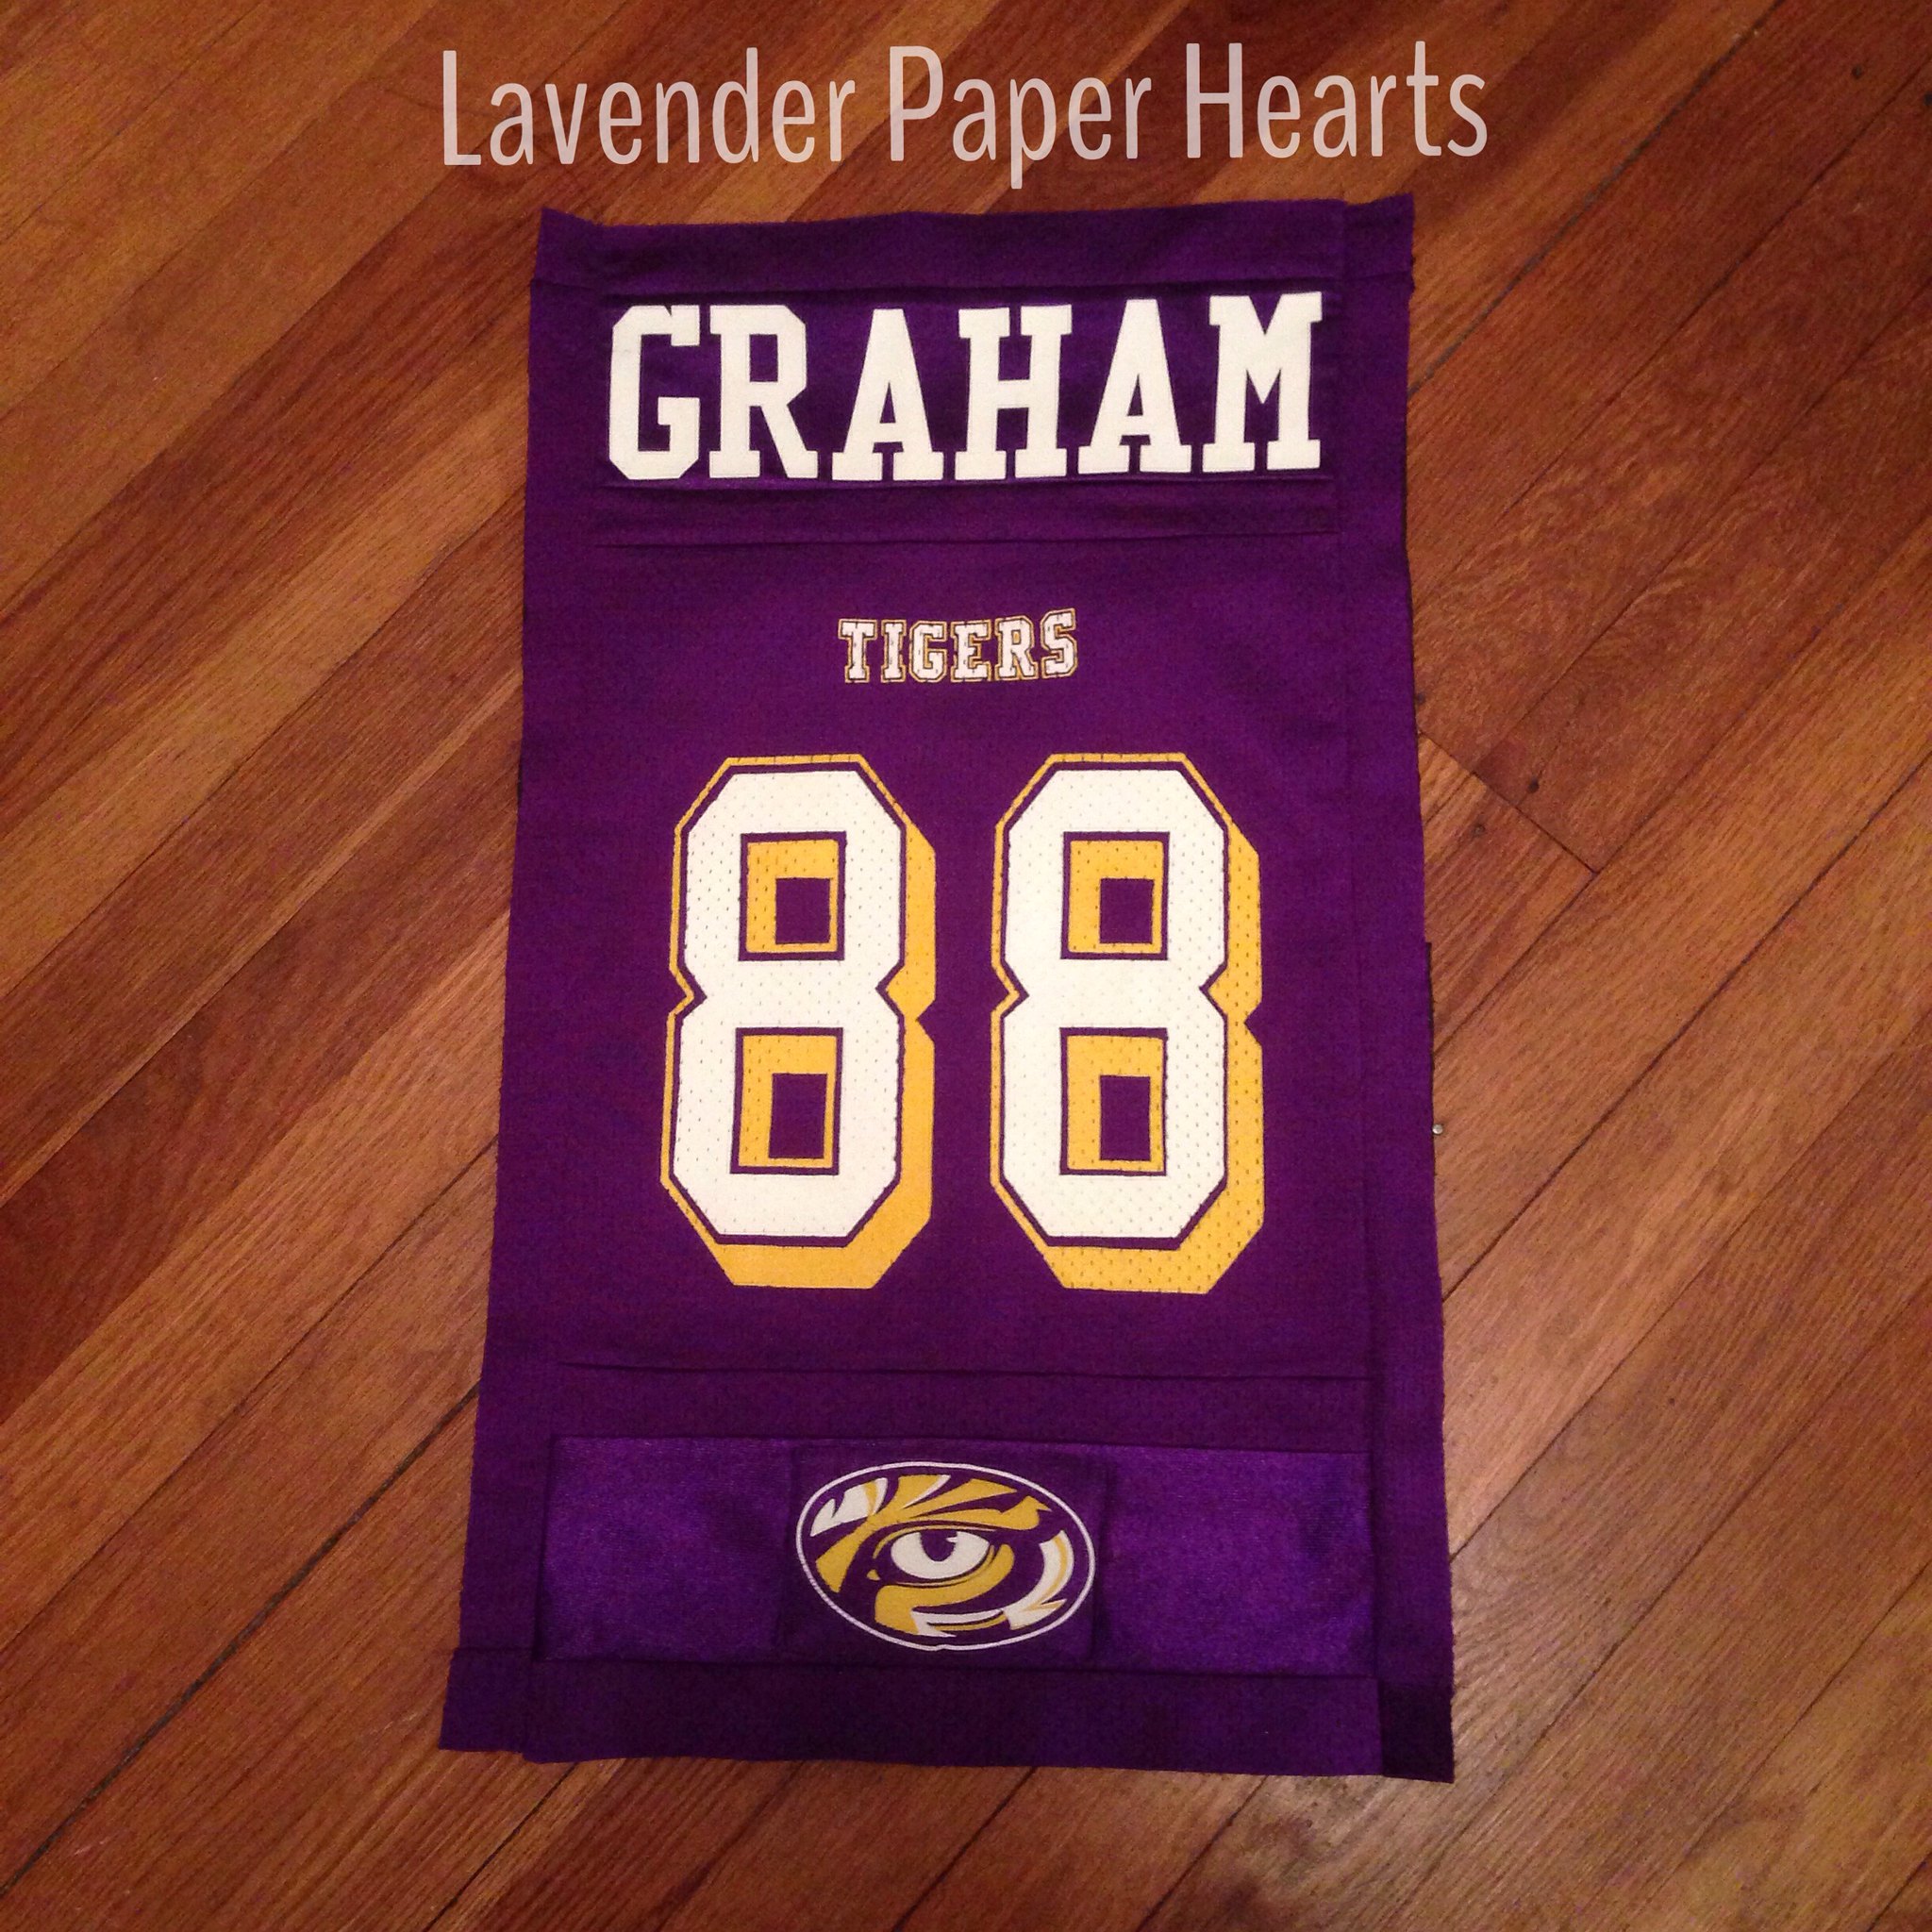
Here's the jersey panel. Once it's done, I started to draw out the design for the rest of the quilt. 

I've also decided that basting spray and I aren't friends - at least not when it comes to fleece backings. So I went old school and used quilting pins! You can see the LSU fleece on the left in the photo below. (Ignore my kitchen floor, we rent.)


Finished jersey quilt close ups! 
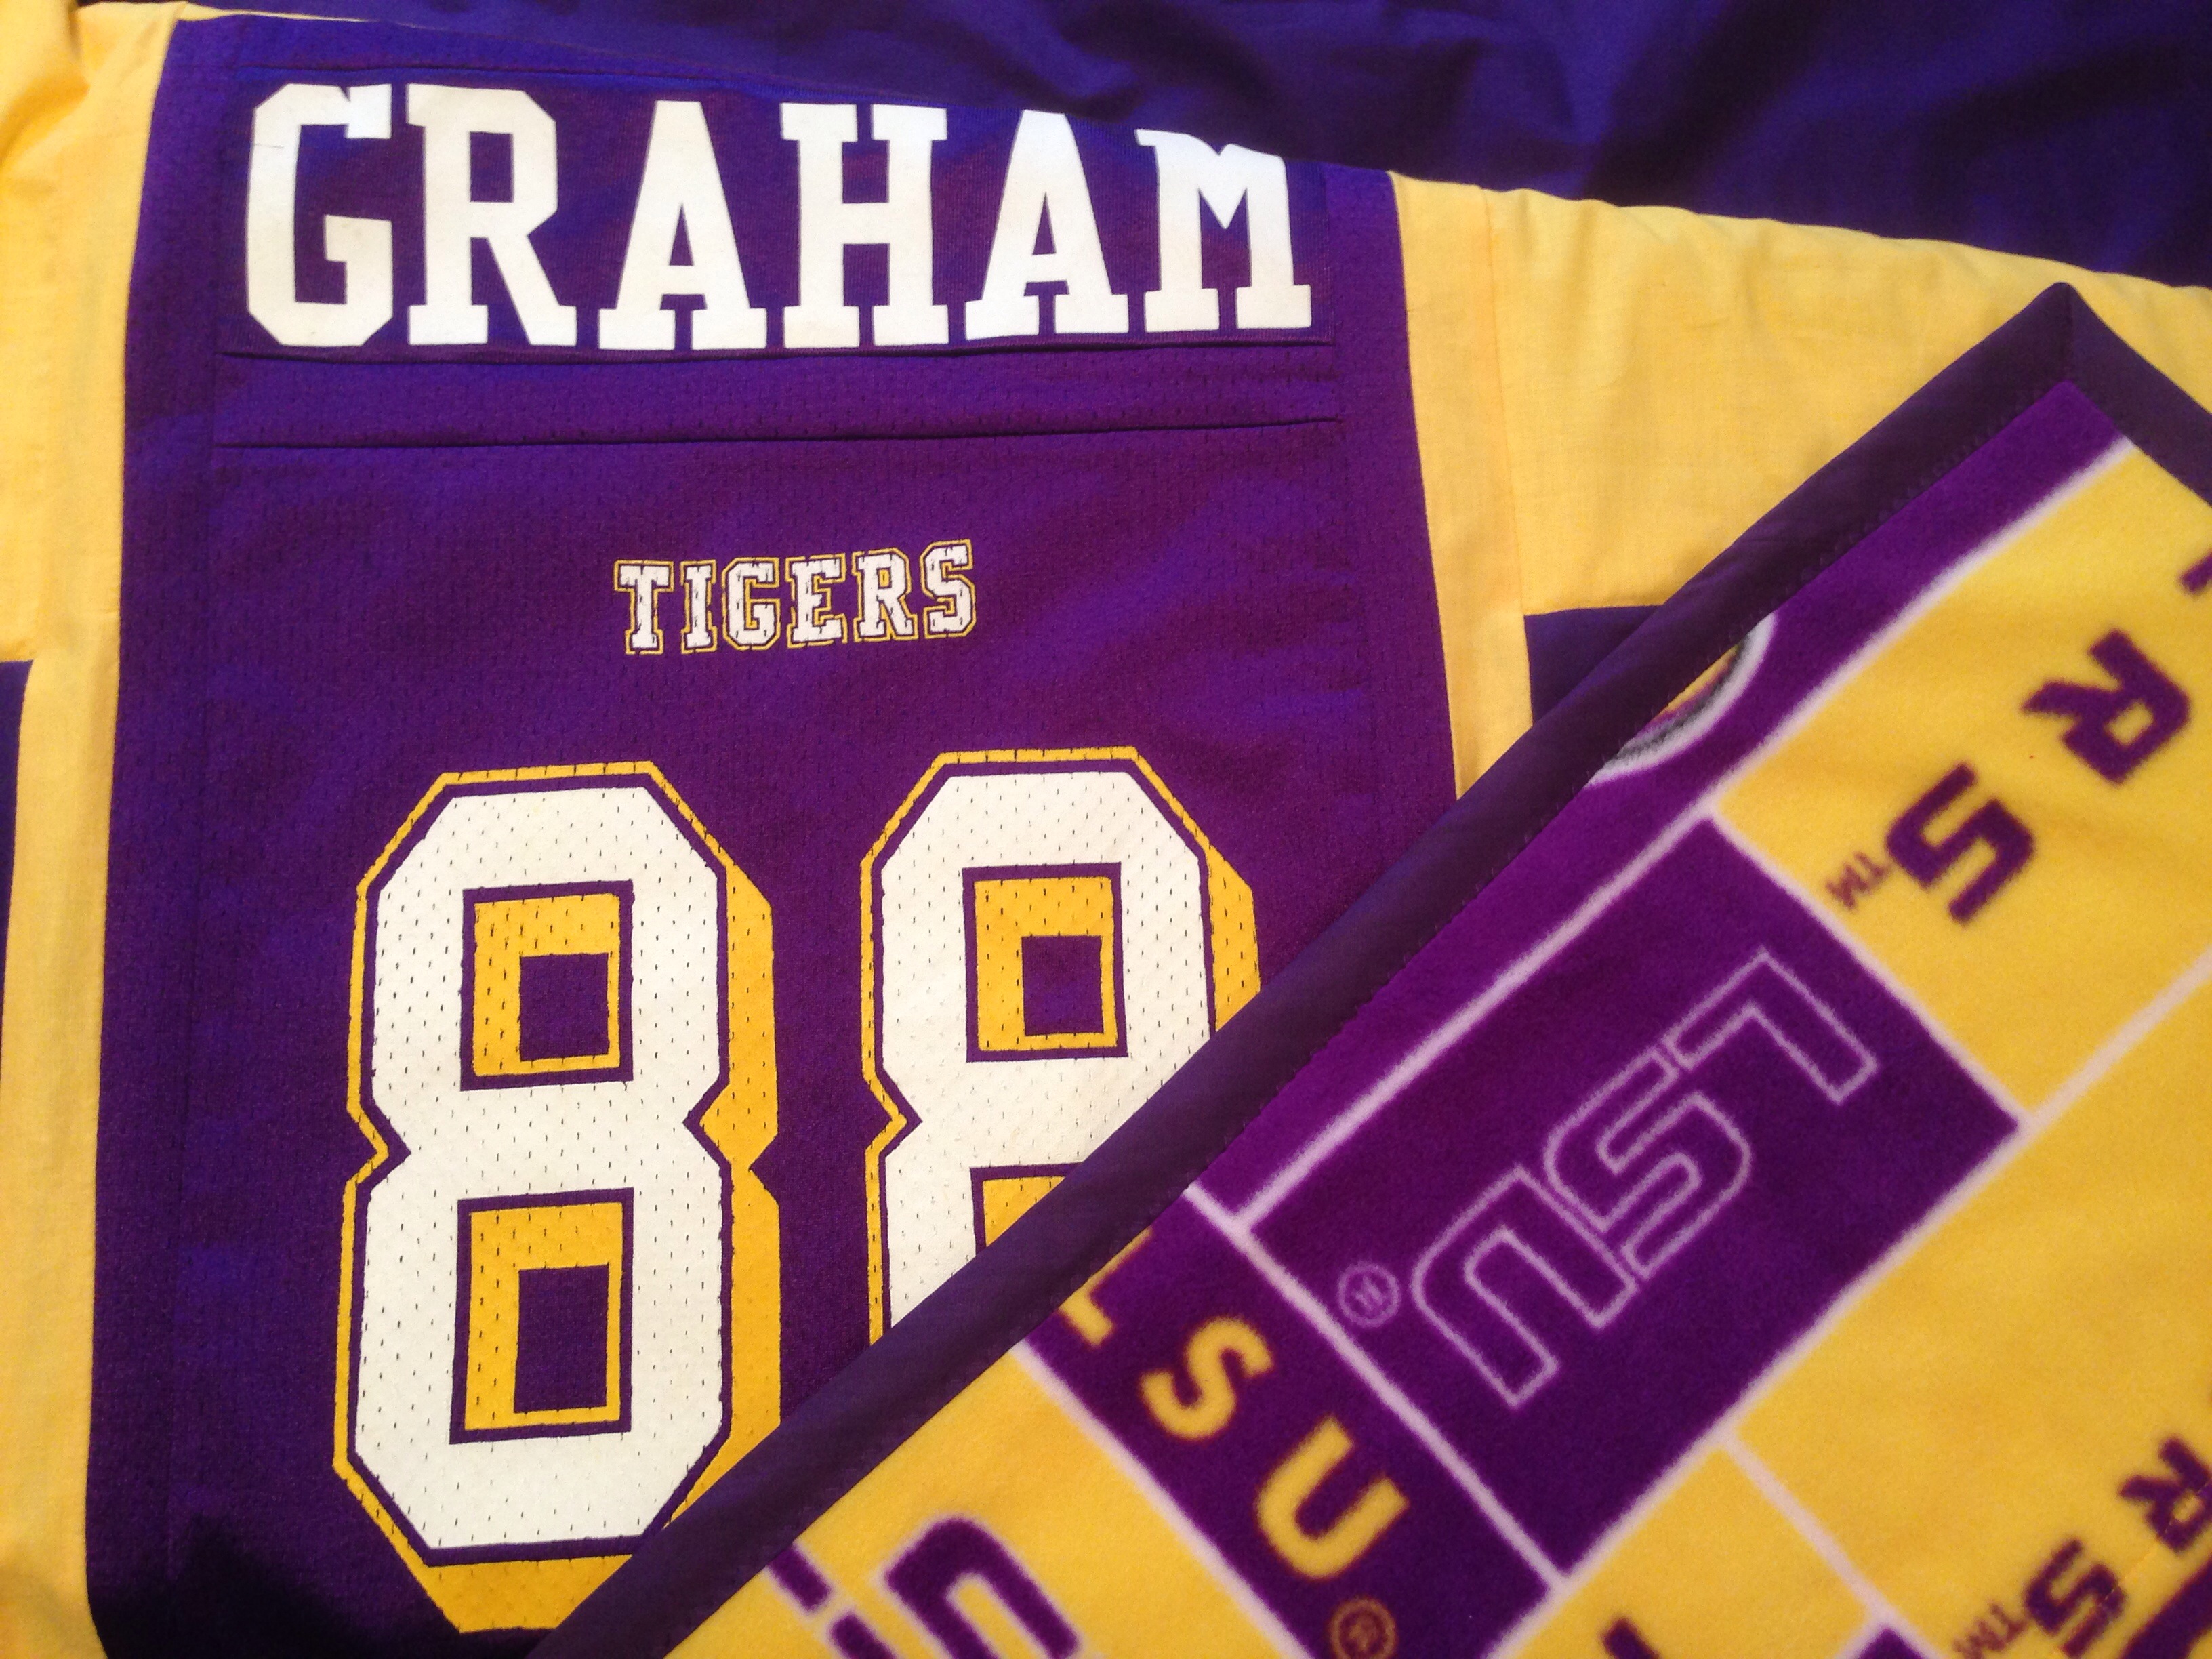
I hope it's a treasured gift for years to come!!

I'd also like to give another shout out to my quilting sister BFFs for their help in talking through the design!! Thanks Jen & Ali!! :)  And another huge shout out to the SO SO HELPFUL ladies at my local Joann's Fabric store in Brockton, MA!! I came in with some last minute urgent questions and they helped me problem solve like champs. I left the store feeling confident and ready to finish up the quilt! 

Friday, July 12, 2013

Custom Ordered Quilt

Over Father's Day we were hanging out with my FIL, and while we were there his partner Sue asked me to make a quilt for her nephew's new little one.  She wanted to make a quilt that incorporated pieces from her nephew's old football jersey.  Jersey quilts are a super sweet and sentimental way to be a bit nostalgic about a previous sports career at any level. Athletes tend to have many jerseys throughout their careers.  My sister played sports from a very young age all the way from high school and I bet we could have made a great big quilt if we'd thought to save them!!  Jersey quilts are also a great and fun way to continue to use the jerseys, and in a way that seems much better keeping them stashed away taking up space in a drawer or a box in the basement.  Since I had the one jersey to work with, it seemed like the perfect size for a baby blanket.  I was also really honored that Sue trusted me to take on such a project!!  I only had the one jersey to work with so there was very little room for error. (Trust me, I tried really hard NOT to think about this part!)   

When I was really little my Abuela taught me some basic sewing. I've sewn quite a few free-form projects over the years - everything from baby doll clothes, aprons for friends, clutches for my bridesmaids and so on, but I've never actually tackled something like a quilt.  As a weird coincidence, my SIL and I had just taken a basic quilting class over at Jo-Ann's Fabrics a week before so I had a feeling I could successfully tackle (hee hee get it?) this project.  I also emailed and chatted with my bffs on the west coast whenever I had a question!  There have been a lot of babies popping up in their family and they've whipped out some beautiful quilts recently.  (Thanks Ali & Jen!!)  Luckily, it worked out and I was pretty happy with the end results.  And even better, Sue was very pleased with the quilt!! Now I'm hoping to hear how it was received by the family it was sent to, too!!  

I thought I'd share some of the photos I took as I was working through some of the major steps in the quilt. Here's what I started with: 


These are the sections of the quilts that I decided to use as the central focus of the quilt.  It's the nameplate, the jersey numbers, and the bottom section is actually cut from the jersey's sleeve!!


Here I added some sweet and playful polka-dot material to help make the quilt a bit more youthful feeling. I also saved as much of the jersey as I could when I was cutting it apart so that I could incorporate more of the jersey into the quilt which you can see here.

I was working on this quilt during the massive heatwave we were having here in New England. It was SO hot. SO SO SO HOT. I was having to do a lot of ironing, like you do with a quilt, and man, it was hot in my craft room. Turns out my sewing table wasn't big enough to work with the quilt when it was laid out so I had to move it to my kitchen table when I started to add the batting and back fabric to the quilt. 

Here's a photo of me stitching in the ditch!! You can see the back fabric we choose on the right side of the photo.  Sue and I figured if you're going with a theme you should go all out, so bright green football fabric is what I found and we ultimately decided to go with. 

The only part I had a few problems with was the satin binding. It again was just, SO HOT, and to be honest I think I was tired and melting so my brain was, well, melting and tired. I also didn't have enough space so the satin was not cooperating with me during this step. My husband helped me drag in the kitchen table to my craft room and while it was nearly impossible to get in and out of the room, it was SO HELPFUL to have that extra table and, you know, more SPACE to work with the quilt.  I actually took 2 days off from the project and went back and finished it one morning with no problems. Go figure.

Here's the finished quilt! It measures about 33 inches by 46 inches tall and is a perfect little-one size. I hope it'll be a treasured item for the new baby.