Showing posts with label babies. Show all posts

Friday, January 31, 2014

The (Mis)Adventures of Phoebe & Paige

The latest custom mobile I finished up is called: The (Mis)Adventures of Phoebe & Paige. This client wanted a mobile that captured the fun and silly personalities of her dogs Phoebe and Paige for her son's nursery and she presented me with some great ideas and information to start off with. Both of these lovely lady dogs seem to have very strong and yet lighthearted personalities. One of the greatests parts of working with this client was to read how playfully and lovingly she described her dogs personalities. It might sound silly, but it's these kinds of details that let me get a sense of perspective on the dogs themselves, but I also learn about the personalities of the client, their owner. 

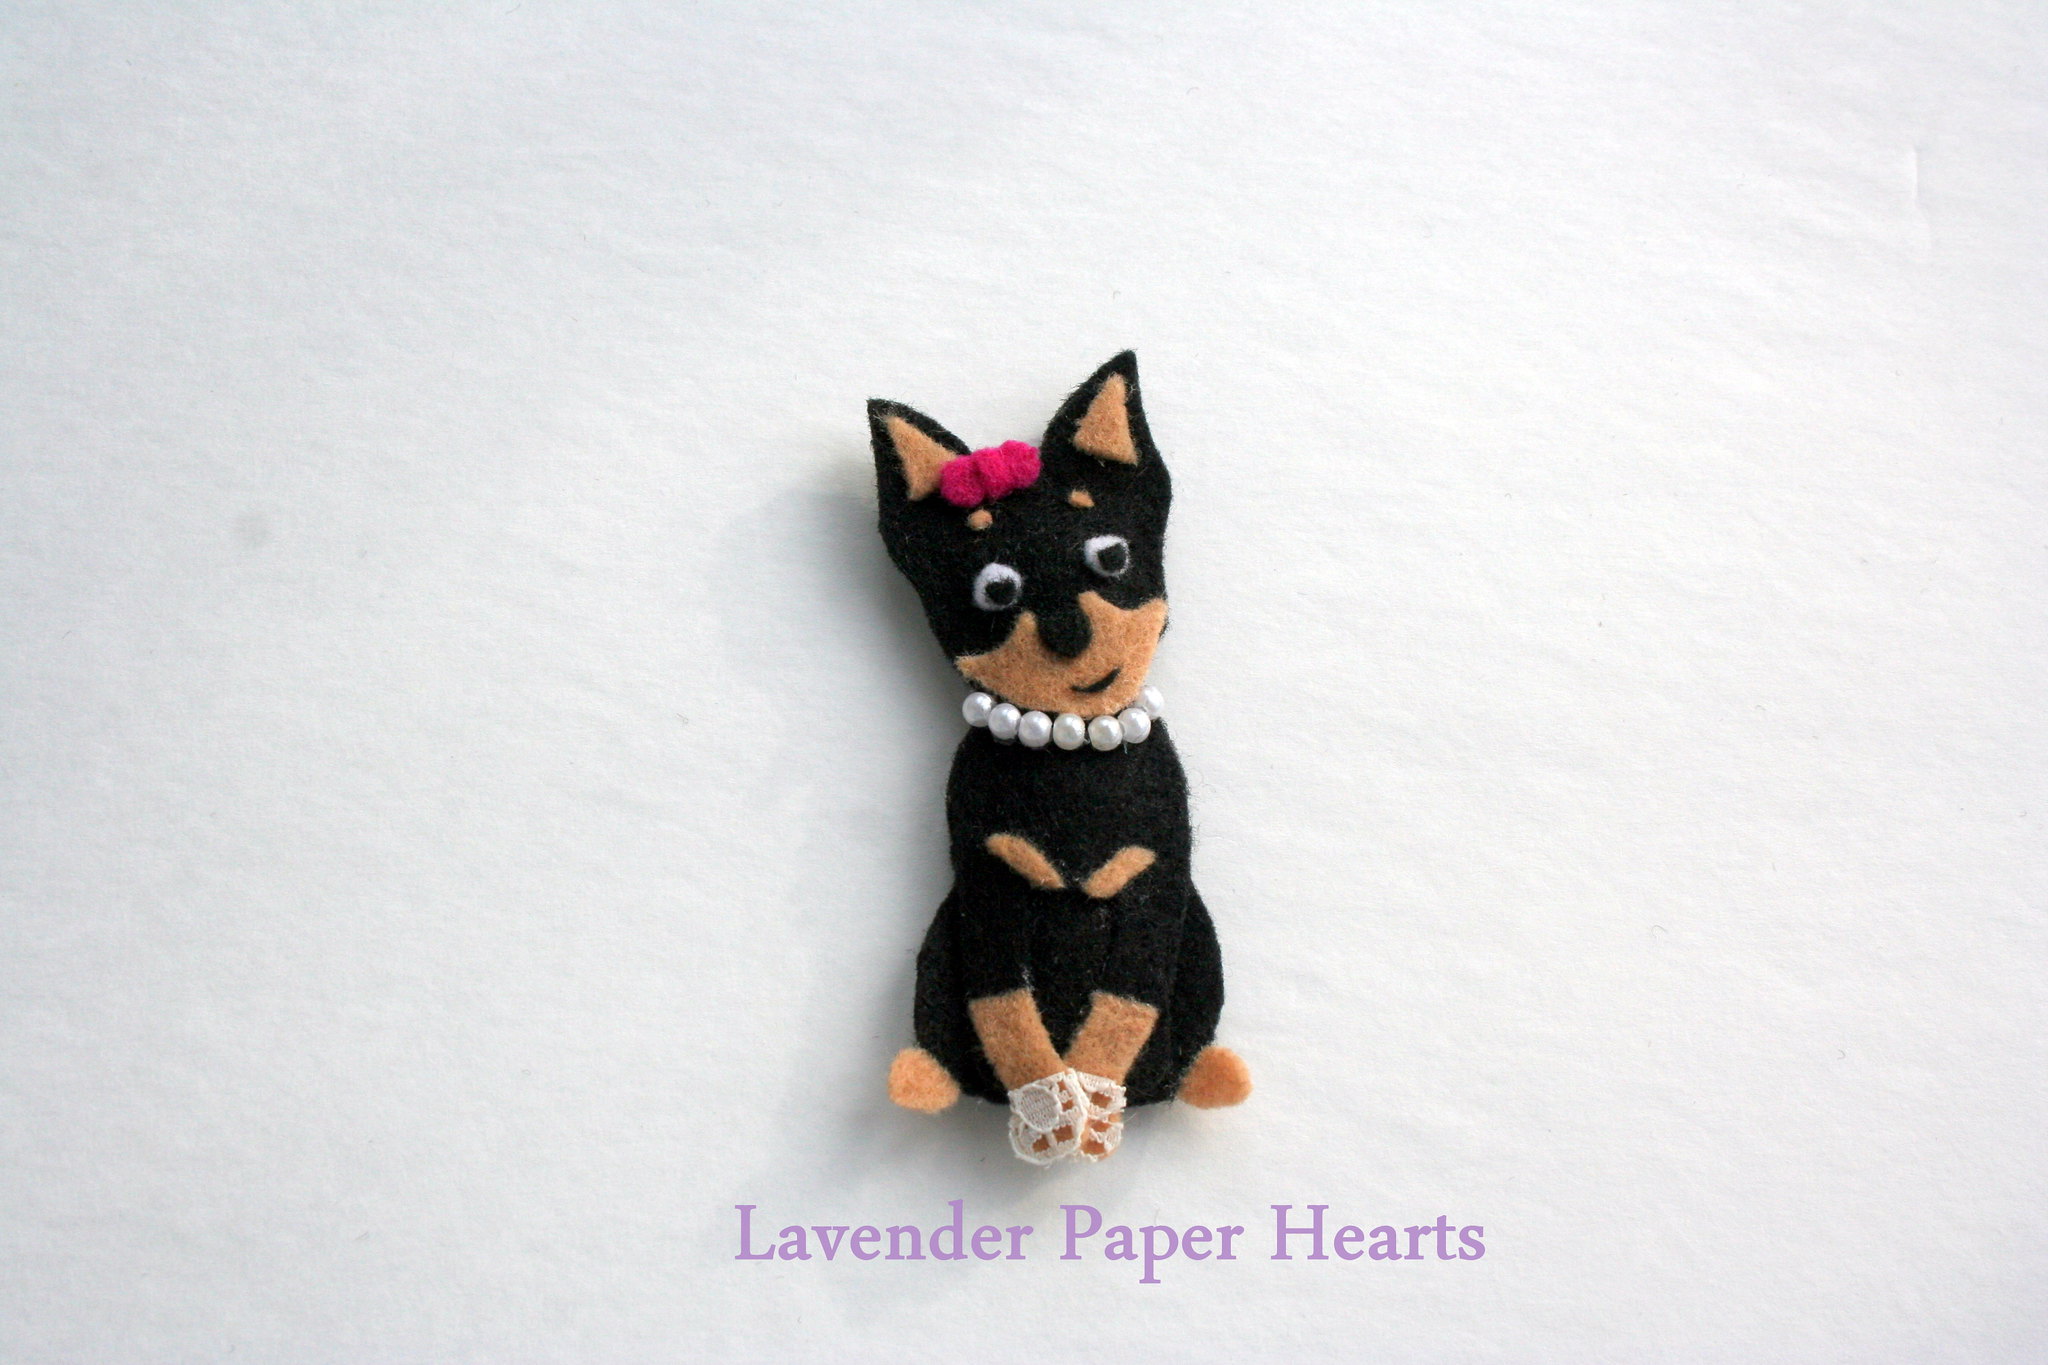
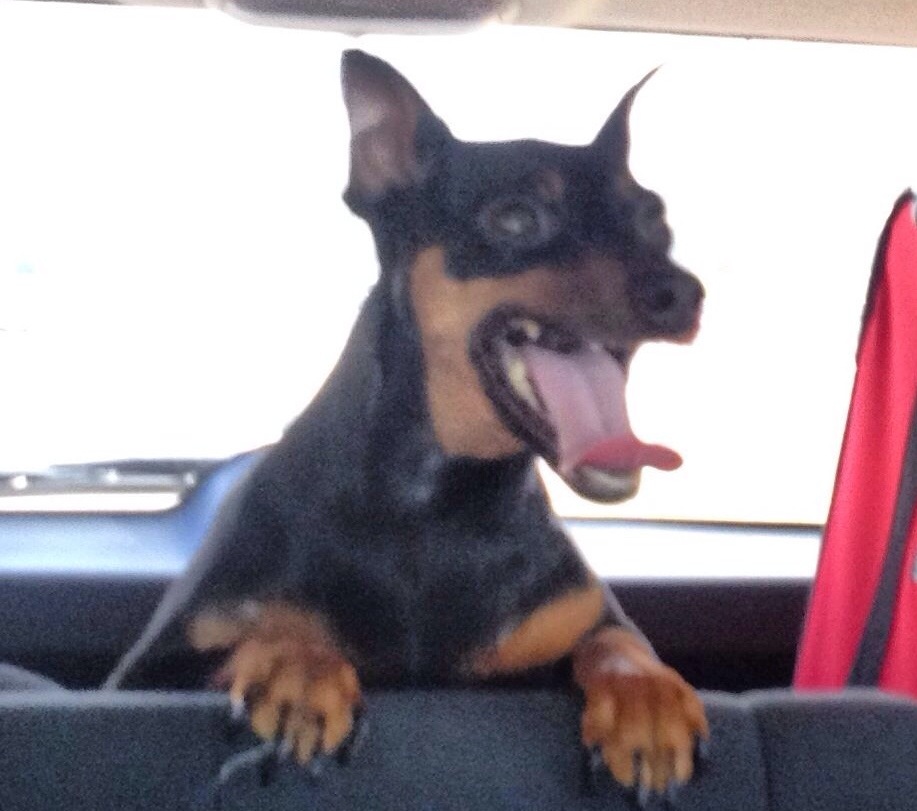
First we have Paige, a dainty little Min Pin. My client described Paige as "shy and girly. She sits with her front paws crossed like a lady." Paige also sounds like she can get excitable as she spins around in circles a lot, but she also gets a bit nervous and skittish at times. So, I sort of envisioned her as an excitable yet proper Southern Belle who maybe gets the vapors from time to time. 

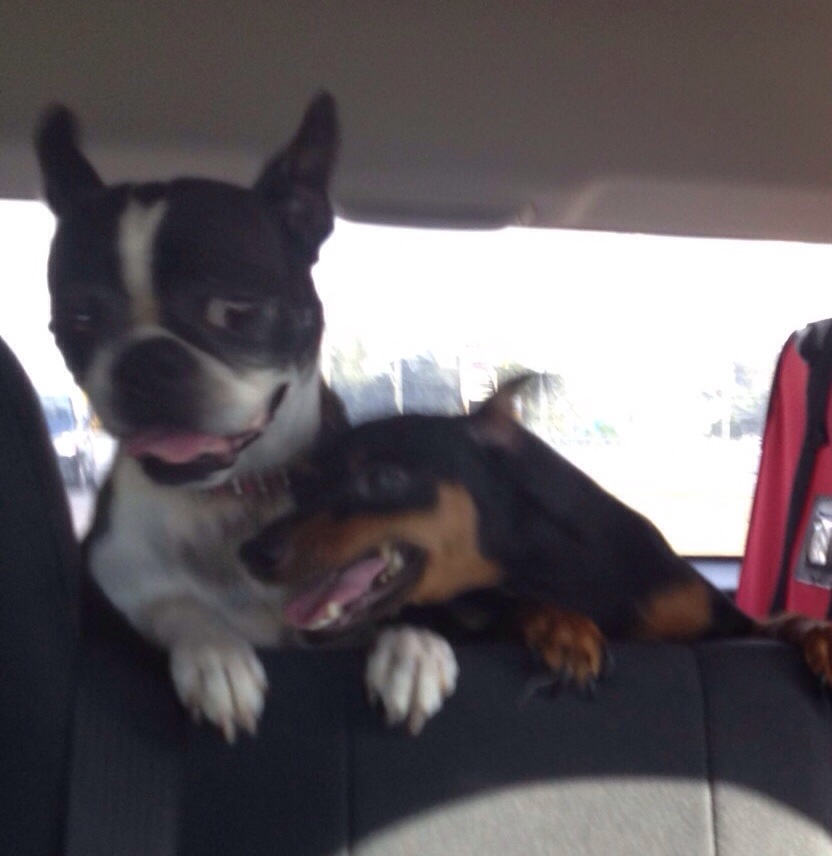
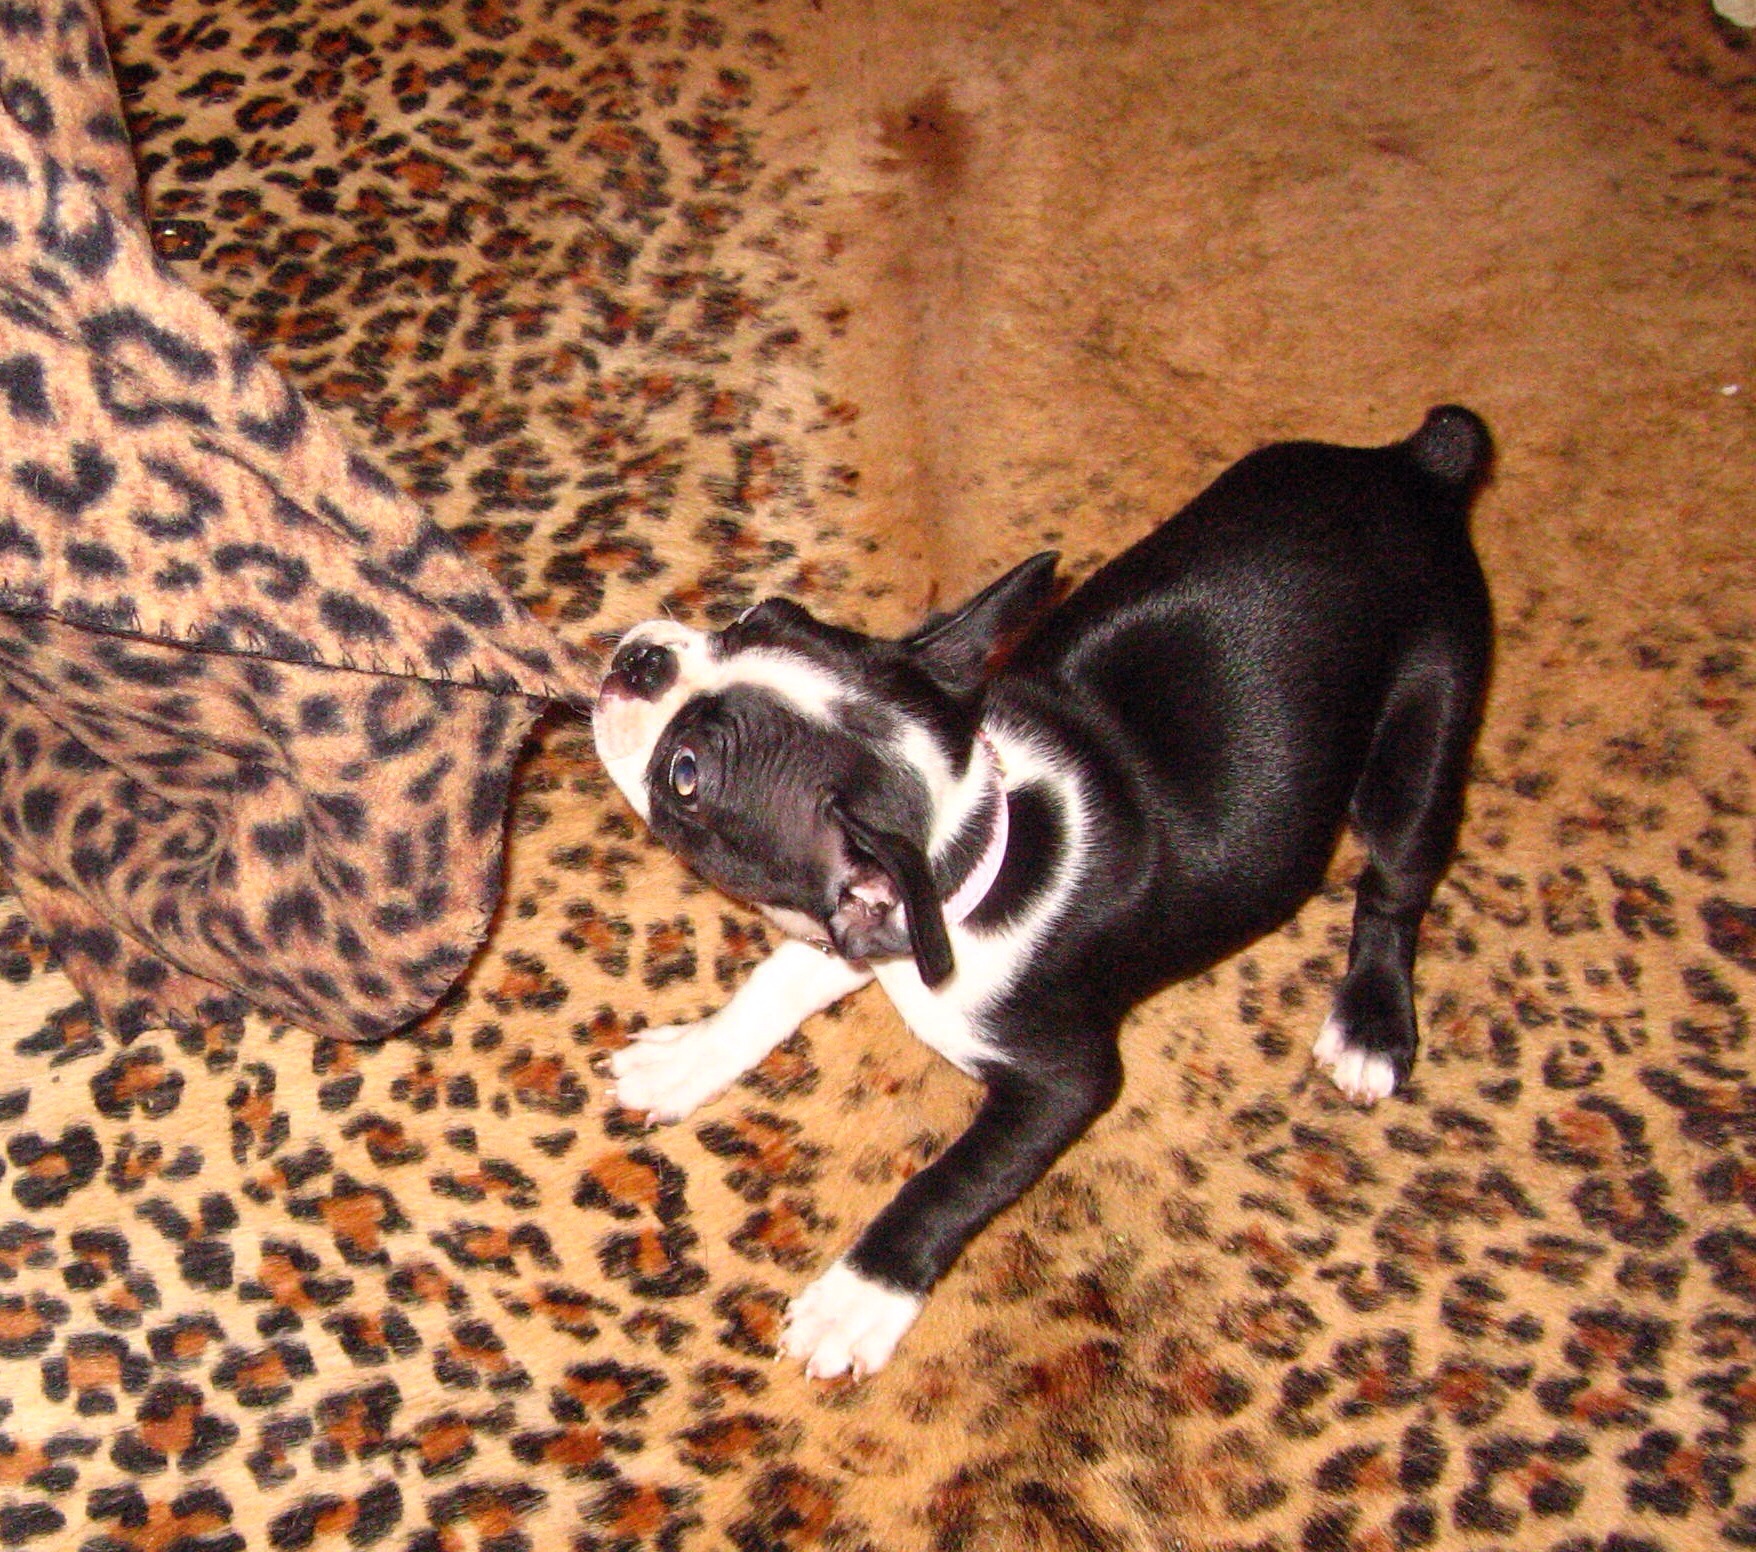
Here is a baby photo of Phoebe the Boston Terrier. Phoebe was described as, "is basically exactly like Elmyra Duff from Tiny Toons." She adores her owners and anyone who comes to visit. She also loves to take time to smell the roses (except she's too enthusiastic and she ends up sticking her face in the flowers and then sneezing her face off.) 


Just look at these ladies. How cute are they?!!
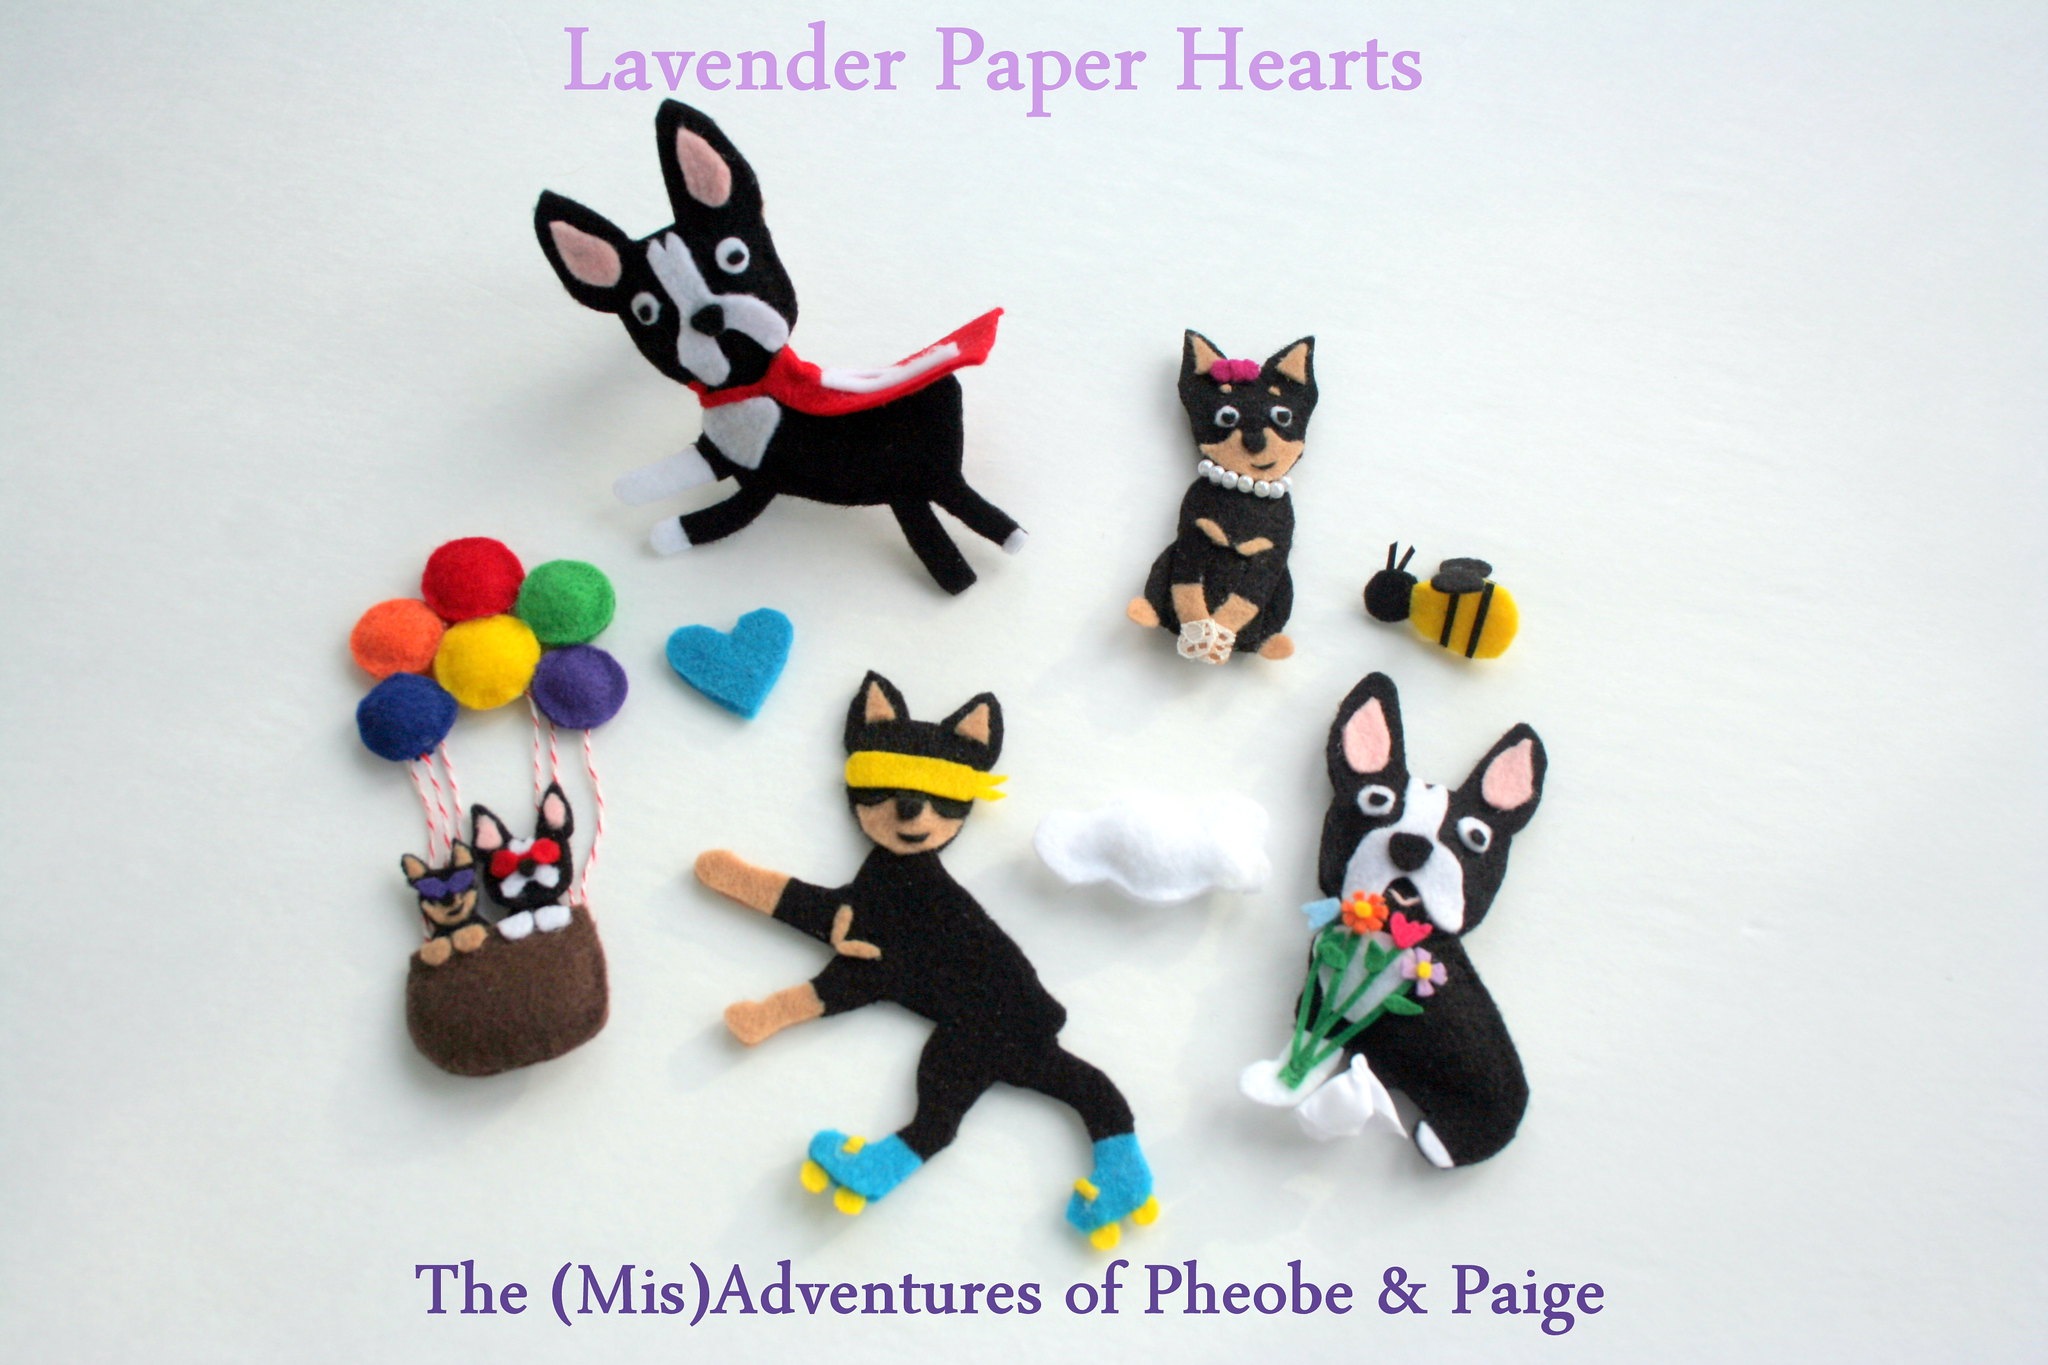

Here is Lady Paige as the uber-Southern Belle, complete with pearl necklace and lace gloves. 

Here, Paige is showing off her sort of spastic and constant movement in rollerskates. Paige is also partially blind so her sort of clumsy sort of excitable manner is only heightened because of this so I added a blind fold to play up the loving inside joke for her owners.
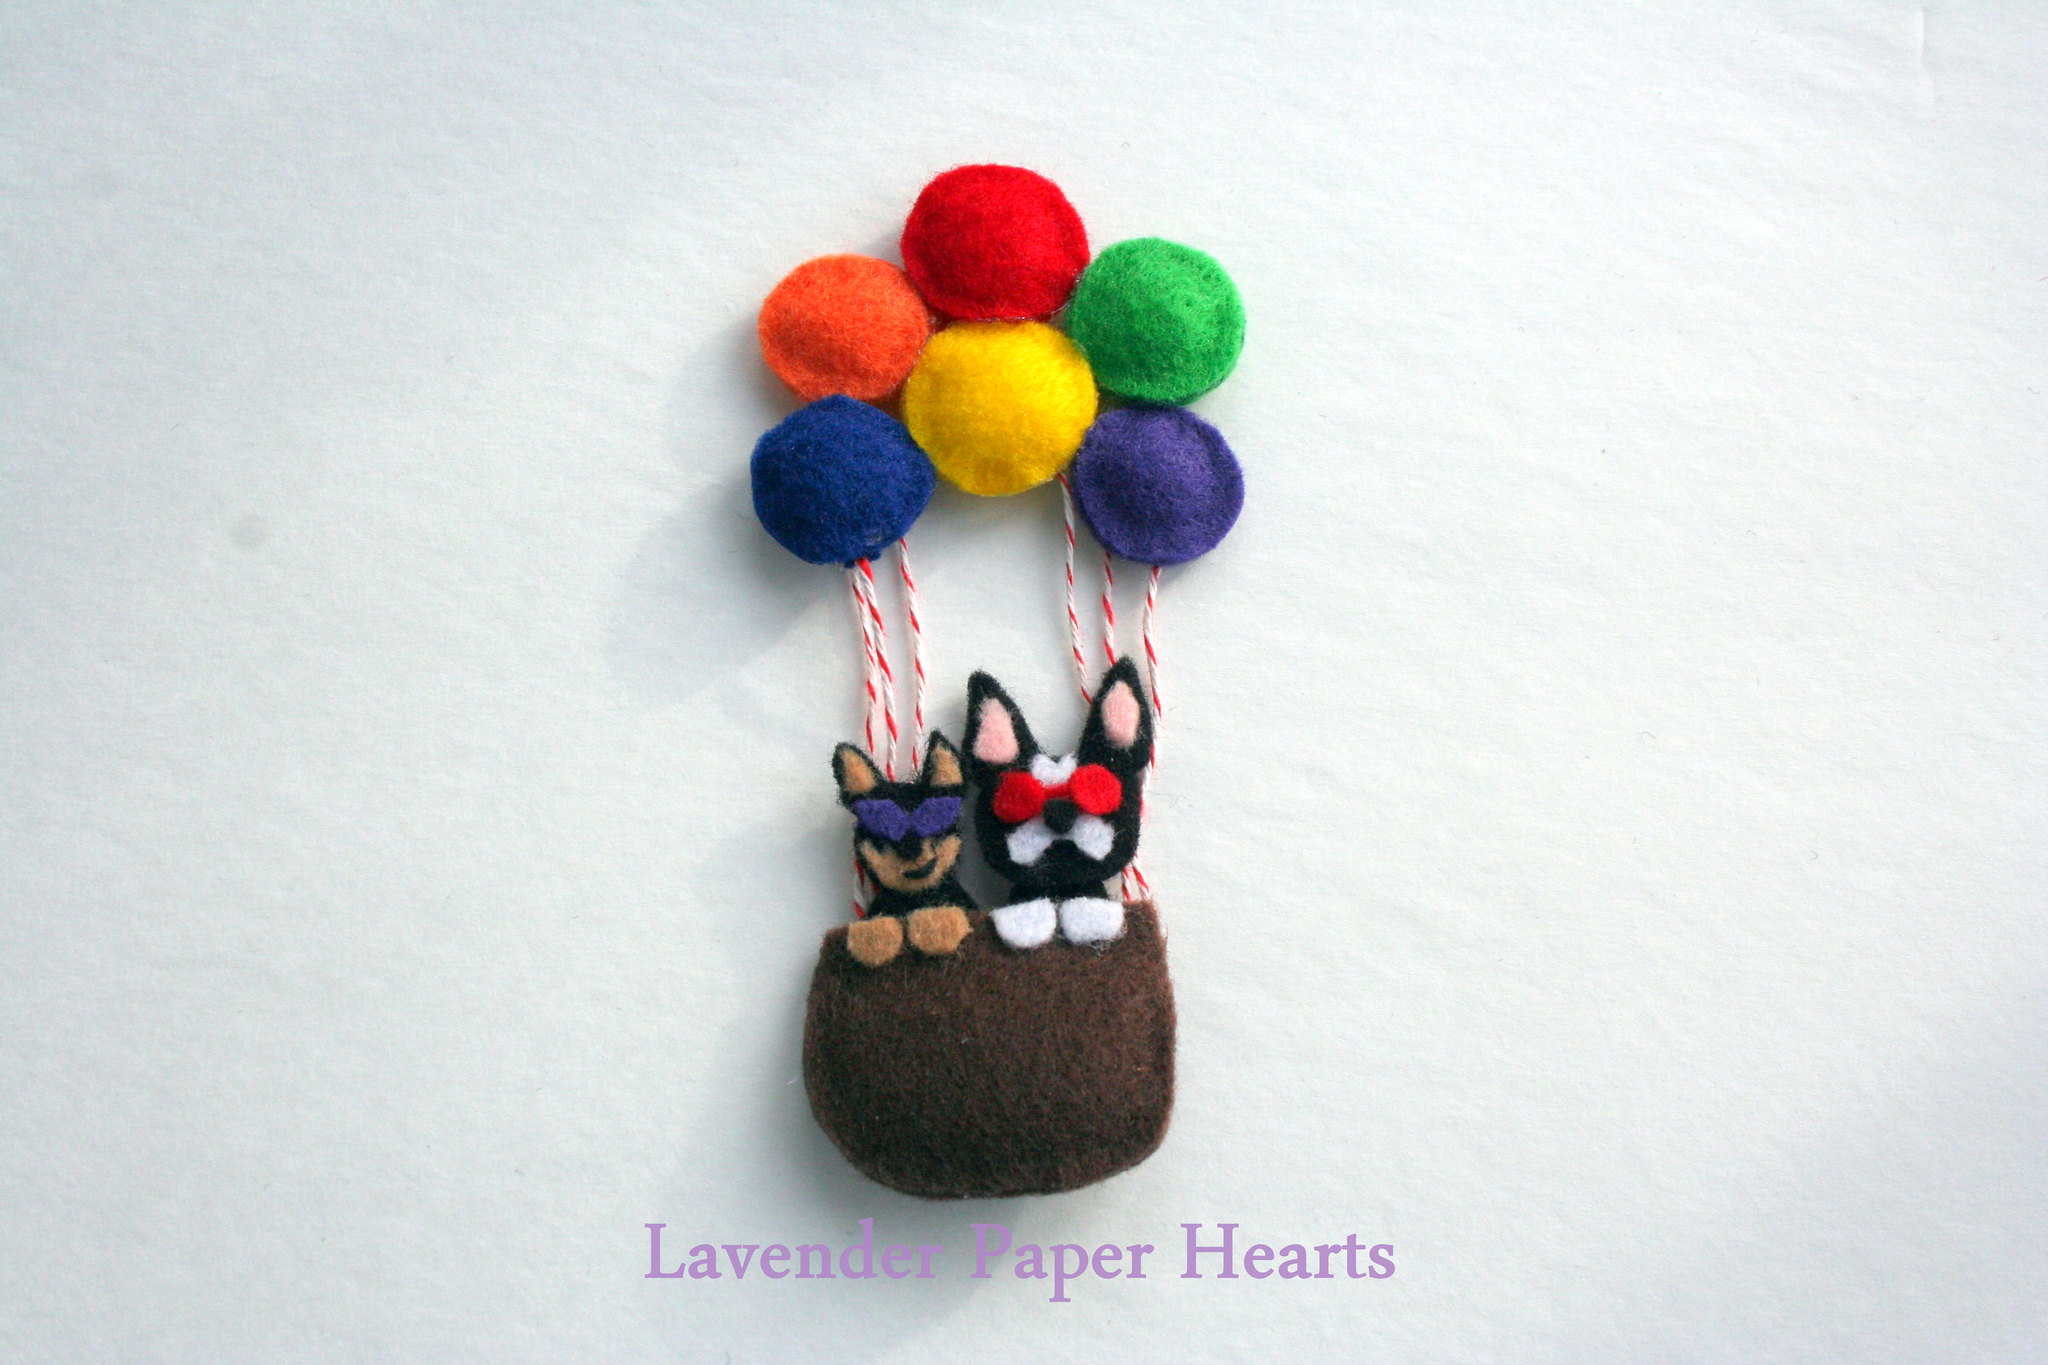
  
This piece features both ladies in a hot air balloon - but with all balloons. It's a play on a piece of art called Mr. Penguin Balloons Print by Showler & Showler that my client said served as an inspiration for decorating his room.  


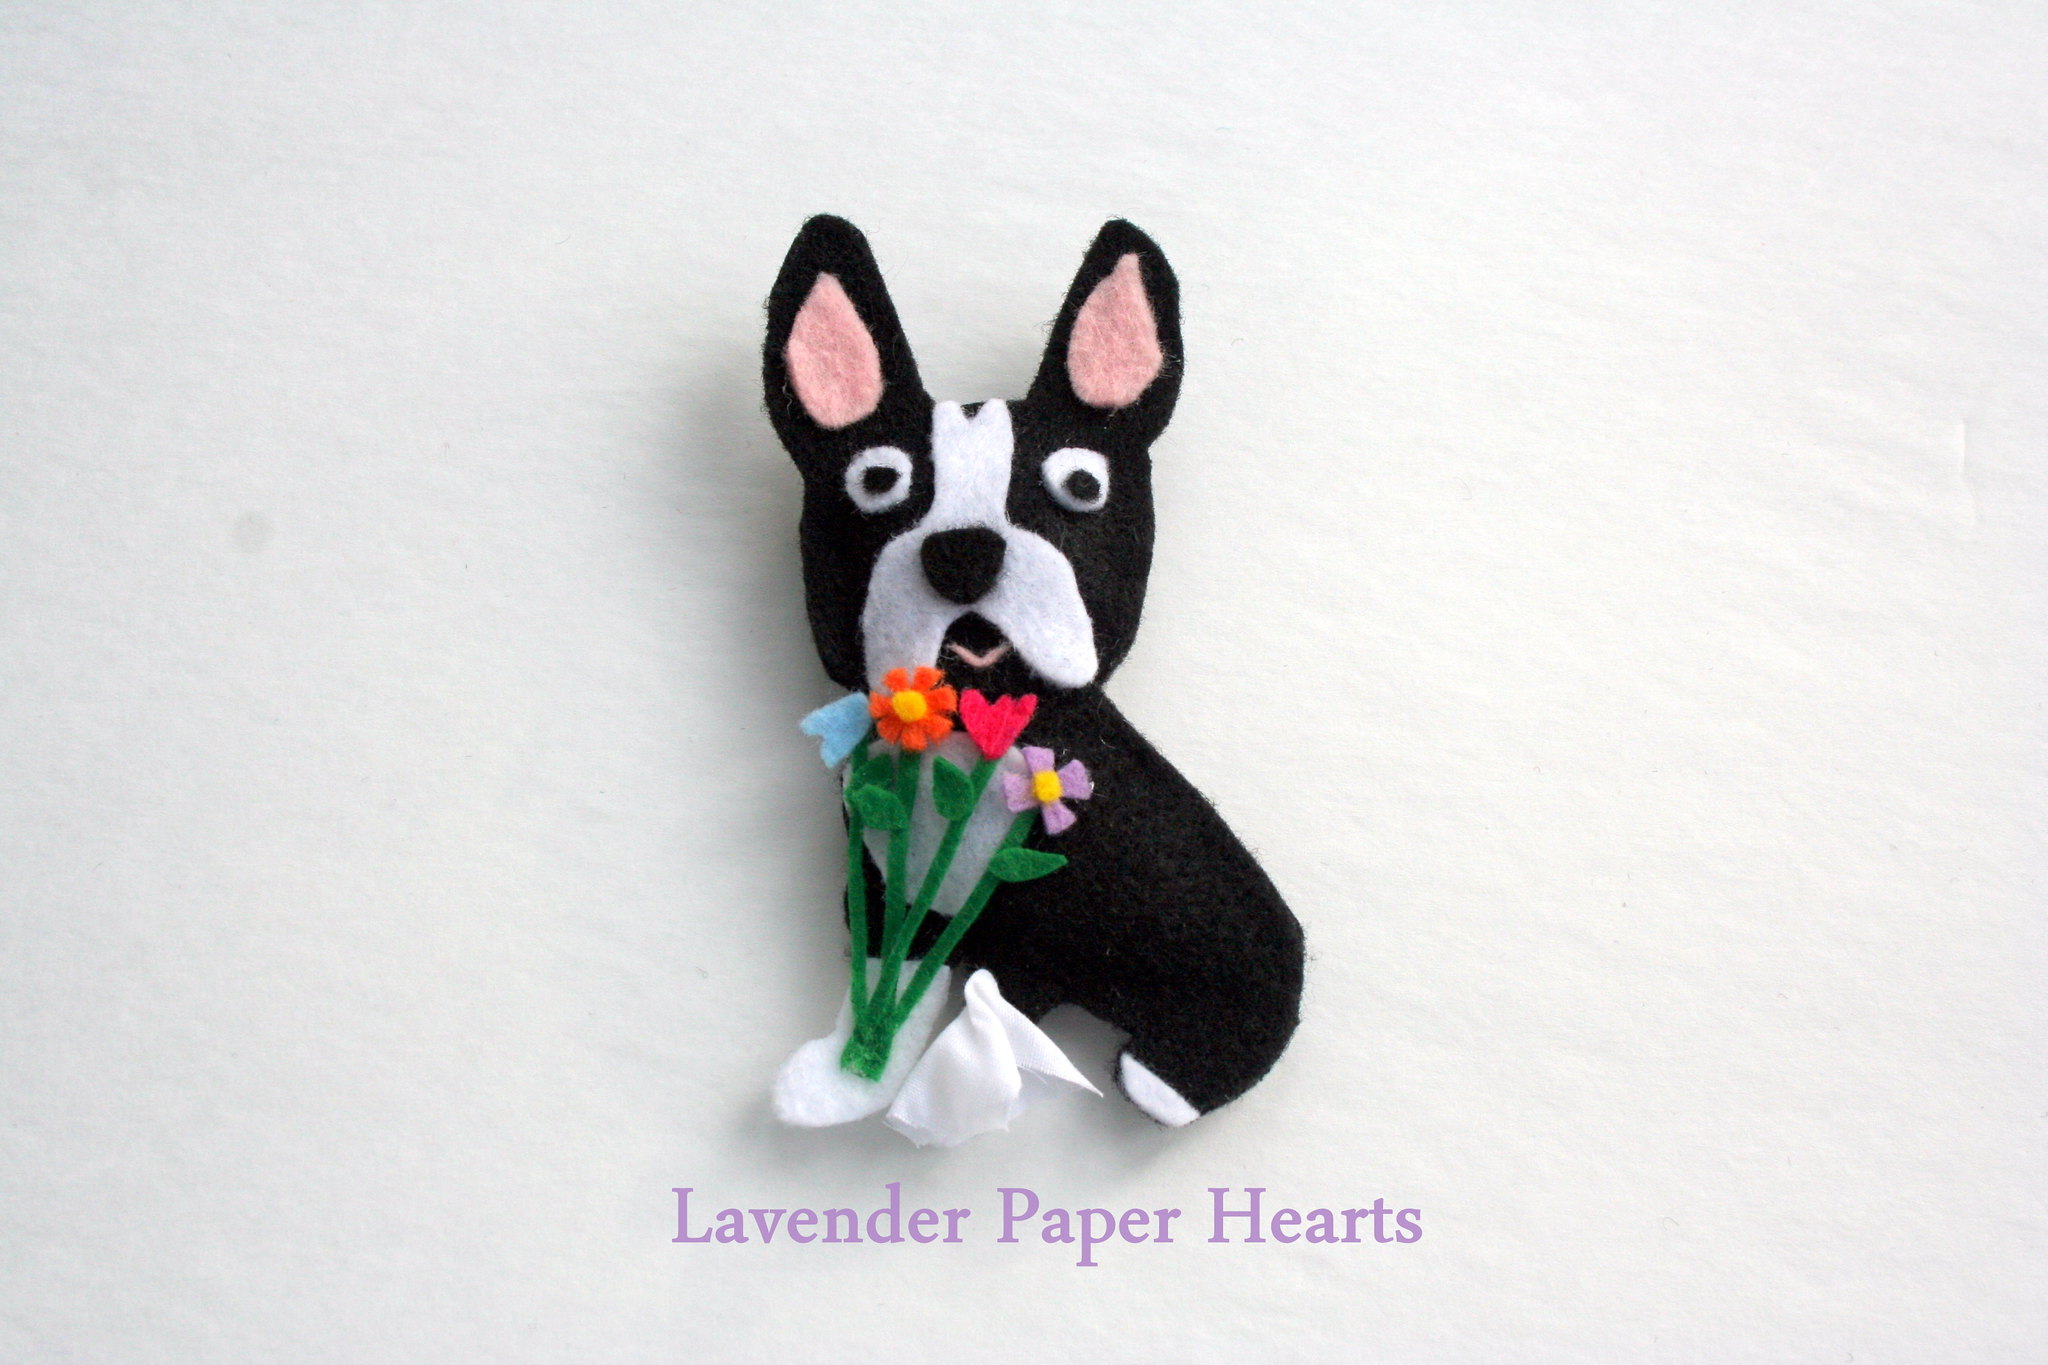
Here Phoebe is taking time to smell the roses (and also sneeze because she does it 100%).  I made really small flowers and added some white cotton fabric to her other paw to give her a hanky. 

These flower details are in the early stages of drying. My long tweezers and sharp scissors definitely came in handy for these.  
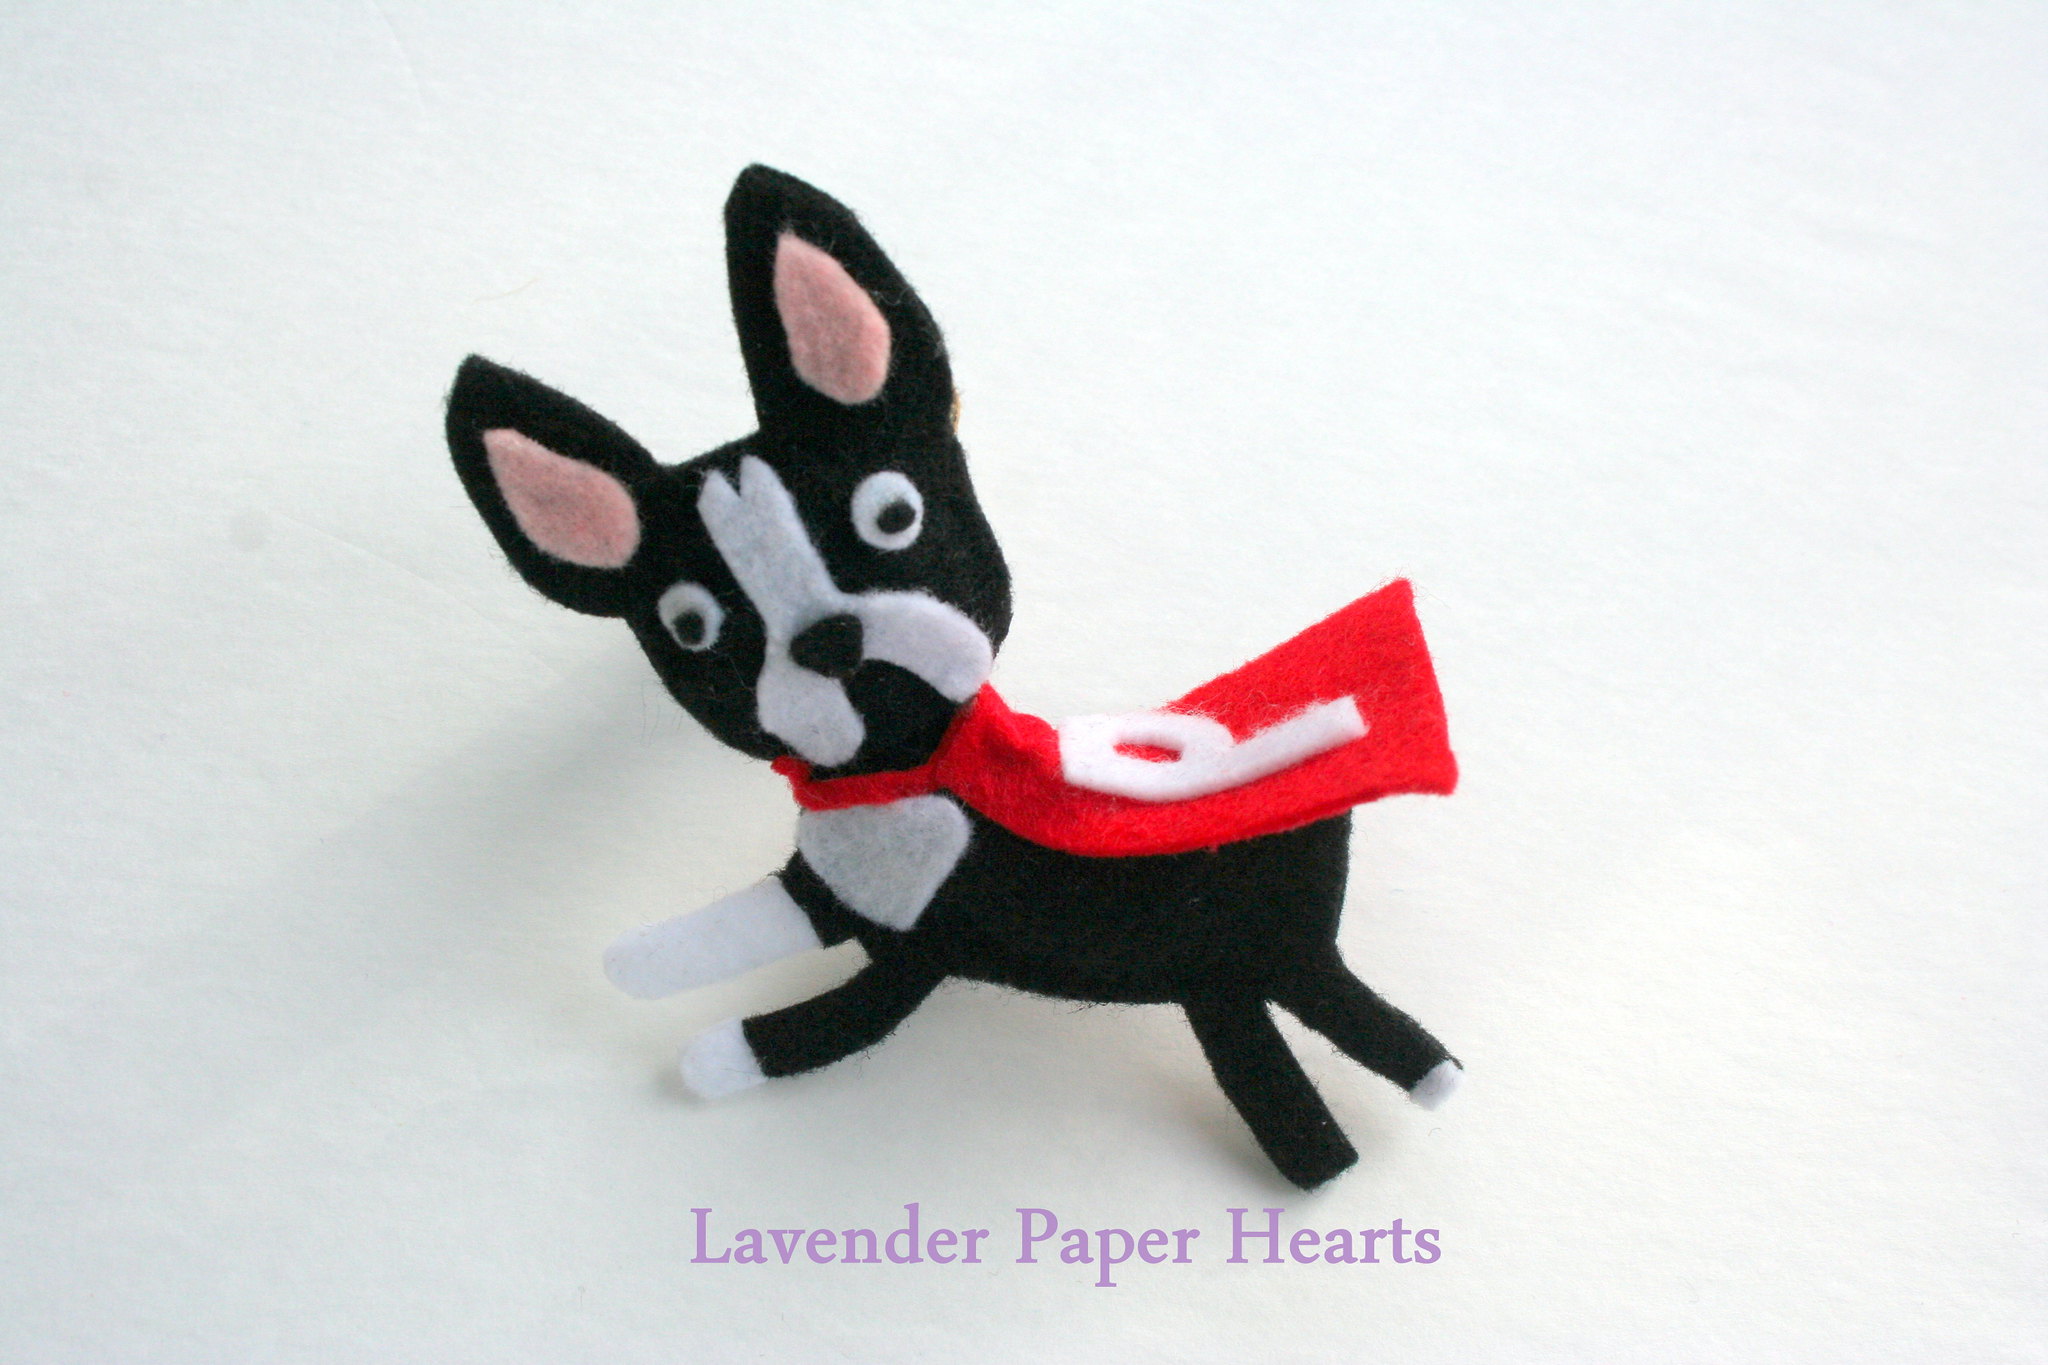
Phoebe is apparently quite the adventurer. She apparently is so adventurous in fact that she's permanently injured her leg from being so carefree and jumping off of things more often than she should. 
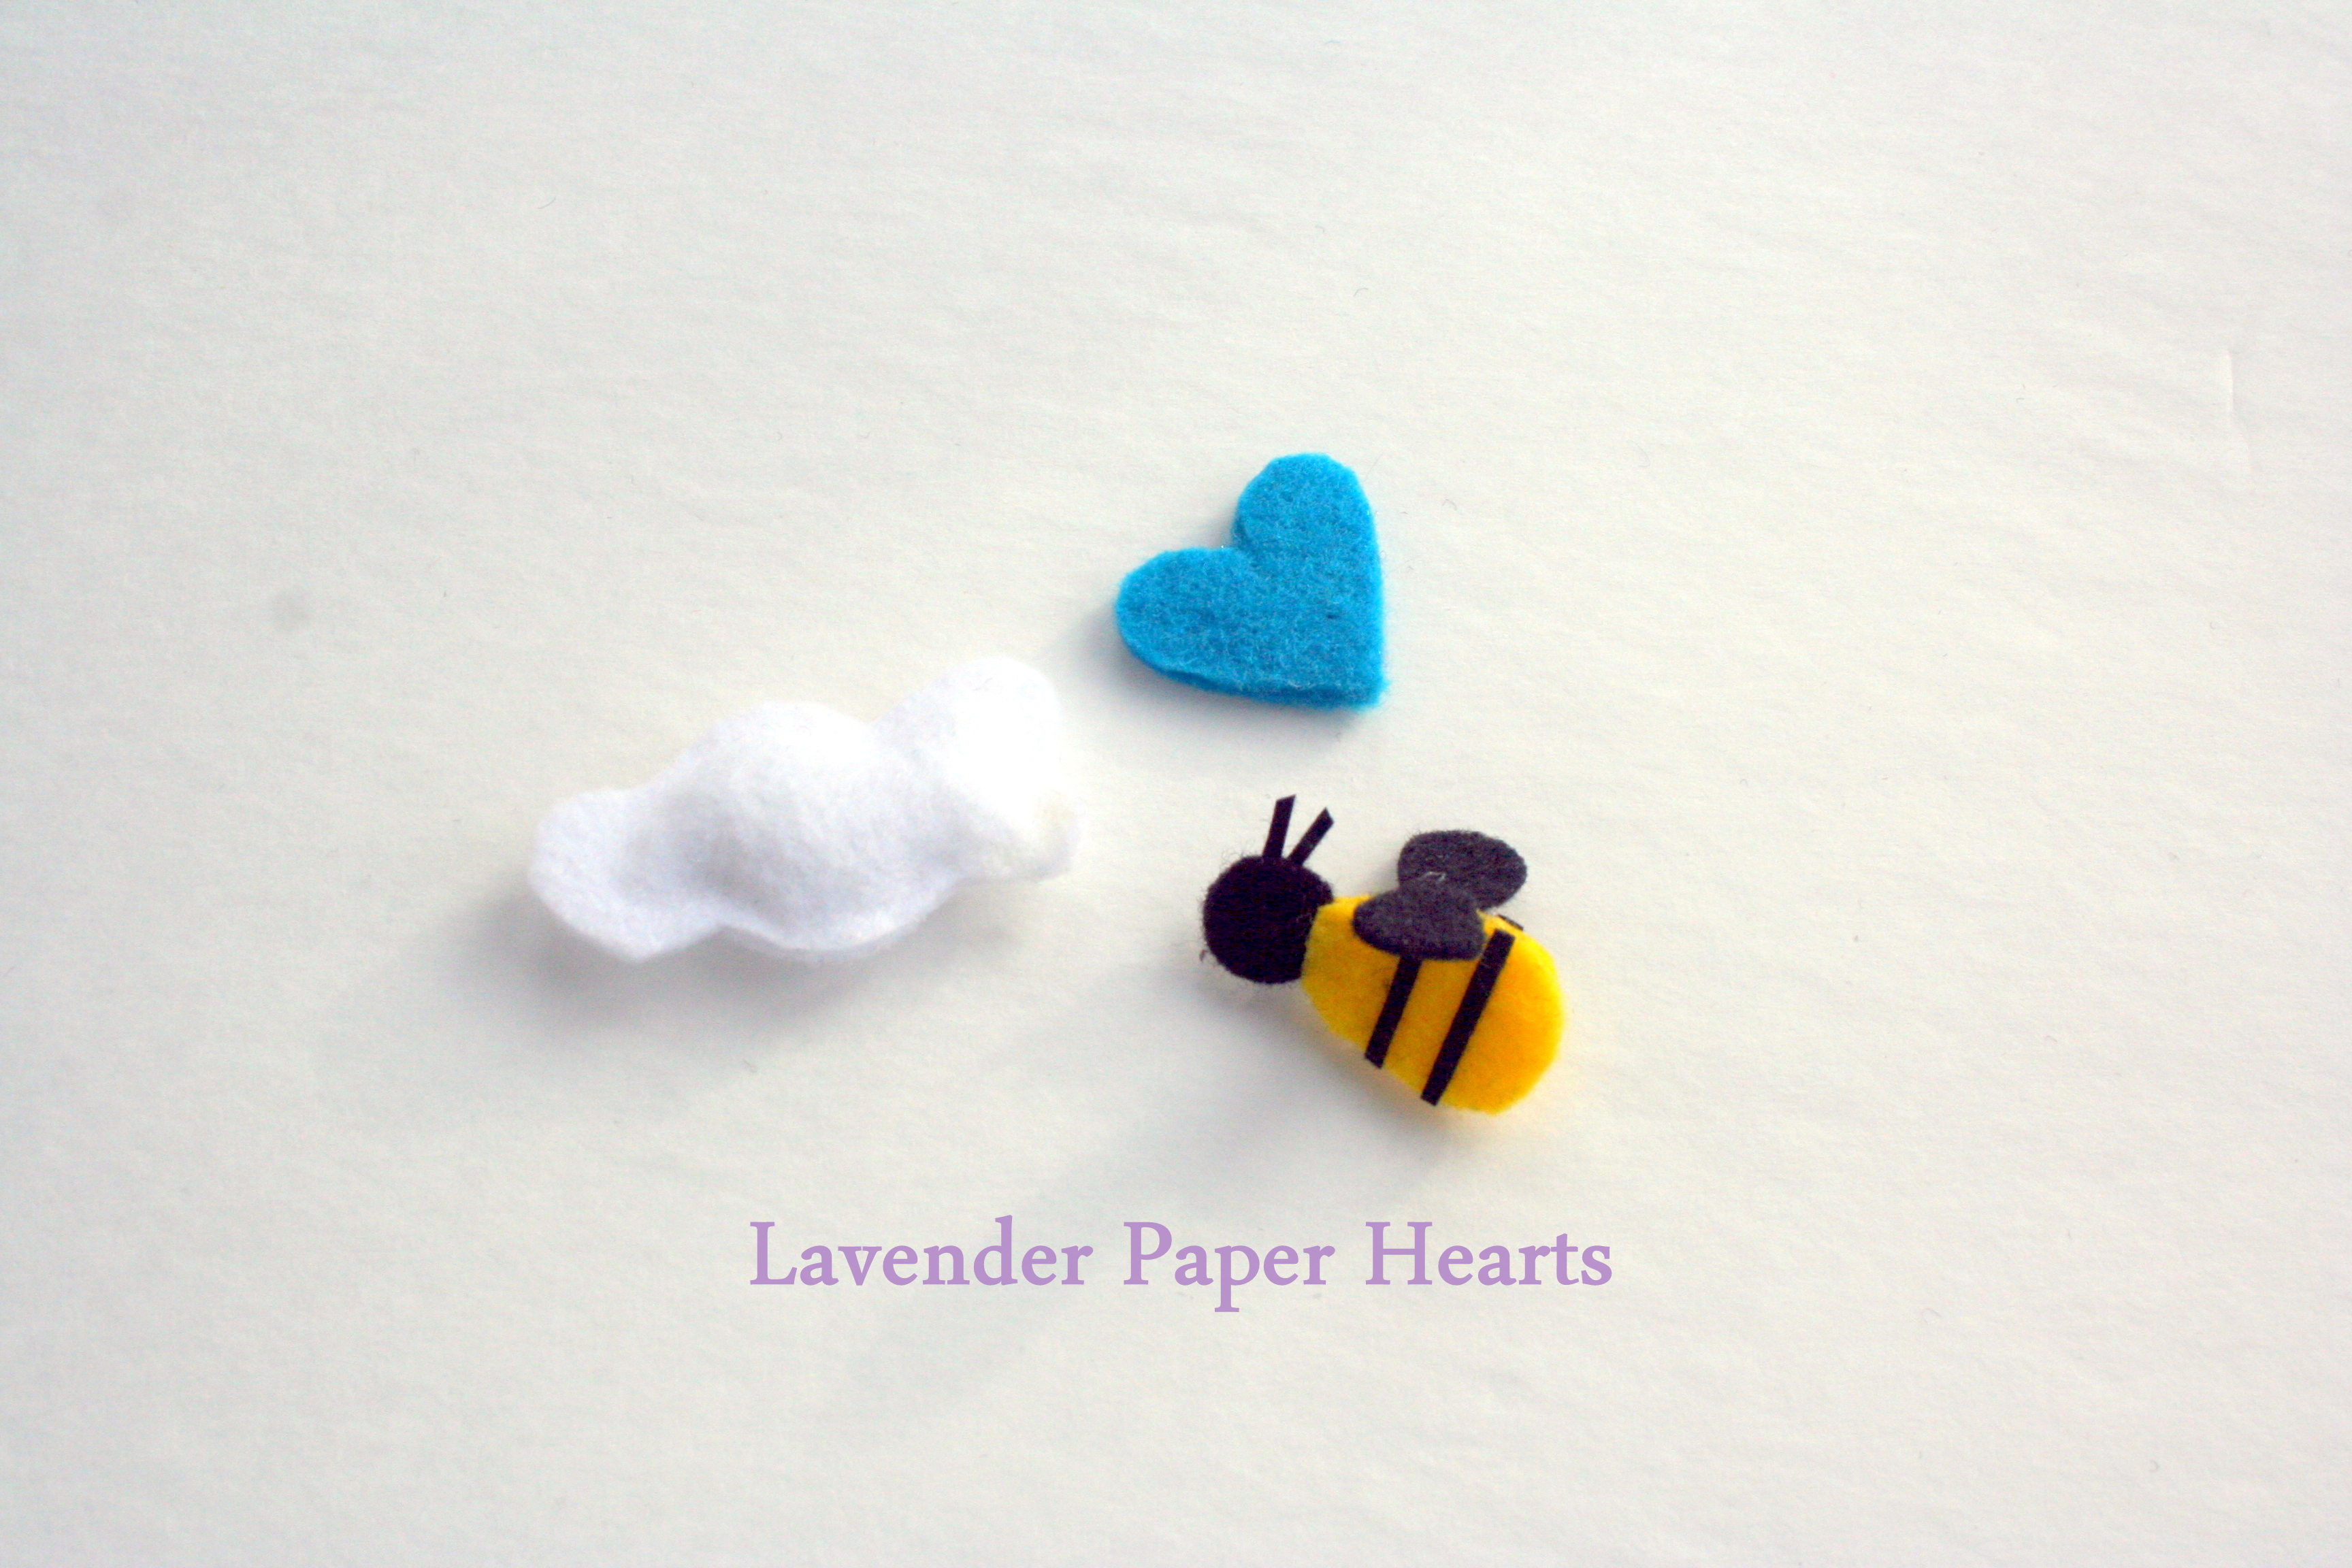
As always, I like to add a few subtle extras to add layers and depth to the mobile.

The finished product is one I'm really proud of, and one I hope their baby boy loves looking at! This client was also a dream to work with. She had some great ideas to get me started in the right direction and she gave me so much fun backstory that I felt like I really got to know not only her, but her personality, and that helps me translate what she's looking for in the perfect mobile for her baby boy. 

xoxoxo

If you have an idea for a custom mobile, I'd love to hear it!! You can contact me through my Etsy shop Lavender Paper Hearts


Wednesday, January 22, 2014

Christmas Gifts & Celebrating 2014

Oh, hi, remember me? Sorry it's been so long, but the holidays called for a much needed break. My shop is back and at 'em in 2014 and I've got 3 mobiles in my order queue that I can't wait to share here. I'll be featuring one next week that I just finished up today, and I am so excited to show off! 

Huzzah - it's only almost a month after Christmas, but better late than never, I say. I wanted to share some handmade Christmas gifts I made for my friend's little ones. I didn't get a chance to give them to them until the first week of the year so I had to wait to share them here.  Pinterest is such a great place to search for tutorials for baby things. There are SO many things on Pinterest, and sometimes it requires some weeding, but I've found some great things from other bloggers to make for friends and family. 

These goodies were for a newborn: 
The red turban-retro headband was loosely based on the tutorial I found at The Patriotic Peacock
The ADORABLE little shoes were made from a tutorial I found at The Fleeting Thing


These goodies were for the newborn's 6 month old cousin: 
The turban-headbands are from the same site as above, and for the shoes, I modified the pattern by half an inch all around and changed up the toe a bit to make them different (they're for cousins). 


Since I never actually got around to posting the handmade gifts I made LAST Christmas, here are some of the links to tutorials of items I made. Most are cold weather items: 

Earwarmers by Deliacreatures: I made a few of these for friends with more simple patters, but made the one with GIMONGO bows for myself. I pretty much love love love it and it keeps me ever so warm! 

Bow scarves by Ruffles and Stuff: I'm keeping this one in my pocket for future little ladies. I also made some for grown up ladies, because they're so darn cute! 

Lace Infinity Scarves by Wildflowers and Whimsy: I also made several of these lovely scarves, but unlike the tutorial, I used jersey fabric with lace. 

In other exciting news, I heard back from the mama who bought my last Jersey Quilt, and she reported that her son was so excited about his new keepsake that he brought it practically everywhere to show it off!! How's that for a compliment! :)  

I also got to escape a snowstorm and soak up some much needed California sunshine, and endless baby snuggles. It was so lovely to get to see my friends and to hang with my family.  My sister, who is my number one Lavender Paper Hearts supporter, also got me a sweet pro-camera and photo lighting kit for Christmas.  So hopefully you'll see that my shop photos will up their game going forward!! My sweet husband bought me my shop domain name, so be on the lookout for an official Lavender Paper Hearts website coming soon!! 


*No filter here, just pure San Clemente magic.

- K

Wednesday, November 13, 2013

Oh, Sweet Joy - For the Littles Category

Today Lavender Paper Hearts is being featured along with a handful of other amazing handmade artists over at Oh, Sweet Joy's 2013 Holiday Gift Guide!! 

Kim's gift guide is a fantastic way to get your holiday shopping done early, support handmade artists, AND score some amazing gifts and deals. Don't forget each artist has put up a coupon to their shop (including me), and on Saturday there will be a big ol' giveaway that you don't want to miss!! 


Friday, July 12, 2013

Custom Ordered Quilt

Over Father's Day we were hanging out with my FIL, and while we were there his partner Sue asked me to make a quilt for her nephew's new little one.  She wanted to make a quilt that incorporated pieces from her nephew's old football jersey.  Jersey quilts are a super sweet and sentimental way to be a bit nostalgic about a previous sports career at any level. Athletes tend to have many jerseys throughout their careers.  My sister played sports from a very young age all the way from high school and I bet we could have made a great big quilt if we'd thought to save them!!  Jersey quilts are also a great and fun way to continue to use the jerseys, and in a way that seems much better keeping them stashed away taking up space in a drawer or a box in the basement.  Since I had the one jersey to work with, it seemed like the perfect size for a baby blanket.  I was also really honored that Sue trusted me to take on such a project!!  I only had the one jersey to work with so there was very little room for error. (Trust me, I tried really hard NOT to think about this part!)   

When I was really little my Abuela taught me some basic sewing. I've sewn quite a few free-form projects over the years - everything from baby doll clothes, aprons for friends, clutches for my bridesmaids and so on, but I've never actually tackled something like a quilt.  As a weird coincidence, my SIL and I had just taken a basic quilting class over at Jo-Ann's Fabrics a week before so I had a feeling I could successfully tackle (hee hee get it?) this project.  I also emailed and chatted with my bffs on the west coast whenever I had a question!  There have been a lot of babies popping up in their family and they've whipped out some beautiful quilts recently.  (Thanks Ali & Jen!!)  Luckily, it worked out and I was pretty happy with the end results.  And even better, Sue was very pleased with the quilt!! Now I'm hoping to hear how it was received by the family it was sent to, too!!  

I thought I'd share some of the photos I took as I was working through some of the major steps in the quilt. Here's what I started with: 


These are the sections of the quilts that I decided to use as the central focus of the quilt.  It's the nameplate, the jersey numbers, and the bottom section is actually cut from the jersey's sleeve!!


Here I added some sweet and playful polka-dot material to help make the quilt a bit more youthful feeling. I also saved as much of the jersey as I could when I was cutting it apart so that I could incorporate more of the jersey into the quilt which you can see here.

I was working on this quilt during the massive heatwave we were having here in New England. It was SO hot. SO SO SO HOT. I was having to do a lot of ironing, like you do with a quilt, and man, it was hot in my craft room. Turns out my sewing table wasn't big enough to work with the quilt when it was laid out so I had to move it to my kitchen table when I started to add the batting and back fabric to the quilt. 

Here's a photo of me stitching in the ditch!! You can see the back fabric we choose on the right side of the photo.  Sue and I figured if you're going with a theme you should go all out, so bright green football fabric is what I found and we ultimately decided to go with. 

The only part I had a few problems with was the satin binding. It again was just, SO HOT, and to be honest I think I was tired and melting so my brain was, well, melting and tired. I also didn't have enough space so the satin was not cooperating with me during this step. My husband helped me drag in the kitchen table to my craft room and while it was nearly impossible to get in and out of the room, it was SO HELPFUL to have that extra table and, you know, more SPACE to work with the quilt.  I actually took 2 days off from the project and went back and finished it one morning with no problems. Go figure.

Here's the finished quilt! It measures about 33 inches by 46 inches tall and is a perfect little-one size. I hope it'll be a treasured item for the new baby. 

Wednesday, June 19, 2013

Freezer Paper Onesies!!

I love freezer paper stencils and they're a great and pretty easy way to jazz up a plain onesie!! You can check out my Freezer Paper Stencil Tutorial from last year to learn how to make these!!

Here are a few onesies I made recently:

This onesie is actually for Ali & Jen's brother Andrew (or Pooter as we call him) and his wife Lauren. They're also expecting a baby in July (and yes, they're a very fertile family!)  Lauren is actually half Puerto Rican and I thought that this onesie could be a fun and funny nod to her heritage.  I know it's rather simplistic, but for some reason "no hablo" (which translates to "I don't speak" in English) coming from a baby/on the onesie cracks me up to no end.


Pooter and Lauren run an amazing photography business. Andrew takes the pictures, and Lauren helps out in all capacities. You should check out Andrew's work here:  Collective Perception Photography. CPP shoots all over California and they specialize in weddings, engagement shoots, great family photos, and even sweet photos of children!!  Andrew does an incredible job of capturing the personalities of the people he's photographing and he really gives them all a sense of feeling.  Below is a stunning photo Andrew shot to commemorate Lauren's beautiful baby bump and to celebrate baby Darko (as they're calling him/her for now).  You can find more up on CPP's Facebook page.   


This onesie is for baby Nessie whose mobile was featured last week.  For some reason Ali and Andy have always thought that Jackalopes, the mythical creatures that are part rabbit and part antelope, are awesome.  So putting this design on a onesie for their baby has actually been a must-do item in my idea folder for ages - even before I found out they were pregnant!!  It's simple, playful, and fun - just like them!!


Have you given freezer paper stencils a try before?  If you haven't they're so easy and fun. Check out my tutorial HERE.  Happy Crafting!!


Friday, June 14, 2013

Nessie Stuffed Animal

So when my friend Ali announced she was having a baby and that they'd conceived while on vacation in Scotland I knew instantly that I wanted to incorporate the Loch Ness Monster into something that I made for her baby. I found some great green fluffy fabric one day at Jo-Anns and thought I'd try my hand at making a stuffed animal!!  This isn't really a tutorial because I don't have any measurements, and I basically made it up as I went, but I do talk through the process in this post.


I basically made up the template and process as I went along. I free handed a body which took a few tries until I got something right. 


The basic shape is here. It's blurry because I was in a hurry (and took it with my cell phone), but you can see the outline. I doubled up the fabric (folded it over) and pinned around the Nessie drawing (pinning the two halves together) so that the fabric wouldn't shift when I cut it out.  I ended up with 2 perfectly matching pieces.  I was careful to remember to cut it out leaving extra room to sew Nessie together.  I left an extra 1/4 inch all around. 


Below you can see when I started to pin it together to sew.  I also free handed a pointed oval pieces to use as Nessie's chest making her 3-d. I also drew a stencil of flippers mixing them up from front and back legs.


I then sewed the fins together and then pinned them in place on Nessie's body. Remember to tuck them INSIDE the shape since you're flipping the whole thing inside out. This will make sure that the flippers of the stuffed animal end up on the outside when you're done and ready to stuff it.  (Yeah, my first go I forgot and put them on the wrong side!!) I had to adjust the oval for Nessie's belly oval a bit. Since I was just guessing when I sketched it, my first guess was a bit bigger than I needed.  So I sewed the body about 3/4ths of the way (I started on one side of the body towards the bum end) and then cut and adjusted it so it would connect to her bum without giving her a HUGE belly.  I left Nessie's back end open so I could stuff her with filling. You can see what I mean in the photo below.


I then stuffed and stuffed and stuffed away until she was as full as I wanted. She's perfectly cuddly.  I had to use a pen, and stick my hand inside the stuffed animal to get the filling all the way into its head and neck.  Then I hand sewed her back side together and closed her all up.  

Since this is for a baby, I decided to not include eyes. Anything I could come up with either involved sewing on buttons - chocking hazard, or using paint or glue and that seemed like a baby possibly chewing on Nessie's head hazard. 

She's not exactly perfect if you look realllly closely, but for my first attempt at a 3-D stuffed animal that I made up in my head, without any online tutorials or templates,  I was pretty darned pleased with myself.  More to the point, I hope that Ali and Andy's little one loves it!! 


Ali sent me this cute photo the day the package arrived at their house.  She wanted to play with Nessie too!! 

Wednesday, June 12, 2013

Yay For Baby Nessie

So one of my best friends Ali, or Bird as I call her, is having her first sweet little baby this July (I'm crossing my fingers for my birthday!!) I've known Bird since 7th grade when we were in science class together.  Ali missed the first week or two of school because she had an emergency appendectomy and when she did come back our teacher used to torture her by singing her name everyday during attendance.  (The song has since escaped my memory.)  Bird and I were in school together throughout middle school, high school, and even college! We've been to so many concerts together that I can't even begin to count them, and gone on many many adventures both big and small.  We're friends for life.  Her family is my family and I love them all.  I made the Star Wars themed mobile for her big sister Jen's baby, Luke, last summer.  (The Star Wars mobile is now in my shop.)

I was clearly eager to jump at the chance to create a mobile for Baby Nessie (so nicknamed after being conceived on a vacation in Scotland).  To start, Ali sent me links to some of the UBER-cute and super-fun art pieces for Baby Nessie's room.  The pieces are a bit all over the place in terms of characters and color schemes but I found a way to playfully bring them together. Nessie's parents are incredibly bold and are planning to move sometime very very soon (fingers crossed), so while I'm not sure what color her room will end up being, she's off to a great start with the art because it's all incredibly interesting and adorable too, and sure to captivate a baby's attention and imagination!!

Here are the art prints in the baby's room thus far:


See, they're all great, right? But they're all really different too. I love it.  Also included in room is a mix of Boston Terriers pups in honor of the house lady Muffaletta.  (Yes, she's named after the sandwich.)  Muffin has been Ali & Andy's baby for almost 6 years so she's the unofficial big sister around their house.  If you look below you'll see that Muffin is a pretty little girl.  I made sure that I mimicked her coloring (her socks in particular) in the figures where there were little legs showing!!

Just look at that cute face!! (Photo by her owners!)  

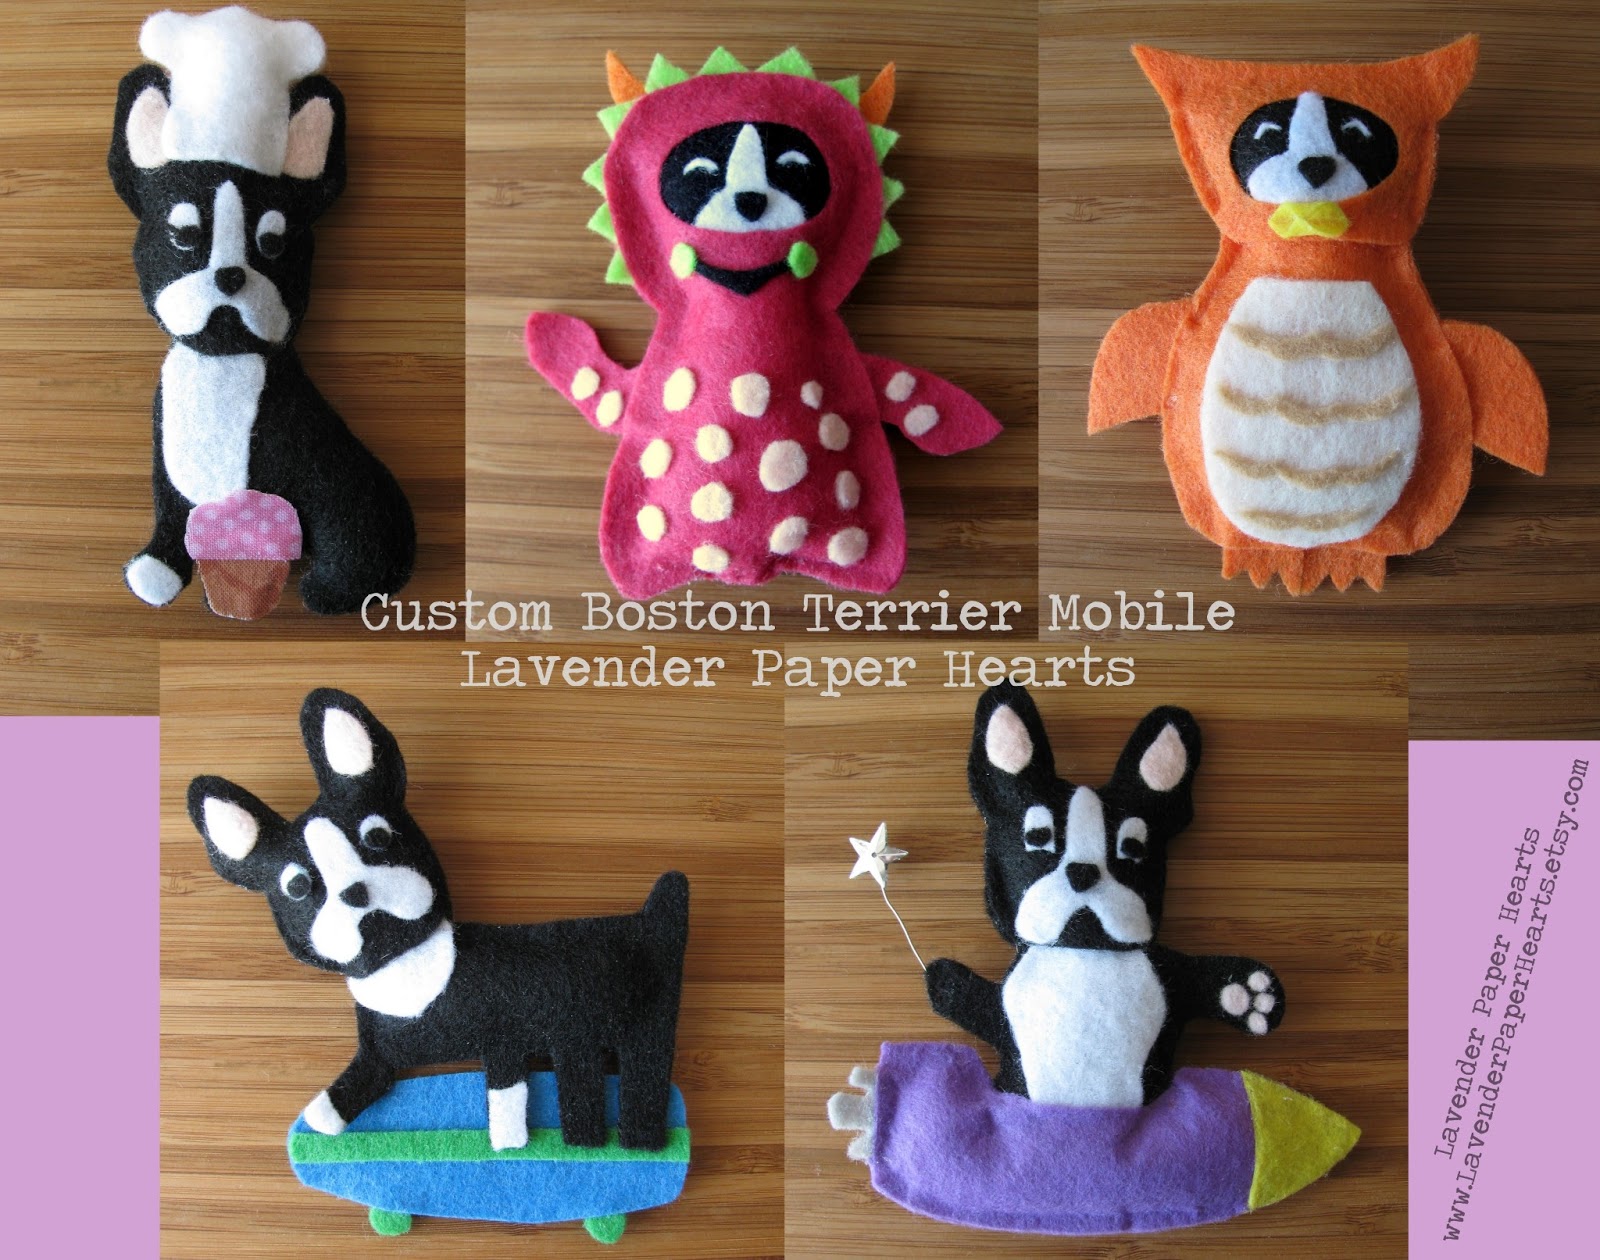
The final theme I came up with for the custom mobile was the idea of Boston Terriers playing dress-up.  You can see in the images below that I borrowed characters from each of the three art pieces and then incorporated both Ali and Andy's hobbies into the last two dogs to finish off the piece. 


Working clock wise:
1. Baking Boston - This was inspired by Ali. She makes amazingly delicious baked goodies. I even gave this plush eye lashes. The cupcake is made from extra material that Ali's sister Jen used in a quilt she made for baby Nessie. 
2. Monster Boston - I was inspired by the cute pink polka dot monster by Invisible Creatures. If you look at the monster on the left side hugging the tree that's my monster.
3. Owl Boston - The cute cuddly orange owl by Jolby is who this Boston is dressing up as. 
4. Skateboarding Boston - This plushy was for Andy! Andy likes to kick it old school at get out and about on his skateboard!  If you notice, the pups "socks" or legs are just like Muffin's!! 
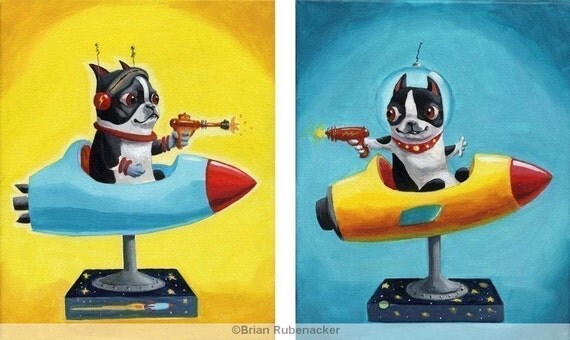
5. Astronaut Boston - This one was inspired by the Rubenacker art pieces. I gave it a bit of my own spin with the star balloon. 

Here's the mobile hanging in action.  I added some sparkly beads to give the mobile some eye catching sparkle and then added a few little extras here and there for more texture.  The owl has a branch floating just below her and the Astronaut Boston has a little planet.  I then added sky blue hearts to the tops and bottoms of the plush figures that didn't have any extras hanging.


I'm beyond excited to meet baby Nessie (and to learn her official name)!! I know that Ali and Andy are going to be great parents and Muffin will be sure to take very good care of her too.

 If you're interested in working with me to create the perfect baby mobile for your little one, or a little one in your life I'm always really excited to work with new customers. You can contact me about custom listings HERE.

Be sure to check back to the blog soon. I have a few more things I made for baby Nessie that I'll be sharing!!


<3


Friday, September 21, 2012

In Memory of Baby Buffalo...


My dearest friends Jennifer and Jeffrey were so excited to be parents of the ever so lucky Baby Buffalo. Little baby Luke passed away on September 10th very unexpectedly. If you've ever met Jen and Jeff, you'd know how absolutely special they are, and how much they loved Luke already.

While in the hospital, they were given some comfort during such a time of confusion and sadness, by an organization that helps parents who experience the loss of a baby during pregnancy or infancy.  Here's what Jen & Jeff wrote about the support they received, "This organization provided us comforting books and supplies in the hospital during a time when we had no idea what to expect or how to deal with what was happening. We wish that nobody would ever have to experience this in the future, but hope that if they do, they will receive similar comfort and support."

Jen & Jeff and a group of their family and friends are walking in the October 6th OC Walk to Remember charity event, which helps raise money for the 27 hospitals and support groups that support similar families through difficult times. I wish that I could be there to walk alongside them.

Instead of flowers they're asking people to donate to this charity. Please consider making a donation to this amazing organization in Baby Luke's name.  Jen & Jeff have set up a special donation page for Luke which can be found HERE.

 ♥ ♥ ♥


Tuesday, May 29, 2012

Other Crafts: Whale Baby Mobile

I thought I'd also share some other crafts I work on from time to time as a way to mix it up a little bit.  There has been a virtual baby-palooza amongst my extended circle of friends lately. It's really exciting to have so many new babies to snuggle and it's also been fun to make things for some of these little people!


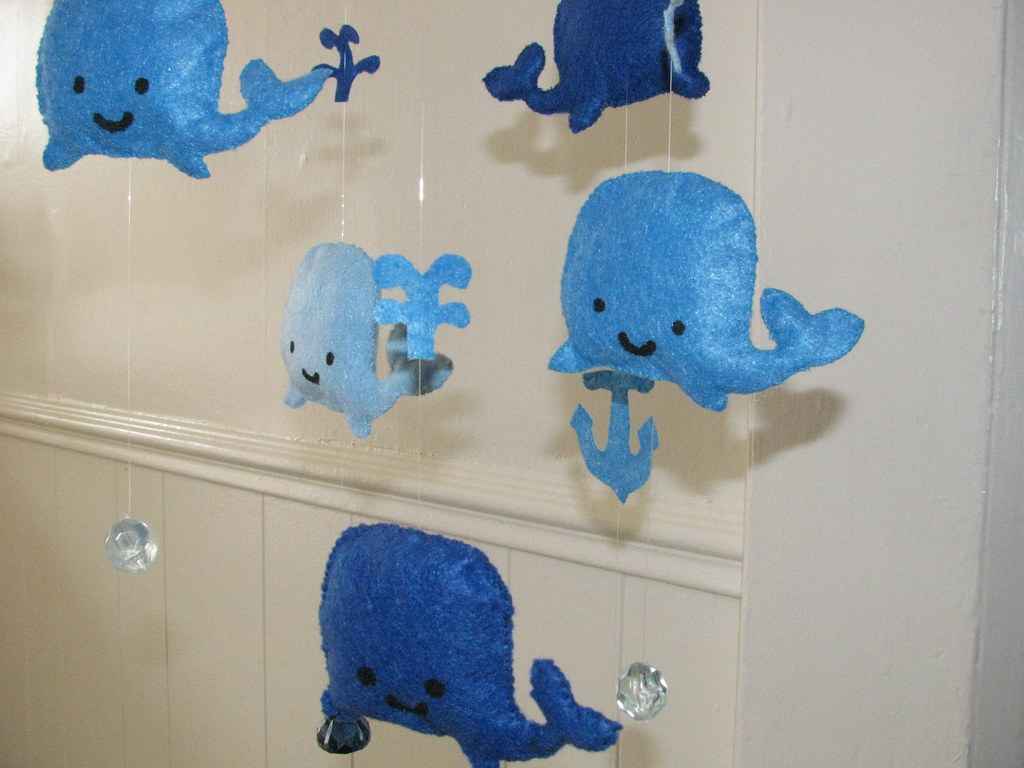
This is a mobile I made for my husband's cousin's little one.  The happy couple came up with a whale/ocean theme for baby Owen's room.  Originally I went searching for one on Etsy but I came across only one listing for this apparently very specific theme (who knew?!).  While the one I found was lovely, it didn't really fit the cuddly aesthetic I was looking for.  I decided to attempt to make one myself and figured if it was terrifying I could always start my baby gift search over.

To make the little whales I cut out and hand-sewed each little one and made sure to add some batting so they'd be a little squidgy.  The little whale faces actually had me the most perplexed because I could decide how to go about making them. (Clearly I was over thinking it.)  I ended up using the back end of a paint brush to get perfect little circles - go figure.  I added the details of the spouts (though E rejected my first attempt because he said they looked like a particular part of the male anatomy) and anchors to give the mobile a little more depth and character.  The final touch was the little crystals.  I thought they would be nice and eye catching for baby Owen!!  In the end the baby mobile was well received by Owen's mom and dad and apparently it matched the room perfectly (which is awesome, because I've never seen their house before, let alone the baby's room!)


Now I've got two more baby mobiles in my summertime crafting queue!! :)  ETA: Actually, I've almost finished one... but I'm not going to share pictures for a while... bwhahaha!!

Later this week be on the look out for two different DIY tutorials. I'm submitting them to the Dollar Tree Wedding Crafting Competition