Showing posts with label diy. Show all posts

Wednesday, November 27, 2013

From the Archives: DIY - Snaz Up Your Coat!

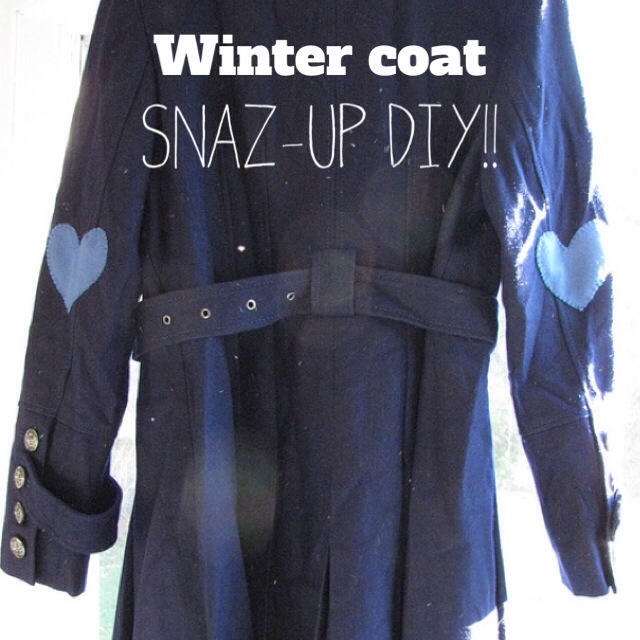
It's officially getting COLD here in New England. I thought I'd share a DIY from last year.  Adding something like little heart elbow patches to a coat can change up it's look in a big way. To see my DIY tutorial on how to do this, click HERE!

This coat makeover series was done in two parts. To see how I revamped a plain black winter coat with some fancy buttons click HERE. This DIY is what we call: "DUH, stupid easy!" but it also has a great impact and helps makeover a coat.

Wednesday, October 23, 2013

Halloween Spooktacular Table Runner

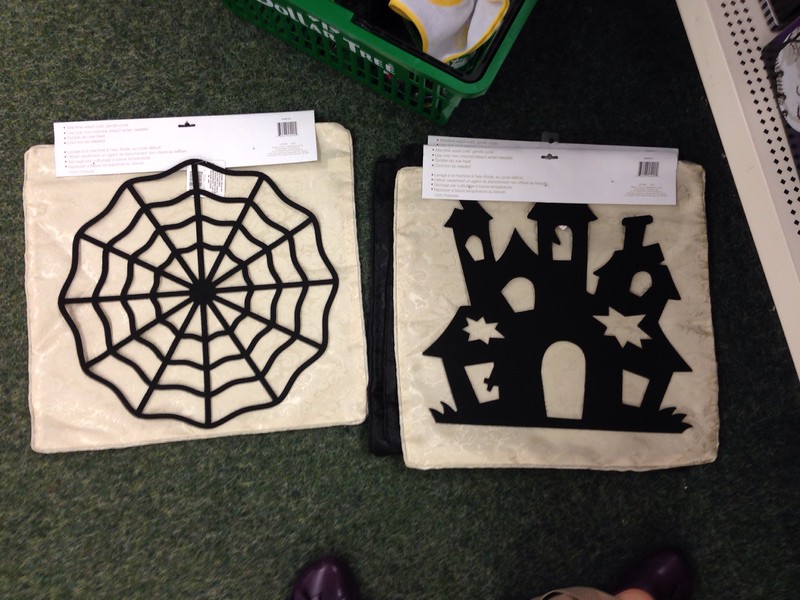
Sometimes when I'm shopping I spot supplies that I think could make something fun, but I have to let the idea marinate in my head for a few days before I've figured out exactly what I want to do!  I'd originally spotted a bunch of great damask pillow cases at the Dollar Tree and wanted to turn them into sweet holiday pillows. I couldn't find the right color combo, however, to actually make it work.  (They would have been amazing if I could have found orange pillows, but specificity is sometimes too much to ask for the Dollar Tree).


When I was rummaging through the pillow cases I spotted some similarly styled damask table cloths, table runners and napkins. I suppose if you really wanted your couch and table setting to match you could pick up all 4 items, but they seemed a bit too matchy matchy to me. I ruminated on the black damask set for a few days before deciding I wanted to whip up a Halloween themed table runner.  Originally I thought I might cut up the table runners and hang smaller pieces on dowels to make banners of sorts, and I may still decide to do this, but for now, I love how my table runner turned out. It really couldn't have been an easier project.

The most time consuming part of this project was picking out the right Halloween-y inspired font to use for the table runner.  You can throw "Halloween fonts" into Google and come up with a ton of free fonts to install on your computer. I had a certain vision in my mind, so I just kept searching until I found the right one. The font I used here is called Blackwood Castle and I found it on www.DaFont.com.

You can find a more detailed tutorial for freezer paper stencils I've done before here, but I'll run through the quick and dirty of how I made this below.

After I set up my design in Microsoft Publisher (I suppose I could have easily used Word too). I printed out the text in the font I'd decided on and got to work. I actually ended up mixing up the font style for each word because I really liked how the word "eek" looked in lower case letters, but hated how "boo" looked lower case.  Mix it up and decide what works best for you.

I traced the letters onto my freezer paper and then carefully cut them out. Remember to save the inner pieces of your letters!! I ironed my table runner, lined up the stencil so they were both the same distance from the bottom of the points and then ironed them on - including the little inside pieces for the letters (which you can see in the B, and O's below. Once I was happy with their placement (I had to carefully peel off "eek" and realign it) I was ready to paint.


I decided to use silver paint for this project because I thought that white might be too stark on the table runner. I wanted the letters to show, but not overly pop in color. 

Once the paint was dry I carefully peeled off the freezer paper and it was done!  


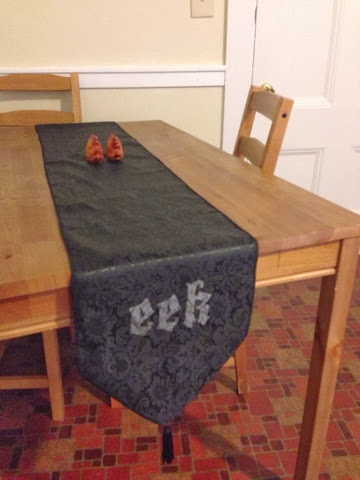
It wasn't until I was all done that I realized that my table runner was WAY TOO LONG for our little Ikea table. It hangs off the sides nicely though so if we were having a party where we weren't sitting at the table it would hang nicely.

From this photo you can see that mine is about a foot and a half too big, but it's okay, I still love it.


Close up: I decided to go light on the silver paint because I LOVED how the damask pattern showed through the fabric. If you didn't like this, I'd recommend doing one light coat, letting it dry, and then adding more paint. It's better to add more paint in stages so that the moisture from the paint doesn't make the freezer paper lift.

Because I had all of the supplies on hand, except for the table runner, this project cost me exactly $1. Not too bad, for a sweet Halloween decoration!! 

How are you preparing or decorating your house for Halloween? 


Wednesday, October 2, 2013

Fall Wreath DIY


It's officially starting to look like fall here in New England so I feel like it's finally appropriate to share this awesome DIY!! A month ago, the weather was being particularly wonky. It seemed like fall already because it was cold and grey, even though it was still technically August.  I was at my local Dollar Tree one weekend when I found some fantastic supplies which inspired me to gear up for the new season!!  (Yes, this has been hanging on our door for a month already - we're good like that!) I purchased 1 wood wreath, and 8 bunches of leaves and in about 30 minutes came up with a beautiful wreath for our front door.  The best part of this DIY is that it only cost $9. Yes, $9!!

This DIY is so easy. Here's what you'll need:
1 wreath form
8 leave bunches (you may need more, you may need less)
Glue gun & extra glue
Scissors
Small bit of wire or soda top to glue on the wreath to hang it up
Iron

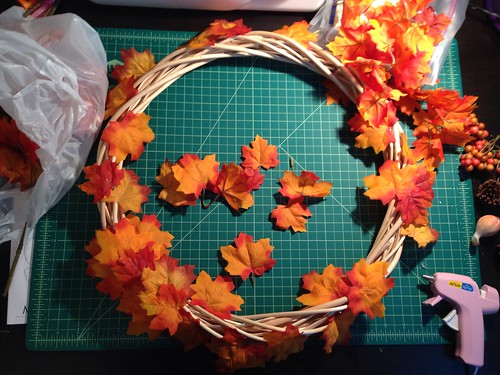
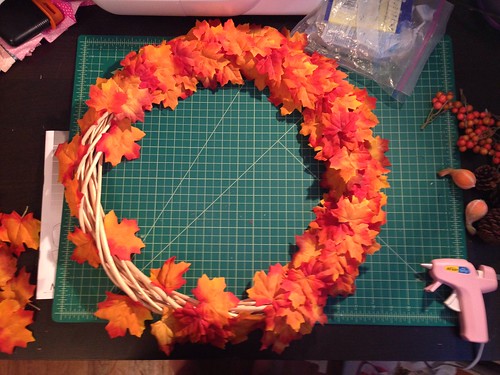
Plug in your glue gun and pull apart your first bunch of leaves. Separate your big leaves from your small leaves. If you've got different shades in your leaves you might want to sort that too. I had some that were a bit more brown and some that were a bit more orange so I made sure I spread them out throughout the wreath. If you've picked leaf bunches with extras (mine had awesome squash, little balls, and pine cones) put those off to the side - you'll use those last.  Here you also might want to use your scissors to cut off the "stem" part on your leaves.


I started my wreath by scattering big leaves around the wreath and hot gluing them in place. For some of the leaves that were bent (you can see some in the bottom left of this photo) you can easily iron them flat by setting your iron to a medium temperature and pushing quickly and firmly on the leaves. Keep your iron moving though because the vein parts of the leaves are plastic and will melt. Keep that side down and away from direct contact with the iron.


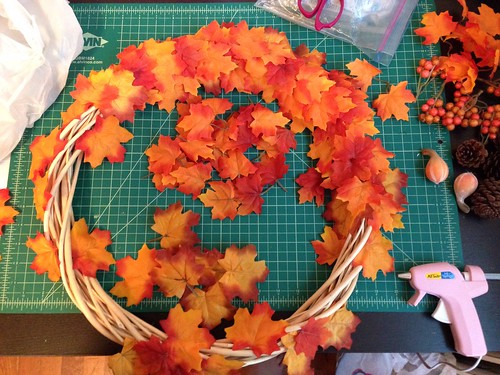
After I'd scattered about 15 leaves all over - inside the circle and outside the circle. I decided to switch strategies and work from section to section. Layer your big and little leaves. You can always go back and add leaves if you feel like a section is a bit thin.  I also kept most leaves going the same direction but occasionally added a few small leaves on the very top layer that went the other direction. It's up to you.


Keep adding.


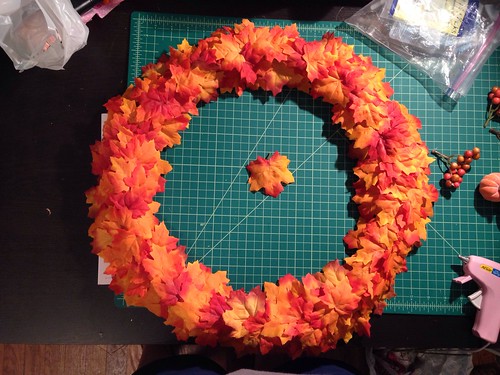
And adding some more until you're filled in! 


Now use your extra bits and glue them around your wreath at your discretion. I had some extra pieces left over that I didn't end up using. I also got to a point where I felt like I needed to hang up the wreath to see where the last few extras should be tucked in. My door happens to be right near an outlet so I just glued on the last few extras as it was on the door. Do what works best for you.

Here's how I added a hanging loop: I used some wire, looped it around a few times on my fingers, and then hot glued the loop to the back of the wreath. If I'd had a soda can I would have used the pop top and glued it on to the wreath. Either one works. Once the glue is cooled - make sure it's cool or it'll fall off your door - you can hang up your wreath!


Admire your work, because you're done!! 

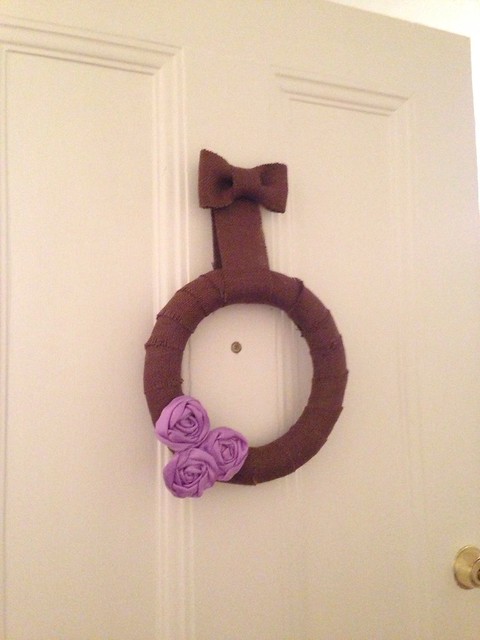
Wreath-y bonus: I had an extra foam ring and some burlap lying around so I whipped up this wreath for our other door. It's inside and on a door nobody technically ever uses, but I know it's there. Here's how I made this one: I cut strips of burlap, frayed one side, and then glued them to the wreath. I had some wrap flowers from another project in a craft box so I quickly hot glued those on. Added a burlap hanging ribbon, a bow, and boom - done. 


Bonus-Bonus: My husband fell in love with this crocheted pumpkin when were were at a craft fair a few weeks ago.  It's paired here with an AWESOME skull candy dish I picked up from the Dollar Tree a few years ago. 


Tuesday, August 20, 2013

DIY Elastic Belt

I don't know about you, but sometimes I find it hard to track down the right belt for certain outfits.  I don't know if that's because the belts I'm envisioning just don't exist or I'm incredibly picky, but I got it in my head that I wanted to try and make my own and the bonus was that it was actually wayyy cheaper than buying one!!  I decided to make a belt with elastic material. I like the gentle stretch of the material and it's easy to work with.  

This process ended up being pretty easy and after a trial and error run (during which I discovered that the clear plastic snaps that seemed like a good idea, were actually defective.) I thought I'd share this super easy tutorial with you!! 

I made this belt from some colorful elastic, like I mentioned earlier, but I also made it snap on (and off) so that it could be swapped out for a different colored elastic depending on how I was feeling and or how it would compliment an outfit. Multiple belts in one!! And even with the purchase of two different colors of elastic, it was still cheaper than buying a belt. 


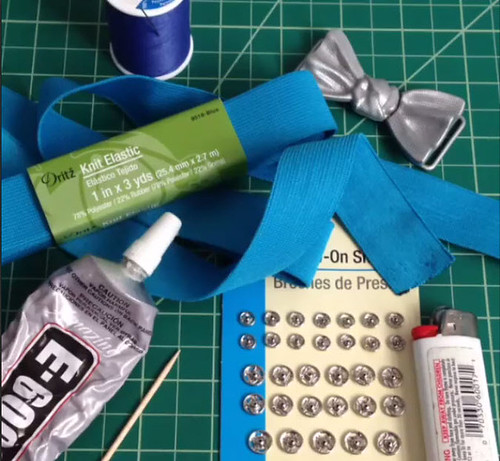
Supplies: 
Fashion Belt Buckle Notion - The one I used comes in gold, but I painted it silver
Toothpick
Thread
Needle
Lighter

You can find all of these items at Jo-Ann's fabrics. Don't forget to use a coupon. If you have an smart phone, download the app and you'll never be without one! 

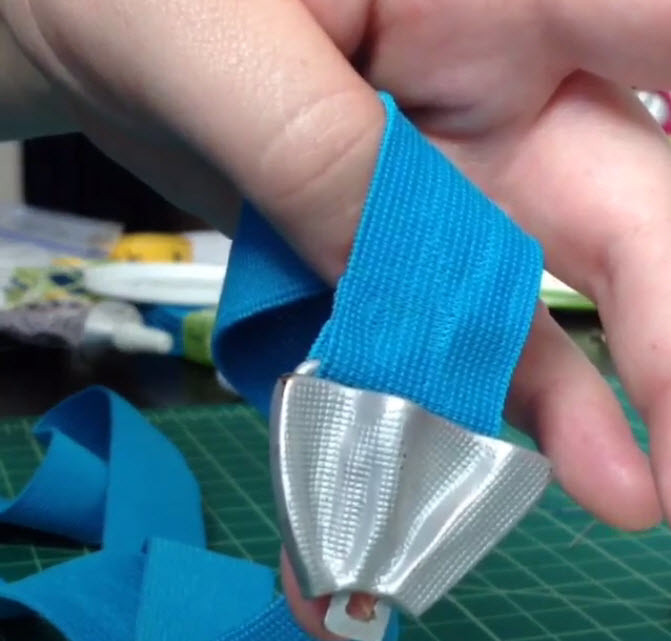
First, measure out the length you want by wrapping the knit elastic around your waist. You'll want it to be just a little bit smaller than your waste so that the belt has a little give when it's hooked together (this will help it stay on). Also be sure to then add 2 inches back on so that you have a space to add on the sew-on snaps.


You'll need to use your lighter here to lightly seal the edges. Quickly swipe the edge of the elastic through the flame and it should do the trick. 

Next you're going to glue on the pointy side of the snaps. I recommend E-6000 glue because it's strong and sturdy!


I've chosen to glue the snaps on one side, and then sew them on the inside edge so that you won't see the stitch marks when you're wearing the belt. You can see in the photo below that the belt from the front doesn't have any visible marks - the magic is in gluing!!


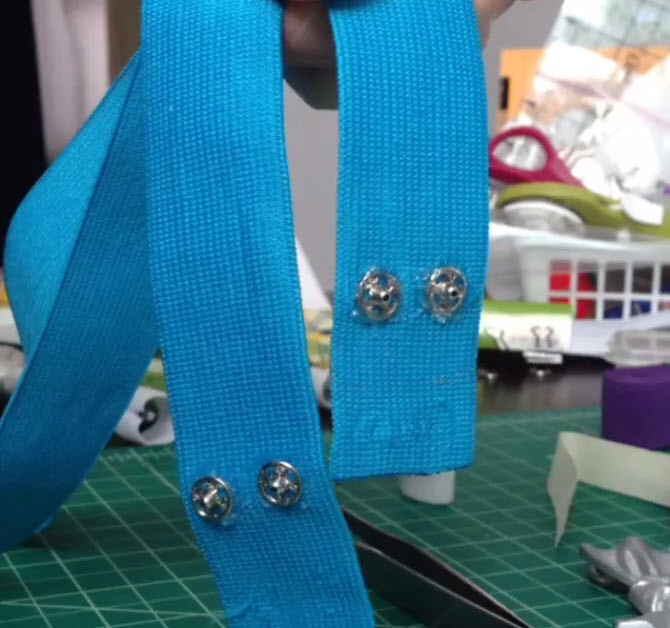
I eye-balled and ended up putting my glue 1 1/8th inches from the end of the elastic. I used a toothpick to plop down two blobs of glue and then used tweezers to set the nipple side of the snaps (with nipple up) into the glue.


You'll do this with all 4 snaps, making sure they're well-seated into the glue. Let the glue dry for at least a few hours before starting the other side.


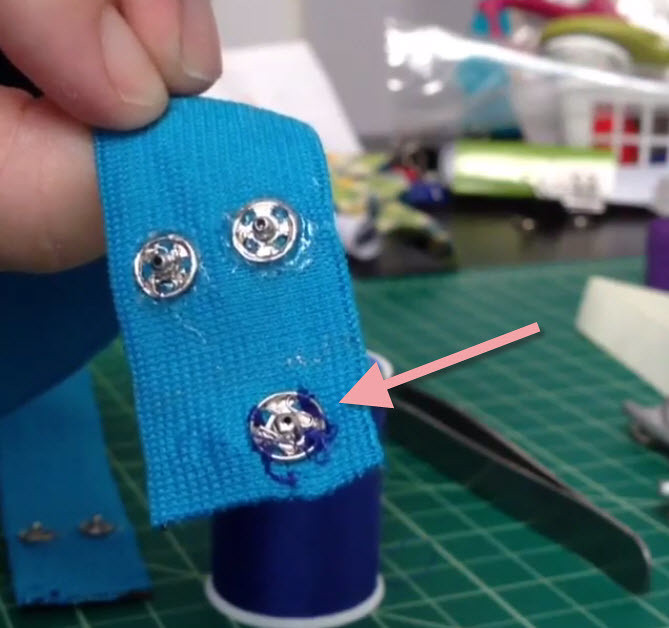
Next you're going to hand sew on the other side of the snap. I folded the elastic in half and used the nipples to sort of mark the elastic to show me where I needed to sew on the secondary snap.  Also, be sure to experiment a bit to make sure the snap is the correct side. I accidentally sewed my first one on backwards (which you can see in the photo below)!!


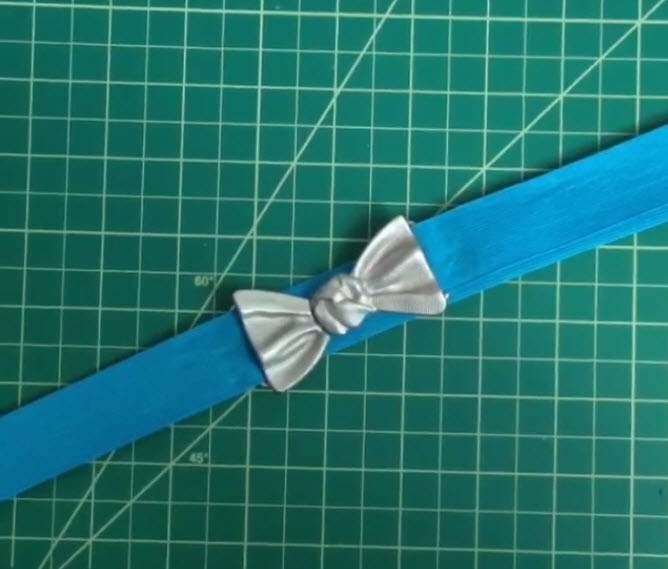
Once you've sewed on all 4 snaps you're basically done. You'll need to just snap your belt notion in place (with the sewed side on the inside) and magic - you're done!


Here's a quick step by step video I made for Instagram. It's fast, only 13 seconds, but it's always a fun challenge to see if it's possible to convey everything in 15 seconds max, and when not having the ability to delete anything or re-record.

Wednesday, July 10, 2013

Recipe: Cold Brew Coffee

It's summertime and officially cold brew coffee time for me!! I love to have coffee in the morning but once the heat starts in I can't deal with having hot coffee. Who wants to sweat first thing in the morning?!! Plus, if I was to buy an iced coffee most mornings that would add up pretty quickly. I stumbled across the cold brew concept a few summers ago. Making this coffee is a bit different than most might be used to. It involves steeping coffee overnight (or a minimum of 8 hours).  You can read more about it here and here.  I also just found a recipe for a blood orange ice coffee here that sounds amazing.

Cold brew coffee makes for a still really lovey tasting and less acidic coffee. Since you store it in the fridge when it's finished, you've got cold coffee at the ready for as long as your pitcher lasts you.  Don't worry, it's really easy to make big batches at a time. In the interest of saving space in our refrigerator I use a 2 liter pitcher which lasts me about a week and a half. (I tend to one small glass in the am only.)


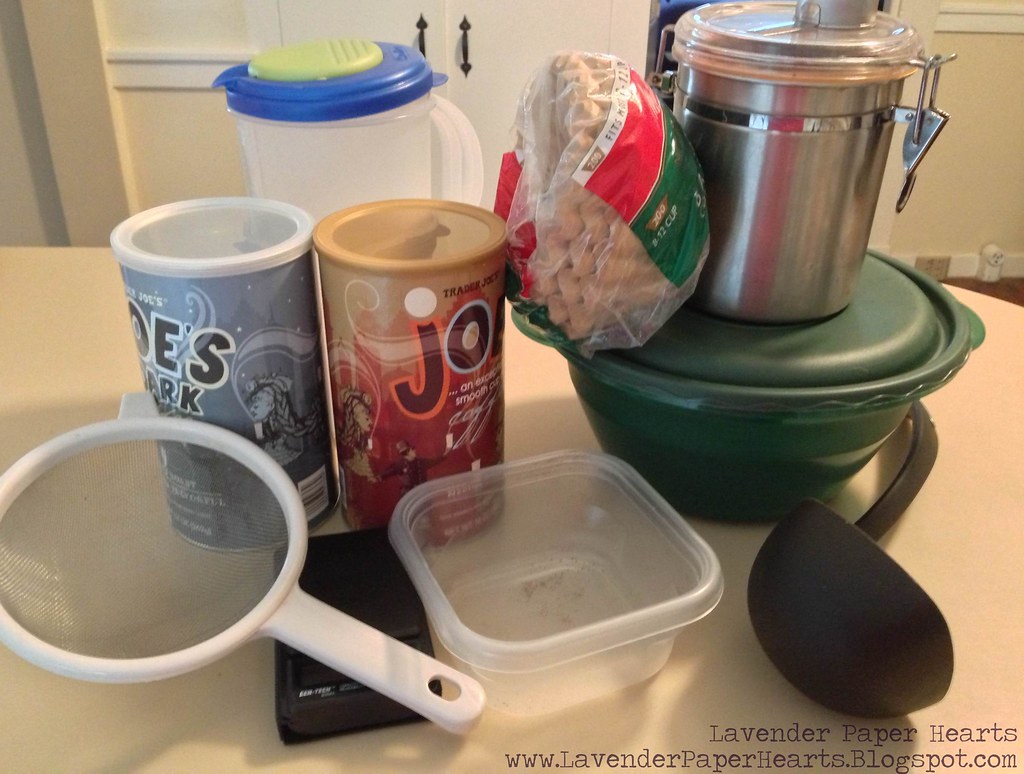
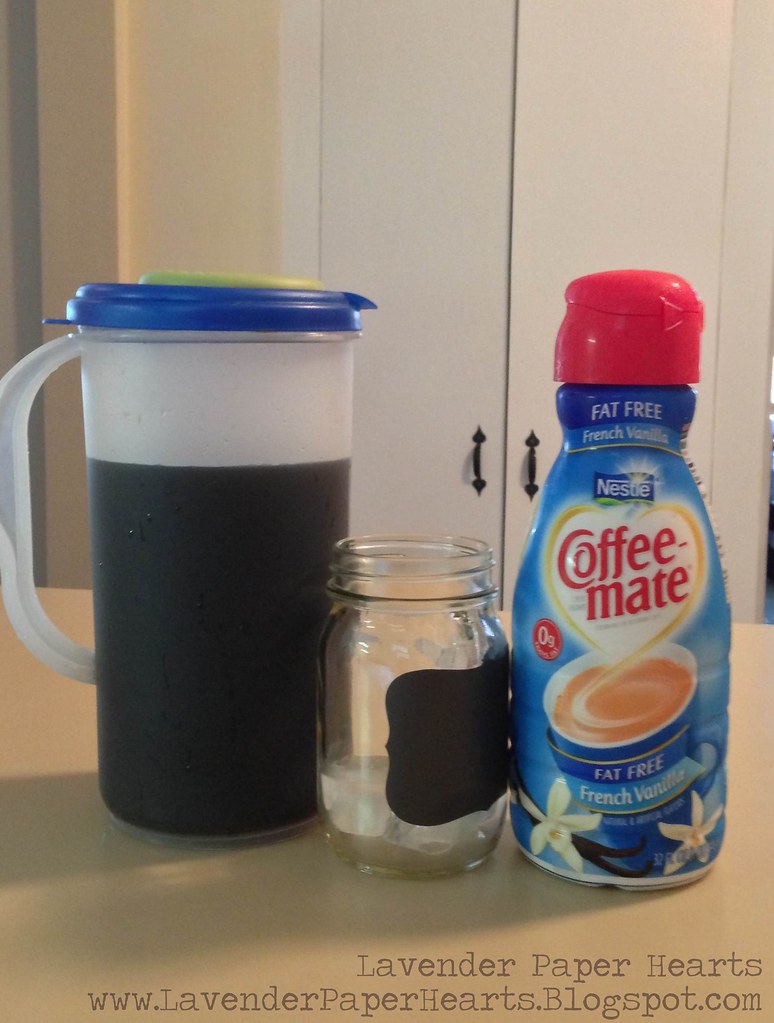
Above are the items you'll need for this recipe. Remember that you make the coffee in two stages so you won't need all of these items all at once.

Glorious Cold Brew Coffee

Ingredients:
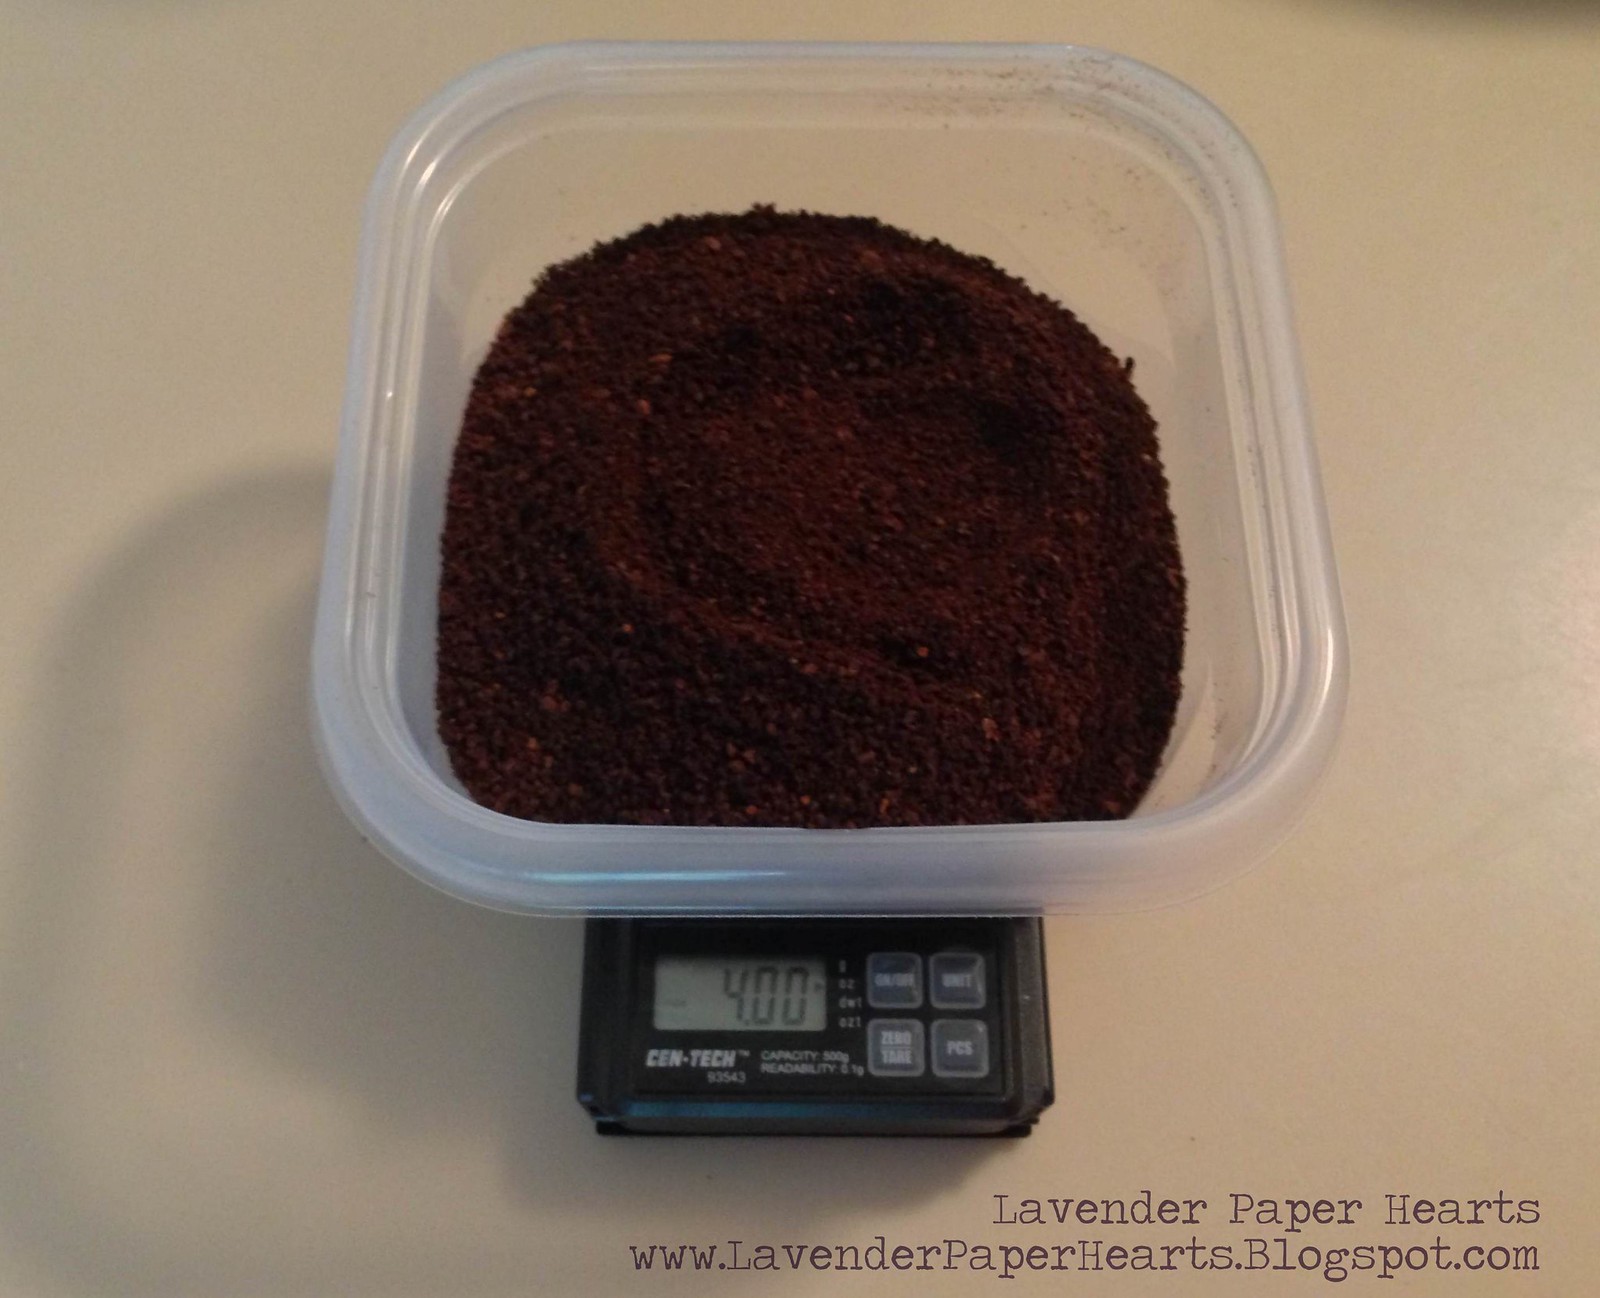
  • 4 oz (about 1 1/4 cup + 1 Tbs) good quality coffee - I use a blend of medium and dark coffee
  • 8 cups of water - room temperature

Tools:
  • If you're using a scale to measure your coffee you'll that and a container (*mine wasn't actually dirty, I'd already poured some coffee into it before taking the photo)
  • Strainer
  • Cheese cloth or large coffee filters
  • Ladle 
  • Pitcher

Iced coffee ingredients - optional:
  • ice, milk, cream, water, sugar, etc. 

Directions: 

Measure out your coffee. The type of coffee you choose is up to you. You just must choose a well ground coffee. Or make sure it's really well ground if you do it yourself. The original recipe I tried from Pioneer Woman used Cuban espresso and it was SUPER STRONG. It's a coffee I use regularly when making Cuban coffee but it was just too much for me. I made it a few times before figuring out that it made me feel bad (sometimes I'm slow).  Don't get me wrong, I love strong coffee, but that was just TOO STRONG for me. I use coffee beans that I get from Trader Joe's and then I grind myself. I make my own blend of the TJ's medium and dark roast coffees. I've used coffees like Dunkin' Donuts (in an attempt to appease my husband's tastes) and ended up using more coffee because it wasn't strong enough.  I've also used Starbuck's medium and dark roasts independent of one another and they were also really good.  You can use pre-ground coffee if that's what works for you! 


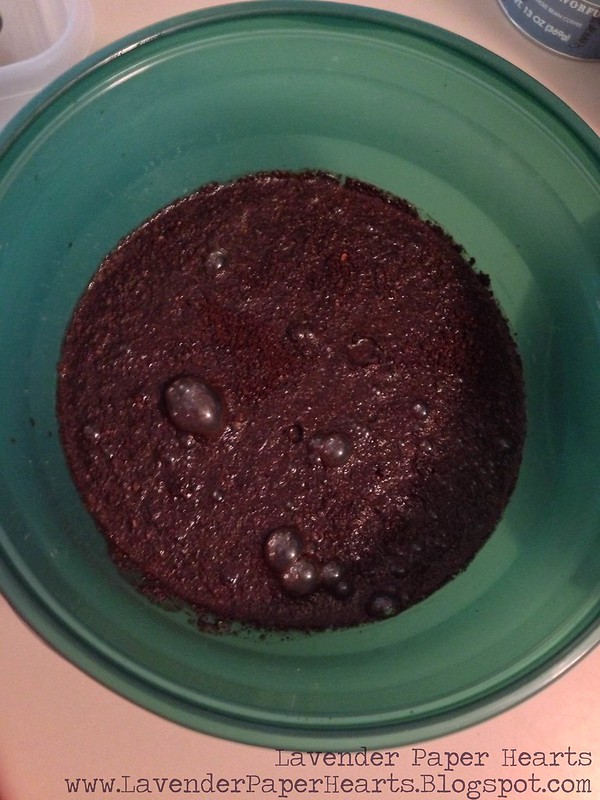
Pour your coffee into a large bowl and then pour your water over the coffee. Give it a stir and then cover it. (True fact: I don't always bother to stir it if I swirl the water in!)  Leave it in a spot in your kitchen where it won't get bumped and forget it for 8 - 24 hours. The nicest thing about this recipe is that you can't really mess it up.


The longer you seep your coffee the stronger it gets, so soak time is up to you (but it needs at least 8 hours). Another trick is if you decide you've made your coffee too strong (which happens) you just need to add more water to the coffee concentrate. It won't ruin it, it'll just cut down the strength a bit. (Be sure to add a little at a time.)  

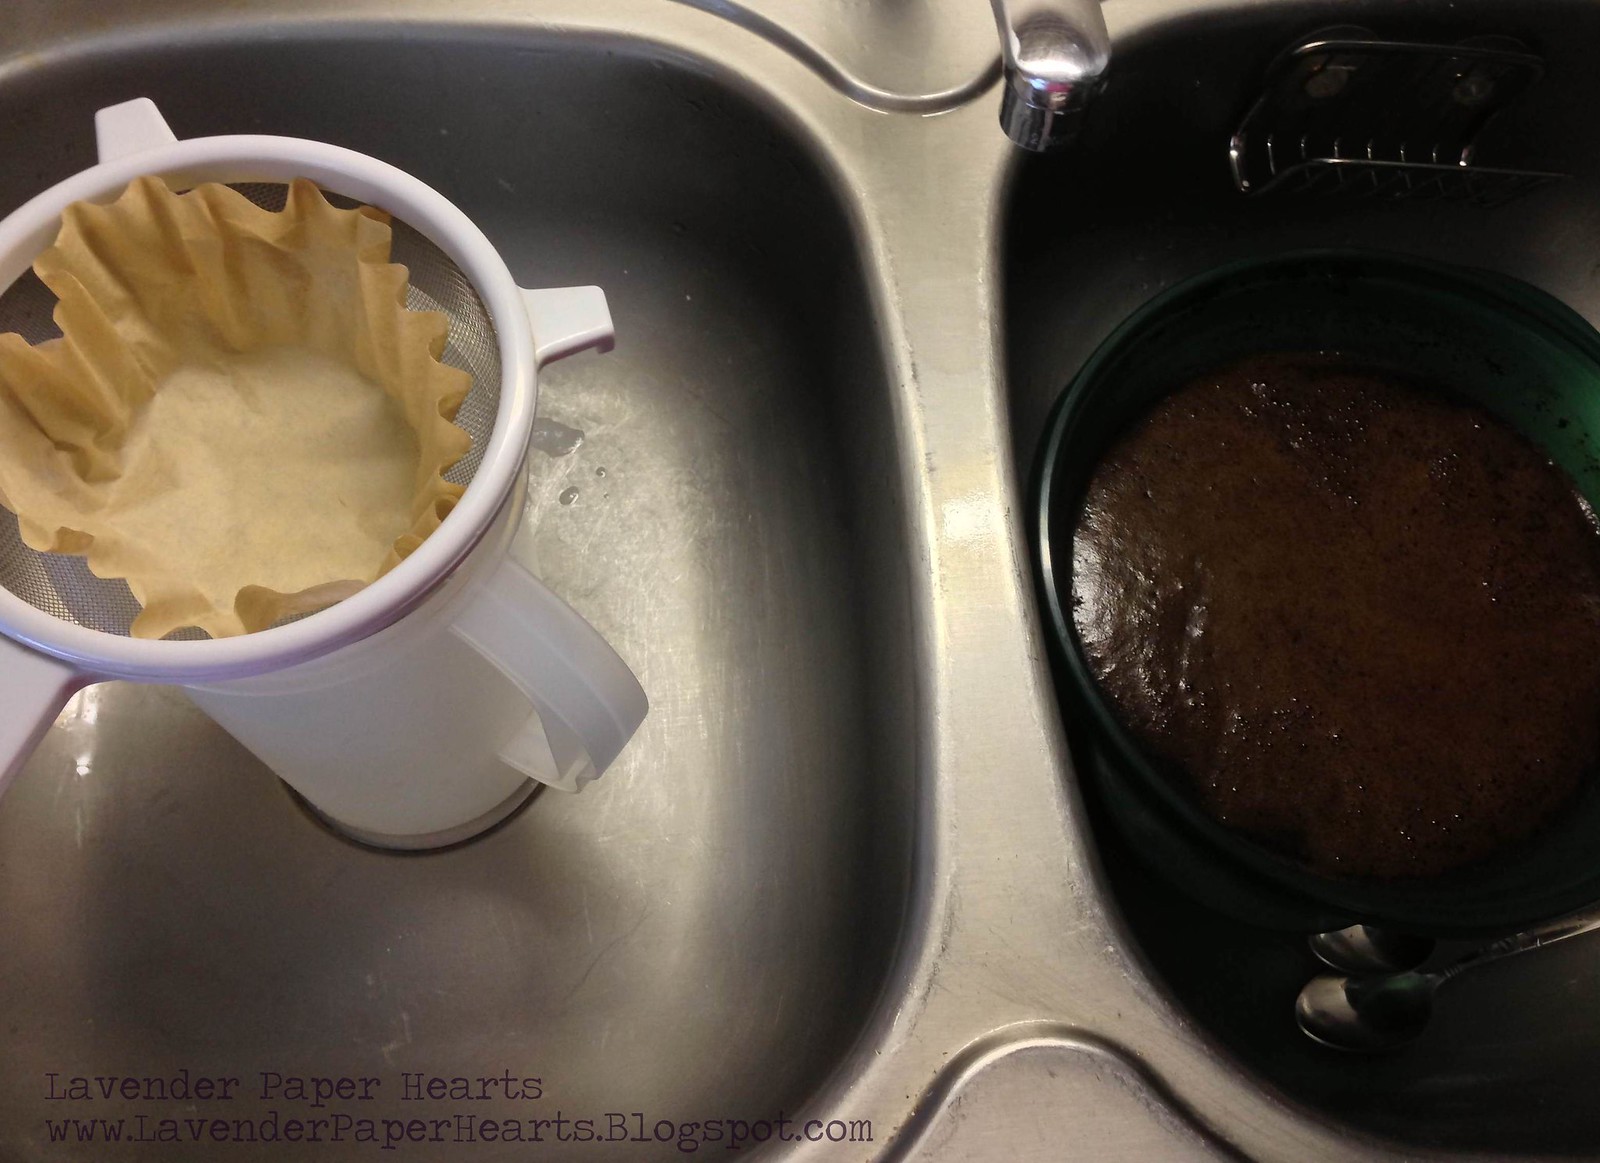
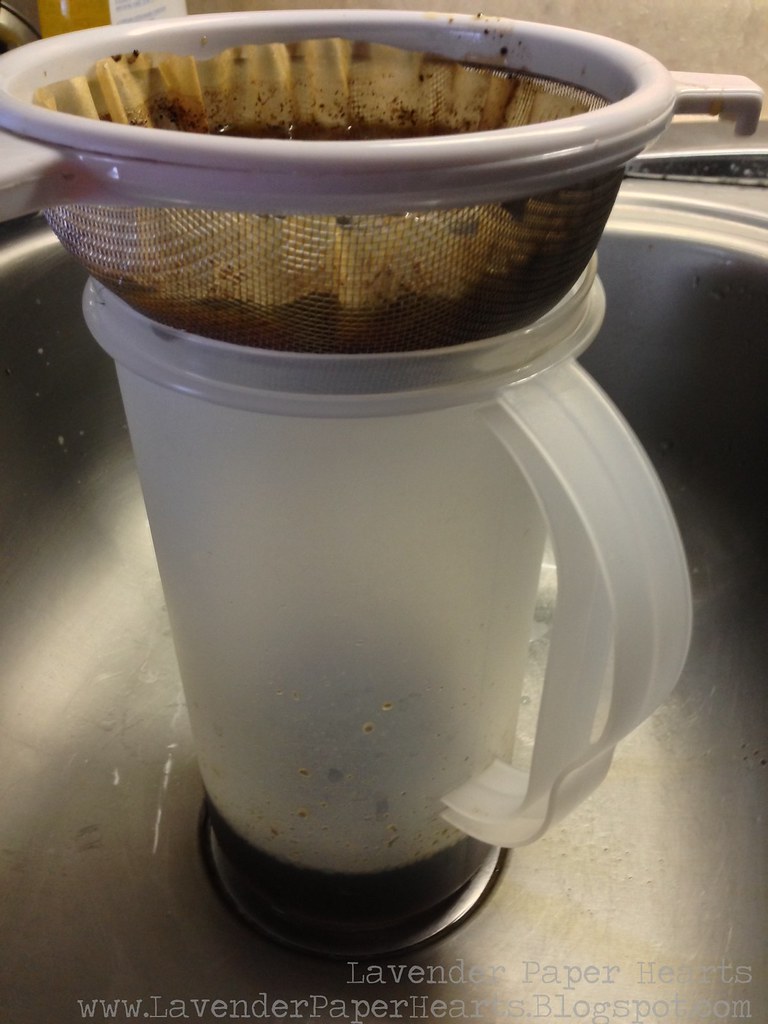
Once you're done letting your coffee steep, get out a strainer and either cheese cloth or large coffee filters that will fit in the strainer.  I like to do this step in the sink because I'm a klutz and I have knocked my drip coffee over before, so I don't take any chances and I just do it in the sink. You'll notice I also put the coffee bowl in the sink so that if any drips when I'm ladling it into the filter set-up I don't have to worry about making a mess. 


Mmmm! Sometimes I have to change out the filter if there are too many grounds in there - which can happen. If you don't want to bother changing the filter and you just have to wait a bit longer to strain the coffee. Walk away and do something else, it will, eventually, drop into your pitcher. It just might take a little more time.  I'd say this process takes about 15 - 20 minutes depending on how much I walk away to let it strain thoroughly. 


Once you're all done, you've now got liquid gold!! Put the pitcher in the fridge and you can either enjoy it right away, or wait until it's nice and cold and go from there. 


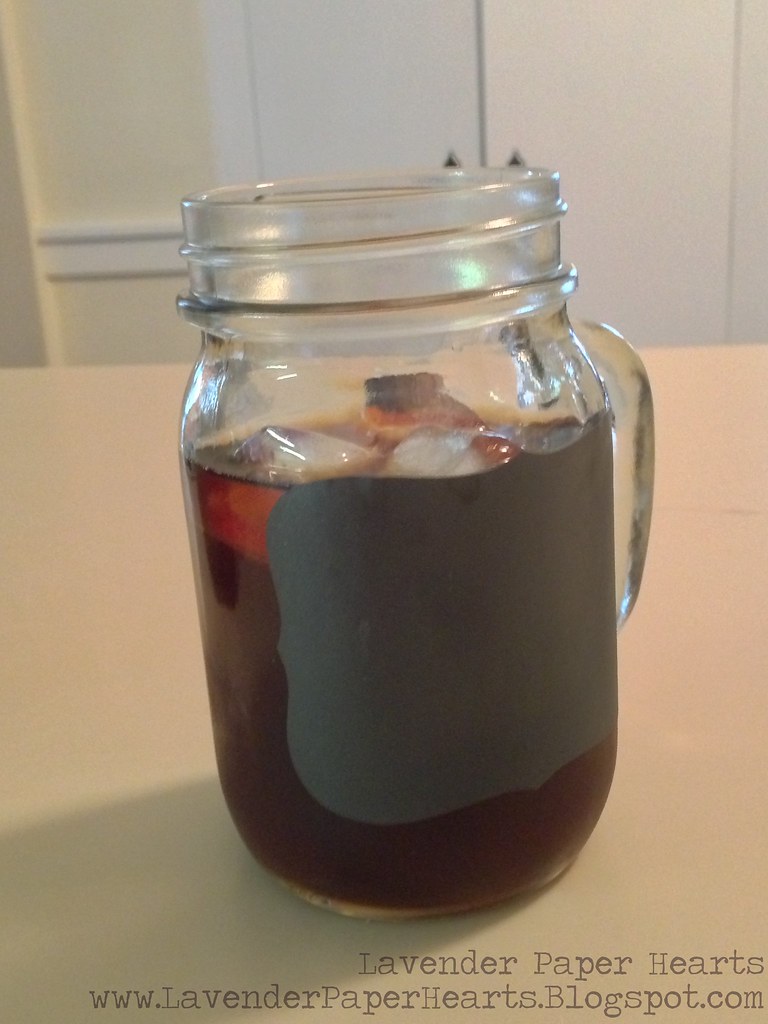
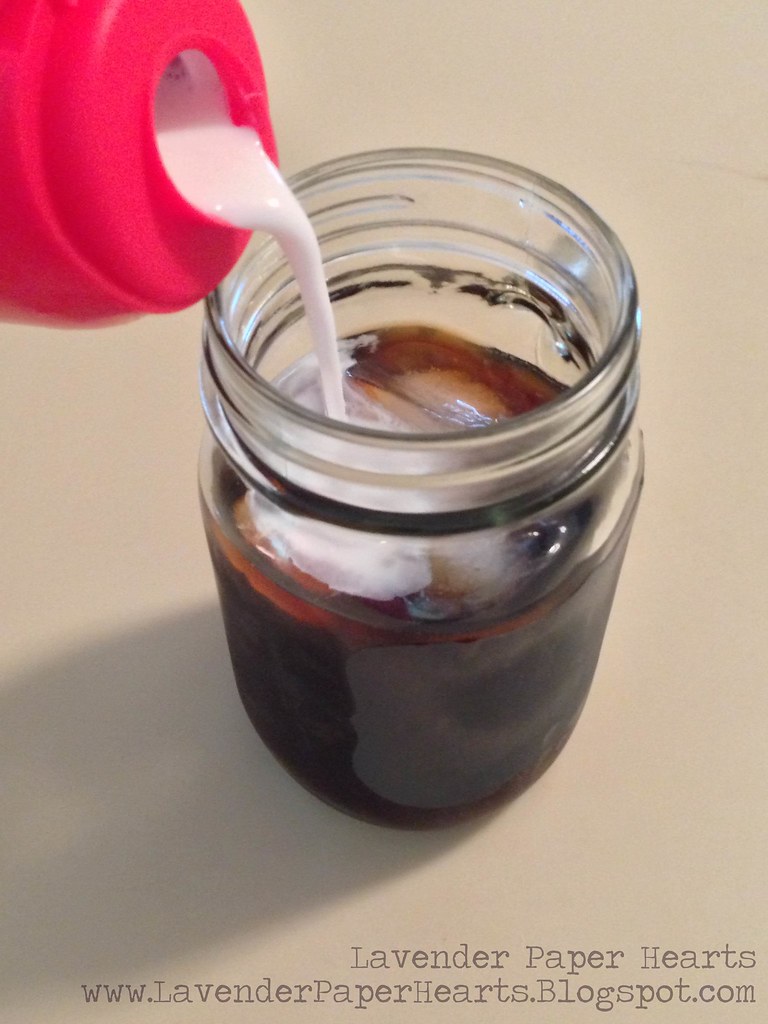
When I make hot coffee, I tend to drink it black, but there's something about iced coffee that makes me crave something a little sweet. I use 3 big ice cubes, and a splash of French Vanilla Coffee Mate. Perfection!! 

(07.01.2014 - ADDITION) I've started trying to stay away from extra soy and unpronounceable chemicals in my diet so I've been making my own creamer. Here's what I do: In a jar I mix together 3/4 cup almond milk with 3/4 cup coconut milk, and a few healthy dashes of vanilla extract. Put on the lid, shake, shake, shake, and you've got delish creamer to go with your coffee!!  (Some brands in the refrigerator section of the store sell this combo in one carton making for instant creamer - even easier!)

 + 


When I made this batch (using only 8 cups of water) it was a bit strong so I added 1 cup of water to my pitcher.  It should be just perfect!! 

Enjoy some cold brew coffee next time you get a hankering for coffee!! There's nothing more lovely in the morning than a cup of iced coffee.  I prefer to take it out to enjoy on the porch along with a good book. It's usually still a bit cool and with my iced coffee and book it's like a glorious little escape a little before I start my day. 
Friday, June 14, 2013

Nessie Stuffed Animal

So when my friend Ali announced she was having a baby and that they'd conceived while on vacation in Scotland I knew instantly that I wanted to incorporate the Loch Ness Monster into something that I made for her baby. I found some great green fluffy fabric one day at Jo-Anns and thought I'd try my hand at making a stuffed animal!!  This isn't really a tutorial because I don't have any measurements, and I basically made it up as I went, but I do talk through the process in this post.


I basically made up the template and process as I went along. I free handed a body which took a few tries until I got something right. 


The basic shape is here. It's blurry because I was in a hurry (and took it with my cell phone), but you can see the outline. I doubled up the fabric (folded it over) and pinned around the Nessie drawing (pinning the two halves together) so that the fabric wouldn't shift when I cut it out.  I ended up with 2 perfectly matching pieces.  I was careful to remember to cut it out leaving extra room to sew Nessie together.  I left an extra 1/4 inch all around. 


Below you can see when I started to pin it together to sew.  I also free handed a pointed oval pieces to use as Nessie's chest making her 3-d. I also drew a stencil of flippers mixing them up from front and back legs.


I then sewed the fins together and then pinned them in place on Nessie's body. Remember to tuck them INSIDE the shape since you're flipping the whole thing inside out. This will make sure that the flippers of the stuffed animal end up on the outside when you're done and ready to stuff it.  (Yeah, my first go I forgot and put them on the wrong side!!) I had to adjust the oval for Nessie's belly oval a bit. Since I was just guessing when I sketched it, my first guess was a bit bigger than I needed.  So I sewed the body about 3/4ths of the way (I started on one side of the body towards the bum end) and then cut and adjusted it so it would connect to her bum without giving her a HUGE belly.  I left Nessie's back end open so I could stuff her with filling. You can see what I mean in the photo below.


I then stuffed and stuffed and stuffed away until she was as full as I wanted. She's perfectly cuddly.  I had to use a pen, and stick my hand inside the stuffed animal to get the filling all the way into its head and neck.  Then I hand sewed her back side together and closed her all up.  

Since this is for a baby, I decided to not include eyes. Anything I could come up with either involved sewing on buttons - chocking hazard, or using paint or glue and that seemed like a baby possibly chewing on Nessie's head hazard. 

She's not exactly perfect if you look realllly closely, but for my first attempt at a 3-D stuffed animal that I made up in my head, without any online tutorials or templates,  I was pretty darned pleased with myself.  More to the point, I hope that Ali and Andy's little one loves it!! 


Ali sent me this cute photo the day the package arrived at their house.  She wanted to play with Nessie too!! 

Wednesday, May 22, 2013

Happy Birthday Bailey & Pup Cupcake Recipe!!

So the in-house model, Bailey, who belongs to my sister and brother in law, celebrated his first birthday on Sunday!! Even if it's a bit silly, we wanted to get together to celebrate our favorite little dog!  First, let me tell you a little about Bailey. 

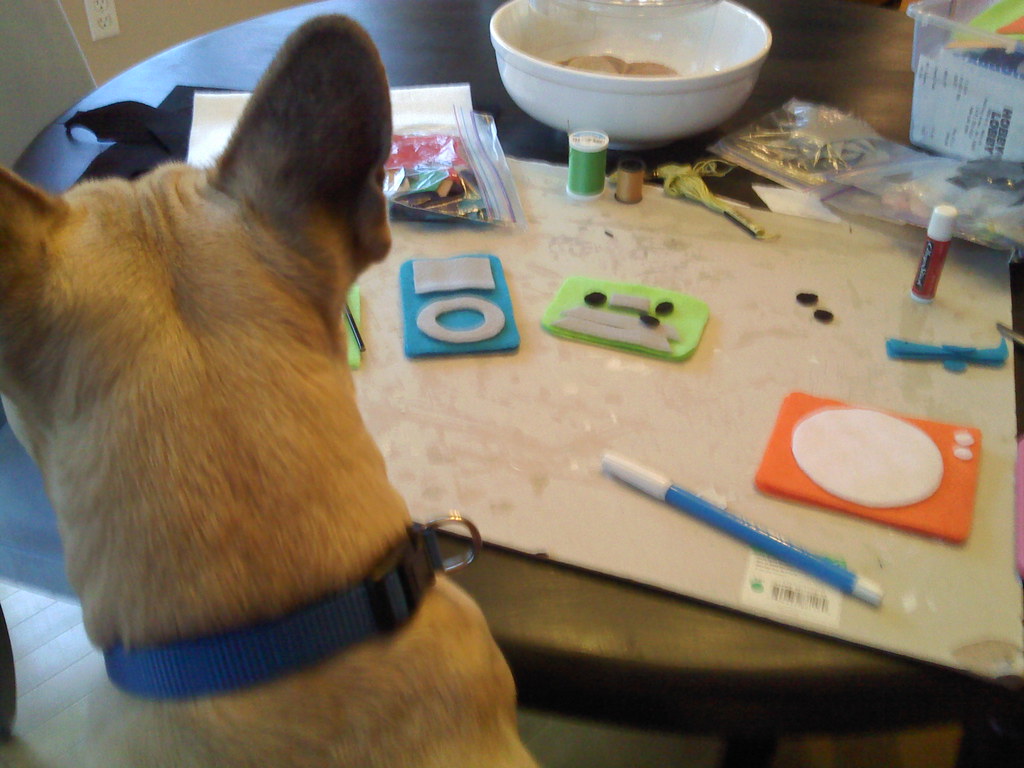
Bailey is not just any ol' dog. See, Bailey is super helpful with the shop. So he's not only the in-house model, but he also supervises my work from time to time: 

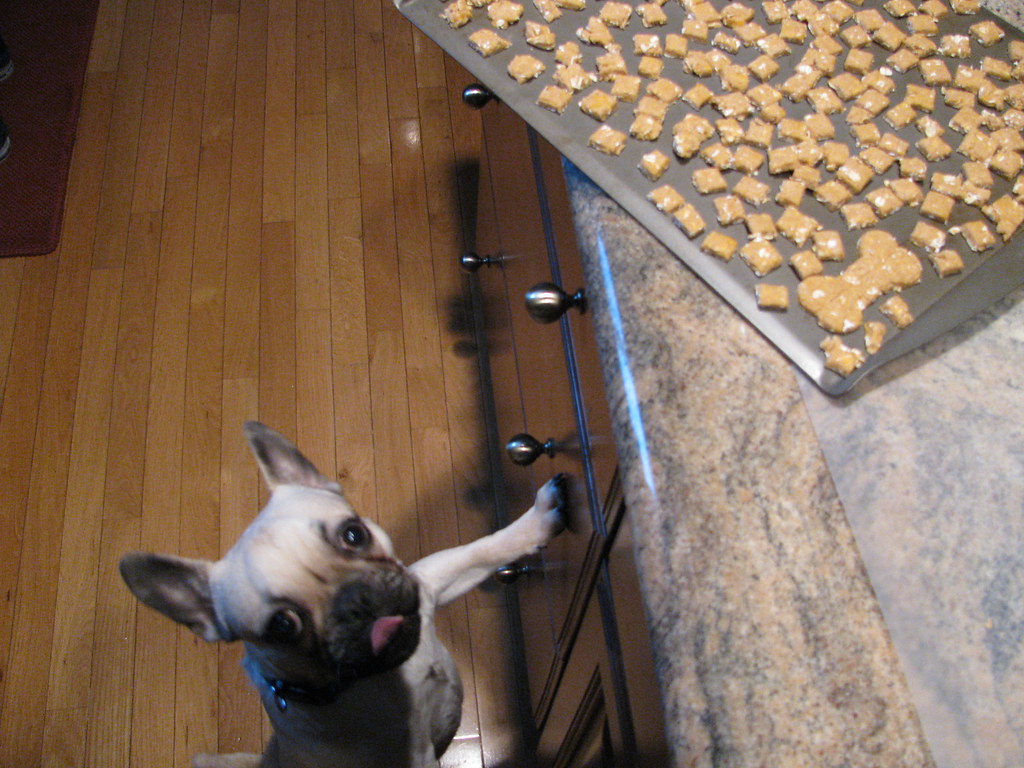
He's also a dedicated taste tester and focuses on quality control:
For my Bailey approved Dog Treat recipe - click HERE.

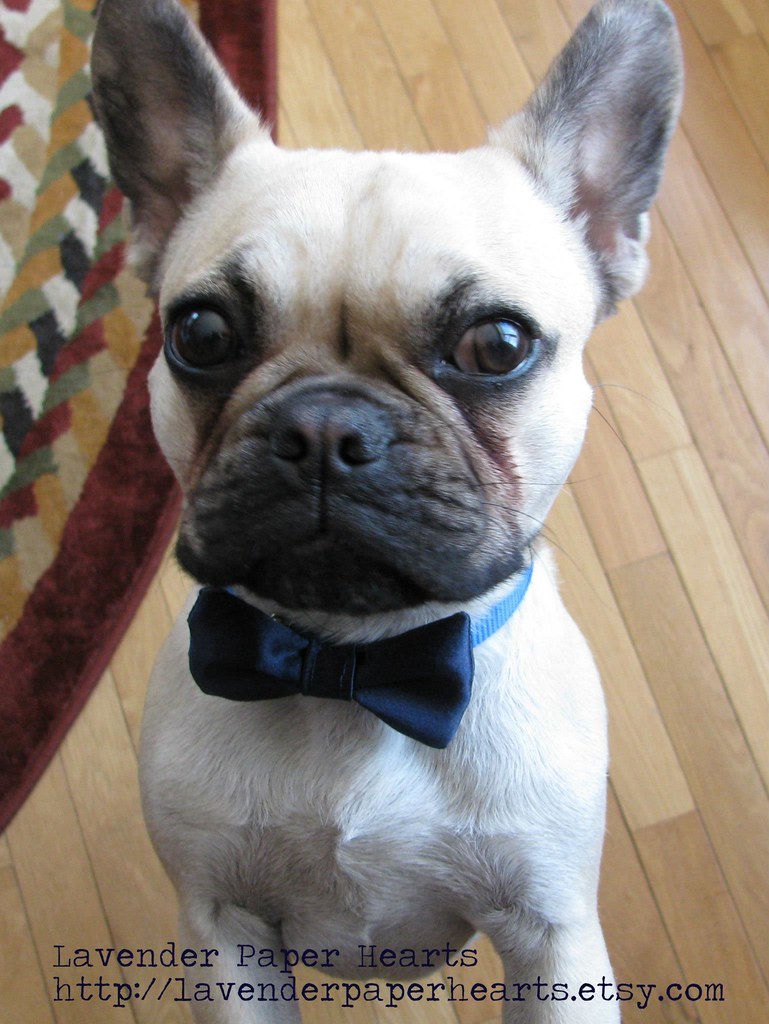
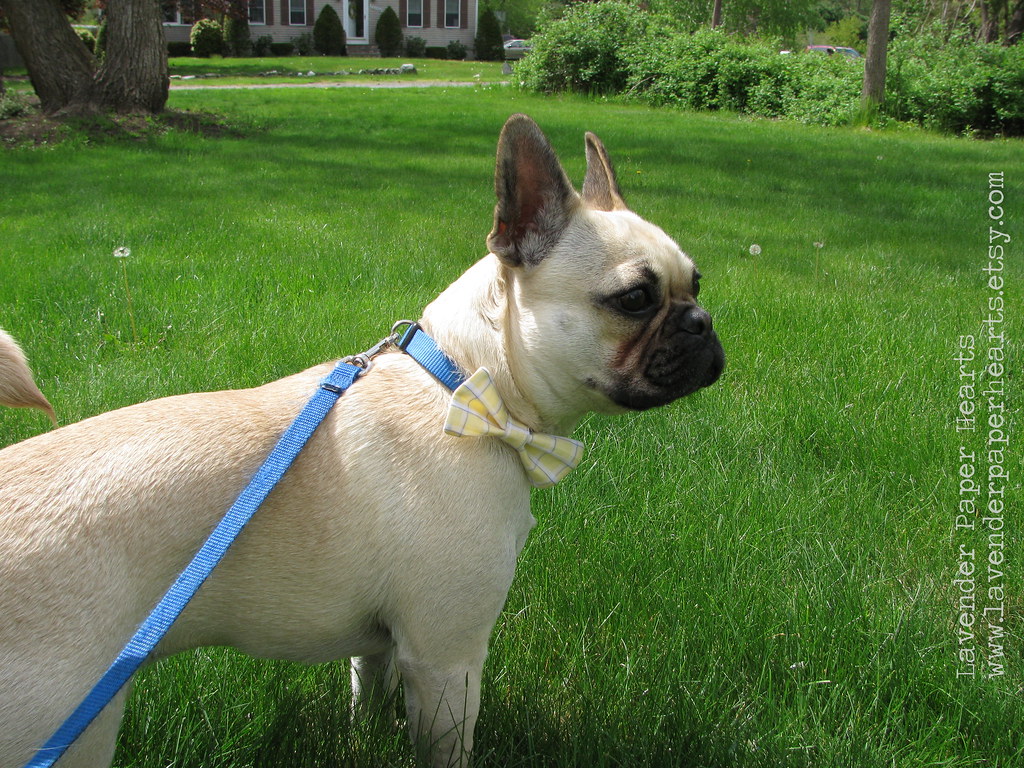
And, let's be honest, he makes my bowties look extra dapper:
Lavender Paper Hearts Handmade: Satin Fancy Pet Bowtie

But he also helps out in my other line of work - teaching:

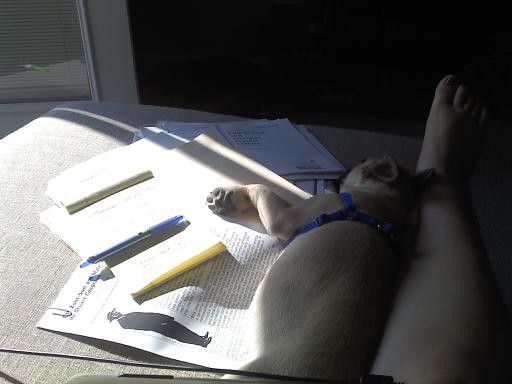
Bailey loves to help lesson plan... See? He's letting me know which article is useful for class by drooling (or sometimes chewing) on the articles he likes.

He also watches me like a hawk to make sure I'm fair when grading:

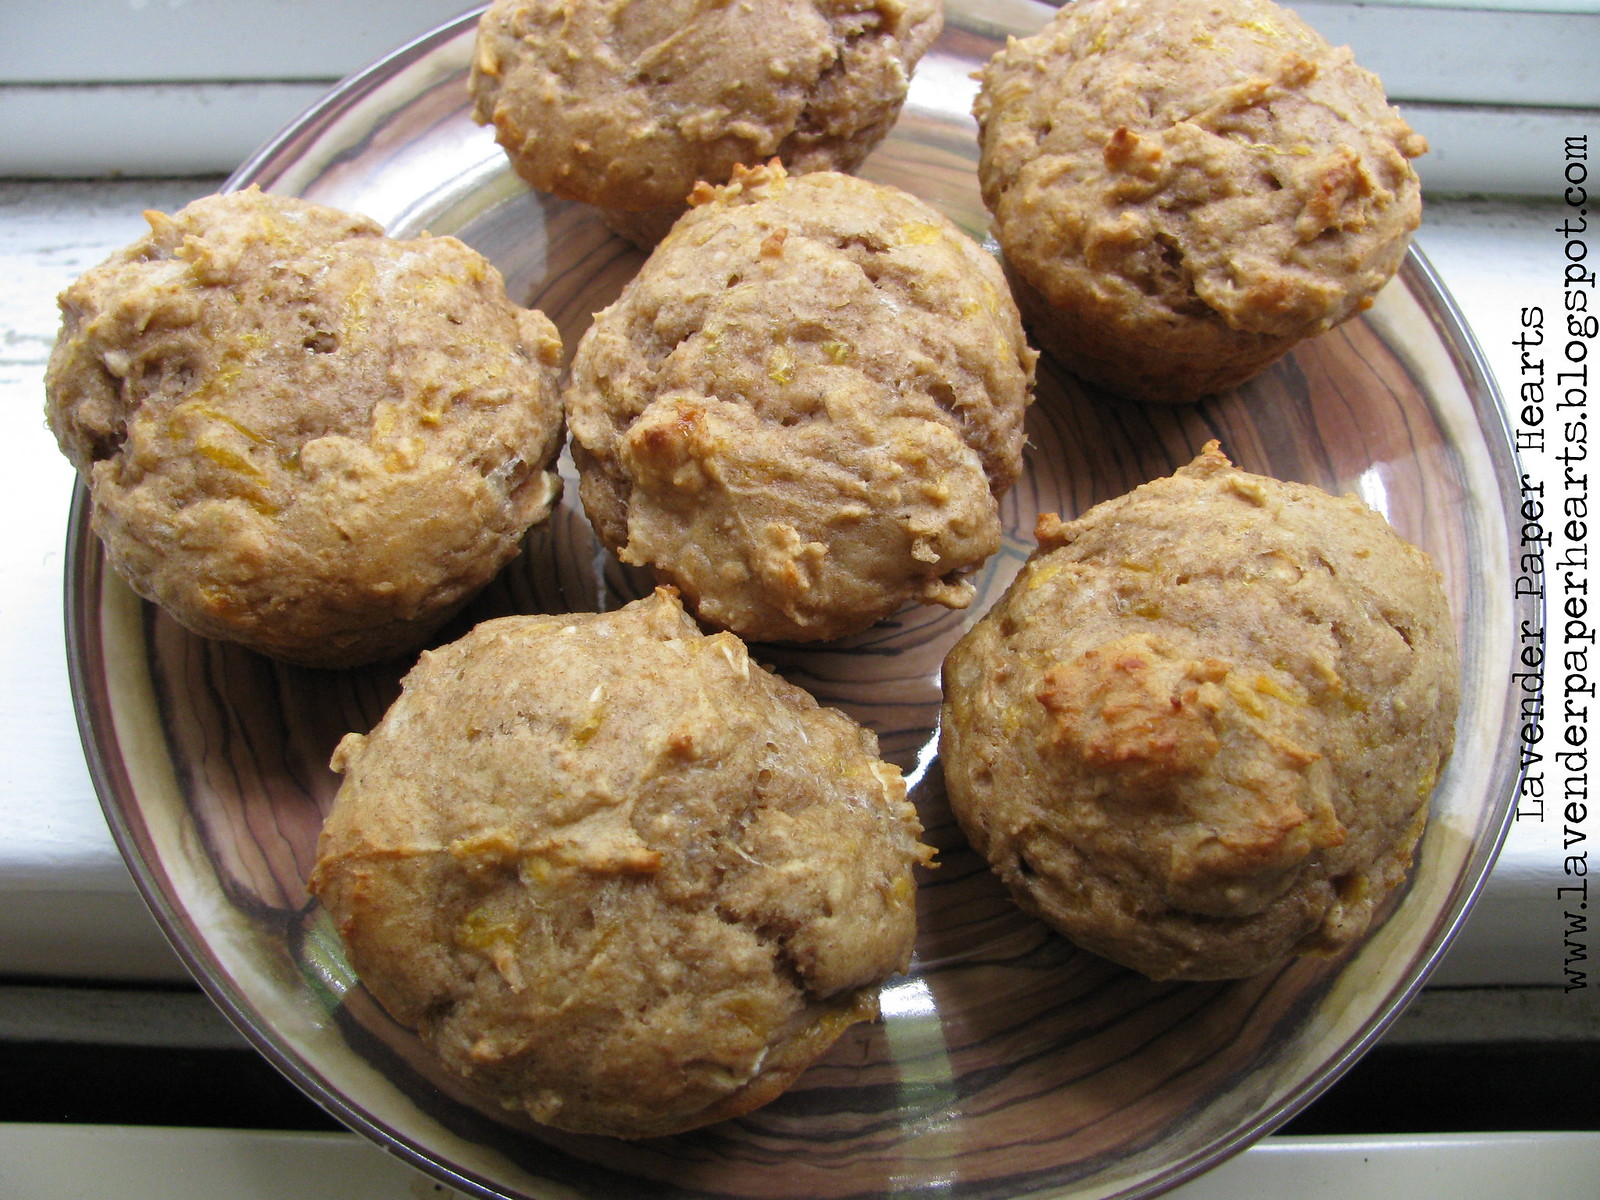
Since Bailey is so helpful, it seemed only fair that we really make sure his birthday was extra special. I fell into a Pinterest loophole one evening a few months back and came across a dog cupcake recipe. I knew that I could modify the recipe to suit Bailey's tastes. It's his birthday after all so I figured he might as well get what he likes!!  Plus, as I found with the dog treat recipes out there, a lot of the recipes have ingredients in them that I just don't think dogs need.  I eliminated the honey, for example, because my version has bananas that will give them lots of flavor - plus dogs don't really need honey?! I mean, I guess it can't hurt, but I figured that if I can easily eliminated it, why not. (Pro-tip: I also halved the recipe since he's the only dog around. Extra cupcakes can be frozen and defrosted when needed). 


Peanut Butter Banana Pup Cupcakes
(makes 6 big cupcakes)

Ingredients
1/4 teaspoon of baking soda

1/4 cup plain yogurt (I used Greek)
1/4 cup peanut butter 
1 Tbs water
1/2 heaping cup ripe bananas (1 large banana or 2 small)
3/4 cups whole wheat flour1/8 cup oatmeal
1 teaspoon of baking powder
1 egg
2 heaping Tbs grated cheese

Optional Frosting
1/2 stick of low fat cream cheese, room temperature
2-3 Tbs creamy peanut butter

Preheat oven at 375 degrees and grease muffin tins well with butter or a spray. Don't use paper liners. Mix flour, oatmeal, baking powder and baking soda together in a large mixing bowl. Blend the yogurt, water, peanut butter, and egg together and then stir in the cheese and banana. Add the cheese mix to the flour mixture and stir until completely mixed. Have no fear if the batter looks super thick. It will still cook up gloriously.  Spoon into the muffin tins, filling each cup about three quarters full. This will make big cupcakes. I would make the cupcakes smaller next time since Bailey is a smaller dog. If you want to do the same, fill each cup just under 1/2 way full.

Bake pup-cakes for 20 minutes, or until a toothpick poked in the middle of a cupcake comes out clean.

*If your dog is allergic to wheat, you can try using Brown Rice flour as a substitution. I haven't used it, but in my researching, I read it could be good substitution.

The original recipe had a frosting of sorts, but I left that off. If you really want your dog to have frosting, I would use half a stick of low fat cream cheese at room temperature and mix it with 2-3 Tbs of creamy peanut butter.  Cream together and slather gloriously on the pup cupcakes. I will say, however, that Bailey enjoyed them without frosting so it's not necessary!!

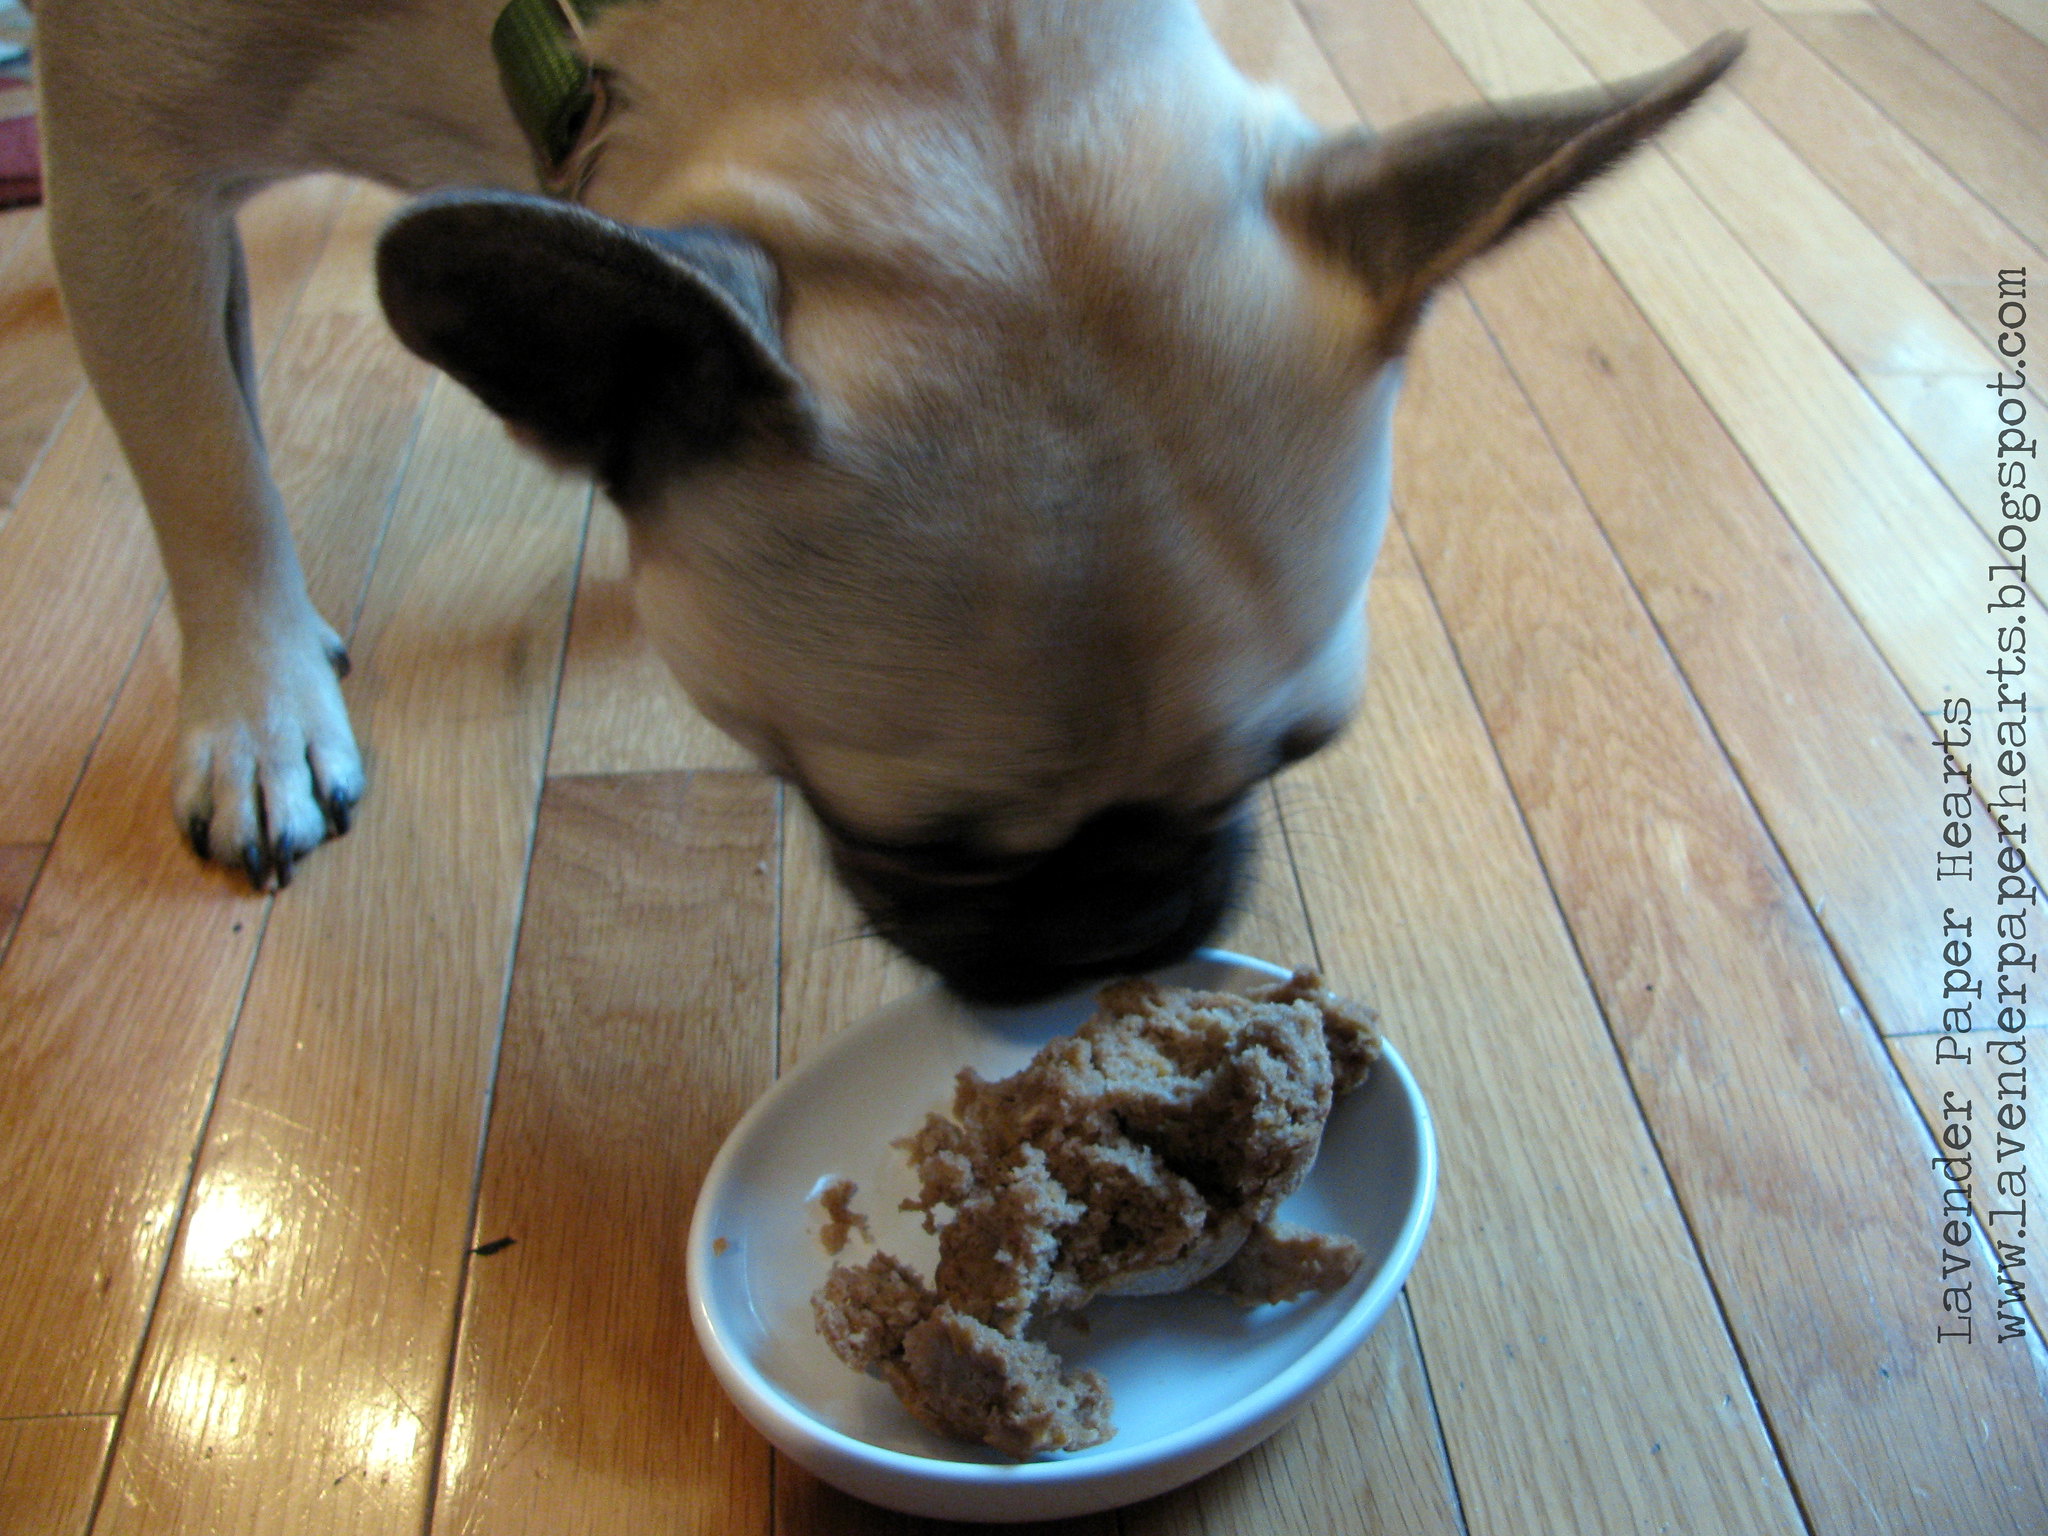
Action shot:  Bailey doesn't eat human food, so he was kind of unsure of what to do with the pup-cake. I had to tear it apart a little bit for him before he dug in.


Happy Birthday, Bailey!! 
Lavender Paper Hearts: Yellow Plaid Fancy Pet Bowties


Follow my blog with Bloglovin