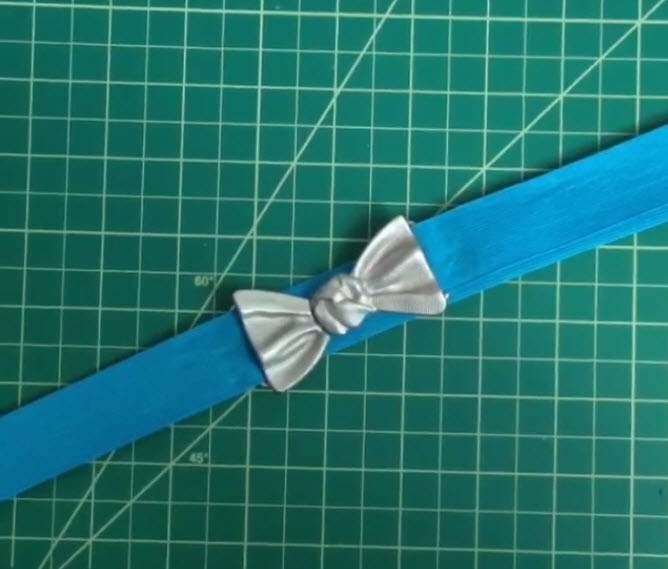
I don't know about you, but sometimes I find it hard to track down the right belt for certain outfits. I don't know if that's because the belts I'm envisioning just don't exist or I'm incredibly picky, but I got it in my head that I wanted to try and make my own and the bonus was that it was actually wayyy cheaper than buying one!! I decided to make a belt with elastic material. I like the gentle stretch of the material and it's easy to work with.
This process ended up being pretty easy and after a trial and error run (during which I discovered that the clear plastic snaps that seemed like a good idea, were actually defective.) I thought I'd share this super easy tutorial with you!!
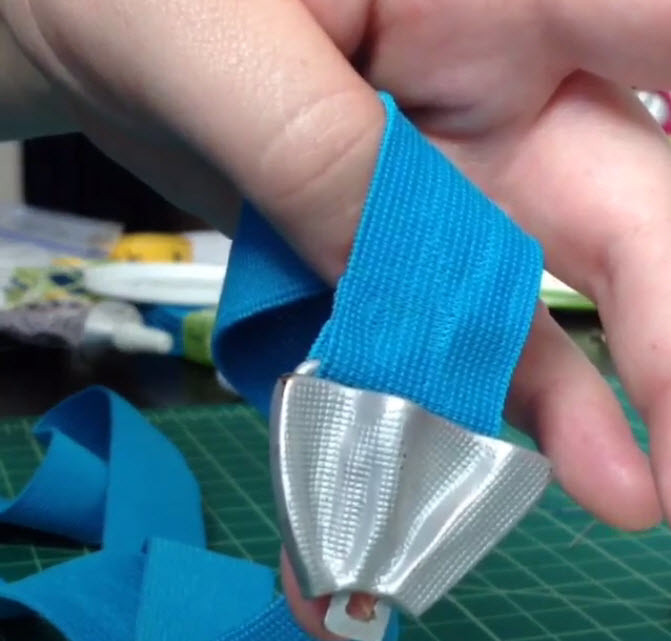
I made this belt from some colorful elastic, like I mentioned earlier, but I also made it snap on (and off) so that it could be swapped out for a different colored elastic depending on how I was feeling and or how it would compliment an outfit. Multiple belts in one!! And even with the purchase of two different colors of elastic, it was still cheaper than buying a belt.
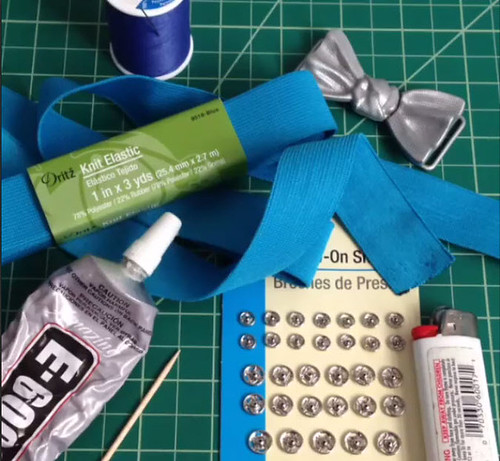
Supplies:
Toothpick
Thread
Needle
Lighter
You can find all of these items at Jo-Ann's fabrics. Don't forget to use a coupon. If you have an smart phone, download the app and you'll never be without one!
First, measure out the length you want by wrapping the knit elastic around your waist. You'll want it to be just a little bit smaller than your waste so that the belt has a little give when it's hooked together (this will help it stay on). Also be sure to then add 2 inches back on so that you have a space to add on the sew-on snaps.
You'll need to use your lighter here to lightly seal the edges. Quickly swipe the edge of the elastic through the flame and it should do the trick.
Next you're going to glue on the pointy side of the snaps. I recommend E-6000 glue because it's strong and sturdy!
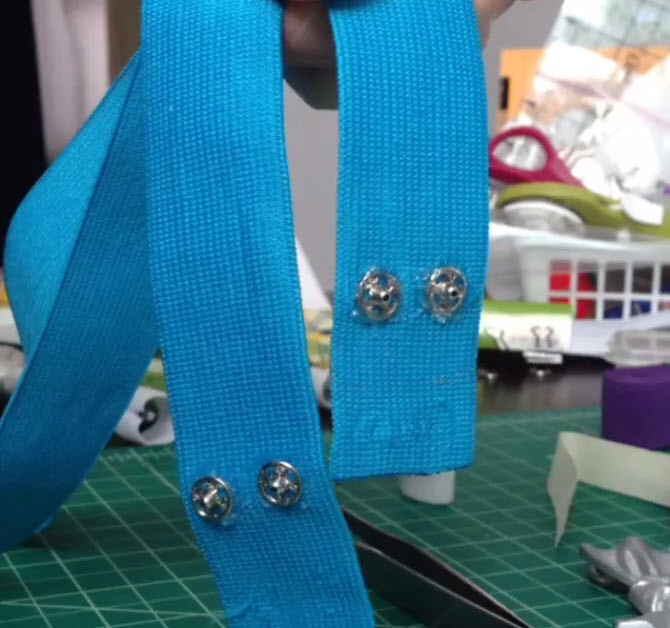
I've chosen to glue the snaps on one side, and then sew them on the inside edge so that you won't see the stitch marks when you're wearing the belt. You can see in the photo below that the belt from the front doesn't have any visible marks - the magic is in gluing!!
I eye-balled and ended up putting my glue 1 1/8th inches from the end of the elastic. I used a toothpick to plop down two blobs of glue and then used tweezers to set the nipple side of the snaps (with nipple up) into the glue.
You'll do this with all 4 snaps, making sure they're well-seated into the glue. Let the glue dry for at least a few hours before starting the other side.
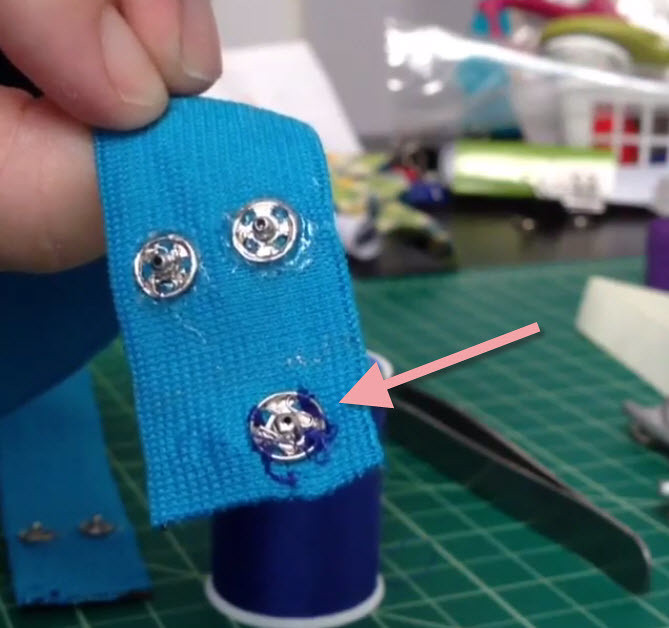
Next you're going to hand sew on the other side of the snap. I folded the elastic in half and used the nipples to sort of mark the elastic to show me where I needed to sew on the secondary snap. Also, be sure to experiment a bit to make sure the snap is the correct side. I accidentally sewed my first one on backwards (which you can see in the photo below)!!
Once you've sewed on all 4 snaps you're basically done. You'll need to just snap your belt notion in place (with the sewed side on the inside) and magic - you're done!
Here's a quick step by step video I made for Instagram. It's fast, only 13 seconds, but it's always a fun challenge to see if it's possible to convey everything in 15 seconds max, and when not having the ability to delete anything or re-record.