
So it's alllllmost winter coat time here in New England and as soon as the heat wave ends in Southern California maybe (after Christmas?) it'll be faux-winter coat time there too. I've got a few tips today to help jazz (or snaz) up a winter coat for a new season.
My first pea coat I wore for (shh, don't tell anyone) 11 years. How do I know it's this old? I remember I bought in my senior year of high school from Old Navy. I never intended to keep wearing the same coat for so long, but it was (and still is) in excellent shape. It was a classic pea coat and it got me through California "winters" and winters in New England and my first few in Ohio. It was really well made and I didn't really wear it all that much in California so it got it's first real work done in Massachusetts and then Ohio.
I've been a graduate student for the last 7 years of my life which means I don't always have a ton to spend on coats, but sometimes all you need to do is make a few subtle changes to spice things up. Luckily, Old Navy still has REALLY excellent deals on classic wool coats and while they're not lined as nicely as they used to be (let's be real, what is?), they still tend to be a really good deal for awesome coats.
"We Don't Need No Stinkin' Patches"... But, wait, We DO!!
Coat Snaz Up Idea #1:
This first spice up idea comes from idealized visions of nerdy professors combined with an awesome pin of heart shaped elbow patches I found a while back on Pinterest. The pin was originally from Country Living Magazine online for a Valentine/s Day Craft they called, "Wear your heart on your sleeve." I love that the new vision of the patch is a fun and sweet heart. I thought this would make a really great re-do (or really add on I guess) to the coat I got for Christmas last year from my MIL.
Think of the vision like this:


Applied to this coat:
I started with this sweet Apt 9 coat from Kohls:

FYI: I never have this ridiculous expression on my face when I wear this coat. Nor do I do that weird arm thing.
*Warning - some of these photos were taken in my basement apartment so they're a bit dark.
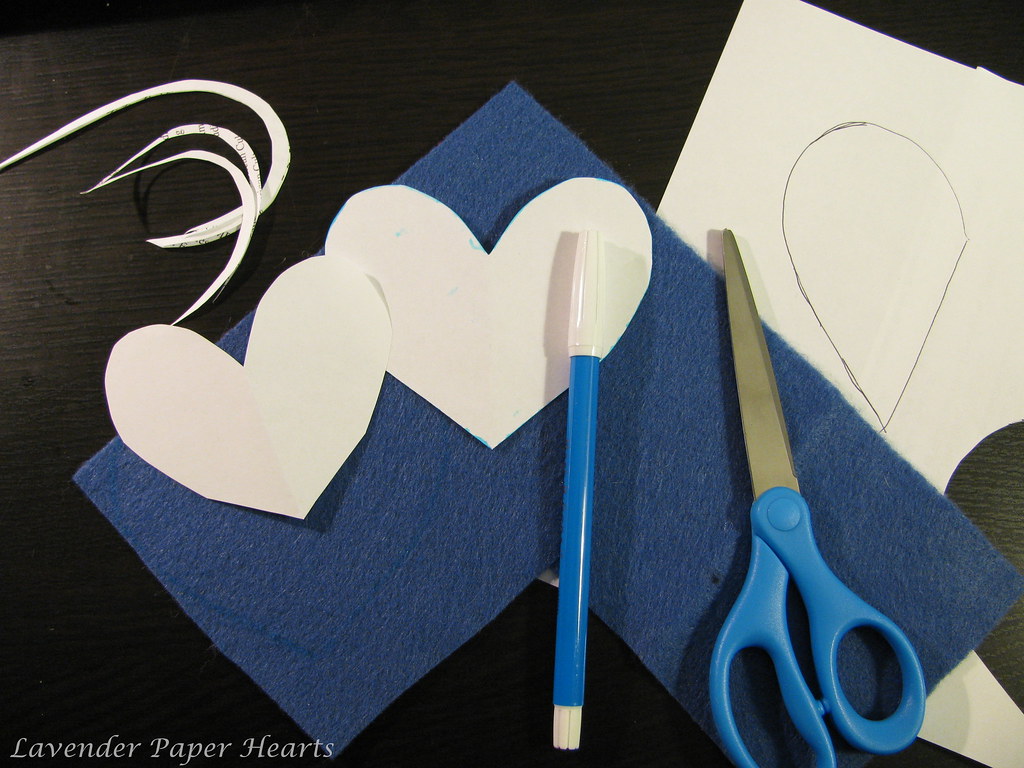
Step 1: Here are the basic supplies you'll need... gather them up and get ready to start!
1. Paper to make your paper stencil
2. A fabric pen
3. Sharp Scissors
4. Felt (30 cents a sheet at Joann's)
5. Thread (not pictured, I didn't have it yet)
6. Needle (also not pictured)
7. A rules (...yeah, not pictured either)
Step 2. Once you've figured out what size heart you want for your elbow patches you'll want to trace the template onto your felt. You can see from the previous photo that it took me a few tries to find the right size. Cut out your hearts with some sharp scissors.

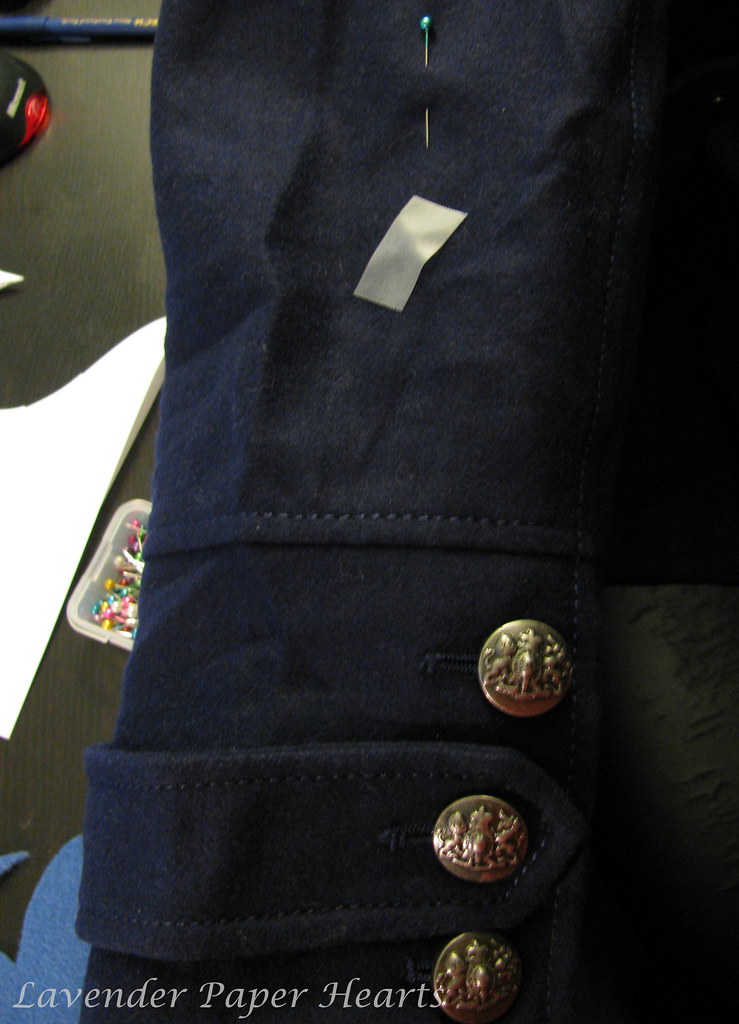
Step 3: Next you want to figure out where you want your patches to be on the coat. This is a little bit harder then it might seem. I used a piece of scotch tape to sort of mark where my elbow was on the coat. I did this on each side.
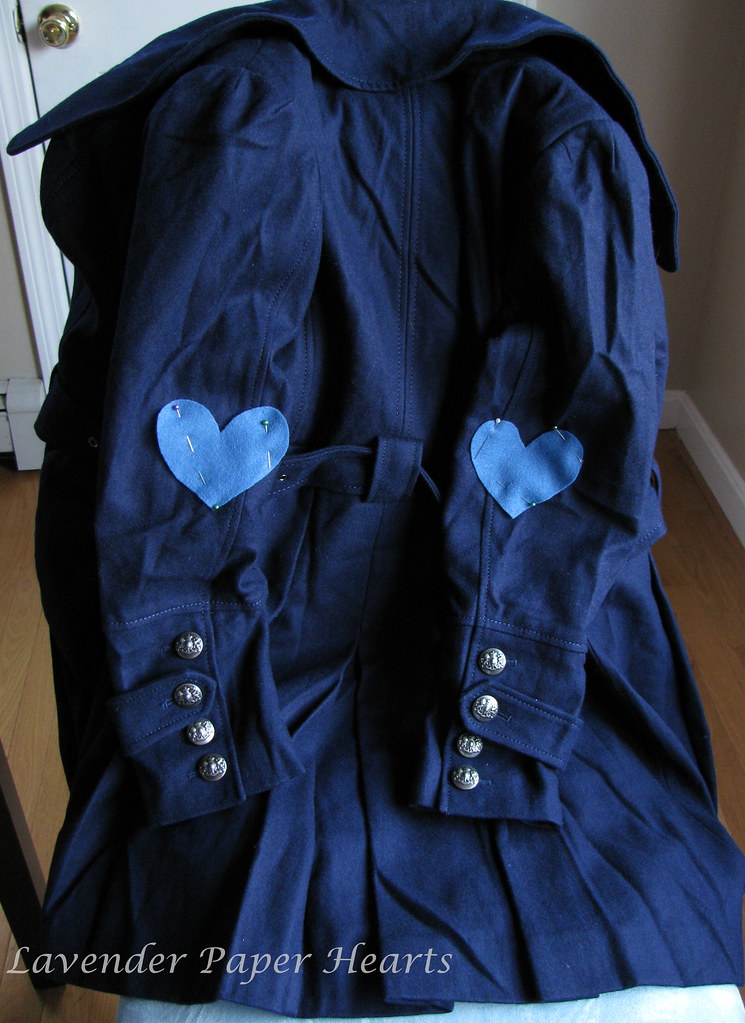
Step 4: I then pinned on the felt hearts onto the coat and stood in the mirror to see if they looked like they were in the right place. I also double checked with my husband and he recommended that I move them up a bit more... turns out they were close, but they weren't exaaccctttly in the right place. A few slight tweaks and I was golden. A ruler is helpful for this to make sure that both sides are evenly lined up.
*Hey, hey, hey - Don't judge my wrinkly coat. It was packed away in an air tight vacuum space bag while we moved.
Step 5: Using what's called a button hole stitch you want to sew the patches in place. I've added a tutorial below that shows you how to do this. It's a great stitch and it adds a cute homespun vibe to the patches. I did this at night in the basement so the photos were rather underwhelming. You can get enough of an idea from the tutorial as to how to go about sewing on the felt.
Your finished product should look like this:
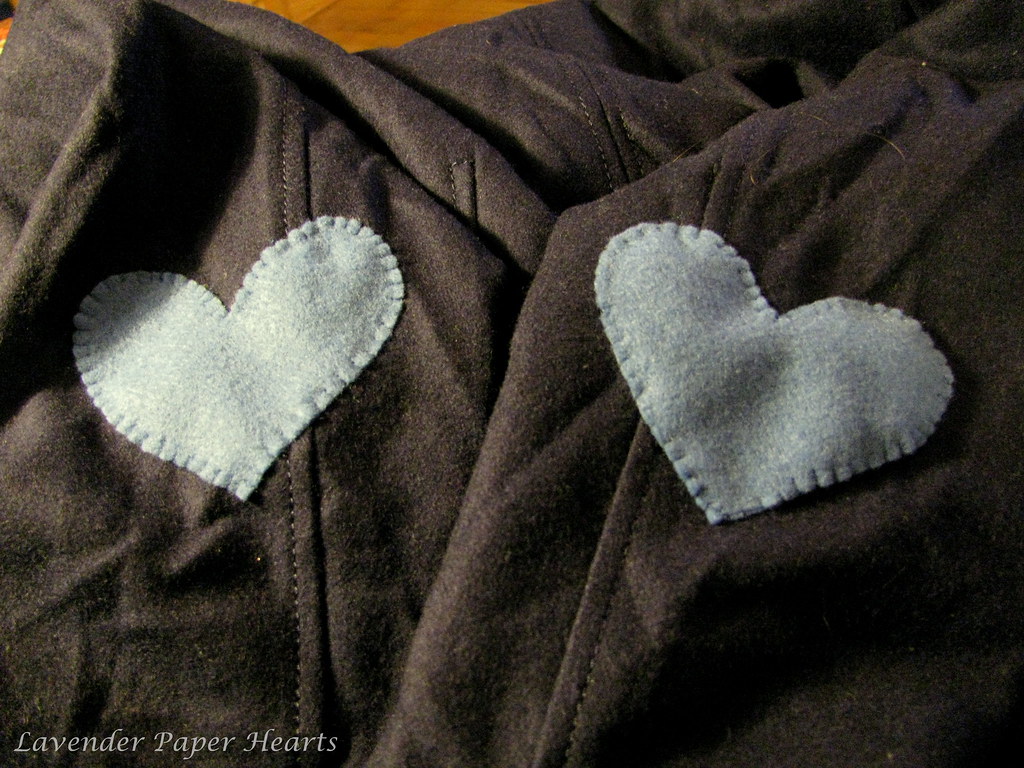

*The dust in the air is making my coat look dirty - it's wrinkly, but NOT dirty!!
Here's the button hole stitch tutorial:
The nice thing about this project is that it can be removed at any time and restore your coat back to its original state.
Be sure to check back on Friday for another post. I've got another easy idea for a coat makeover.
Lastly...

*I'm pretty sure Bailey is wondering what the hell is going on in this photo...
No comments:
Post a Comment