Friday, December 20, 2013

Custom Jersey Quilt II

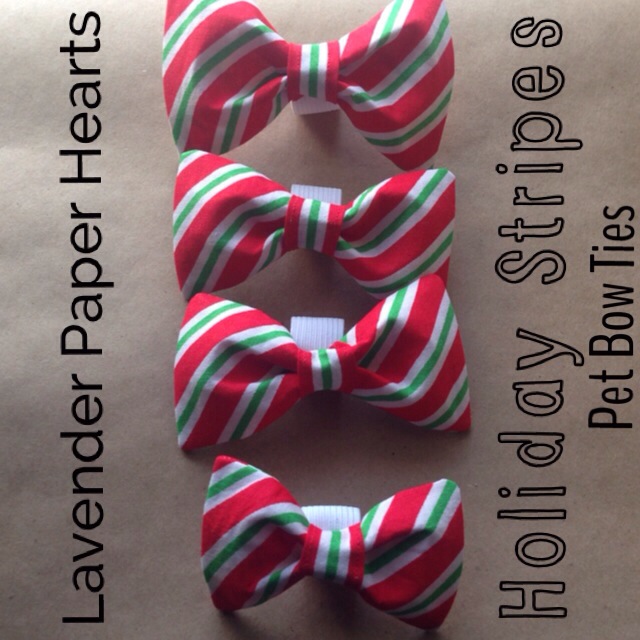
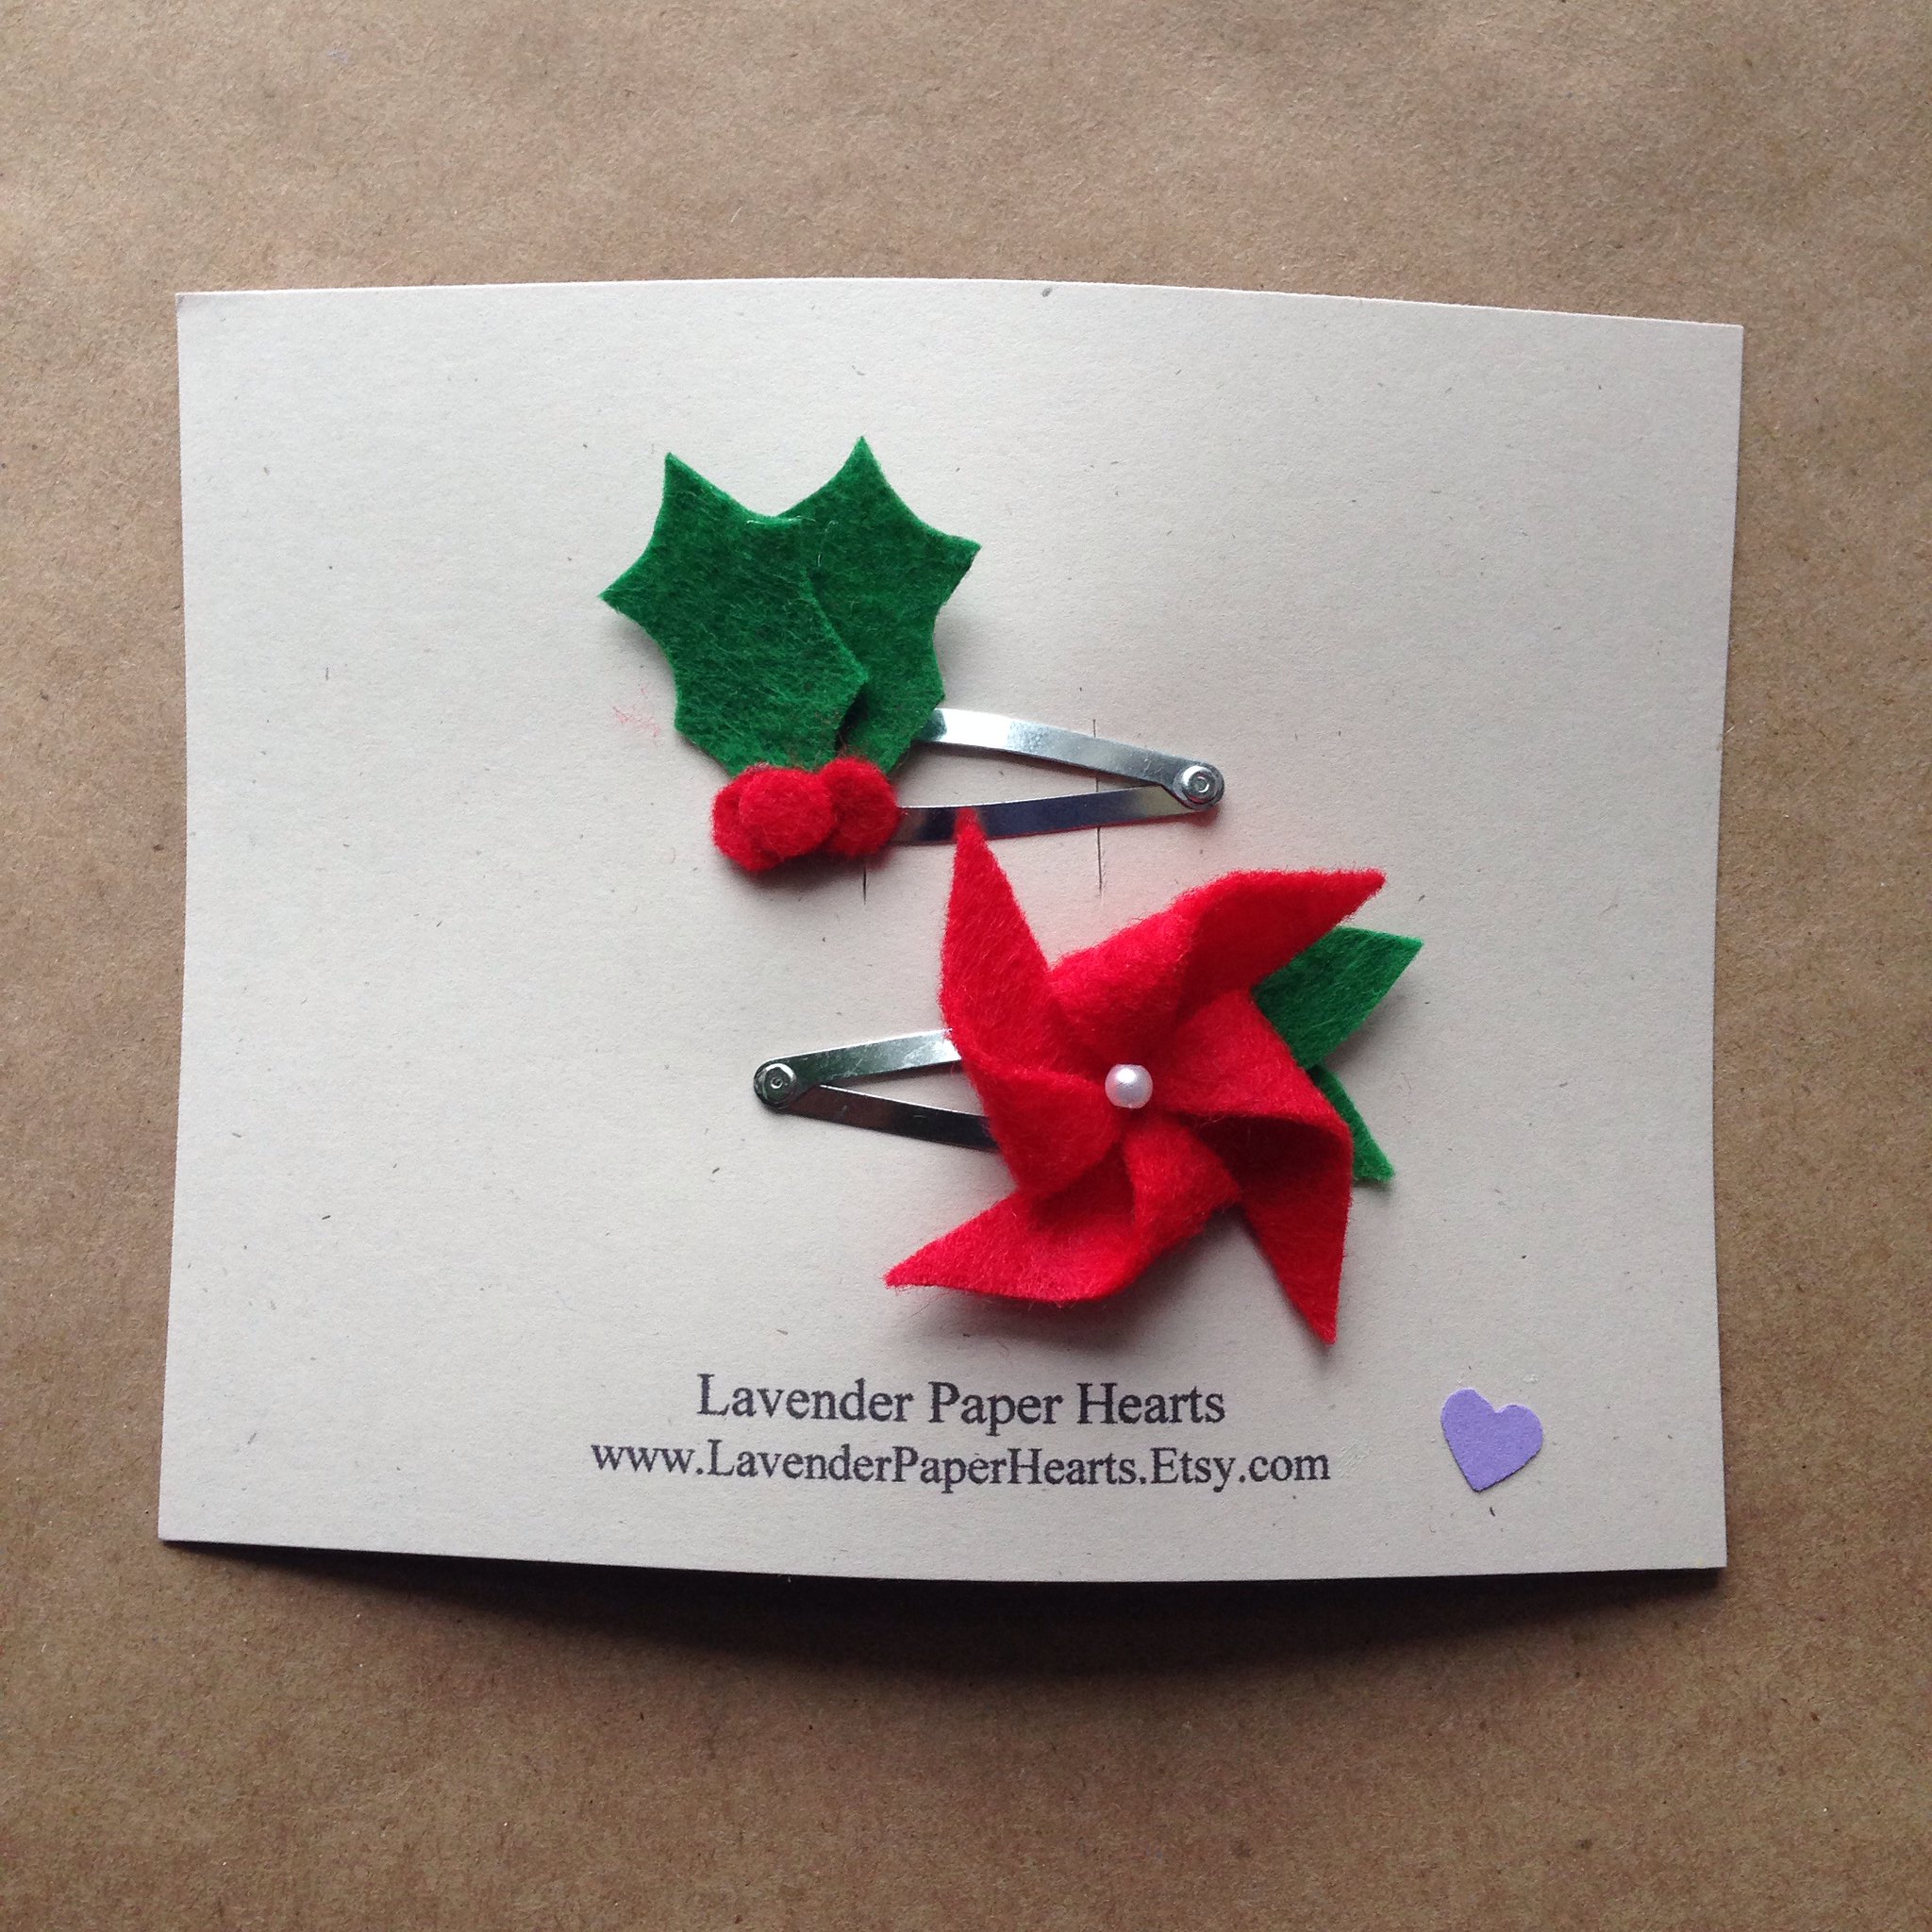
Social media is a fun thing. I usually am really diligent about sharing the things I make on my shop's affiliated social media sites, but sometimes I just forget. I'd forgotten to 'Pin' my first custom made jersey quilt over on Pinterest when I'd first made it, and despite doing as much, some quilt loving folks on the internet 'pined' my quilt anyway!! This led to a Pinterest user in Texas stumbling across my quilt and then contacting me via Etsy shop last month about making another jersey quilt for her young son.  How fun is that?! 

Well, I finished up this fun jersey quilt on Sunday and shipped it off Monday (2 days ahead of schedule - woot!), just in time for to arrive before Christmas. The little football player's mom contacted me about making him a special Christmas gift with her son's football jersey.  This football player is only 10, so his jersey was little and cute compared to the last jersey I worked with which was for a professional football player. Since this football player is a growing boy, I decided to go with a more simple design in the hopes that he'll continue to cherish it, even when his feet stick out the end!  The final design ended up being 52 by 58 inches. The ultimate size of a jersey quilt is always a bit fickle, especially when working with one primary panel, because you ultimately have to work out the main panel first. The size can vary grately depending on the size of the jersey and how much workable material you have to work with.  

The quilt is cotton stripes on top, with soft plush LSU themed fleece on the back. The quilt is finished off with 1 inch purple bias tape. I thought bias tape would be a better, more grown up finish for the quilt rather than satin, and I really liked how it turned out. 


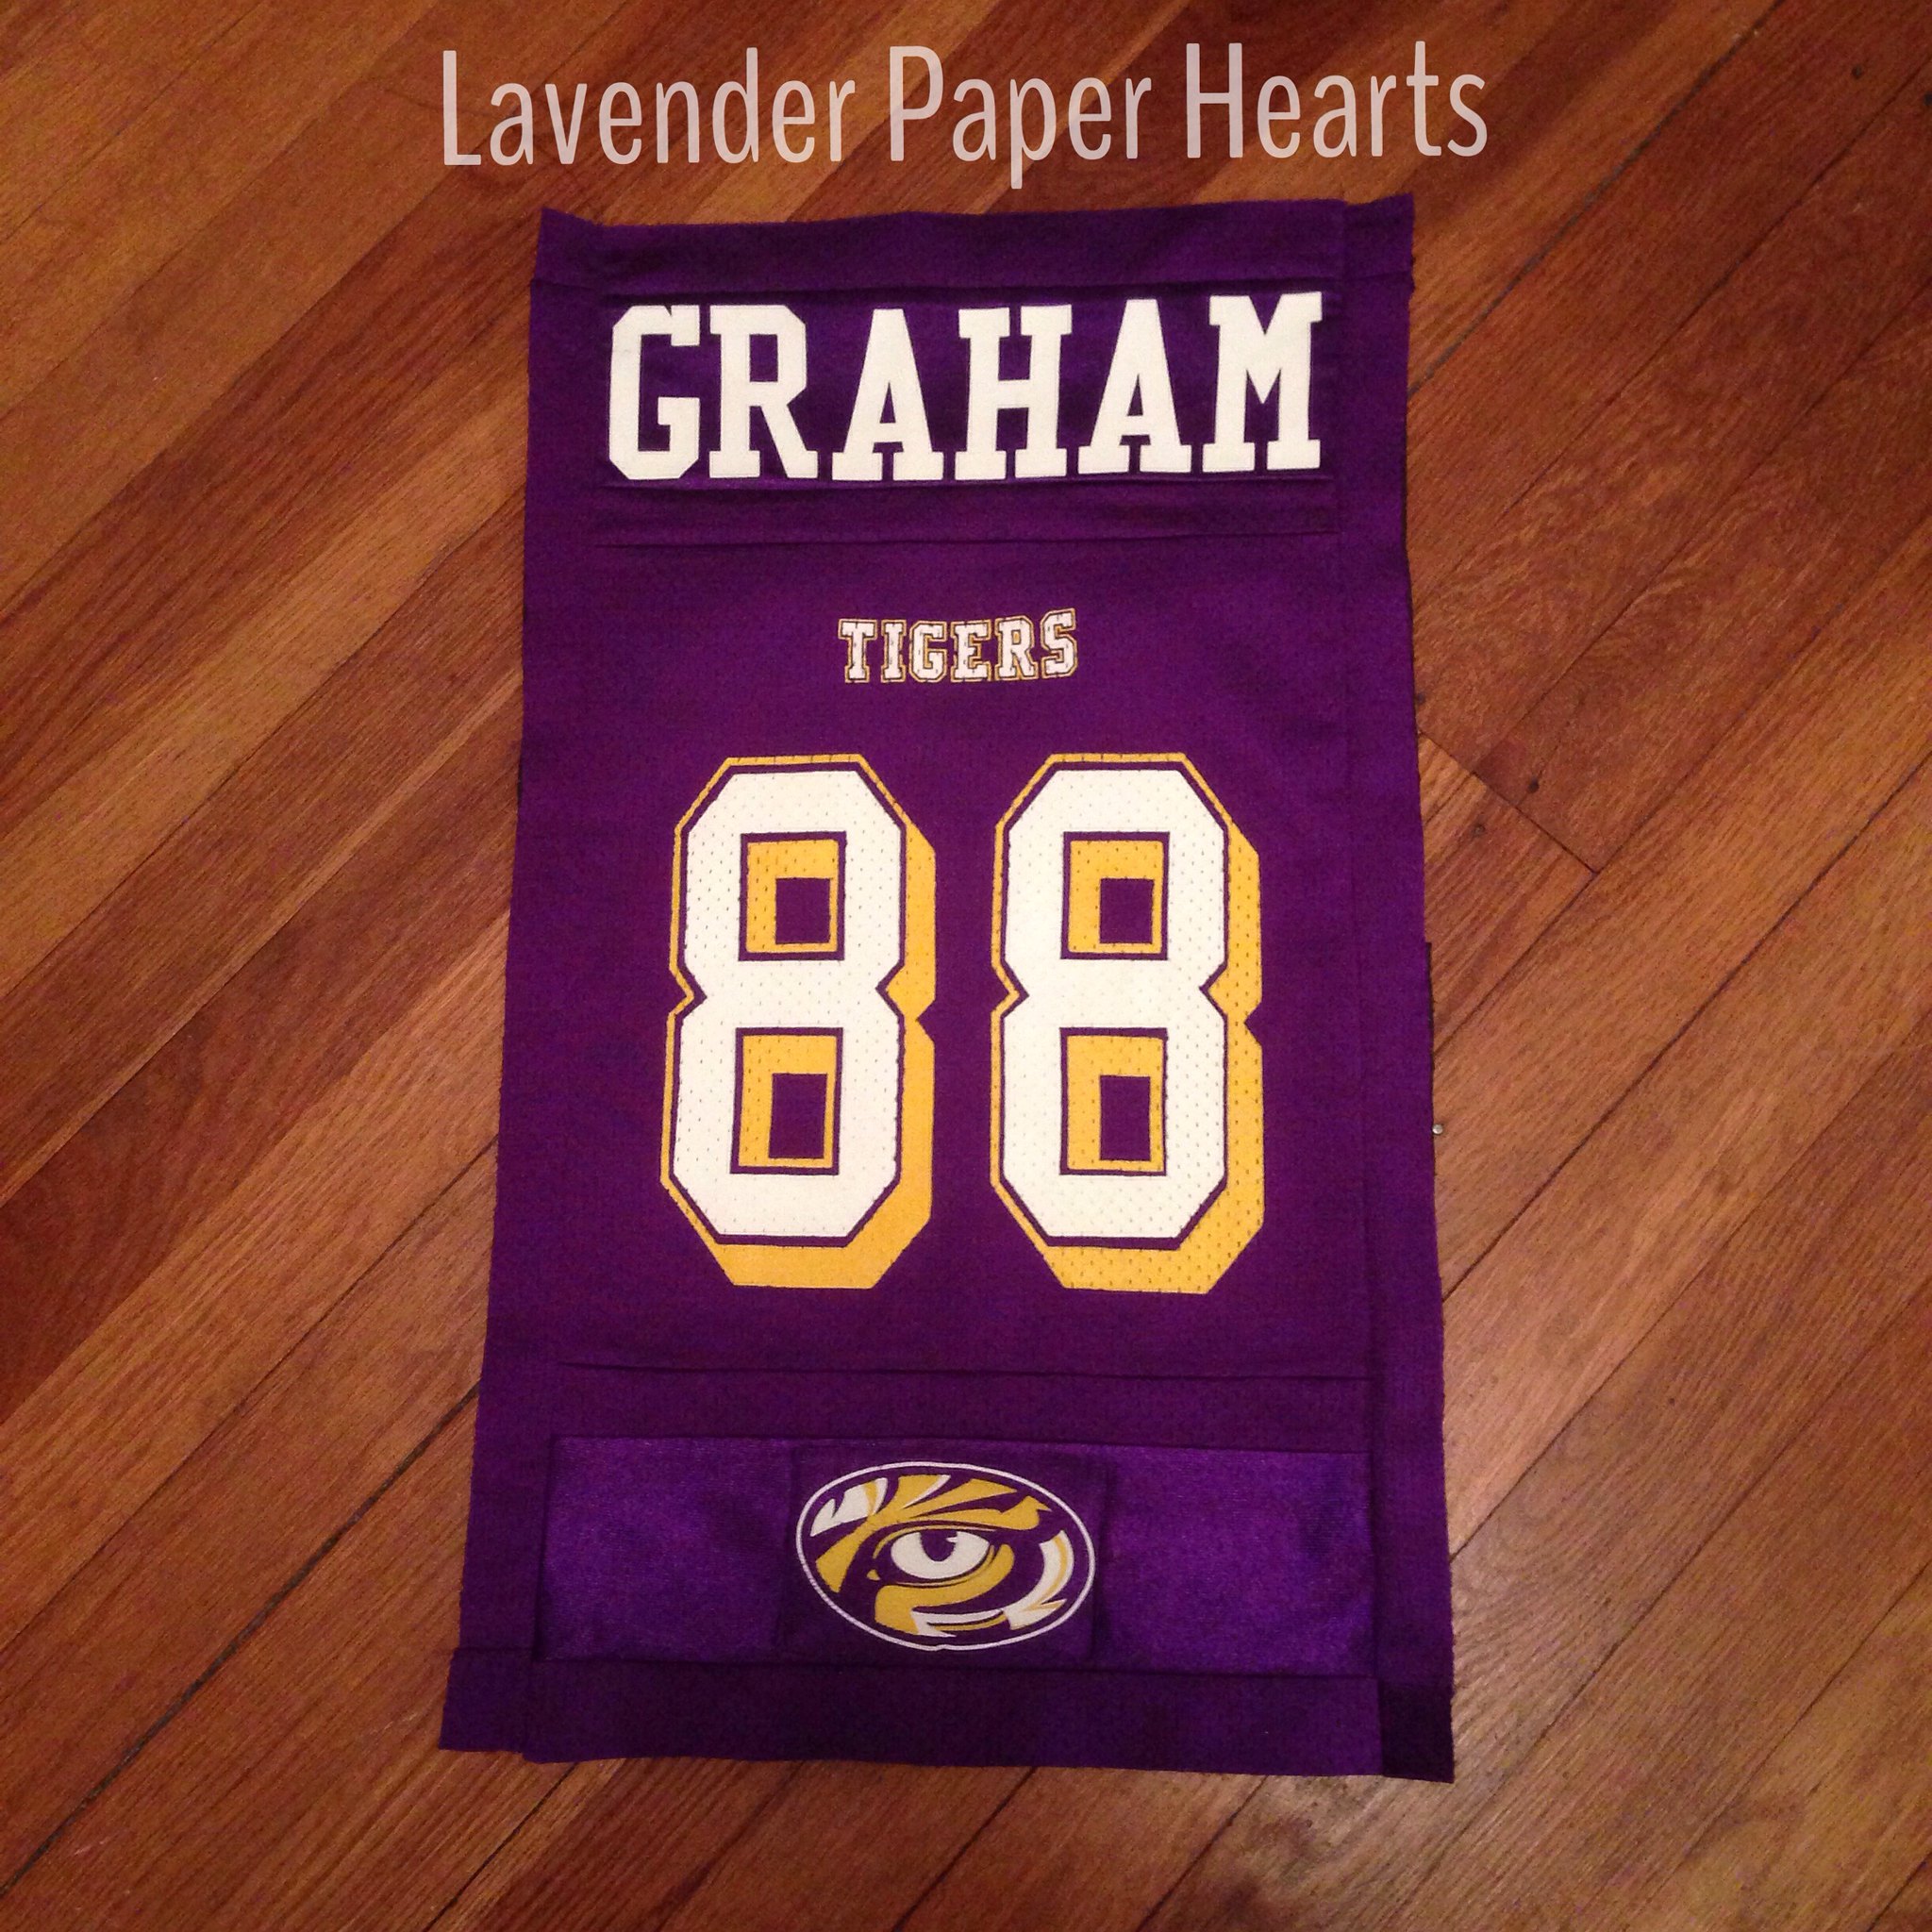
Here's the jersey panel. Once it's done, I started to draw out the design for the rest of the quilt. 


I've also decided that basting spray and I aren't friends - at least not when it comes to fleece backings. So I went old school and used quilting pins! You can see the LSU fleece on the left in the photo below. (Ignore my kitchen floor, we rent.)


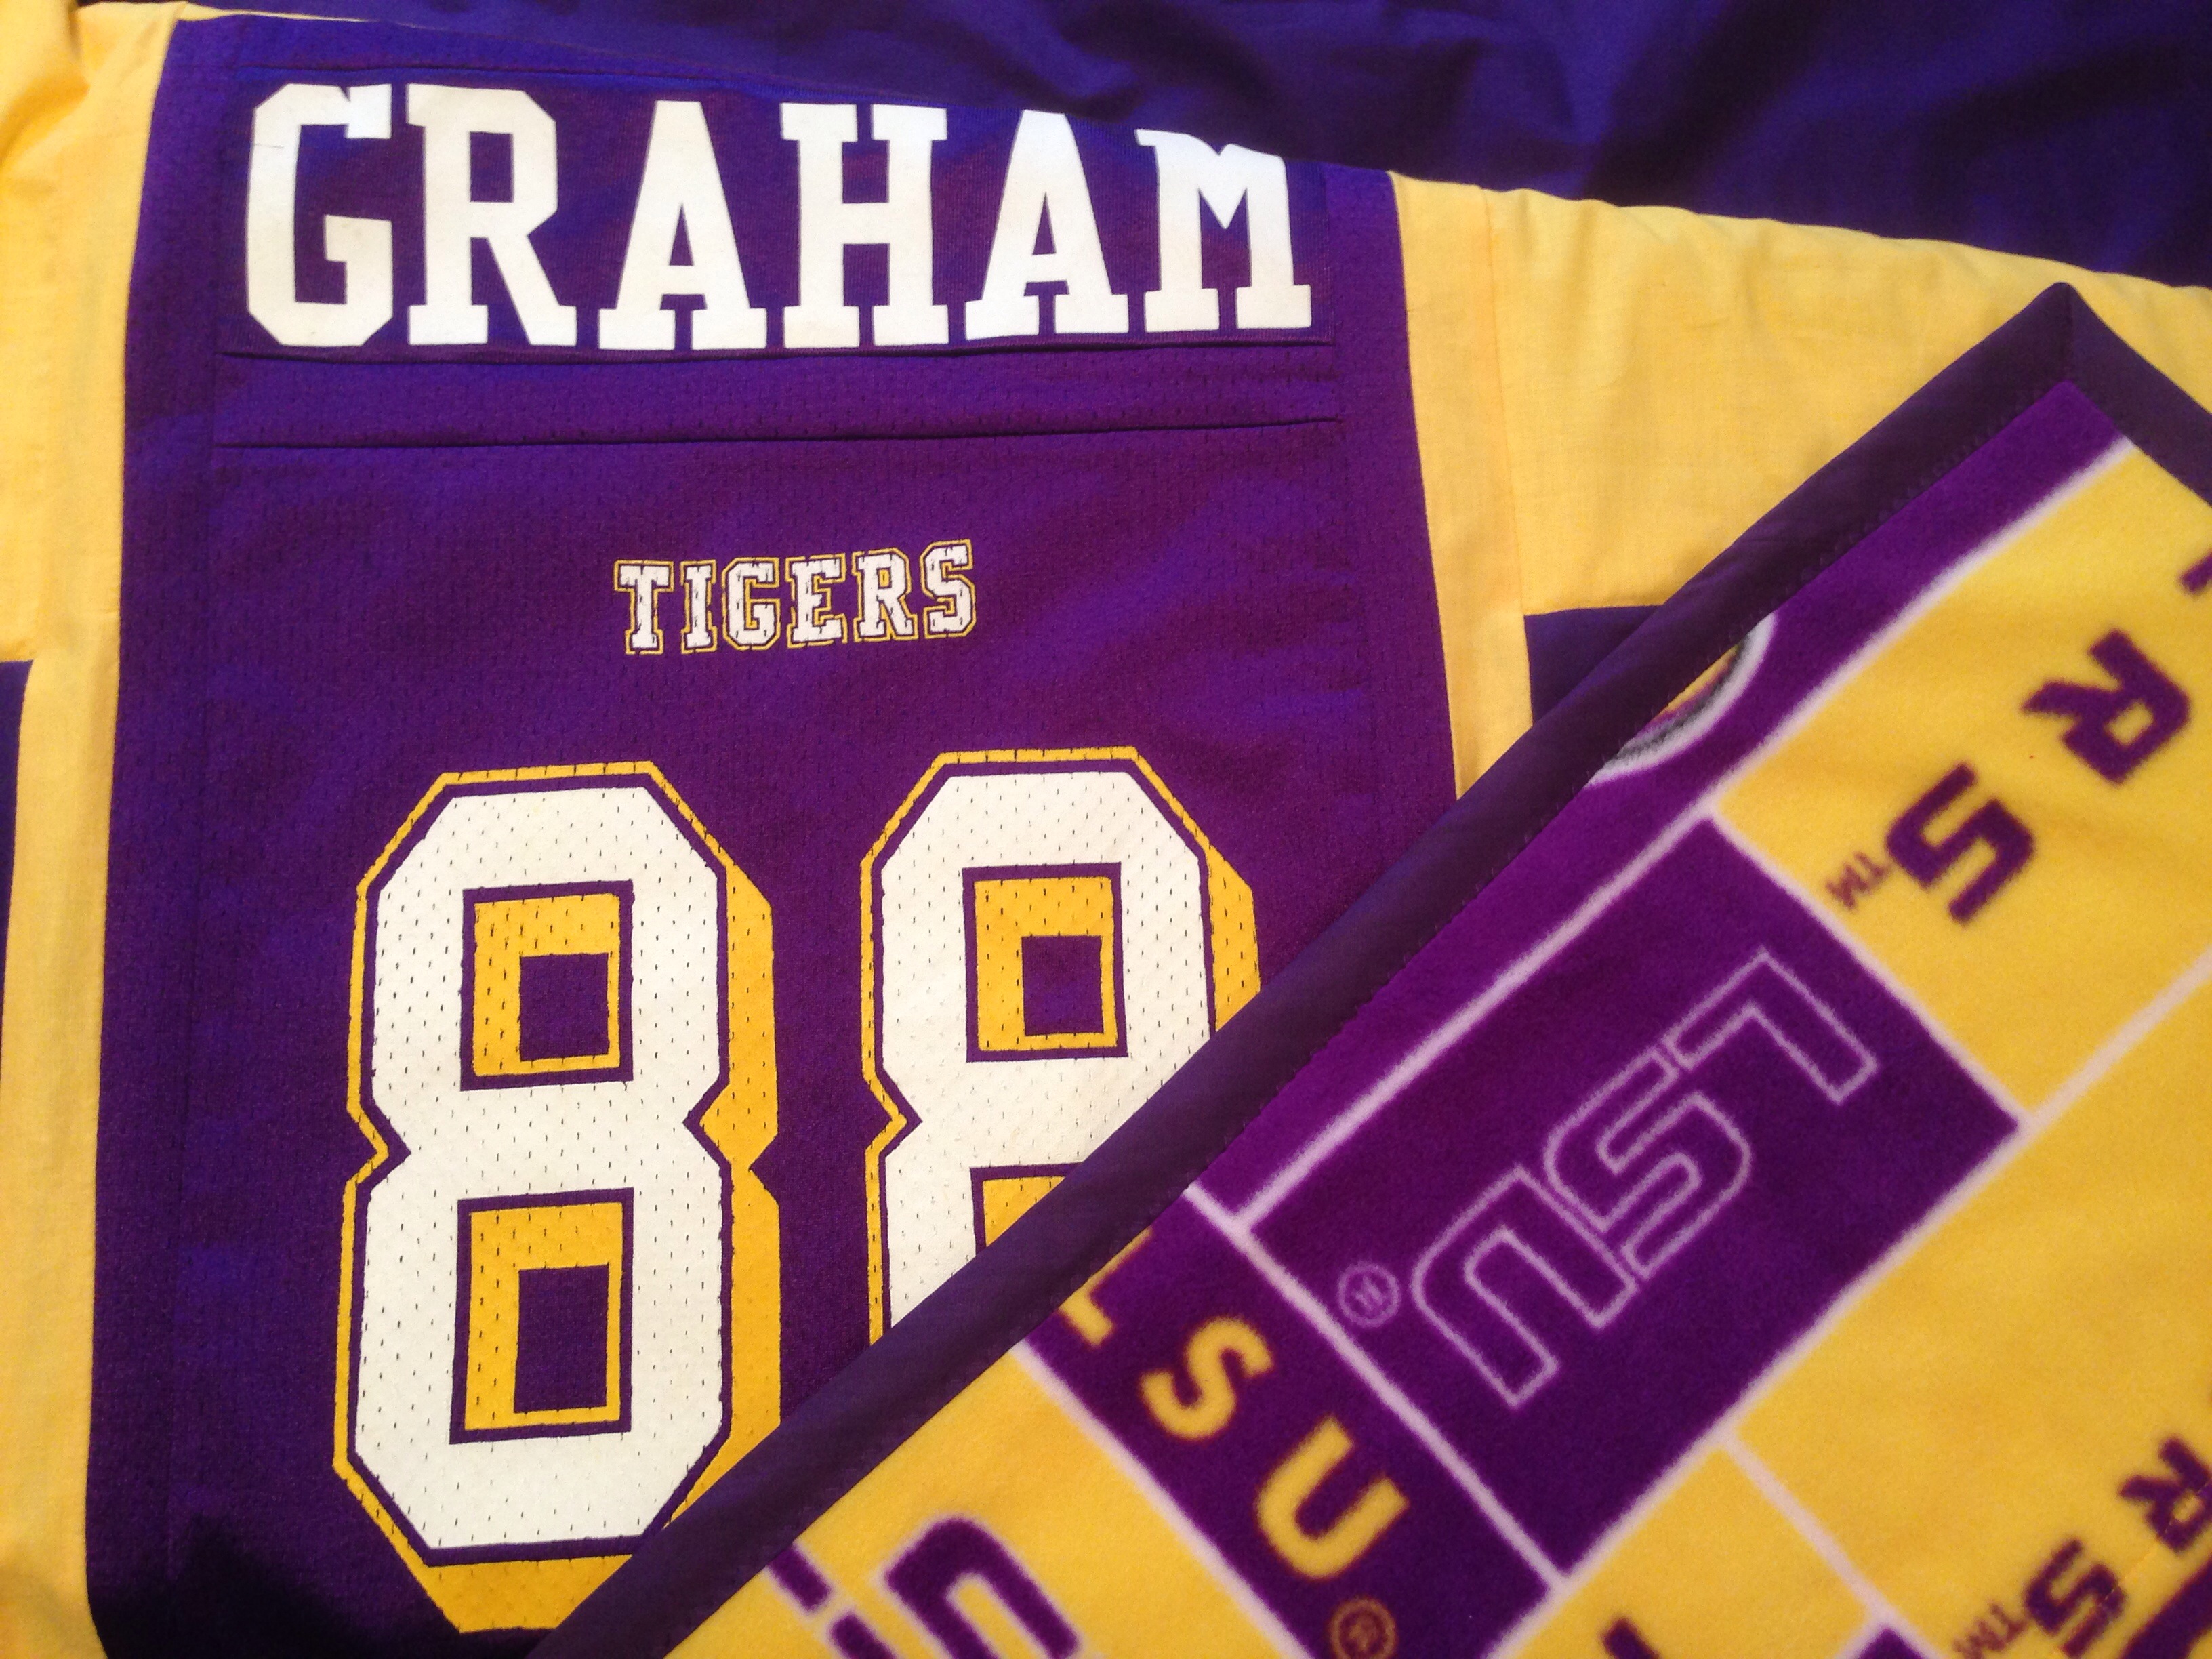
Finished jersey quilt close ups! 

I hope it's a treasured gift for years to come!!

I'd also like to give another shout out to my quilting sister BFFs for their help in talking through the design!! Thanks Jen & Ali!! :)  And another huge shout out to the SO SO HELPFUL ladies at my local Joann's Fabric store in Brockton, MA!! I came in with some last minute urgent questions and they helped me problem solve like champs. I left the store feeling confident and ready to finish up the quilt! 

Friday, December 13, 2013

Custom Mobile: Little Bugs

I think one of my favorite things that I make in my shop Lavender Paper Hearts is baby mobiles. I love working with customers to come up with a design that ends up being exactly what they're looking for. Plus, my customers have AMAZING ideas that are often times things I never would have thought of.  Plus, working together to help make something that will help their baby's drift off to sleep is an extremely rewarding feeling.

Recently I had the pleasure of making a custom mobile for some dear friends of mine. When we started talking about what they were looking for for their baby's room, Jen and Jeff sent me some photos of concert posters they were having framed to use in Baby Bowie's room. The concert posters, as you can see below, were really cute retro-inspired brightly colored cartoons with bugs of all sorts. The bugs served as the jumping off point for the mobile. Jen and Jeff gave me a lot of flexibility to go in any buggy inspired direction I wanted. I tried my best to mimic at least a few of the bugs in the posters below as well as added a few bugs I thought would be a cute addition to the overall aesthetic of the final design.


I was also asked to incorporate the lightning bolt from David Bowie's Aladdin Sane album as a nod to Baby Bowie's in-utero nickname and now actual middle name! 


Here's what I came up with: 


I'm not gonna lie, I love how the wings turned out here. They added a nice extra layer of complexity to the mobile, and they were flying bugs, so, duh, they were necessary too!!


In addition to the rainbow featured above with the bee in the photo above, here are two other little extras I added to the mobile. I like to add what I call extras as a way to add further depth to the mobile. They give baby even more thing to dream about.  Below are the David Bowie lightning bolt and cloud.


I could not be more elated for Jen and Jeff. They will experience the true definition of overwhelming joy as they welcome little rainbow Lena Bowie in to the world, and I can't think of two people who deserve as much in this moment. I cannot wait to snuggle this little one in January when I head to California for baby-palooza.

XOXOXOXO

If you have an idea for a custom mobile, I'd love to hear it.  You can contact me through my shop Lavender Paper Hearts over on Etsy.  I have another custom mobile in my shop work queue that I can't wait to share with you once it's done in January. This one is puppy adventure inspired and is going to be so much fun!!

Wednesday, November 27, 2013

From the Archives: DIY - Snaz Up Your Coat!

It's officially getting COLD here in New England. I thought I'd share a DIY from last year.  Adding something like little heart elbow patches to a coat can change up it's look in a big way. To see my DIY tutorial on how to do this, click HERE!

This coat makeover series was done in two parts. To see how I revamped a plain black winter coat with some fancy buttons click HERE. This DIY is what we call: "DUH, stupid easy!" but it also has a great impact and helps makeover a coat.

Friday, November 22, 2013

Mark Your Calendars!

Hey there! Lavender Paper Hearts is going to be participating in a local craft fair.  Bridgewater, Massachusetts is hosting the 20th Annual Christmas on the Common December 1st from 1-4pm, and I'm officially inviting you to come on out and say howdy.


Bonus sharing: I've also received some lovely feedback from a Holiday Hairpiece order. Be sure to take advantage of my Early Bird coupon special. Enter: earlybird13 when checking out at Etsy and you'll receive 10% off of your order (does not include custom orders.)


Wednesday, November 20, 2013

LPH Holiday Collection

Get your mouse ready.... the Lavender Paper Hearts Holiday Collection is up and added to my Etsy shop!! 
I've got some returning items this year, as well as some new pieces for ladies, little ladies, and pets too.  If you've been following me on Instagram, you've probably watched as I added pieces bit by bit.  Make sure you scroll all the way to the end to get a coupon!  


For the Pets:  I've brought back the Green Candy Cane and Red Snowman Pet Bow Ties this year. The snow men are technically different, but I might be the only one to notice. I totally think they're cuter this time around.  By special request, I also added a Holiday Striped Bow Tie to the collection. I think they're a fun, fancier choice for the season. 


New: Also new to the pet selection this year are my Poinsettia Collar Flowers. Last year some people wanted something a little different for their lady dogs, so I came up with this fun throw back flower to add a little holiday spirit to any pet. Just like the Pet Bow Ties, these can be added or removed from your pet's collar by an elastic band on the back of the flower. 

Poinsettia Pet Collar Flowers

For the Ladies and Little Ladies: I've brought back some of my poinsettia hair pieces from last year, as well as added some clip sets to this year's mix.  

I love these bows! I have them to wear in pretty much any color felt possible. I've made them holiday themed here so you can look snazzy for any up coming holiday parties, or if you just want to get a little fancy while shopping.  

New: These Holly and Poinsettia Hair Clip Sets are new to the shop this year. They're available in snap clips (for little ladies) or bobby pins.

Holly & Poinsettia Hair Clip Sets


Available for custom order: Some pieces I make available by special order only.  Please contact me via Etsy to order these. I'd be more than happy to make some for you. 

This Felt Poinsettia Headband is available to order by custom order request

Mini-Poinsettia Hair Clips. These can be made with snap clips or bobby pins. Available via custom order request. 


This Velveted Poinsettia with Gold French Veiling Leaves was a custom order for a holiday party. I would be more than happy to make you one, too. Just send me a custom order request from my Etsy shop.

Phew - you've made it to the end. Give yourself a pat on the back!! As a reward for making it to the end, I'm offering a coupon to use in my Etsy shop from now until 11/30. The coupon excludes custom orders - but everything else is fair game!! 


Saturday, November 16, 2013

Holiday Gift Guide GIVEAWAY!!!

Be sure to check out the gimongo Giveaway over at Oh, Sweet Joy. Many of the vendors featured in the 2013 Holiday Gift Guide have contributed items or shop credit to the giveaway making it a $1300 value. PLUS you can earn up to 50 entries for a chance to win!! Check it out: http://www.ohsweetjoy.com/2013/11/Handmade-Holidays-MEGA-Giveaway-ohsweetjoy.html?m=1


Wednesday, November 13, 2013

Oh, Sweet Joy - For the Littles Category

Today Lavender Paper Hearts is being featured along with a handful of other amazing handmade artists over at Oh, Sweet Joy's 2013 Holiday Gift Guide!! 

Kim's gift guide is a fantastic way to get your holiday shopping done early, support handmade artists, AND score some amazing gifts and deals. Don't forget each artist has put up a coupon to their shop (including me), and on Saturday there will be a big ol' giveaway that you don't want to miss!! 


Tuesday, November 12, 2013

Holiday Gift Guide

Hey there - sorry it's been a while. I've been incredibly busy with work as well as getting prepped for my first craft show. I'll share more about that experience next week, but this week I wanted to make sure to share the fantastic 2013 Holiday Gift Guide over at Oh, My Joy. Each day Kim will be featuring a specific theme of gorgeous handmade items.  She's helping you get your holiday shopping early (and might even convince you to buy yourself a thing or two - you deserve it after all.
.

Be sure to keep checking back each day for great handmade artists and COUPONS for sweet discounts to each and every shop!! Lavender Paper Hearts will be featured later in the week.

Also, check back here in a few days for my holiday themed items!

Wednesday, October 23, 2013

Halloween Spooktacular Table Runner

Sometimes when I'm shopping I spot supplies that I think could make something fun, but I have to let the idea marinate in my head for a few days before I've figured out exactly what I want to do!  I'd originally spotted a bunch of great damask pillow cases at the Dollar Tree and wanted to turn them into sweet holiday pillows. I couldn't find the right color combo, however, to actually make it work.  (They would have been amazing if I could have found orange pillows, but specificity is sometimes too much to ask for the Dollar Tree).


When I was rummaging through the pillow cases I spotted some similarly styled damask table cloths, table runners and napkins. I suppose if you really wanted your couch and table setting to match you could pick up all 4 items, but they seemed a bit too matchy matchy to me. I ruminated on the black damask set for a few days before deciding I wanted to whip up a Halloween themed table runner.  Originally I thought I might cut up the table runners and hang smaller pieces on dowels to make banners of sorts, and I may still decide to do this, but for now, I love how my table runner turned out. It really couldn't have been an easier project.

The most time consuming part of this project was picking out the right Halloween-y inspired font to use for the table runner.  You can throw "Halloween fonts" into Google and come up with a ton of free fonts to install on your computer. I had a certain vision in my mind, so I just kept searching until I found the right one. The font I used here is called Blackwood Castle and I found it on www.DaFont.com.

You can find a more detailed tutorial for freezer paper stencils I've done before here, but I'll run through the quick and dirty of how I made this below.

After I set up my design in Microsoft Publisher (I suppose I could have easily used Word too). I printed out the text in the font I'd decided on and got to work. I actually ended up mixing up the font style for each word because I really liked how the word "eek" looked in lower case letters, but hated how "boo" looked lower case.  Mix it up and decide what works best for you.

I traced the letters onto my freezer paper and then carefully cut them out. Remember to save the inner pieces of your letters!! I ironed my table runner, lined up the stencil so they were both the same distance from the bottom of the points and then ironed them on - including the little inside pieces for the letters (which you can see in the B, and O's below. Once I was happy with their placement (I had to carefully peel off "eek" and realign it) I was ready to paint.


I decided to use silver paint for this project because I thought that white might be too stark on the table runner. I wanted the letters to show, but not overly pop in color. 

Once the paint was dry I carefully peeled off the freezer paper and it was done!  


It wasn't until I was all done that I realized that my table runner was WAY TOO LONG for our little Ikea table. It hangs off the sides nicely though so if we were having a party where we weren't sitting at the table it would hang nicely.

From this photo you can see that mine is about a foot and a half too big, but it's okay, I still love it.


Close up: I decided to go light on the silver paint because I LOVED how the damask pattern showed through the fabric. If you didn't like this, I'd recommend doing one light coat, letting it dry, and then adding more paint. It's better to add more paint in stages so that the moisture from the paint doesn't make the freezer paper lift.

Because I had all of the supplies on hand, except for the table runner, this project cost me exactly $1. Not too bad, for a sweet Halloween decoration!! 

How are you preparing or decorating your house for Halloween? 


Wednesday, October 16, 2013

Craft Show Prep

I have to start this blog post off with the cuteness that is Mr. Figg. Figgy's mom sent me this adorable photo of him napping while wearing his Halloween Pet Bow Tie. Just look at him!! Halloween Pet Bow Ties are available in the shop for a week or so longer so be sure to snatch up yours today.


I've been doing a bit of prep work in anticipation of my very first craft show coming up in November. I've been trying to get extra product assembled, been working on branding and different elements that are required to put on a display for the show. I thought I'd share some of my work thus far today.

Here's a freezer paper banner I made for my shop:
Freezer paper stencils are super easy and fun. You can read my tutorial on how to make them here.

After searching around for price tags, and realizing that for what they are they tend to be rather expensive, I came up with my own. It only required that I buy a heart shaped punch! I had the paper, embroidery floss, and tiny hole punch on hand. I'm pretty pleased with how they turned out.


I finally came up with a felt sample color guide. I've been meaning to do this for a long while now, and when I was organizing my felt the other day I finally got around to putting together a sample sheet.


I've been working on developing some sample mobile figures for the show too. While it's not reasonable to bring finished mobiles to the show (just too much work), I figured I should show a bunch of my samples so that people can get a sense of the designs I've made previously as well as a few new designs I've had floating around in my head for a while. 
You can order a felt baby mobile online from my shop HERE.

There's a huge pile of pet bow ties in progress on my desk. I've been trying to whip up quite a few in each pattern of fabric so I can be as prepared as possible!

I'll come back and share more as I keep developing things! 

If you'd like to come out and check out the music and craft fair, Lavender Paper Hearts will be at JP Rocks and Rolls, November 10th. 


Wednesday, October 9, 2013

Halloween Bow Ties!


Don't forget to place your order for Halloween Pet Bow Ties!! I've recently added these Candy Corn and Halloweenie themed fabrics to the shop so your pets can get fancy for the upcoming spooky holiday!


After getting a few custom orders for dogs lighter than 15 lbs, I also recently added x-small bow ties to the shop. I always try to make sure that the bow ties are a comfortable fit for my clients if they're too big, your pet is less likely to wear them for very long. 


Be sure to check back soon for more holiday themed items. I've been working on on a lot of new items for the shop, and also for a craft fair I'm attending in November. The in-house model tried to help me out last week, but ended up, shockingly, not being very helpful.  He stole one of the new felt holiday bow ties I was making and a chase ensued. Mind you I did stop to take a photo, so I wasn't that worried. I'd like to believe that this means it's earned his seal/drool (?) of approval.


Wednesday, October 2, 2013

Fall Wreath DIY


It's officially starting to look like fall here in New England so I feel like it's finally appropriate to share this awesome DIY!! A month ago, the weather was being particularly wonky. It seemed like fall already because it was cold and grey, even though it was still technically August.  I was at my local Dollar Tree one weekend when I found some fantastic supplies which inspired me to gear up for the new season!!  (Yes, this has been hanging on our door for a month already - we're good like that!) I purchased 1 wood wreath, and 8 bunches of leaves and in about 30 minutes came up with a beautiful wreath for our front door.  The best part of this DIY is that it only cost $9. Yes, $9!!

This DIY is so easy. Here's what you'll need:
1 wreath form
8 leave bunches (you may need more, you may need less)
Glue gun & extra glue
Scissors
Small bit of wire or soda top to glue on the wreath to hang it up
Iron

Plug in your glue gun and pull apart your first bunch of leaves. Separate your big leaves from your small leaves. If you've got different shades in your leaves you might want to sort that too. I had some that were a bit more brown and some that were a bit more orange so I made sure I spread them out throughout the wreath. If you've picked leaf bunches with extras (mine had awesome squash, little balls, and pine cones) put those off to the side - you'll use those last.  Here you also might want to use your scissors to cut off the "stem" part on your leaves.


I started my wreath by scattering big leaves around the wreath and hot gluing them in place. For some of the leaves that were bent (you can see some in the bottom left of this photo) you can easily iron them flat by setting your iron to a medium temperature and pushing quickly and firmly on the leaves. Keep your iron moving though because the vein parts of the leaves are plastic and will melt. Keep that side down and away from direct contact with the iron.


After I'd scattered about 15 leaves all over - inside the circle and outside the circle. I decided to switch strategies and work from section to section. Layer your big and little leaves. You can always go back and add leaves if you feel like a section is a bit thin.  I also kept most leaves going the same direction but occasionally added a few small leaves on the very top layer that went the other direction. It's up to you.


Keep adding.


And adding some more until you're filled in! 


Now use your extra bits and glue them around your wreath at your discretion. I had some extra pieces left over that I didn't end up using. I also got to a point where I felt like I needed to hang up the wreath to see where the last few extras should be tucked in. My door happens to be right near an outlet so I just glued on the last few extras as it was on the door. Do what works best for you.

Here's how I added a hanging loop: I used some wire, looped it around a few times on my fingers, and then hot glued the loop to the back of the wreath. If I'd had a soda can I would have used the pop top and glued it on to the wreath. Either one works. Once the glue is cooled - make sure it's cool or it'll fall off your door - you can hang up your wreath!


Admire your work, because you're done!! 

Wreath-y bonus: I had an extra foam ring and some burlap lying around so I whipped up this wreath for our other door. It's inside and on a door nobody technically ever uses, but I know it's there. Here's how I made this one: I cut strips of burlap, frayed one side, and then glued them to the wreath. I had some wrap flowers from another project in a craft box so I quickly hot glued those on. Added a burlap hanging ribbon, a bow, and boom - done. 


Bonus-Bonus: My husband fell in love with this crocheted pumpkin when were were at a craft fair a few weeks ago.  It's paired here with an AWESOME skull candy dish I picked up from the Dollar Tree a few years ago.