Tuesday, July 30, 2013

Guest Blog Post II at Kiss My Tulle

It's time for my second guest blogger post over at Kiss My Tulle while Cris is on a much deserved and peaceful maternity leave! I've shared some of my tips on re-selling decor and other items after your wedding.  My sister-in-law and I recently did this with her left over wedding stuff and she totally lucked out and in one day sold all of her leftover table mirrors, votives, and all of her centerpiece vases (there were clusters of 3 on each table) in one day after we'd listed them. She recouped $180 in just this one sale and on things that were just taking up space and sitting in her basement for a year.  Head on over to Kiss My Tulle to see my blog post, which you can find HERE, and also to check out some of her tips. They're useful no matter your budget or ideal wedding.

Kiss My Tulle is a fantastic website for couples who are interested in having a great wedding but not breaking the bank. Cris, planned her own dream wedding on the budget of $5000 and her blog is dedicated to sharing tips and strategies for other couples to have the same lovely, but inexpensive weddings.  From her site:
Everything that Kiss My Tulle does is inspired by the mission to make it cheap, make it lovely, make it functional, and make it accessible. Kiss My Tulle is committed to providing its readers with do-able DIY projects, down-to-earth advice, and realistic Big Day expectations.


Wednesday, July 24, 2013

Custom Crossfit Baby Mobile


I've been getting a lot of custom mobile orders in the shop lately which is always a new and fun creative challenge. You saw the cute elephants mobile for Baby Boy Darko last week on the blog, but this week I wanted to share with you a Crossfit themed mobile.  This customer LOVES Crossfit and wanted to tie in the hardcore exercise regiment into her new baby's room.  

This mom was also waiting until baby was born to find out its gender, so originally we were going with really neutral colors of silver, grey, and tan.  Baby came early though, and was a cute baby boy, so mom gave me permission to tie in some blue too!  As for the main squidgy parts: I was asked to incorporate kettlebells, medicine balls, barbells, Crossfit boxes, and even Crossfit shoes! Here's a photo of the pieces when they were drying after being glued. I also added more details to the kettlebell, and fiddled with the barbell - it just wasn't doing it for me at this stage.  


I was so excited about getting this finished and shipped off (and baby arrived early so I was trying to get it done) that I sort of (totally) forgot to take pictures of each piece up close like I normally do. I did, however, take a close up shot of the Crossfit shoe because 1) I love shoes, and 2) I was really tickled by how this particular piece came out!!


Here are the finished Crossfit pieces! 


And lastly, here is the finished mobile in action. 


Does it make you motivated to work out? :)  The mobile is now available in the shop and like my other mobiles, the mobile is completely customizable!!

Baby Mobile - Crossfit Theme


Wednesday, July 17, 2013

Elephant Baby Mobile: Elephants in Dreamland


Goodness - why oh why are elephants just SO CUTE??  Whenever I see baby elephant videos I like to post them to my husband's Facebook wall in a bid to convince him we should get a baby elephant. I get it, I know they'll get bigger, but wouldn't it be fun to snuggle one for just a minute?? Just look at the cute little guy below!!


I was recently contacted to make a gender neutral elephant themed mobile for my friends Lauren and Andrew. I posted about the No Hablo onesie I made for baby Darko a few weeks ago.  Their baby shower was elephant themed and Lauren was interested in continuing this in Darko's room.  

Darko's room is yellow and grey - gender neutral colors until he or she arrives!! (Fun fact: Pastel yellow felt is actually quilt literally impossible to find around these parts. I called 5+ different stores in an attempt to find some. Luckily, Lauren liked the primary yellow color - phew!) 

I'm calling this mobile Elephants in Dreamland and it's been listed up on my Etsy shop already. (You can find it here!) The elephants are cute and cuddly and they colors are easily customizable. 


Here are some of the mobile's elements up close: 


Lastly, for my mobiles I usually like to add extras to break up and expand the visual line of the mobile - give baby something more to look at!!  I thought clouds was a sweet touch since the mobile is meant to lull the baby into sleep, but then I added the ice cream cone.  See, Lauren has a serious OBSESSION with Golden Spoon. To be fair, Golden Spoon has amazing frozen yogurt so really, what's not to love?! I've taken my husband there when we were visiting home and he was overwhelmed by all the topping flavors. (Seriously, the girls behind the counter started giggling because he was just staring at all of the choices!!)  He's now a Golden Spoon convert. Pft, as if he needed convincing!  For the mobile I thought the ice cream cone could be a fun twist on the idea of sweet dreams or dreamland. Plus, it's cute damn it!!


Baby Darko is almost here and I can't wait to meet him or her!! 

UPDATE: 
Baby Darko is a BOY! He arrived 7.14.2013, just one day after Baby Nessie arrived on 7.13.2013. So many new babies in this family!!  :) 

Friday, July 12, 2013

Custom Ordered Quilt

Over Father's Day we were hanging out with my FIL, and while we were there his partner Sue asked me to make a quilt for her nephew's new little one.  She wanted to make a quilt that incorporated pieces from her nephew's old football jersey.  Jersey quilts are a super sweet and sentimental way to be a bit nostalgic about a previous sports career at any level. Athletes tend to have many jerseys throughout their careers.  My sister played sports from a very young age all the way from high school and I bet we could have made a great big quilt if we'd thought to save them!!  Jersey quilts are also a great and fun way to continue to use the jerseys, and in a way that seems much better keeping them stashed away taking up space in a drawer or a box in the basement.  Since I had the one jersey to work with, it seemed like the perfect size for a baby blanket.  I was also really honored that Sue trusted me to take on such a project!!  I only had the one jersey to work with so there was very little room for error. (Trust me, I tried really hard NOT to think about this part!)   

When I was really little my Abuela taught me some basic sewing. I've sewn quite a few free-form projects over the years - everything from baby doll clothes, aprons for friends, clutches for my bridesmaids and so on, but I've never actually tackled something like a quilt.  As a weird coincidence, my SIL and I had just taken a basic quilting class over at Jo-Ann's Fabrics a week before so I had a feeling I could successfully tackle (hee hee get it?) this project.  I also emailed and chatted with my bffs on the west coast whenever I had a question!  There have been a lot of babies popping up in their family and they've whipped out some beautiful quilts recently.  (Thanks Ali & Jen!!)  Luckily, it worked out and I was pretty happy with the end results.  And even better, Sue was very pleased with the quilt!! Now I'm hoping to hear how it was received by the family it was sent to, too!!  

I thought I'd share some of the photos I took as I was working through some of the major steps in the quilt. Here's what I started with: 


These are the sections of the quilts that I decided to use as the central focus of the quilt.  It's the nameplate, the jersey numbers, and the bottom section is actually cut from the jersey's sleeve!!


Here I added some sweet and playful polka-dot material to help make the quilt a bit more youthful feeling. I also saved as much of the jersey as I could when I was cutting it apart so that I could incorporate more of the jersey into the quilt which you can see here.

I was working on this quilt during the massive heatwave we were having here in New England. It was SO hot. SO SO SO HOT. I was having to do a lot of ironing, like you do with a quilt, and man, it was hot in my craft room. Turns out my sewing table wasn't big enough to work with the quilt when it was laid out so I had to move it to my kitchen table when I started to add the batting and back fabric to the quilt. 

Here's a photo of me stitching in the ditch!! You can see the back fabric we choose on the right side of the photo.  Sue and I figured if you're going with a theme you should go all out, so bright green football fabric is what I found and we ultimately decided to go with. 

The only part I had a few problems with was the satin binding. It again was just, SO HOT, and to be honest I think I was tired and melting so my brain was, well, melting and tired. I also didn't have enough space so the satin was not cooperating with me during this step. My husband helped me drag in the kitchen table to my craft room and while it was nearly impossible to get in and out of the room, it was SO HELPFUL to have that extra table and, you know, more SPACE to work with the quilt.  I actually took 2 days off from the project and went back and finished it one morning with no problems. Go figure.

Here's the finished quilt! It measures about 33 inches by 46 inches tall and is a perfect little-one size. I hope it'll be a treasured item for the new baby. 

Wednesday, July 10, 2013

Recipe: Cold Brew Coffee

It's summertime and officially cold brew coffee time for me!! I love to have coffee in the morning but once the heat starts in I can't deal with having hot coffee. Who wants to sweat first thing in the morning?!! Plus, if I was to buy an iced coffee most mornings that would add up pretty quickly. I stumbled across the cold brew concept a few summers ago. Making this coffee is a bit different than most might be used to. It involves steeping coffee overnight (or a minimum of 8 hours).  You can read more about it here and here.  I also just found a recipe for a blood orange ice coffee here that sounds amazing.

Cold brew coffee makes for a still really lovey tasting and less acidic coffee. Since you store it in the fridge when it's finished, you've got cold coffee at the ready for as long as your pitcher lasts you.  Don't worry, it's really easy to make big batches at a time. In the interest of saving space in our refrigerator I use a 2 liter pitcher which lasts me about a week and a half. (I tend to one small glass in the am only.)


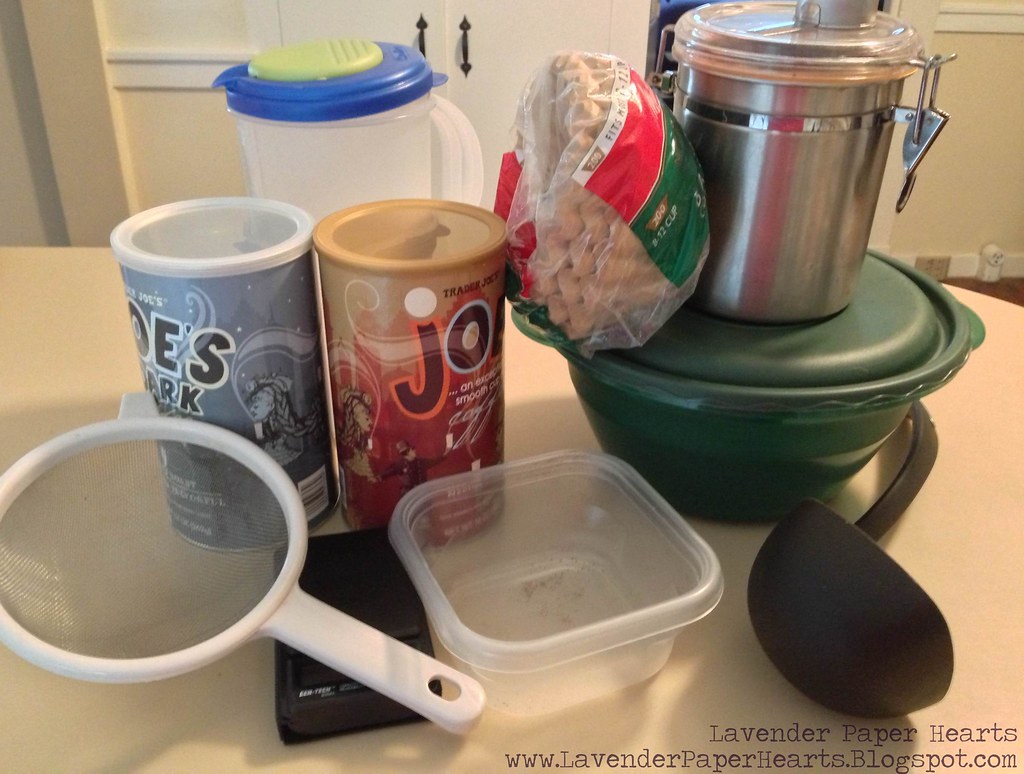
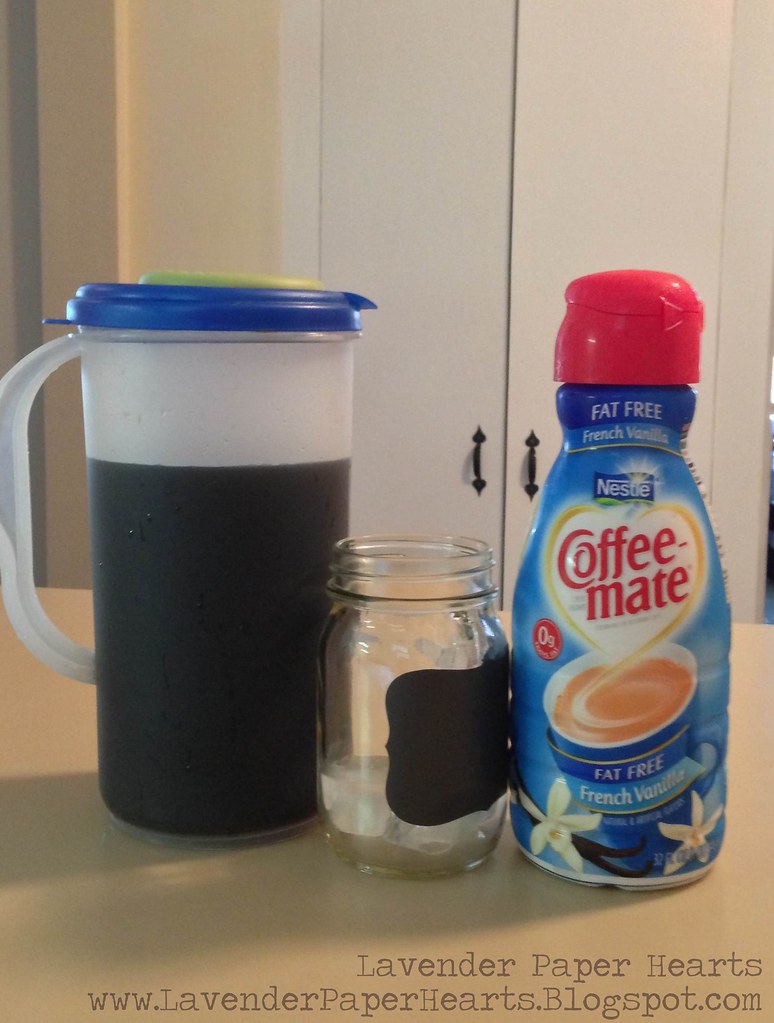
Above are the items you'll need for this recipe. Remember that you make the coffee in two stages so you won't need all of these items all at once.

Glorious Cold Brew Coffee

Ingredients:
  • 4 oz (about 1 1/4 cup + 1 Tbs) good quality coffee - I use a blend of medium and dark coffee
  • 8 cups of water - room temperature

Tools:
  • If you're using a scale to measure your coffee you'll that and a container (*mine wasn't actually dirty, I'd already poured some coffee into it before taking the photo)
  • Strainer
  • Cheese cloth or large coffee filters
  • Ladle 
  • Pitcher

Iced coffee ingredients - optional:
  • ice, milk, cream, water, sugar, etc. 

Directions: 

Measure out your coffee. The type of coffee you choose is up to you. You just must choose a well ground coffee. Or make sure it's really well ground if you do it yourself. The original recipe I tried from Pioneer Woman used Cuban espresso and it was SUPER STRONG. It's a coffee I use regularly when making Cuban coffee but it was just too much for me. I made it a few times before figuring out that it made me feel bad (sometimes I'm slow).  Don't get me wrong, I love strong coffee, but that was just TOO STRONG for me. I use coffee beans that I get from Trader Joe's and then I grind myself. I make my own blend of the TJ's medium and dark roast coffees. I've used coffees like Dunkin' Donuts (in an attempt to appease my husband's tastes) and ended up using more coffee because it wasn't strong enough.  I've also used Starbuck's medium and dark roasts independent of one another and they were also really good.  You can use pre-ground coffee if that's what works for you! 


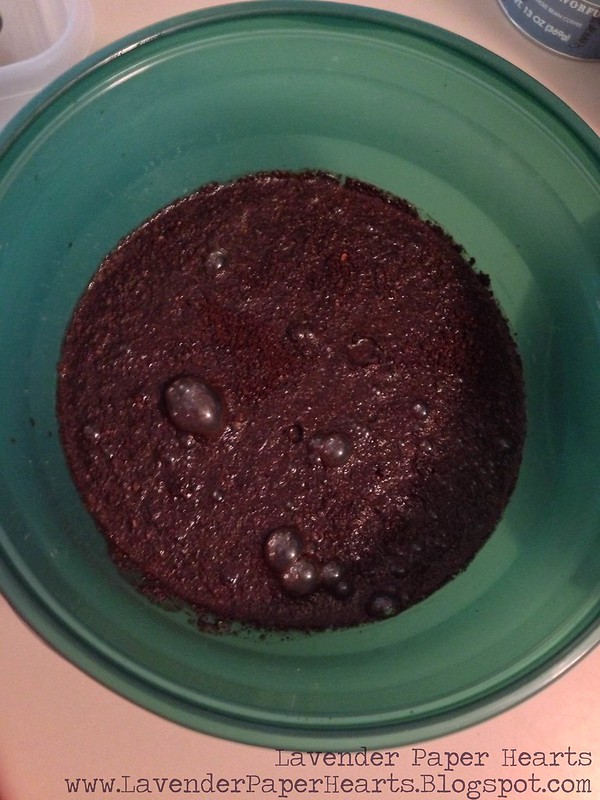
Pour your coffee into a large bowl and then pour your water over the coffee. Give it a stir and then cover it. (True fact: I don't always bother to stir it if I swirl the water in!)  Leave it in a spot in your kitchen where it won't get bumped and forget it for 8 - 24 hours. The nicest thing about this recipe is that you can't really mess it up.


The longer you seep your coffee the stronger it gets, so soak time is up to you (but it needs at least 8 hours). Another trick is if you decide you've made your coffee too strong (which happens) you just need to add more water to the coffee concentrate. It won't ruin it, it'll just cut down the strength a bit. (Be sure to add a little at a time.)  

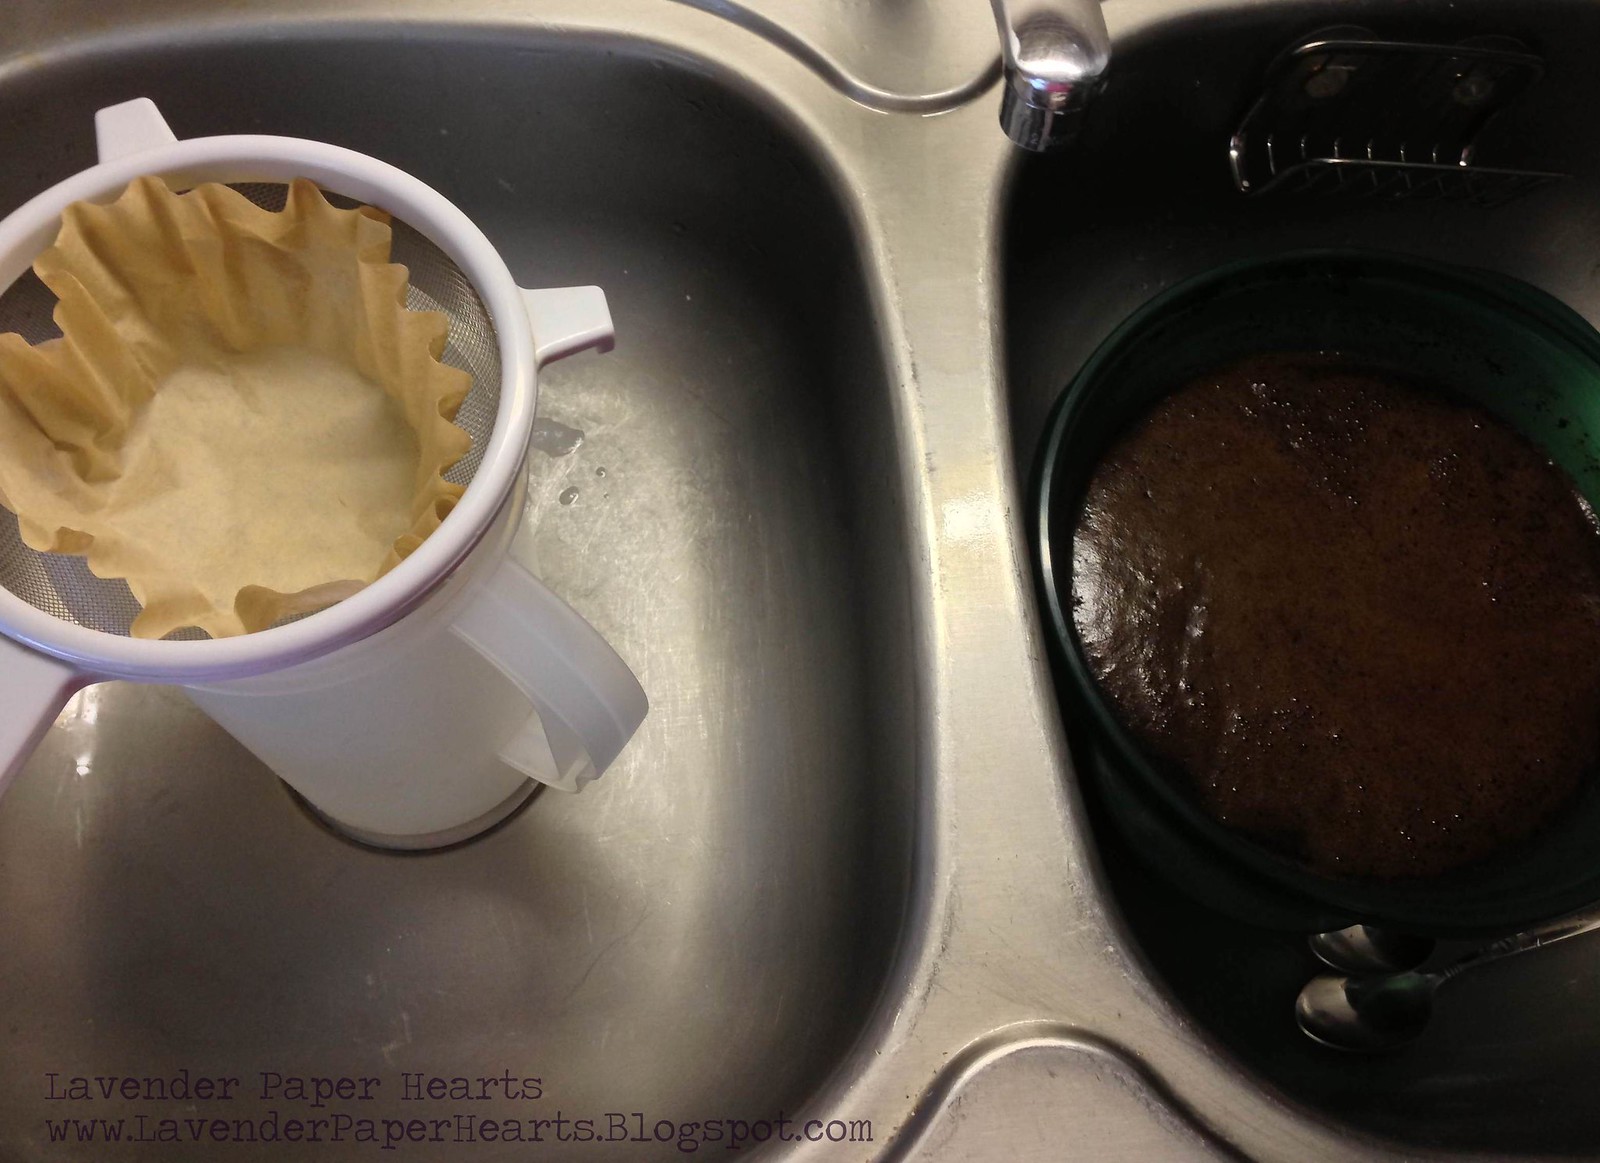
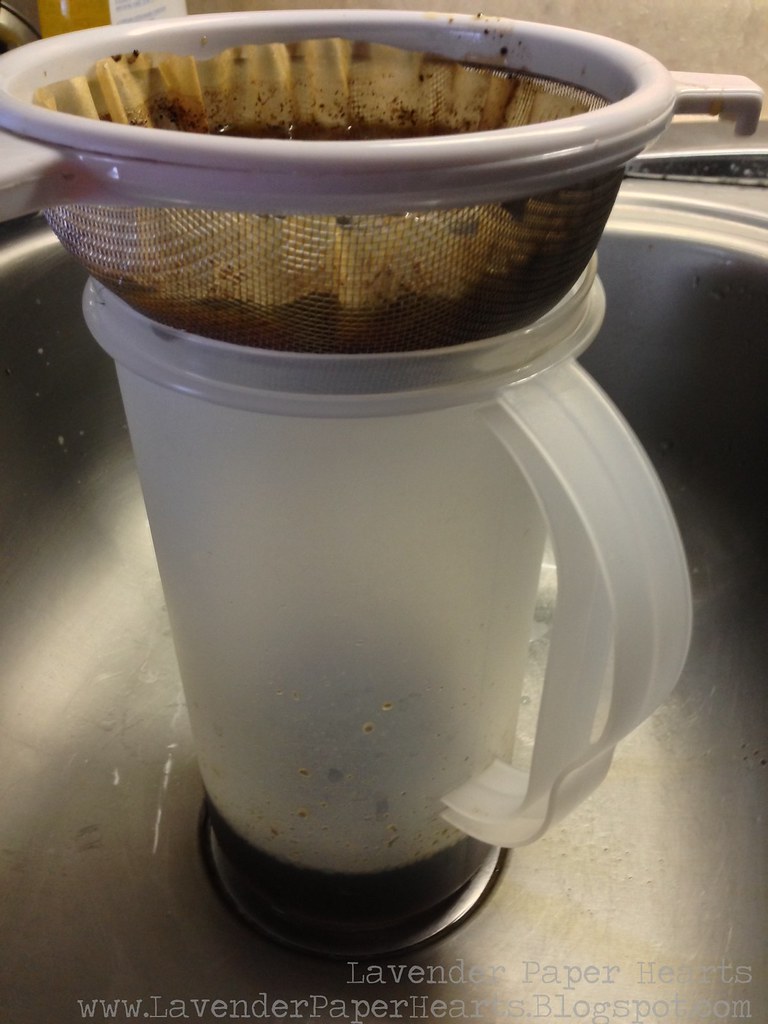
Once you're done letting your coffee steep, get out a strainer and either cheese cloth or large coffee filters that will fit in the strainer.  I like to do this step in the sink because I'm a klutz and I have knocked my drip coffee over before, so I don't take any chances and I just do it in the sink. You'll notice I also put the coffee bowl in the sink so that if any drips when I'm ladling it into the filter set-up I don't have to worry about making a mess. 


Mmmm! Sometimes I have to change out the filter if there are too many grounds in there - which can happen. If you don't want to bother changing the filter and you just have to wait a bit longer to strain the coffee. Walk away and do something else, it will, eventually, drop into your pitcher. It just might take a little more time.  I'd say this process takes about 15 - 20 minutes depending on how much I walk away to let it strain thoroughly. 


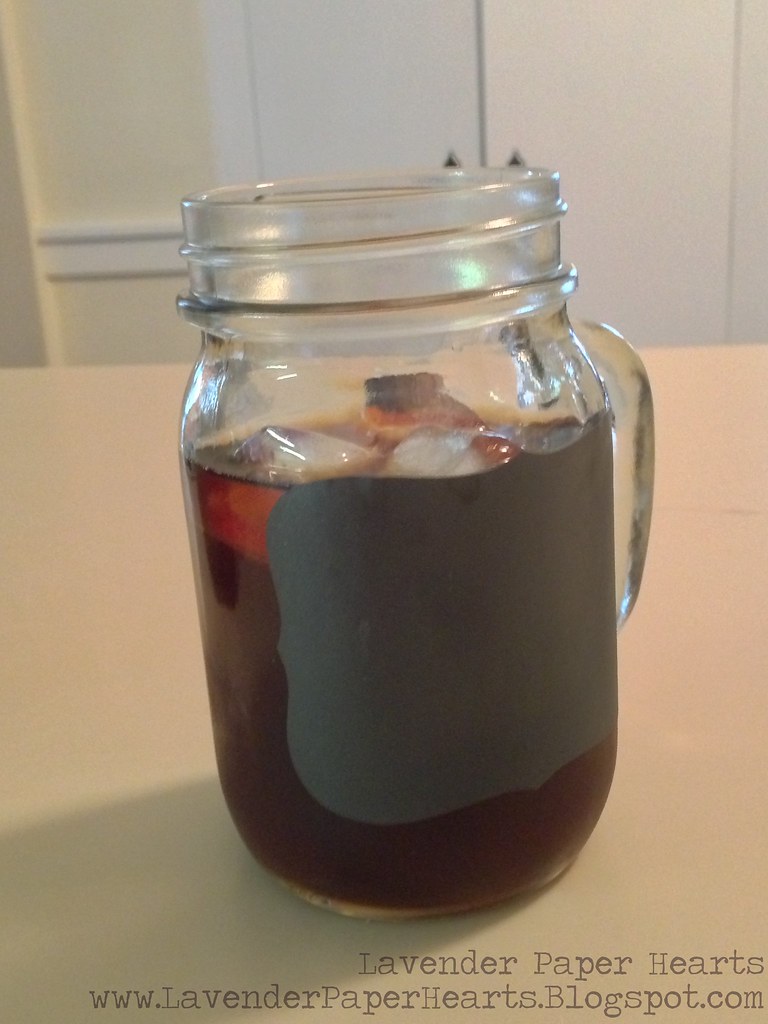
Once you're all done, you've now got liquid gold!! Put the pitcher in the fridge and you can either enjoy it right away, or wait until it's nice and cold and go from there. 


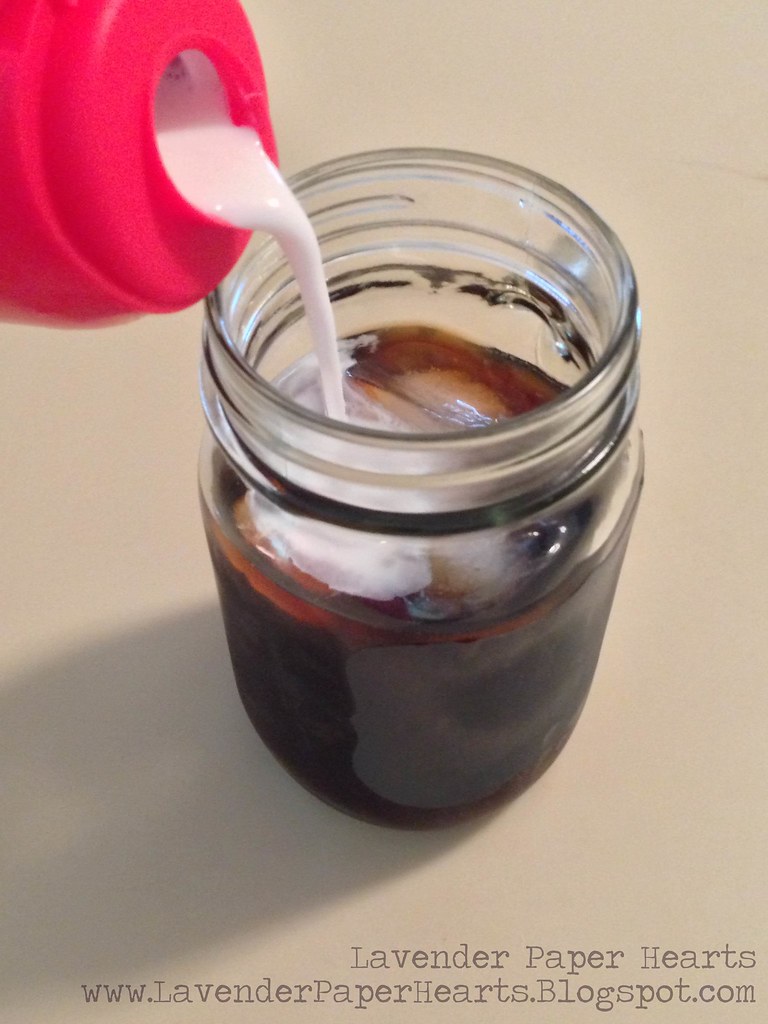
When I make hot coffee, I tend to drink it black, but there's something about iced coffee that makes me crave something a little sweet. I use 3 big ice cubes, and a splash of French Vanilla Coffee Mate. Perfection!! 

(07.01.2014 - ADDITION) I've started trying to stay away from extra soy and unpronounceable chemicals in my diet so I've been making my own creamer. Here's what I do: In a jar I mix together 3/4 cup almond milk with 3/4 cup coconut milk, and a few healthy dashes of vanilla extract. Put on the lid, shake, shake, shake, and you've got delish creamer to go with your coffee!!  (Some brands in the refrigerator section of the store sell this combo in one carton making for instant creamer - even easier!)

 + 


When I made this batch (using only 8 cups of water) it was a bit strong so I added 1 cup of water to my pitcher.  It should be just perfect!! 

Enjoy some cold brew coffee next time you get a hankering for coffee!! There's nothing more lovely in the morning than a cup of iced coffee.  I prefer to take it out to enjoy on the porch along with a good book. It's usually still a bit cool and with my iced coffee and book it's like a glorious little escape a little before I start my day. 

Wednesday, July 3, 2013

Guest Post: Check Out Kiss My Tulle!!

In the month of July I will have two guest posts featured over at Kiss My Tulle while Cris is on a much deserved peaceful maternity leave! Kiss My Tulle is a fantastic website for couples who are interested in having a great wedding but not breaking the bank. Cris, planned her own dream wedding on the budget of $5000 and her blog is dedicated to sharing tips and strategies for other couples to have the same lovely, but inexpensive weddings.  From her site:
Everything that Kiss My Tulle does is inspired by the mission to make it cheap, make it lovely, make it functional, and make it accessible. Kiss My Tulle is committed to providing its readers with do-able DIY projects, down-to-earth advice, and realistic Big Day expectations.

Head on over to Kiss My Tulle to see my blog post, which you can find HERE, and also to check out some of her tips. They're useful no matter your budget or ideal wedding.


Monday, July 1, 2013

New Bow Ties & Bow Ties in Action

Hello there!

Summertime is officially here and this summer's theme seems to be weddings and babies!!  I've had quite a few custom order requests in the shop lately which is always fun and a nice creative challenge.  I'm currently halfway through finishing up a custom quilt which I'll share later in the month as well as 3, yes 3 (maybe 4) different custom mobiles.  Be sure to check back here on Wednesday. I'm going to have a post featured over at the blog Kiss My Tulle and I couldn't be more excited about it!!

By special request, I whipped up some Patriotic Pet Bow Ties for the shop.  You dog or cat will be ready to celebrate the 4th of July in style!! (Also, check out the beautiful color of my hydrangea!)


Last week I also got a custom order request for a navy satin bow tie with a satin collar.  The buyer wanted something cute to dress up her Yorkiepoo in for her wedding day.

Navy Satin Pet Bow Tie. Contact me to request an upgraded listing with the collar.

Now check out all of this cuteness: 

OMG - Hampton (a former S.N.O.R.T. - Short Noses Only Rescue Team-er) is *quite* the charmer. I recently got an update about Mr. Formal-Classic from his former foster mom. Hampton is a therapy dog and he works in hospitals and nursing homes helping people and he wears his Navy Satin Fancy Pet Bow Tie every time he's "on duty" cheering people up!! How great is he?!! 


This is Mojo!! His mom bought him a collar back in May so he could look fancy at her wedding.  I've got this photo for now of Mojo trying it on, but will have a professional photo or two later in the summer.  I'm so excited! 

Lastly, I whipped up some business cards to include with my bow ties and they, obviously, feature the exceptionally adorable in-house model.  Vertical design, purple backs, rounded corners, and a cute pup in a bow tie.  What's not to love?!!