Let's talk salsa! When I was growing up we used to always have an inordinate amount of tomatoes growing in the backyard during the summer. At some point, you can only eat so many tomato salads before you need to branch out, and fast. I thought a lot of people in So Cal made their own salsa but when I asked some of my girlfriends for their recipes they laughed and said they buy stuff from a jar. To be fair, growing up in Southern California means you can get really really good salsa from a jar - not that Tostitos stuff (though secretly that's yummy in a pinch). I guess we used to make our own because of the WAY TOO MANY TOMATOES thing happening in our backyard.
Have you ever wondered the difference between pico de gallo (also known as salsa fresca) and regular salsa are? I never really thought about it much until a few months ago when we were talking about it with some friends. I decided to Google it and find out exactly what the difference is. Here's what I found: Salsa tends to have ingredients in it that are cooked in some capacity, and it also tends to have much more liquid. Pico de gallo, tends to be used as toppings on tacos etc. and is made with ingredients that are not cooked. It also tends to be chunkier.
In the grand scheme of things I like my salsa to have a bit more chunks in it than the blended style. I like to chew it a bit more than slurp it up with a chip. My recipe isn't a true salsa fresca nor a true salsa which is why I'm calling it the ridiculous name: Salsa-y Salsa Fresca. I've been making variations of this salsa recipe since I was in high school and the recipe has developed over the years. For instance, the roasted corn is now a must have in nachos or in salsa for me. The nice thing about the recipe, too, is that it's totally modifiable to your tastes. I tend to not use jalapenos because they're too hot for me, but I do use cayenne. I also sometimes add half a cup of black beans to the recipe to make it a black bean salsa.
*Why is it always overcast on the days I decide to do a food tutorial??
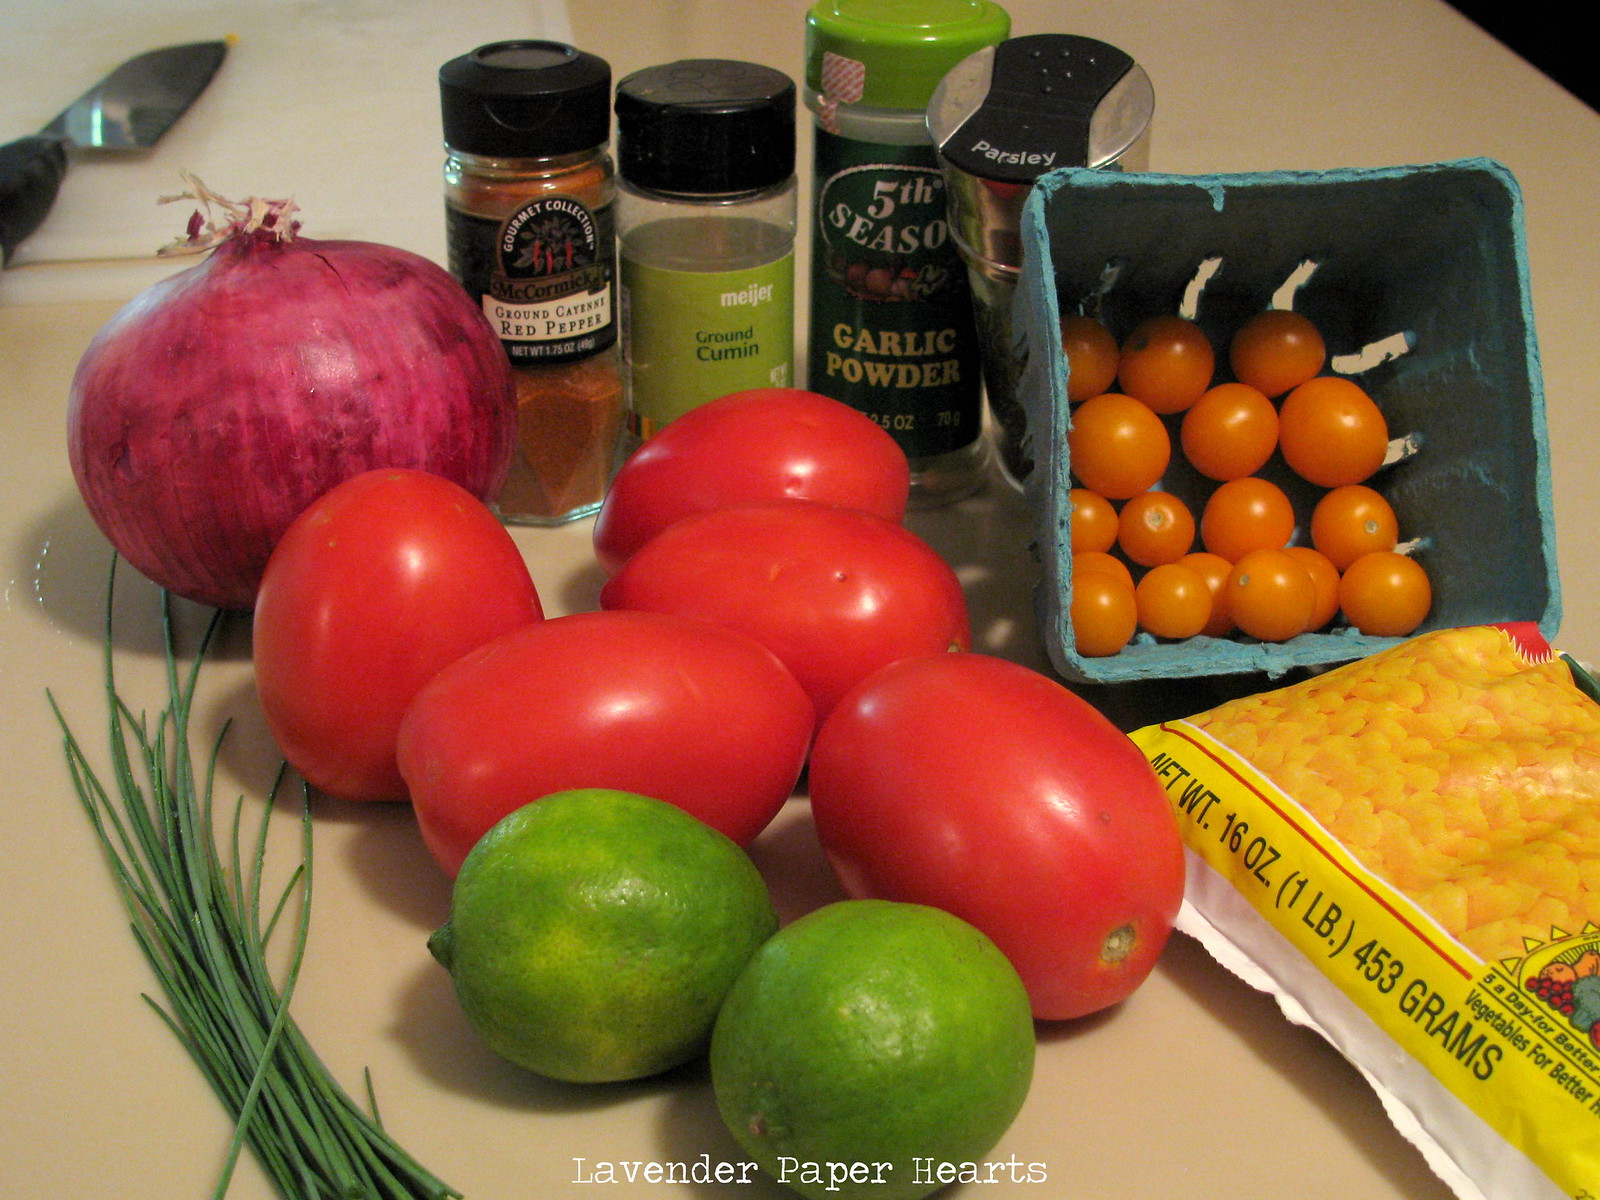
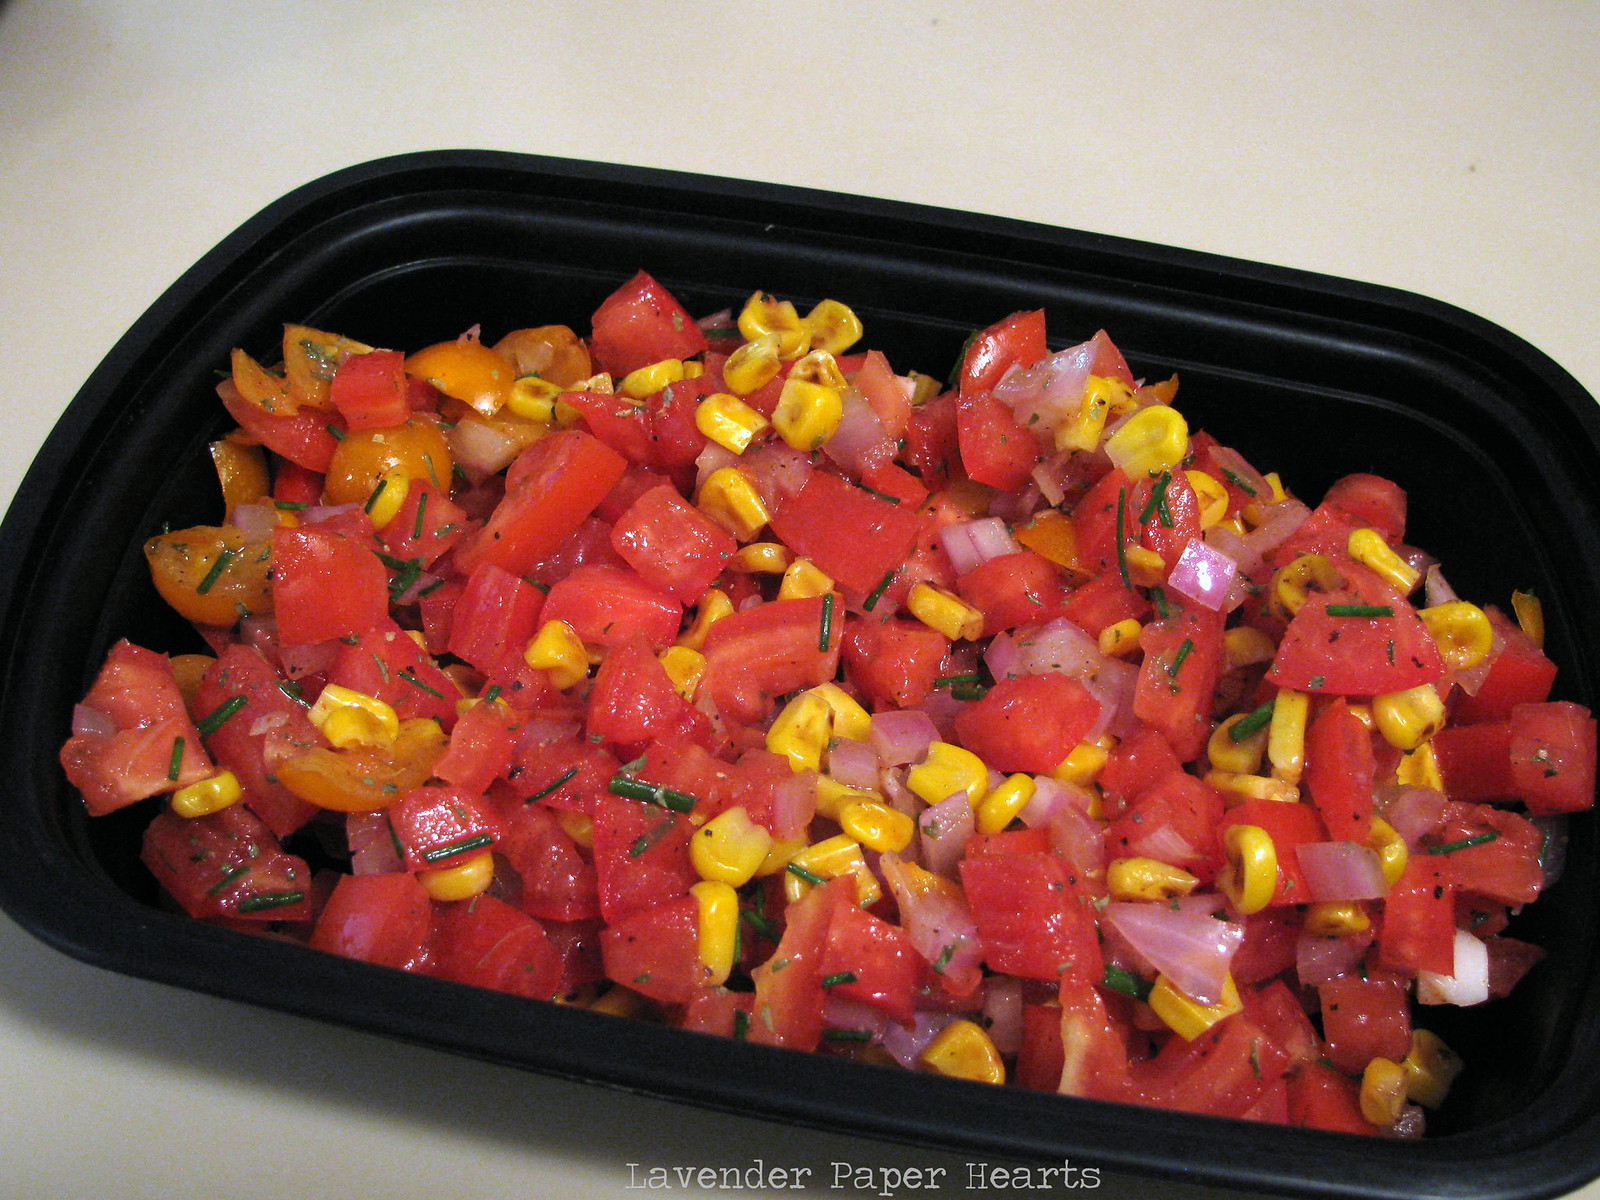
*This photo has orange cherry tomatoes in it. I added them because they're so pretty!
Ingredients:
3/4 cup diced red onion
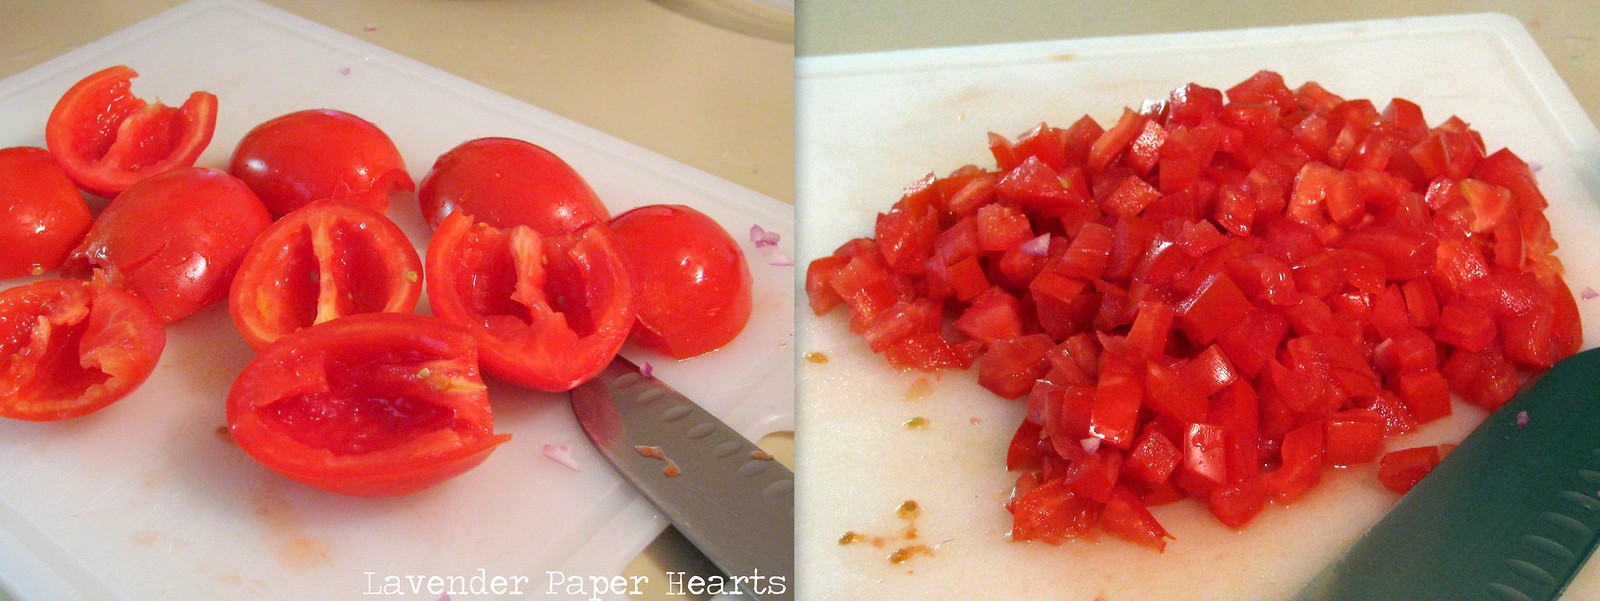
3 cups Roma tomatoes diced - remove the seeds and inside stems
3/4 cup corn - frozen or fresh
1 Tbs chives - fresh
Juice of 1 lime
Parsley - fresh or dried
Cayenne pepper - or a jalapeno (too hot for me)
Cumin
Garlic Powder (or you can use fresh)
Salt
Pepper
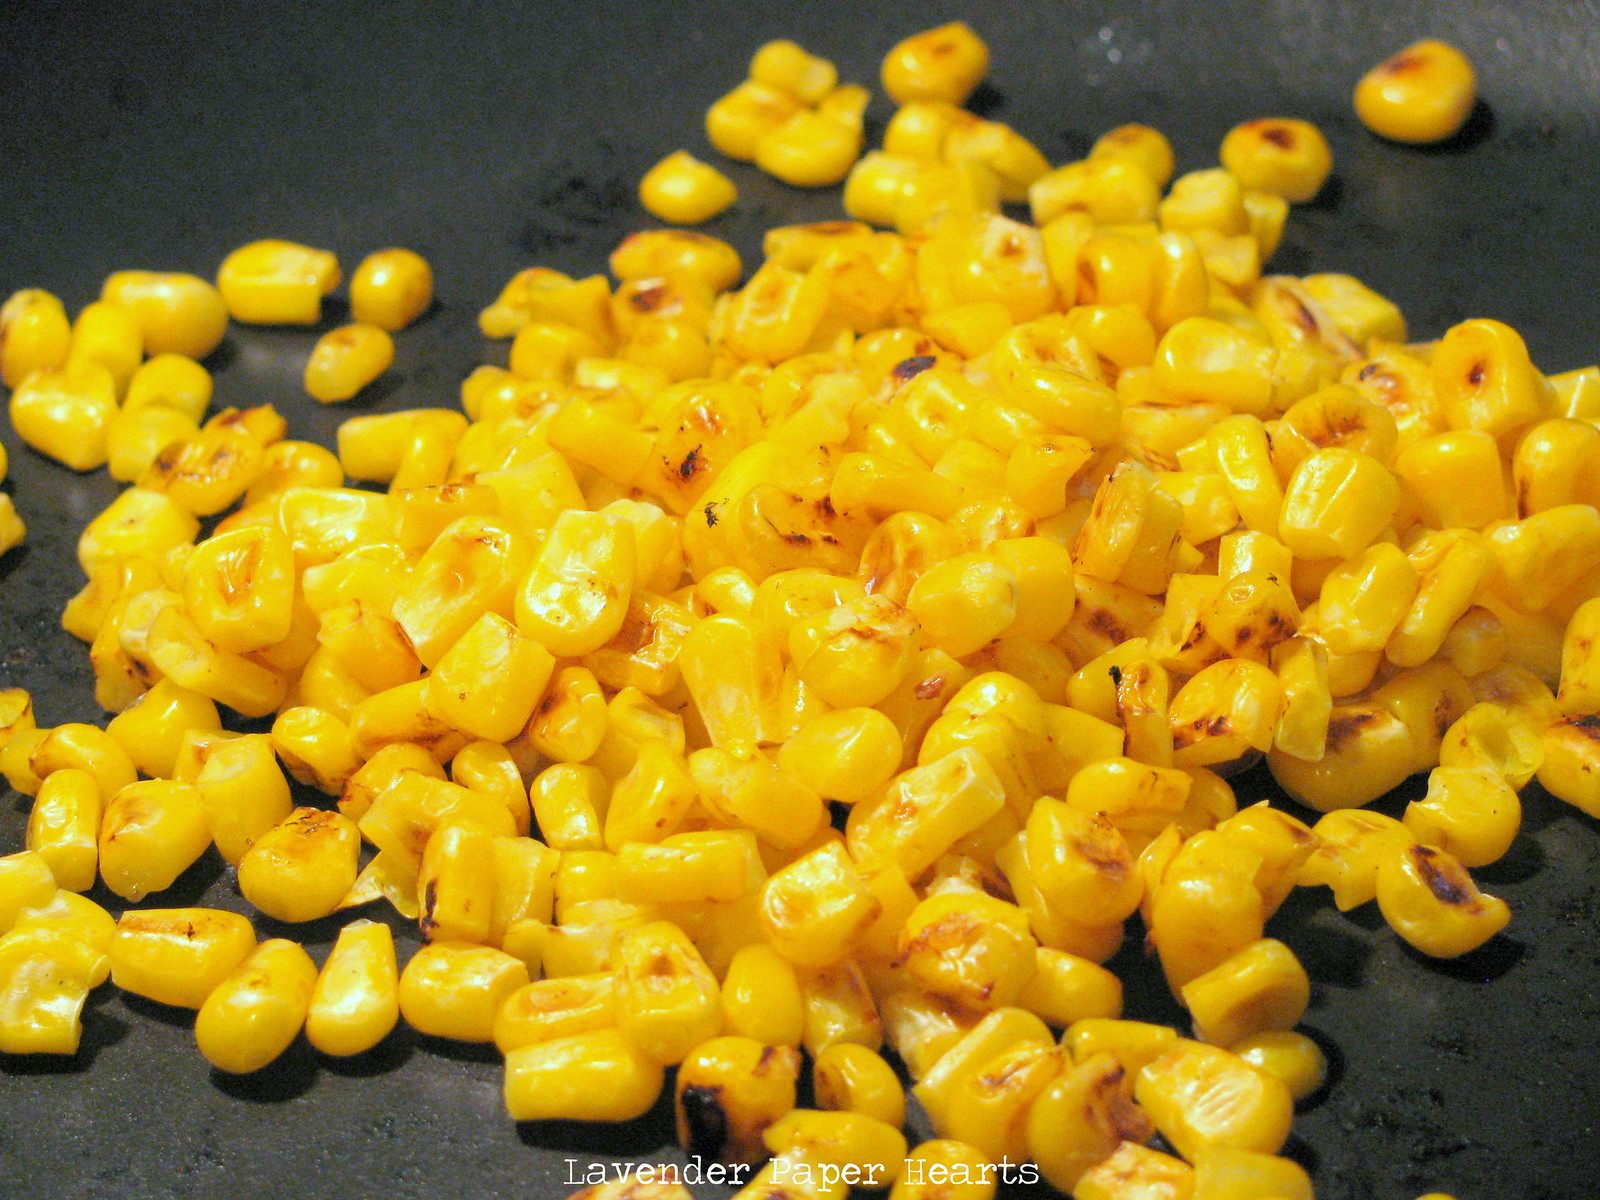
This salsa develops it's flavors - so I would recommend making it the night before you're going to serve it or at least several hours in advance. Using kitchen scissors cut up your chives so they're 1 cm pieces or smaller and toss them into a large bowl. Next, heat up a pan. When it's good and hot toss in your corn and shake the pan so the corn makes a single layer in the pan. Once you've got a good single layer don't touch or stir the corn. What you're trying to do here is roast the corn so it's important to let it sit still. It will take a few minutes (or more if your corn is frozen) to start to get the brown sear marks. You can tell that the corn is really starting to cook when you start to smell what sort of smells like pop corn. If you're concerned you're burning the corn use a spoon and push around some corn in just one small space. You can start on your tomatoes while this is cooking.

Okay, so while that's cooking cut your tomatoes in half and scoop out the seeds and centers. You don't want to add the seeds and pulp because it will make the salsa too watery - no bueno. Dice them up and toss them into your bowl.
Check your corn and stir it once when it's gotten a bit brown. You'll want to then let it cook a bit more once you've stirred it so try getting a single layer again.
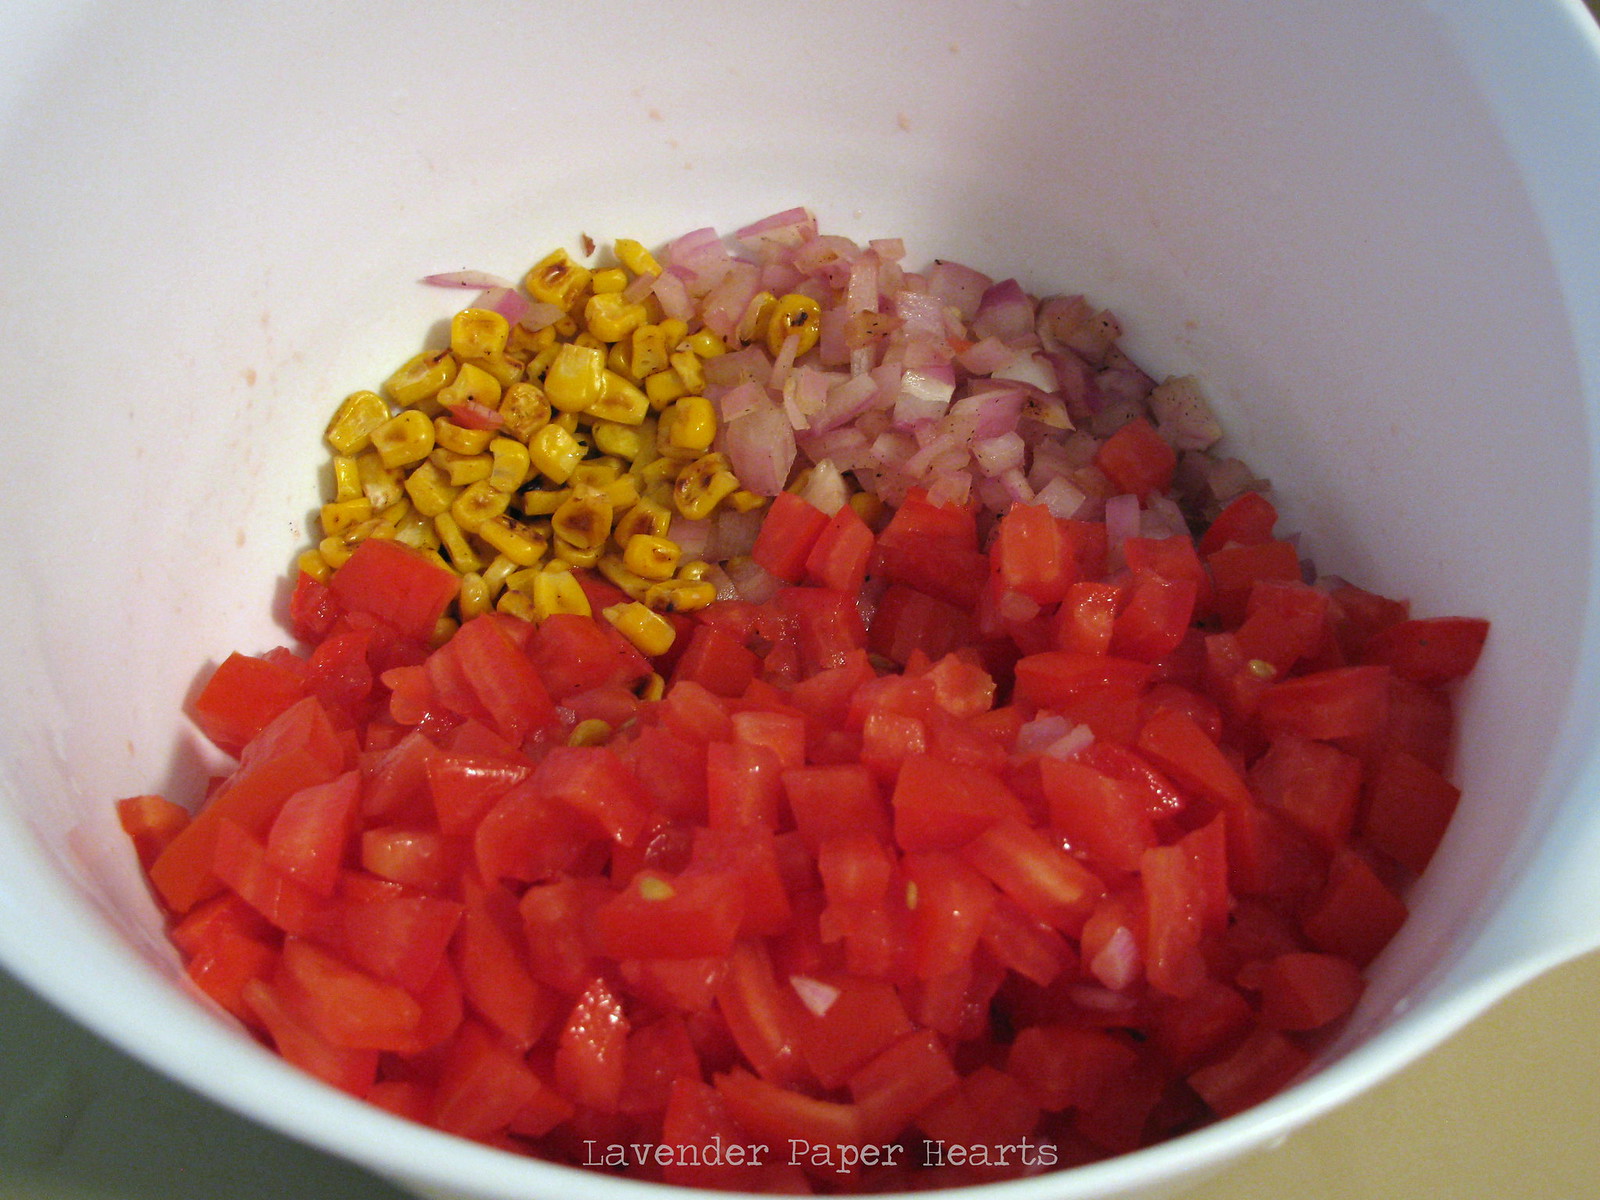
Pour your corn into the bowl and then put the pan back on the heat. Now, it's up to you if you'd like to cook the onion just a bit or not. I like onion, but I don't like the taste to linger around in my mouth for-ever (it feels like forever.) So if you cook your onion for 20 seconds (seriously, 20 seconds, it doesn't need to be longer) it helps the onion maintain most of its crunch while not leaving an onion taste in your mouth all day. If you use fresh garlic you can also add it in with the onions. Toss them into the bowl. You'll want to cut your lime in half and juice that into the bowl too. Zest in a little lime peel too if you want to up the fresh flavor of lime!!
Now to add your spices. Start with your salt and pepper and add a pinch of each. The rest of the spices are based on personal taste so you can add as little or as much as you'd like. I add about 1/4 cumin, 1/8 cayenne pepper, 1/4 garlic powder, and 1/4 parsley. Usually I let the salsa sit over night and then the next day I taste it to make sure it tastes how I want it. If it's not quite right I add more spices.
This recipe is really flexible. You can add and remove most ingredients (aside from the tomatoes obviously), and you could also add cilantro. Real Mexican salsa has cilantro, but I can't get over cilantro tasting like soap so I don't add it.
Here's the full recipe. Just copy and paste it into a document and you can print it out!
Salsa-y Salsa Fresca
Ingredients:
3/4 cup diced red onion
3 cups Roma tomatoes diced - remove the seeds and inside stems
3/4 cup corn - frozen or fresh
1 Tbs chives - fresh
Juice of 1 lime
Parsley - fresh or dried
Cayenne pepper - or a jalapeno (too hot for me)
Cumin
Garlic Powder (or you can use fresh)
Salt
Pepper
This salsa develops it's flavors - so I would recommend making it the night before you're going to serve it or at least several hours in advance. Using kitchen scissors cut up your chives so they're 1 cm pieces or smaller and toss them into a large bowl. Next, heat up a pan. When it's good and hot toss in your corn and shake the pan so the corn makes a single layer in the pan. Once you've got a good single layer don't touch or stir the corn. What you're trying to do here is roast the corn so it's important to let it sit still. It will take a few minutes (or more if your corn is frozen) to start to get the brown sear marks. You can tell that the corn is really starting to cook when you start to smell what sort of smells like pop corn. If you're concerned you're burning the corn use a spoon and push around some corn in just one small space. You can start on your tomatoes while this is cooking.
Okay, so while that's cooking cut your tomatoes in half and scoop out the seeds and centers. You don't want to add the seeds and pulp because it will make the salsa too watery - no bueno. Dice them up and toss them into your bowl. Check your corn and stir it once when it's gotten a bit brown. You'll want to then let it cook a bit more once you've stirred it so try getting a single layer again.
Pour your corn into the bowl and then put the pan back on the heat. Now, it's up to you if you'd like to cook the onion just a bit or not. I like onion, but I don't like the taste to linger around in my mouth for-ever (it feels like forever.) So if you cook your onion for 20 seconds (seriously, 20 seconds, it doesn't need to be longer) it helps the onion maintain most of its crunch while not leaving an onion taste in your mouth all day. If you use fresh garlic you can also add it in with the onions. Toss them into the bowl. You'll want to cut your lime in half and juice that into the bowl too. Zest in a little lime peel too if you want to up the fresh flavor of lime!!
Now to add your spices. Start with your salt and pepper and add a pinch of each. The rest of the spices are based on personal taste so you can add as little or as much as you'd like. I add about 1/4 cumin, 1/8 cayenne pepper, 1/4 garlic powder, and 1/4 parsley. Usually I let the salsa sit over night and then the next day I taste it to make sure it tastes how I want it. If it's not quite right I add more spices.
This recipe is really flexible. You can add and remove most ingredients (aside from the tomatoes obviously), and you could also add cilantro. Real Mexican salsa has cilantro, but I can't get over cilantro tasting like soap so I don't add it.
This recipe is really flexible. You can add and remove most ingredients (aside from the tomatoes obviously), and you could also add cilantro. Real Mexican salsa has cilantro, but I can't get over cilantro tasting like soap so I don't add it.