Showing posts with label felt. Show all posts

Wednesday, July 24, 2013

Custom Crossfit Baby Mobile


I've been getting a lot of custom mobile orders in the shop lately which is always a new and fun creative challenge. You saw the cute elephants mobile for Baby Boy Darko last week on the blog, but this week I wanted to share with you a Crossfit themed mobile.  This customer LOVES Crossfit and wanted to tie in the hardcore exercise regiment into her new baby's room.  

This mom was also waiting until baby was born to find out its gender, so originally we were going with really neutral colors of silver, grey, and tan.  Baby came early though, and was a cute baby boy, so mom gave me permission to tie in some blue too!  As for the main squidgy parts: I was asked to incorporate kettlebells, medicine balls, barbells, Crossfit boxes, and even Crossfit shoes! Here's a photo of the pieces when they were drying after being glued. I also added more details to the kettlebell, and fiddled with the barbell - it just wasn't doing it for me at this stage.  


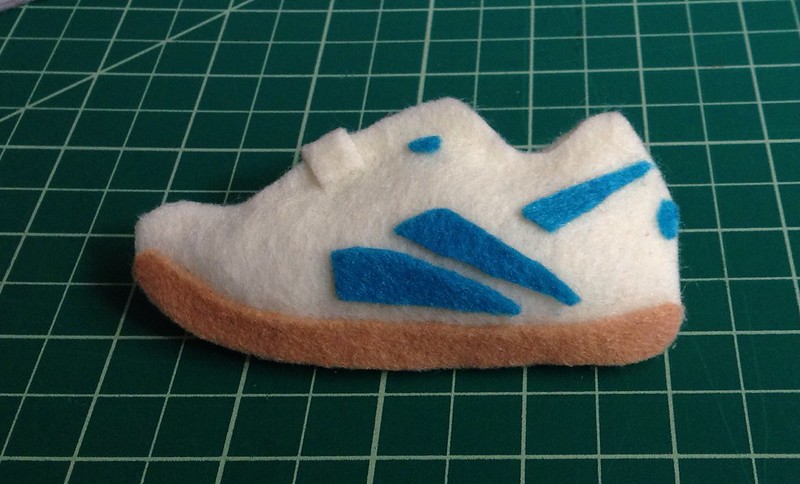
I was so excited about getting this finished and shipped off (and baby arrived early so I was trying to get it done) that I sort of (totally) forgot to take pictures of each piece up close like I normally do. I did, however, take a close up shot of the Crossfit shoe because 1) I love shoes, and 2) I was really tickled by how this particular piece came out!!


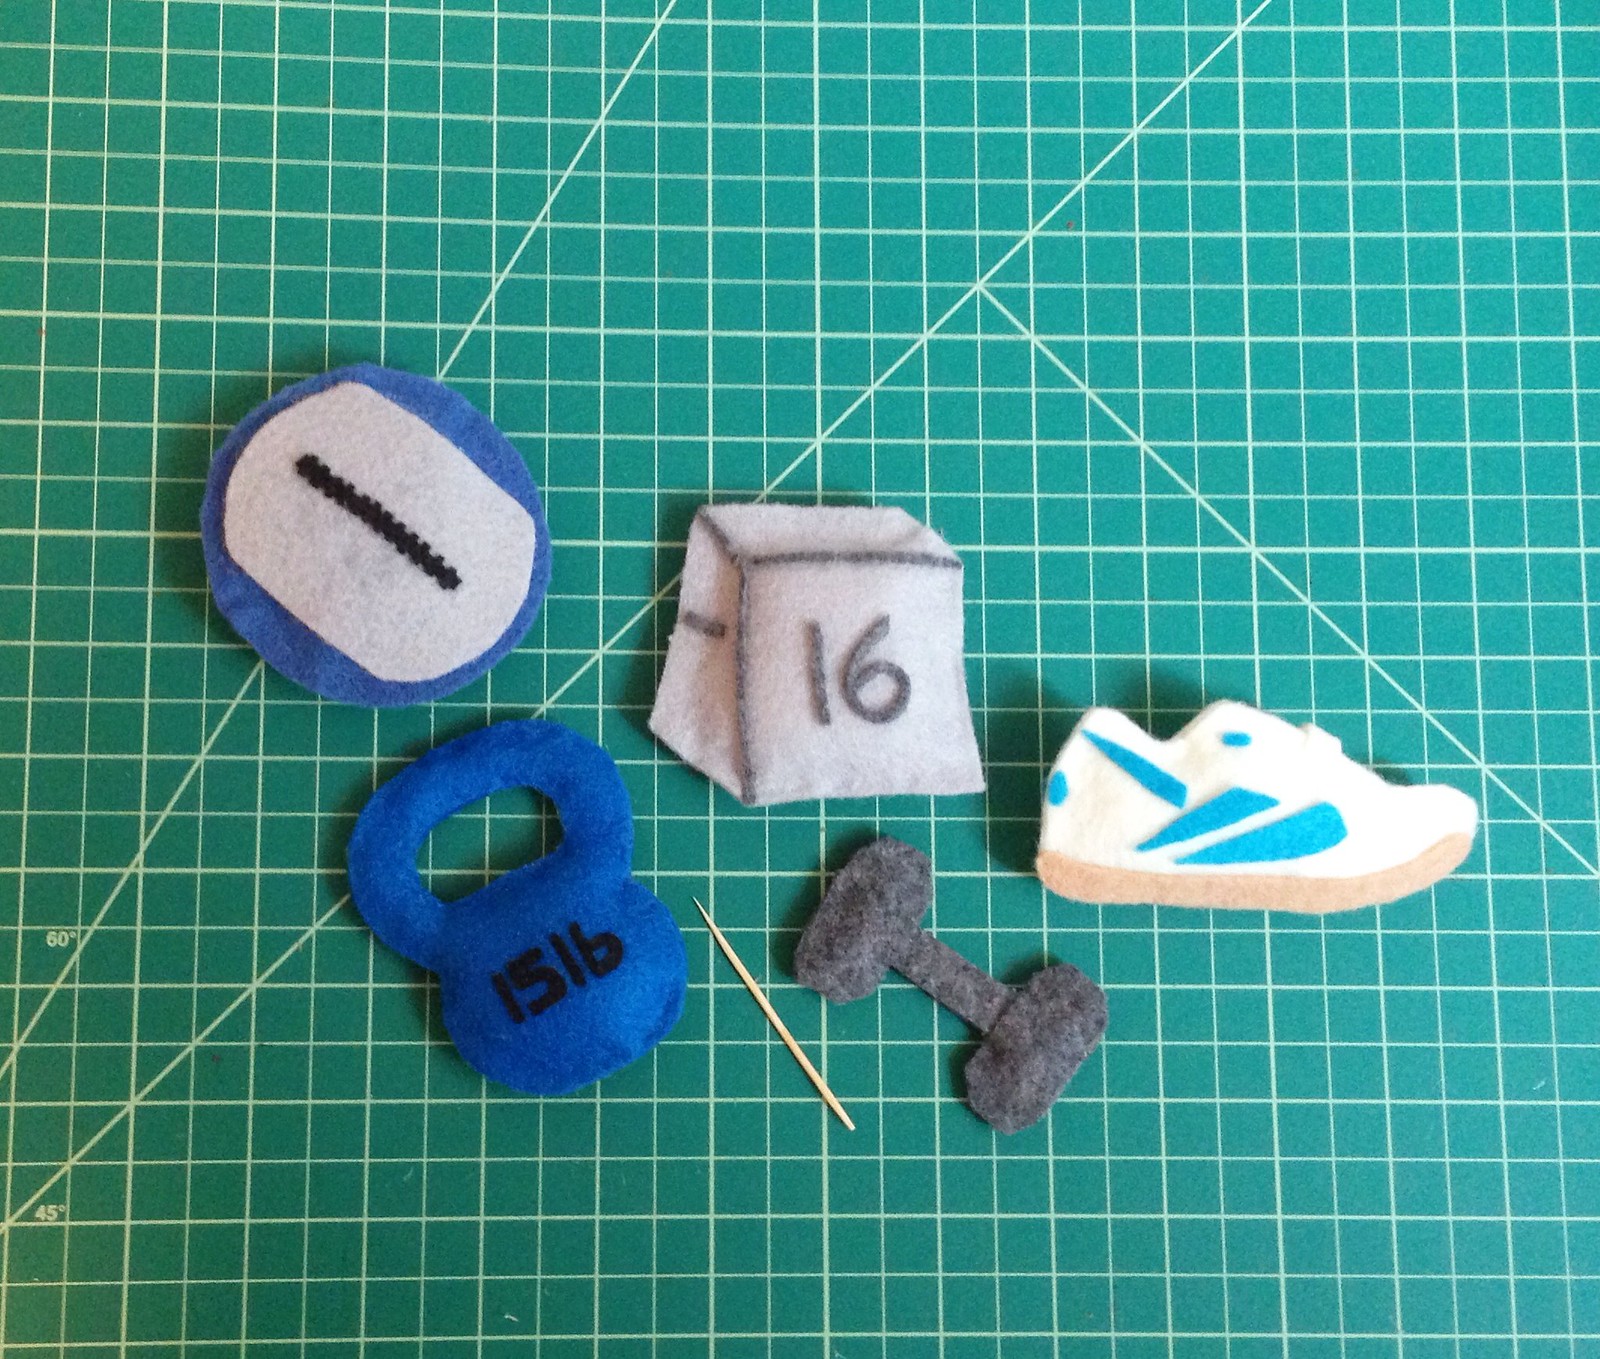
Here are the finished Crossfit pieces! 


And lastly, here is the finished mobile in action. 


Does it make you motivated to work out? :)  The mobile is now available in the shop and like my other mobiles, the mobile is completely customizable!!

Baby Mobile - Crossfit Theme


Wednesday, July 17, 2013

Elephant Baby Mobile: Elephants in Dreamland


Goodness - why oh why are elephants just SO CUTE??  Whenever I see baby elephant videos I like to post them to my husband's Facebook wall in a bid to convince him we should get a baby elephant. I get it, I know they'll get bigger, but wouldn't it be fun to snuggle one for just a minute?? Just look at the cute little guy below!!


I was recently contacted to make a gender neutral elephant themed mobile for my friends Lauren and Andrew. I posted about the No Hablo onesie I made for baby Darko a few weeks ago.  Their baby shower was elephant themed and Lauren was interested in continuing this in Darko's room.  

Darko's room is yellow and grey - gender neutral colors until he or she arrives!! (Fun fact: Pastel yellow felt is actually quilt literally impossible to find around these parts. I called 5+ different stores in an attempt to find some. Luckily, Lauren liked the primary yellow color - phew!) 

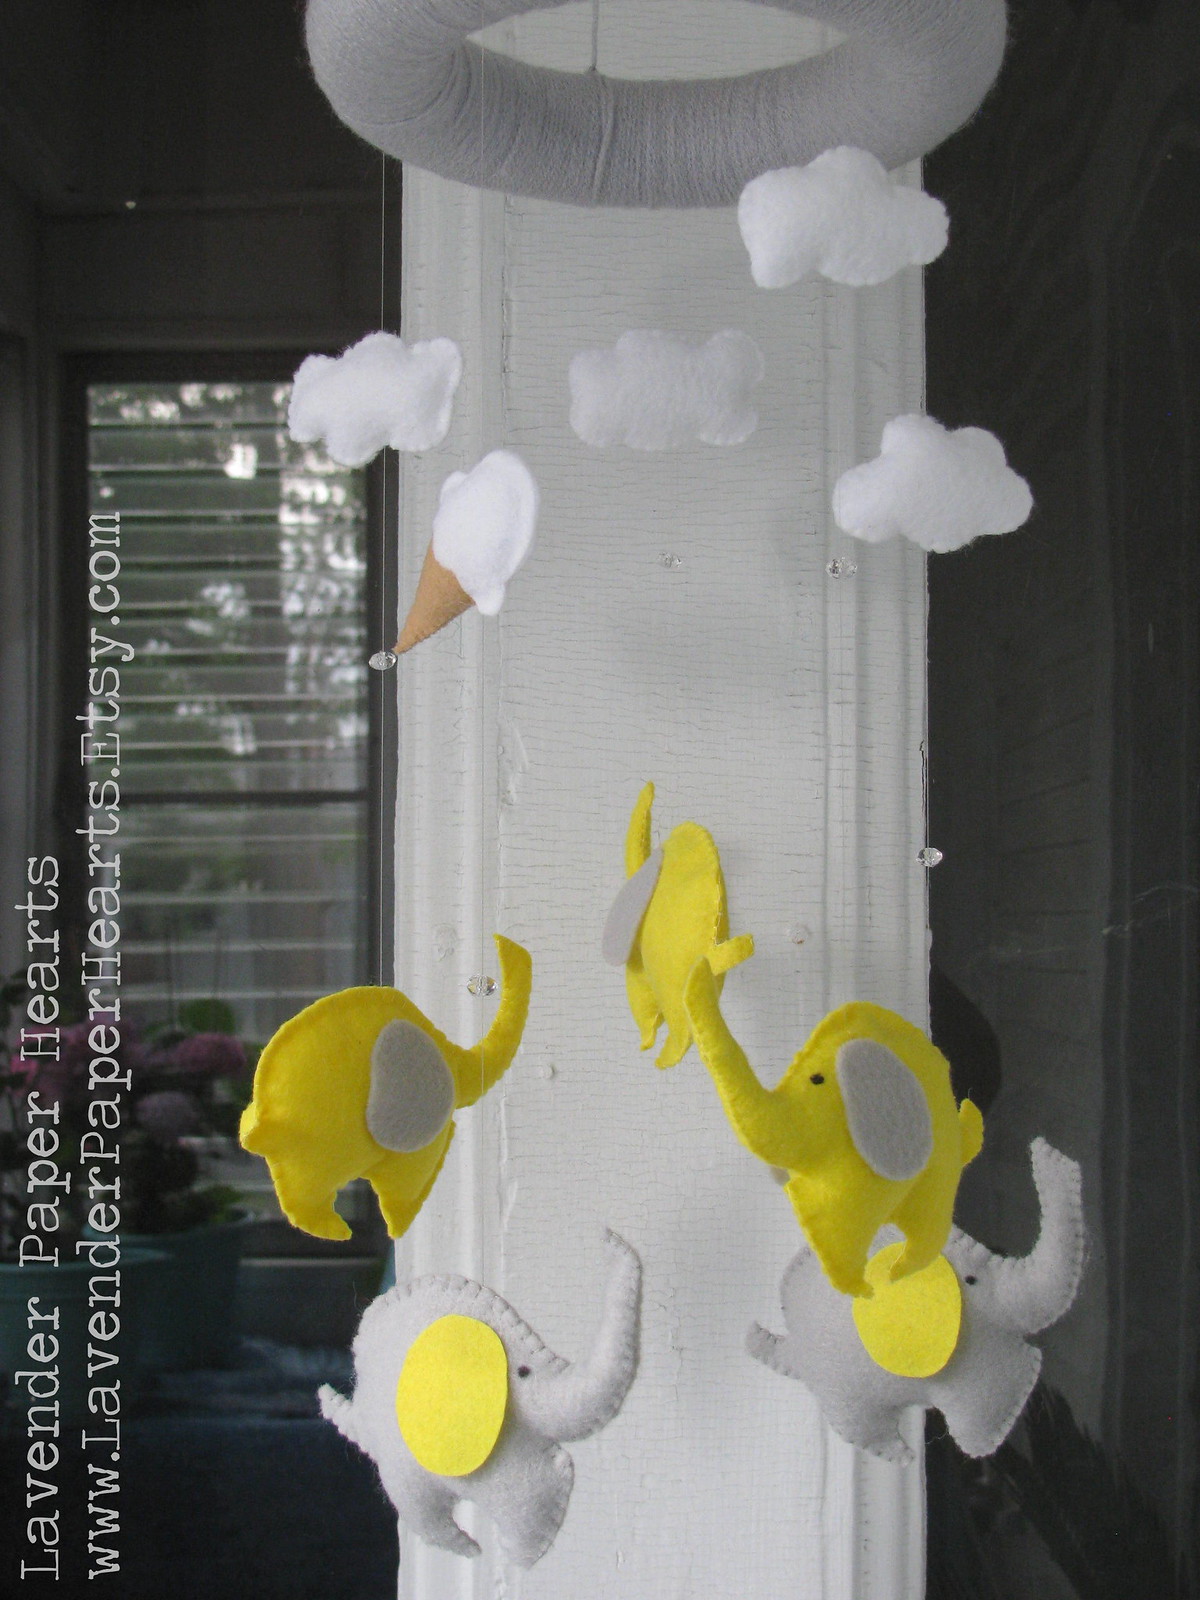
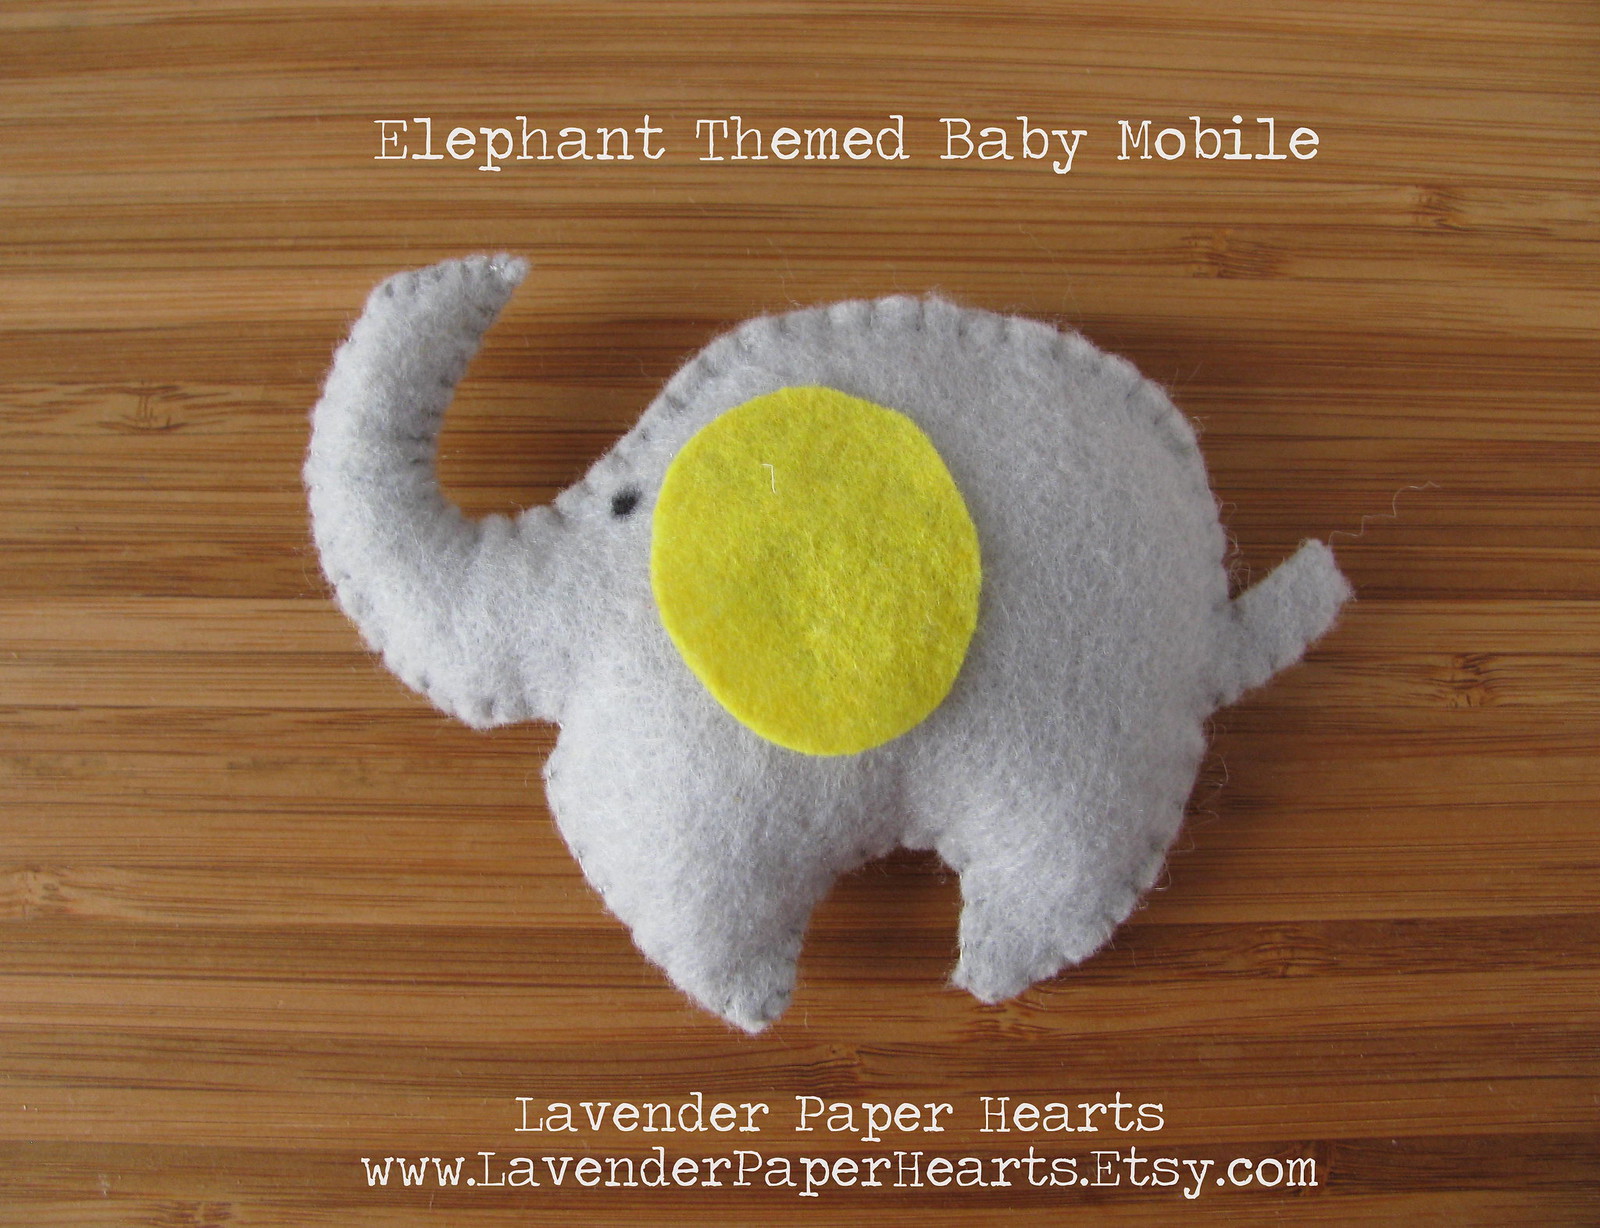
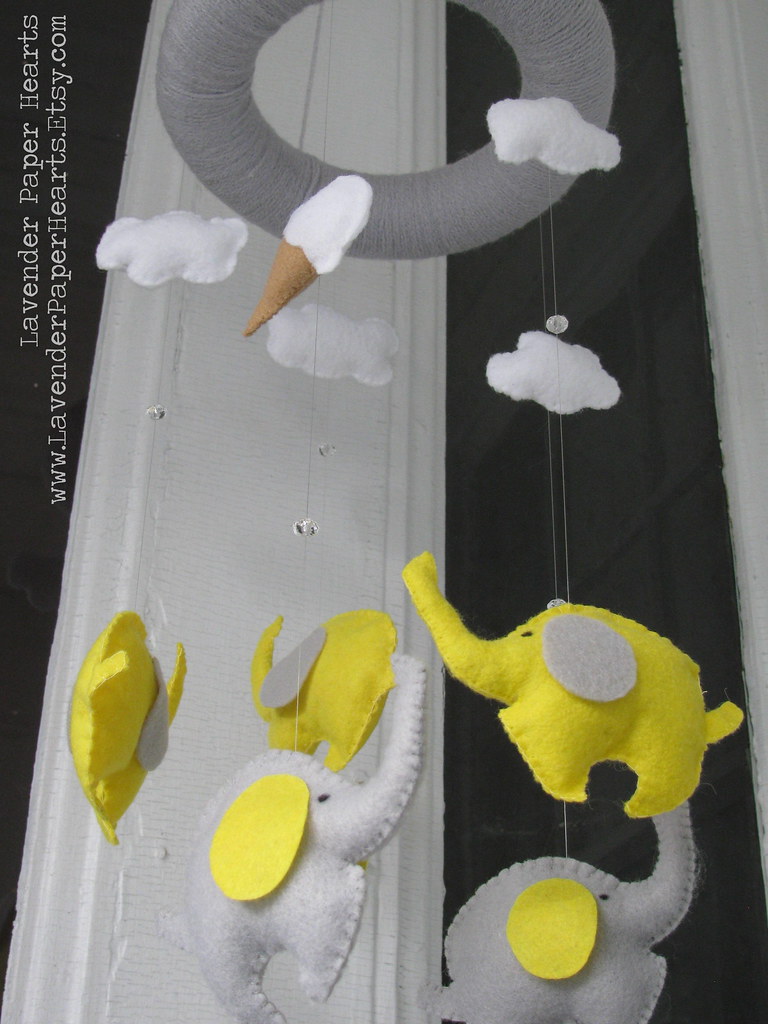
I'm calling this mobile Elephants in Dreamland and it's been listed up on my Etsy shop already. (You can find it here!) The elephants are cute and cuddly and they colors are easily customizable. 


Here are some of the mobile's elements up close: 


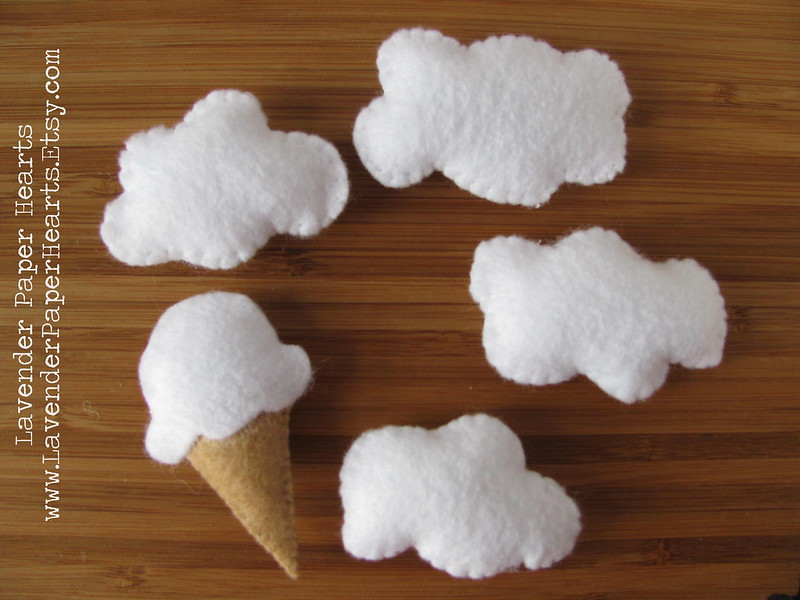
Lastly, for my mobiles I usually like to add extras to break up and expand the visual line of the mobile - give baby something more to look at!!  I thought clouds was a sweet touch since the mobile is meant to lull the baby into sleep, but then I added the ice cream cone.  See, Lauren has a serious OBSESSION with Golden Spoon. To be fair, Golden Spoon has amazing frozen yogurt so really, what's not to love?! I've taken my husband there when we were visiting home and he was overwhelmed by all the topping flavors. (Seriously, the girls behind the counter started giggling because he was just staring at all of the choices!!)  He's now a Golden Spoon convert. Pft, as if he needed convincing!  For the mobile I thought the ice cream cone could be a fun twist on the idea of sweet dreams or dreamland. Plus, it's cute damn it!!


Baby Darko is almost here and I can't wait to meet him or her!! 

UPDATE: 
Baby Darko is a BOY! He arrived 7.14.2013, just one day after Baby Nessie arrived on 7.13.2013. So many new babies in this family!!  :) 

Wednesday, October 31, 2012

HAPPY HALLOWEEN!!

Happy Halloween!!  I hope that my East Coast friends have safely survived Hurricane Sandy.  We've had a few days off from school and it's been great because I've been SUPER sick and using the time to sleep and try to feel better.  My sister has been stuck in NYC for a few days longer than she anticipated, but hopefully she'll get home sometime soon.

With Halloween today, it means that stores will officially start inundating us with Christmas/Holiday stuff tomorrow... It also means the start of shopping for the Christmas season (if you haven't started already, which, gasp, I have). I've started started making some lists of things I'm making for friends and family.  I've even completed a few items on my list (whoa!).  Fact: It's my first Christmas out of grad school in what feels like a VERY LONG time, so I actually have time to think about the holidays in advance, instead of just barely coming up for air some time around December 18th/19th just in time to travel and order things last minute. Phew!

With planning ahead in mind, and hopefully with running the risk of being one of those inundating types, I'm sharing some of my felt hair bows early this year so that people can order them early and in time for the holidays.

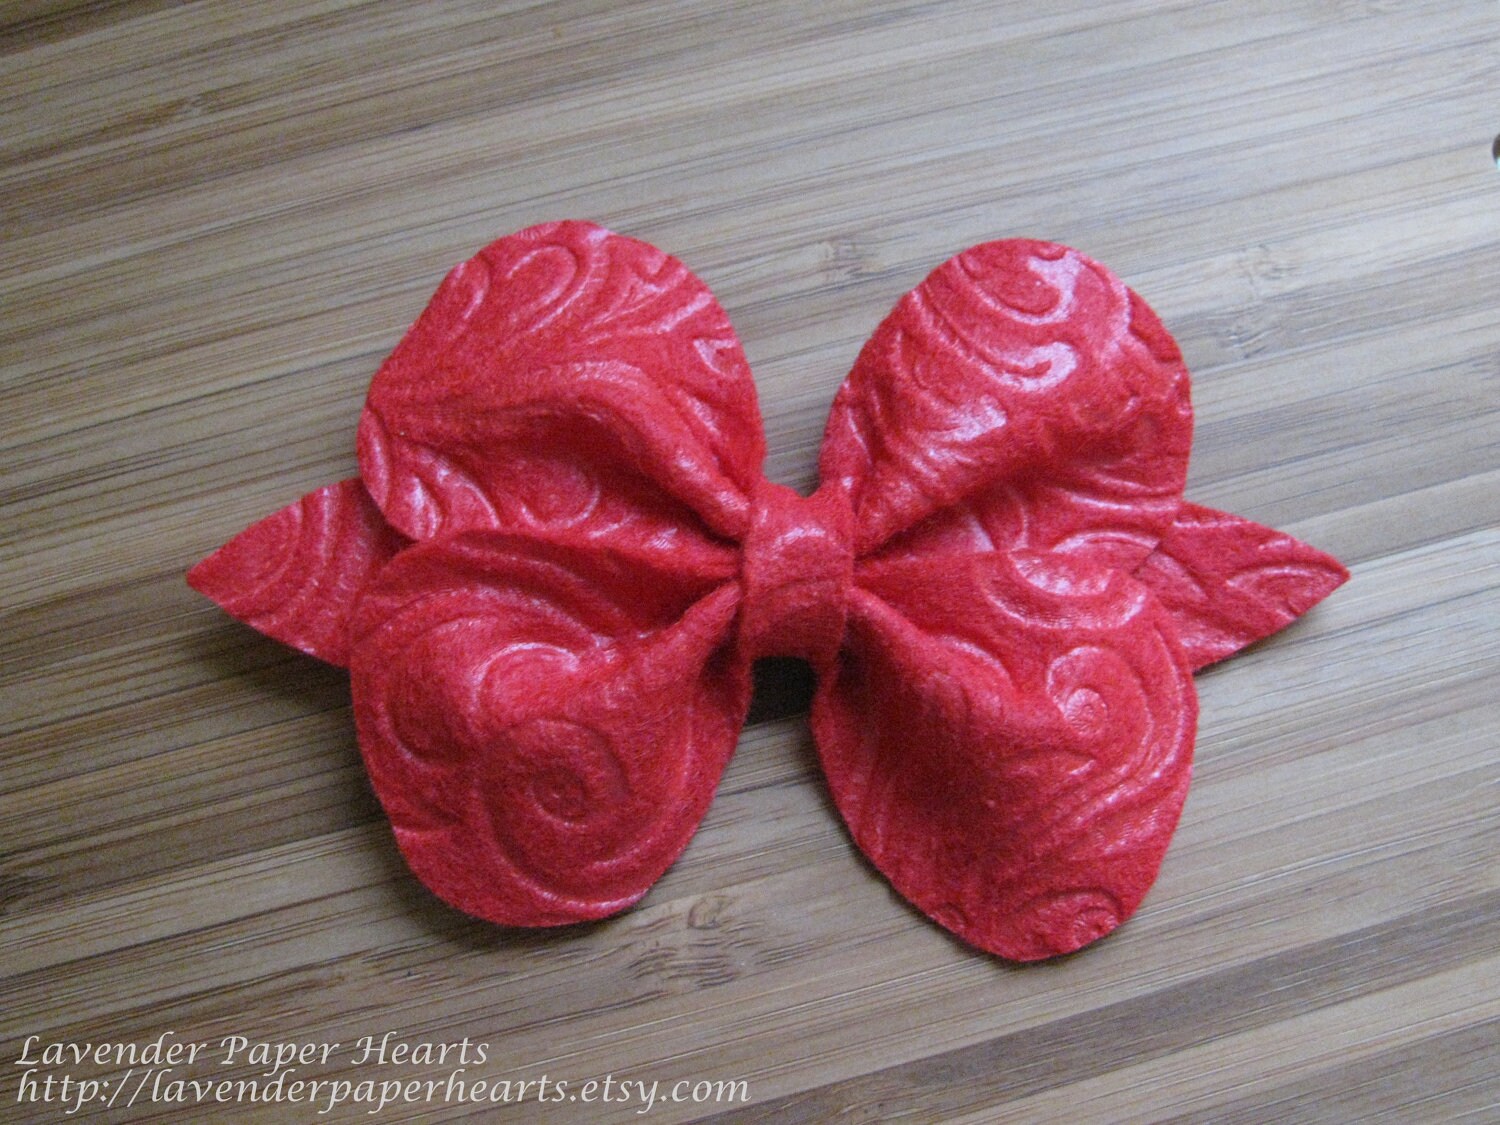
I was inspired to make these last fall when I saw something similar in a shop.  I can make them in a ton of different colors, but I've highlighted the red embossed material here for holiday season. I wore one on Christmas day last year.

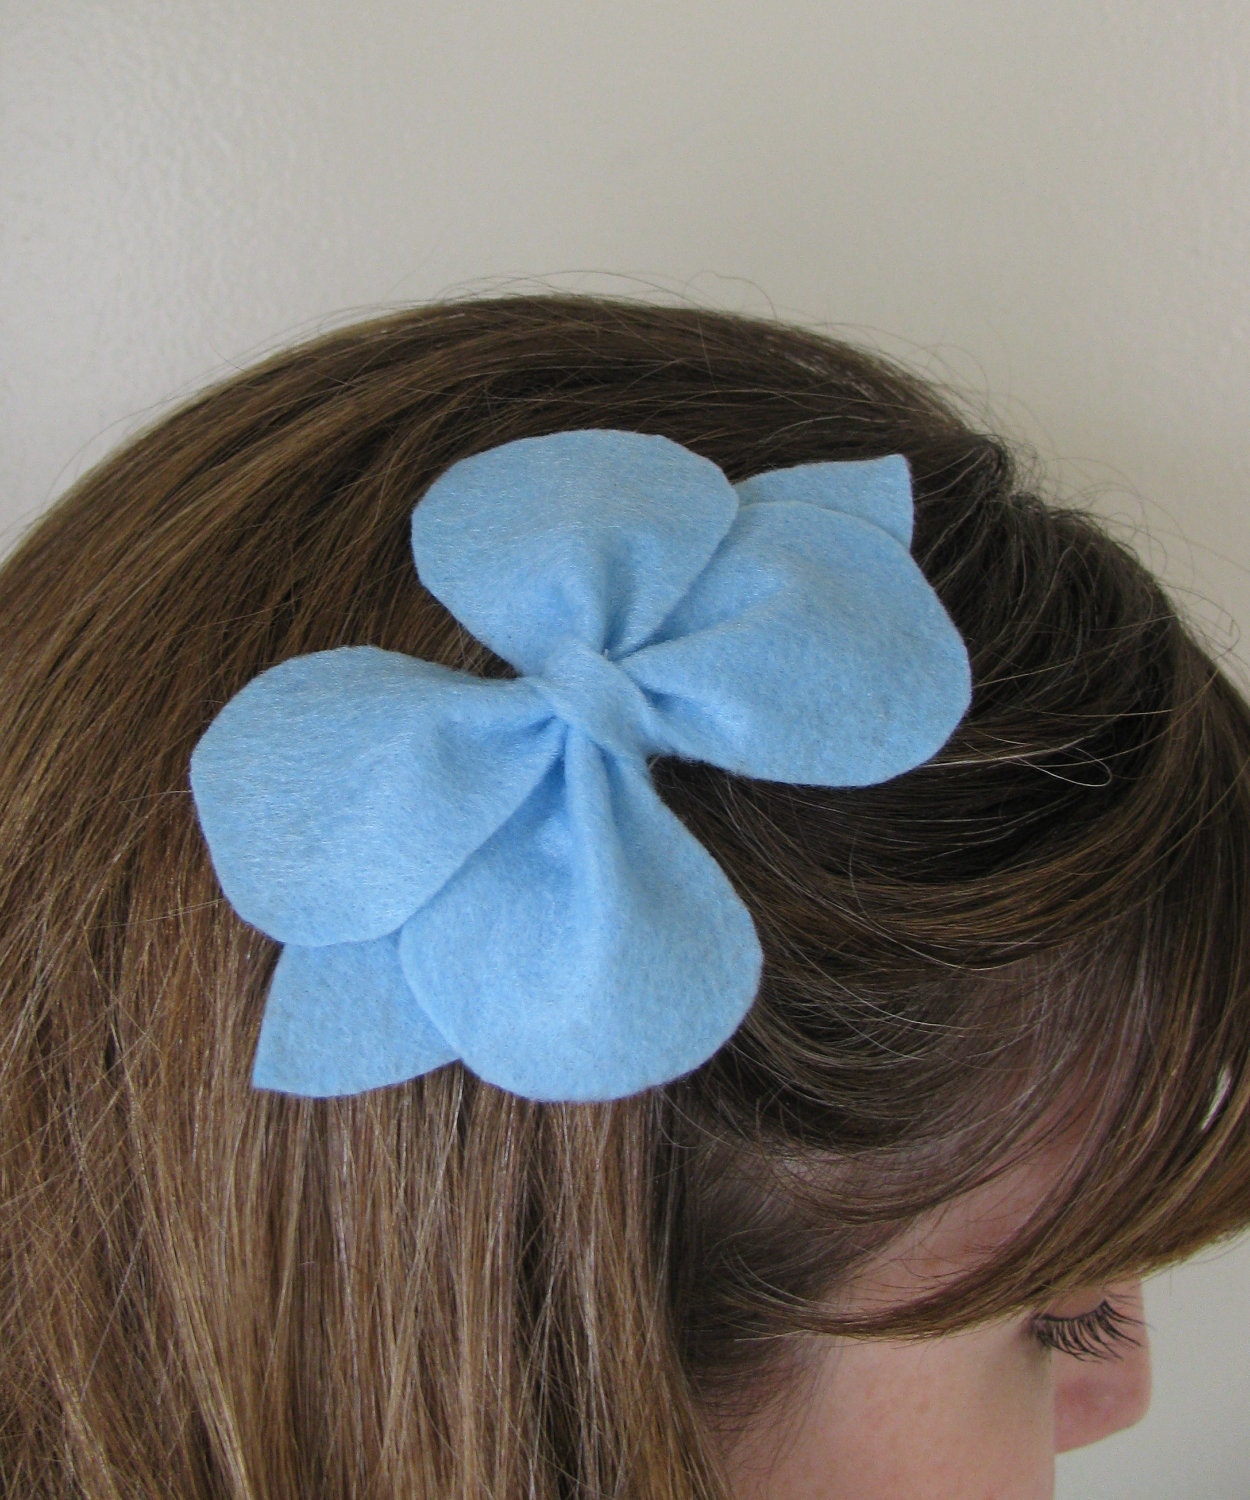
I make them in shapes that rage from adult size to little lady and mini size.  The red embossed bow above is adult size which you can compare the size of the photo below.


The bow measures 4 3/4 inches wide by 2 3/4 inches tall and has both a pin and alligator clip for versatility.


Stay tuned next week for another holiday inspired hair piece.  I'm also planning to post some of my baby mobiles for sale sometime soon.  


Wednesday, October 17, 2012

DIY: Winter Coat Snaz Up

Sorry for the hiatus. Things have been rather busy around here and I had a few posts that I'd initially written but they needed to be pushed back a bit.  Thanks for being patient.  I've got 3 or 4 Lavender Paper Hearts projects that are halfway finished so I hope to, well, finish them up and then post them sometime soon.  I've got two posts for you this week though for simple DIY winter coat snaz up/makeover projects.

So it's alllllmost winter coat time here in New England and as soon as the heat wave ends in Southern California maybe (after Christmas?) it'll be faux-winter coat time there too.  I've got a few tips today to help jazz (or snaz) up a winter coat for a new season.

My first pea coat I wore for (shh, don't tell anyone) 11 years.  How do I know it's this old? I remember I bought in my senior year of high school from Old Navy.  I never intended to keep wearing the same coat for so long, but it was (and still is) in excellent shape.  It was a classic pea coat and it got me through California "winters" and winters in New England and my first few in Ohio.  It was really well made and I didn't really wear it all that much in California so it got it's first real work done in Massachusetts and then Ohio.

I've been a graduate student for the last 7 years of my life which means I don't always have a ton to spend on coats, but sometimes all you need to do is make a few subtle changes to spice things up. Luckily, Old Navy still has REALLY excellent deals on classic wool coats and while they're not lined as nicely as they used to be (let's be real, what is?), they still tend to be a really good deal for awesome coats.

"We Don't Need No Stinkin' Patches"... But, wait, We DO!!

Coat Snaz Up Idea #1:
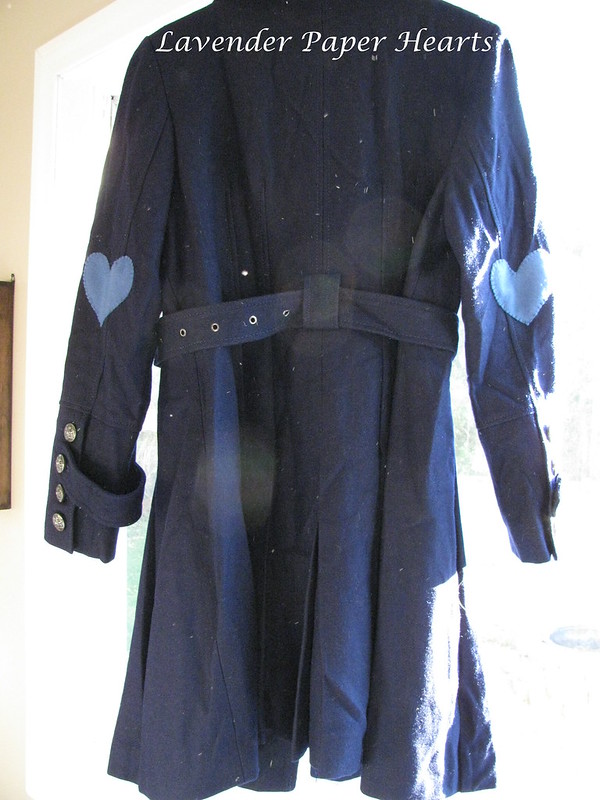
This first spice up idea comes from idealized visions of nerdy professors combined with an awesome pin of heart shaped elbow patches I found a while back on Pinterest.  The pin was originally from Country Living Magazine online for a Valentine/s Day Craft they called, "Wear your heart on your sleeve."  I love that the new vision of the patch is a fun and sweet heart.  I thought this would make a really great re-do (or really add on I guess) to the coat I got for Christmas last year from my MIL.  

Think of the vision like this: 


 +  

Applied to this coat: 
I started with this sweet Apt 9 coat from Kohls:  
FYI: I never have this ridiculous expression on my face when I wear this coat. Nor do I do that weird arm thing.


*Warning - some of these photos were taken in my basement apartment so they're a bit dark.  

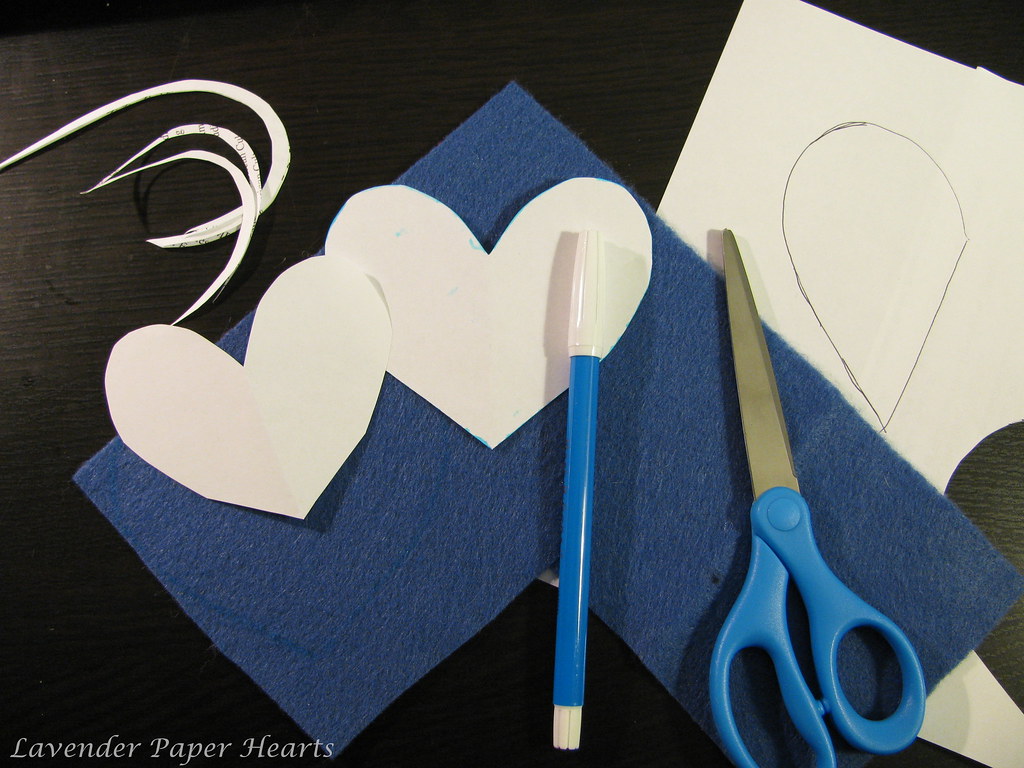
Step 1: Here are the basic supplies you'll need... gather them up and get ready to start!
1. Paper to make your paper stencil
2. A fabric pen
3. Sharp Scissors
4. Felt (30 cents a sheet at Joann's)
5. Thread (not pictured, I didn't have it yet)
6. Needle (also not pictured)
7. A rules (...yeah, not pictured either)

Step 2. Once you've figured out what size heart you want for your elbow patches you'll want to trace the template onto your felt.  You can see from the previous photo that it took me a few tries to find the right size.  Cut out your hearts with some sharp scissors.    


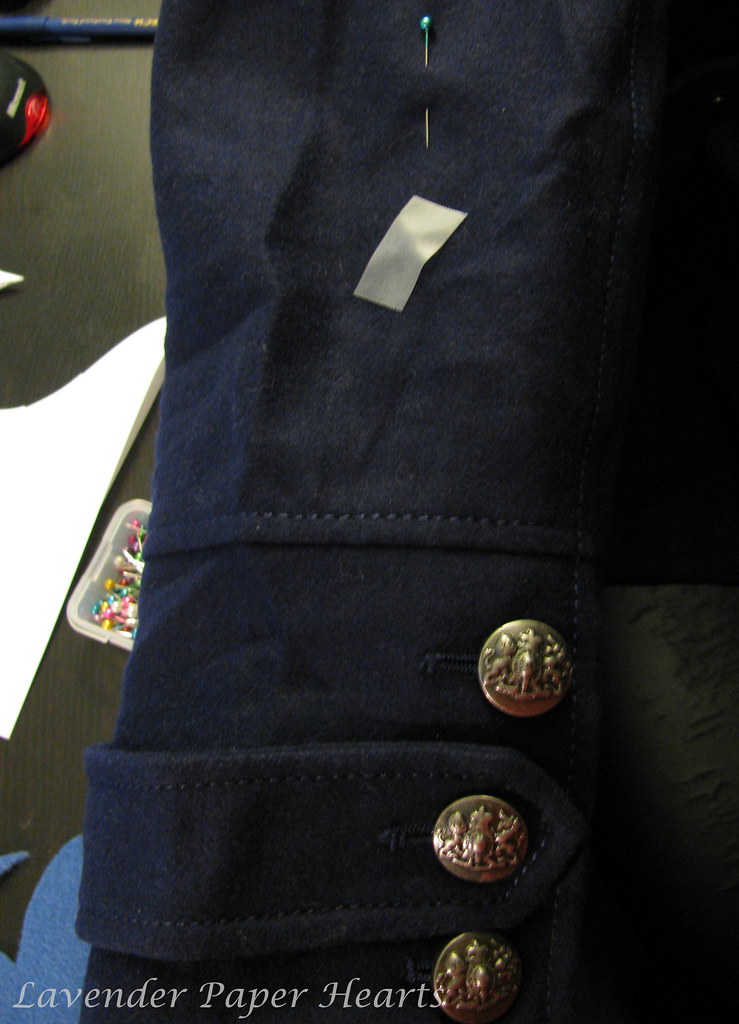
Step 3: Next you want to figure out where you want your patches to be on the coat.  This is a little bit harder then it might seem.  I used a piece of scotch tape to sort of mark where my elbow was on the coat.  I did this on each side.  


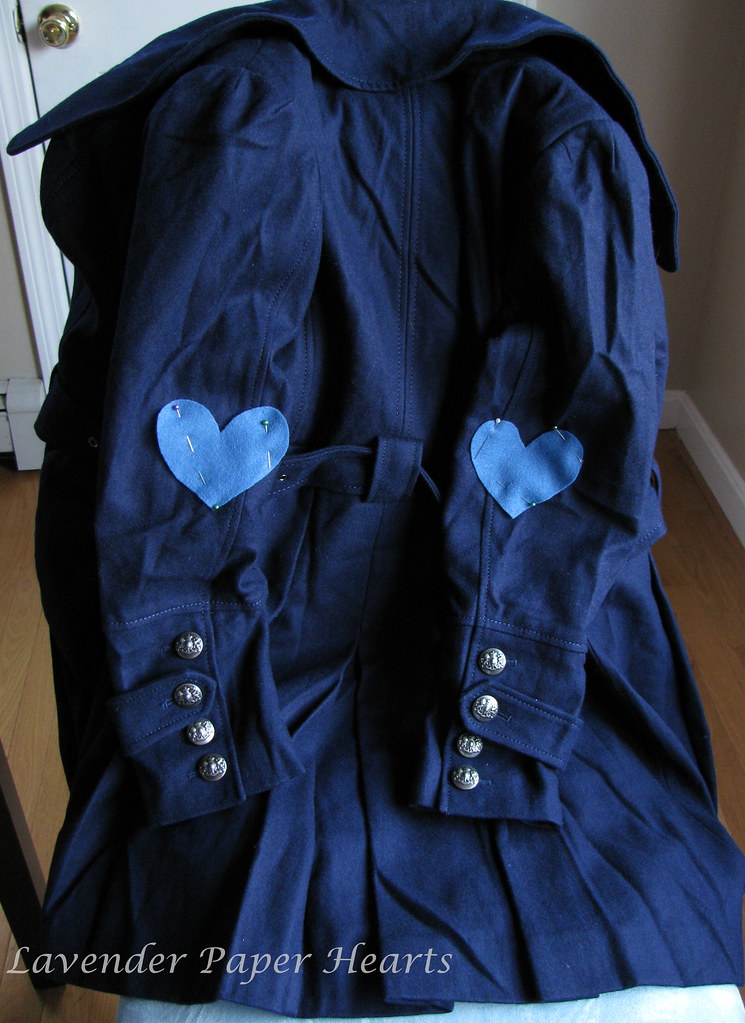
Step 4: I then pinned on the felt hearts onto the coat and stood in the mirror to see if they looked like they were in the right place.  I also double checked with my husband and he recommended that I move them up a bit more... turns out they were close, but they weren't exaaccctttly in the right place.  A few slight tweaks and I was golden. A ruler is helpful for this to make sure that both sides are evenly lined up.  

*Hey, hey, hey - Don't judge my wrinkly coat. It was packed away in an air tight vacuum space bag while we moved. 


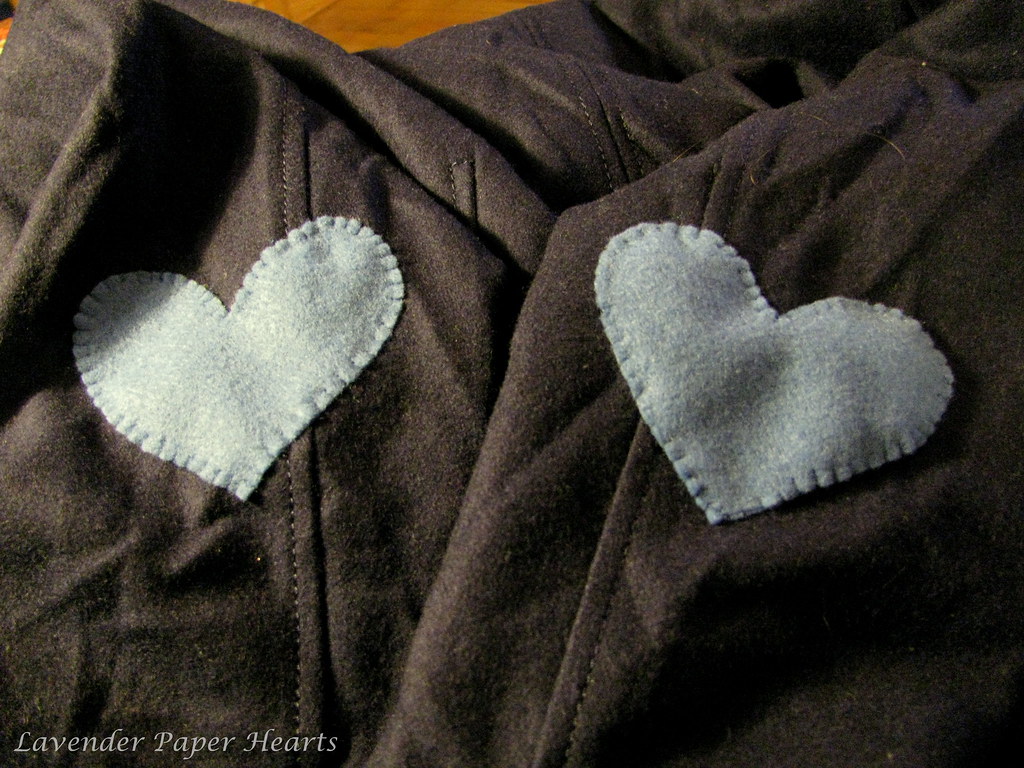
Step 5: Using what's called a button hole stitch you want to sew the patches in place.  I've added a tutorial below that shows you how to do this.  It's a great stitch and it adds a cute homespun vibe to the patches.  I did this at night in the basement so the photos were rather underwhelming. You can get enough of an idea from the tutorial as to how to go about sewing on the felt. 

Your finished product should look like this: 


*The dust in the air is making my coat look dirty - it's wrinkly, but NOT dirty!!


Here's the button hole stitch tutorial: 


The nice thing about this project is that it can be removed at any time and restore your coat back to its original state.

Be sure to check back on Friday for another post. I've got another easy idea for a coat makeover.

Lastly... 
*I'm pretty sure Bailey is wondering what the hell is going on in this photo... 


Tuesday, August 21, 2012

Three Cheers for Baby Buffalo!!

So this past weekend, one of my best friends, Jen, had her baby shower in California!! I'm so sad I couldn't be there to celebrate.  My mom went to join in the fun and she brought along some more gifts from me.  I know that Ali & Lauren threw her a rockin' good time!!

That said, I thought I'd share a few of the gifts I made for Baby Buffalo (thus named because his sonogram looked like a lil' buffalo hanging out in there)!!

Since BB's room is Star Wars themed I knew right away that that would direct the theme for the mobile I made for his room!!  I learned in doing this project that I know NOTHING about Star Wars. I mean, I knew some of the characters, but I didn't know how they necessarily related to one another (beyond the "bad guys" and the "good guys").  I asked the mama-to-be which would be some of the top characters she'd want to possibly see in the mobile and then I went from there by picking - haha - well, the characters I thought were the cutest.

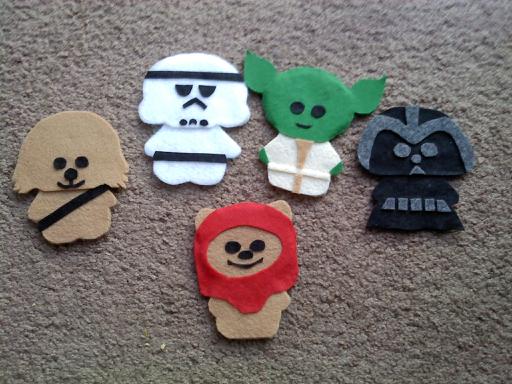
Here are the characters I picked:

Chewy, Storm Trooper, Yoda, Darth Vader, and an Ewok
This mobile is now available in my Etsy Shop. You can find it HERE. 

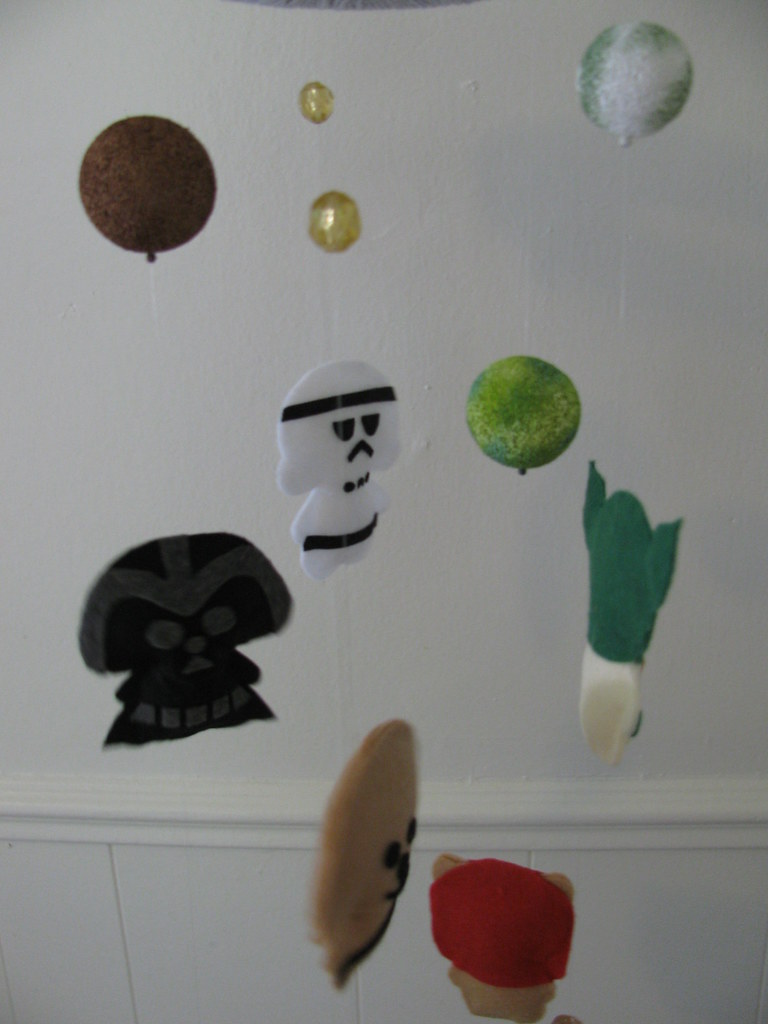
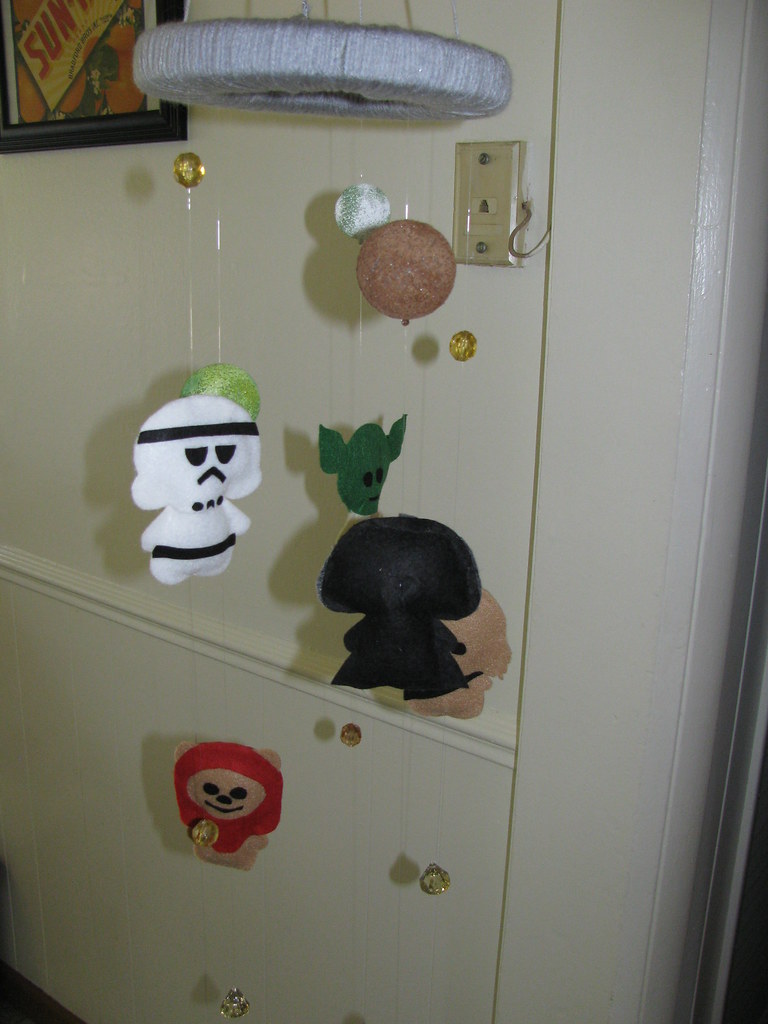
I usually try to add depth to my mobile so the baby has a lot to look at so I knew I wanted to add some planets.  I did my best to try and research who came from where and then picked the planets I figured I could replicate the easiest.
  • Bespin hung above Vader and it's the planet where Vader and Luke Skywalker dueled. 
  • Dagobah is above Yoda, because it's where Yoda trained Luke Skywalker. 
  • Endor hung above my Ewok because that's where the Ewoks are from!! 


Here are a few more shots of the mobile. It's hard to capture each character since the darn thing kept swinging around, but that is the point after all.


Then, because I kinda couldn't help myself, I made him some stylin' duds. 


I know babies don't really need shoes, but he'll need to keep his toes warm, right?!! Also, these shoes were so cute I basically couldn't stop because of cuteness overload.  I picked out the checker print as it reminded me of slip-on vans.  This is a bad cell phone picture and I think it was too hot out when I made these and my brain was melting a bit because I really should have taken a picture of them from the front too.  You get the basic idea though. 

Here's to wishing Jen & Jeff the healthiest, happiest, bouncing baby boy come September!! He's not even here yet, and I can't wait to snuggle this little one sometime soon!!


Again, the Star Wars Mobile can be found in my Etsy Shop HERE.

Tuesday, May 29, 2012

Other Crafts: Whale Baby Mobile

I thought I'd also share some other crafts I work on from time to time as a way to mix it up a little bit.  There has been a virtual baby-palooza amongst my extended circle of friends lately. It's really exciting to have so many new babies to snuggle and it's also been fun to make things for some of these little people!


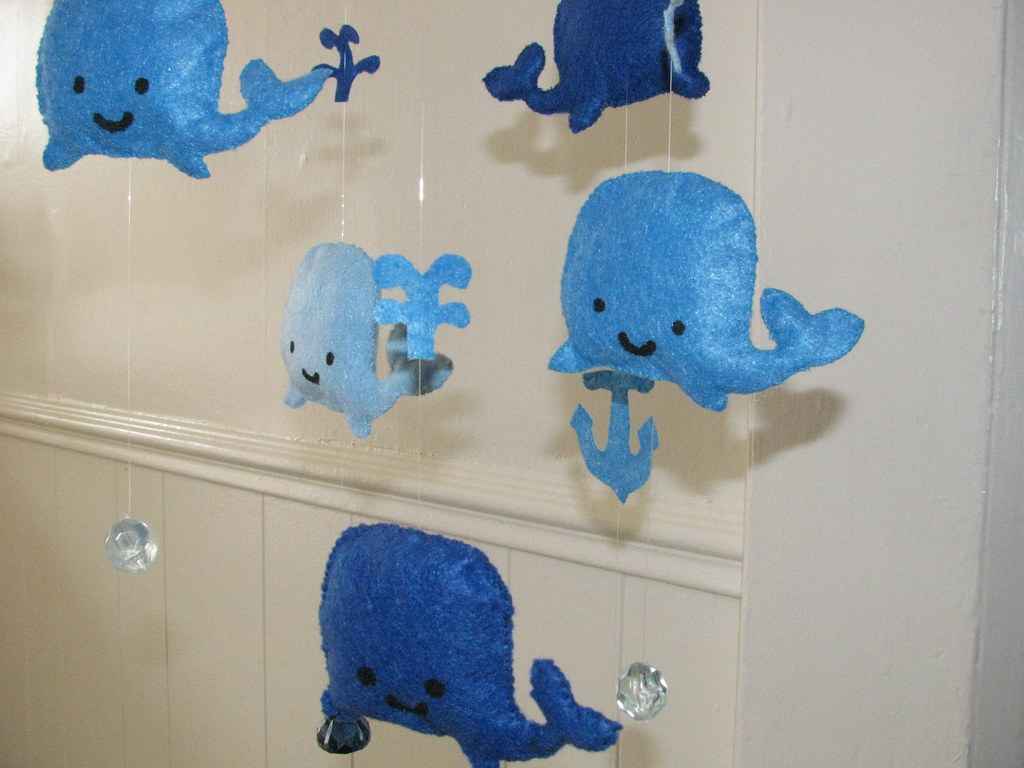
This is a mobile I made for my husband's cousin's little one.  The happy couple came up with a whale/ocean theme for baby Owen's room.  Originally I went searching for one on Etsy but I came across only one listing for this apparently very specific theme (who knew?!).  While the one I found was lovely, it didn't really fit the cuddly aesthetic I was looking for.  I decided to attempt to make one myself and figured if it was terrifying I could always start my baby gift search over.

To make the little whales I cut out and hand-sewed each little one and made sure to add some batting so they'd be a little squidgy.  The little whale faces actually had me the most perplexed because I could decide how to go about making them. (Clearly I was over thinking it.)  I ended up using the back end of a paint brush to get perfect little circles - go figure.  I added the details of the spouts (though E rejected my first attempt because he said they looked like a particular part of the male anatomy) and anchors to give the mobile a little more depth and character.  The final touch was the little crystals.  I thought they would be nice and eye catching for baby Owen!!  In the end the baby mobile was well received by Owen's mom and dad and apparently it matched the room perfectly (which is awesome, because I've never seen their house before, let alone the baby's room!)


Now I've got two more baby mobiles in my summertime crafting queue!! :)  ETA: Actually, I've almost finished one... but I'm not going to share pictures for a while... bwhahaha!!

Later this week be on the look out for two different DIY tutorials. I'm submitting them to the Dollar Tree Wedding Crafting Competition!