Showing posts with label dog treats. Show all posts

Wednesday, June 25, 2014

Custom Orders: Bow Ties & Dog Treats

Here at Lavender Paper Hearts I'm always up for a fun custom order. If you need something specially wrapped, or to have a thank you note included I'm always happy to accommodate these requests for a very small fee.

This order was for 3 bow ties and I created a fun Thank You card holder to display them. Also included in the care package were some of my Gluten Free Dog Treats.  The package was then gift wrapped and mailed off.

This pup will certainly be ready to dazzle this summer in his Red, White, and Blue Striped Pet Bow Tie, Navy Diamonds Bow Tie, and from the Spring Collection the Floral Pet Bow Tie.


There's still a little time left to order a Red White and Blue Striped Pet Bow Tie for the 4th of July! 

Wednesday, May 22, 2013

Happy Birthday Bailey & Pup Cupcake Recipe!!

So the in-house model, Bailey, who belongs to my sister and brother in law, celebrated his first birthday on Sunday!! Even if it's a bit silly, we wanted to get together to celebrate our favorite little dog!  First, let me tell you a little about Bailey. 

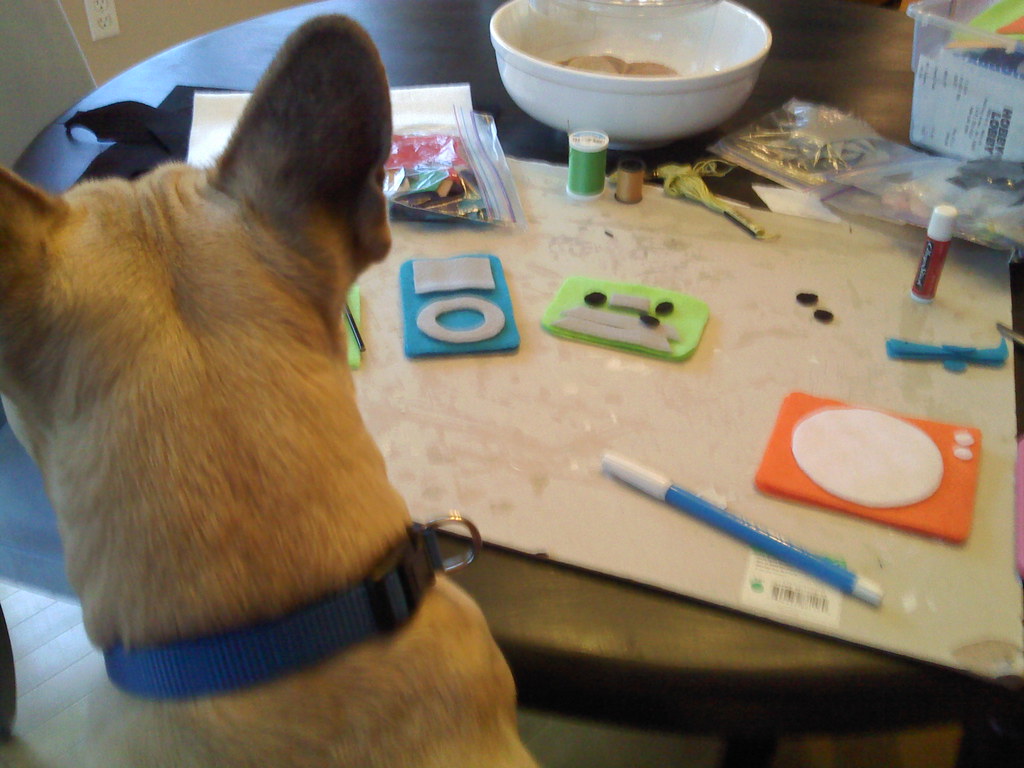
Bailey is not just any ol' dog. See, Bailey is super helpful with the shop. So he's not only the in-house model, but he also supervises my work from time to time: 

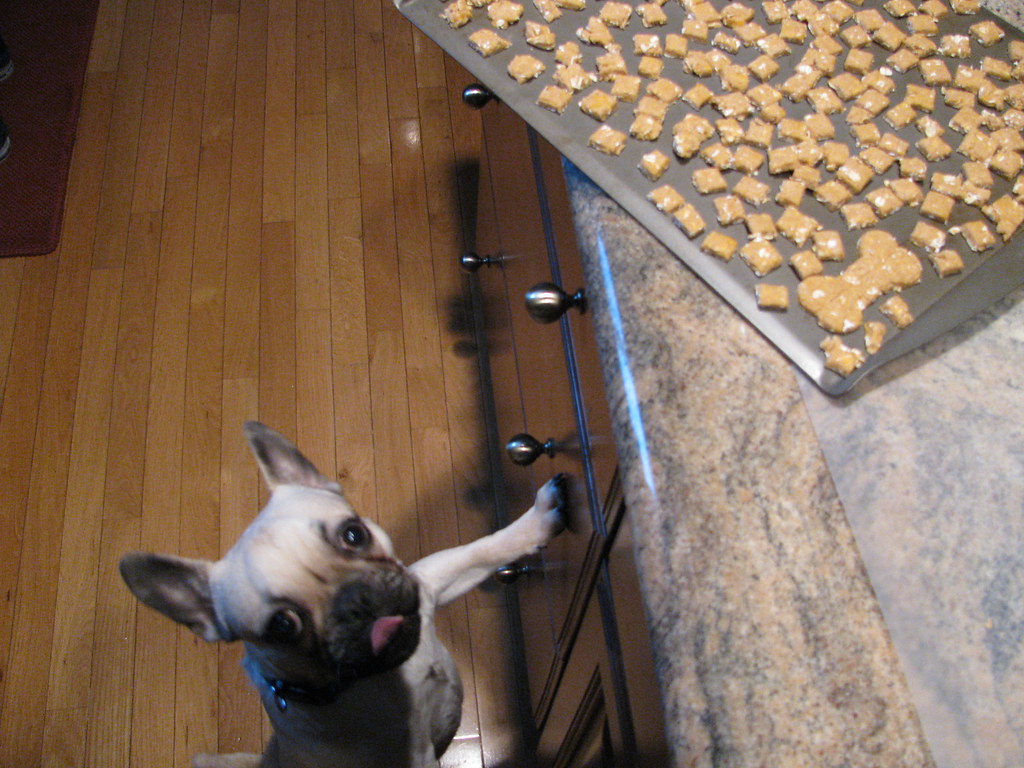
He's also a dedicated taste tester and focuses on quality control:
For my Bailey approved Dog Treat recipe - click HERE.

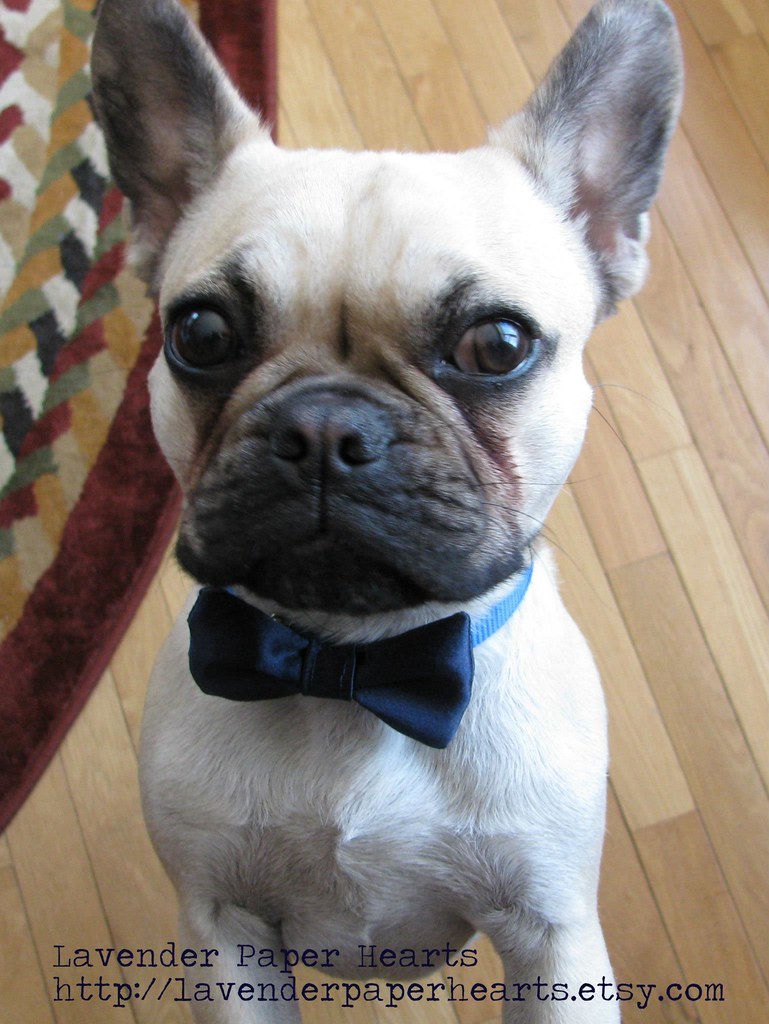
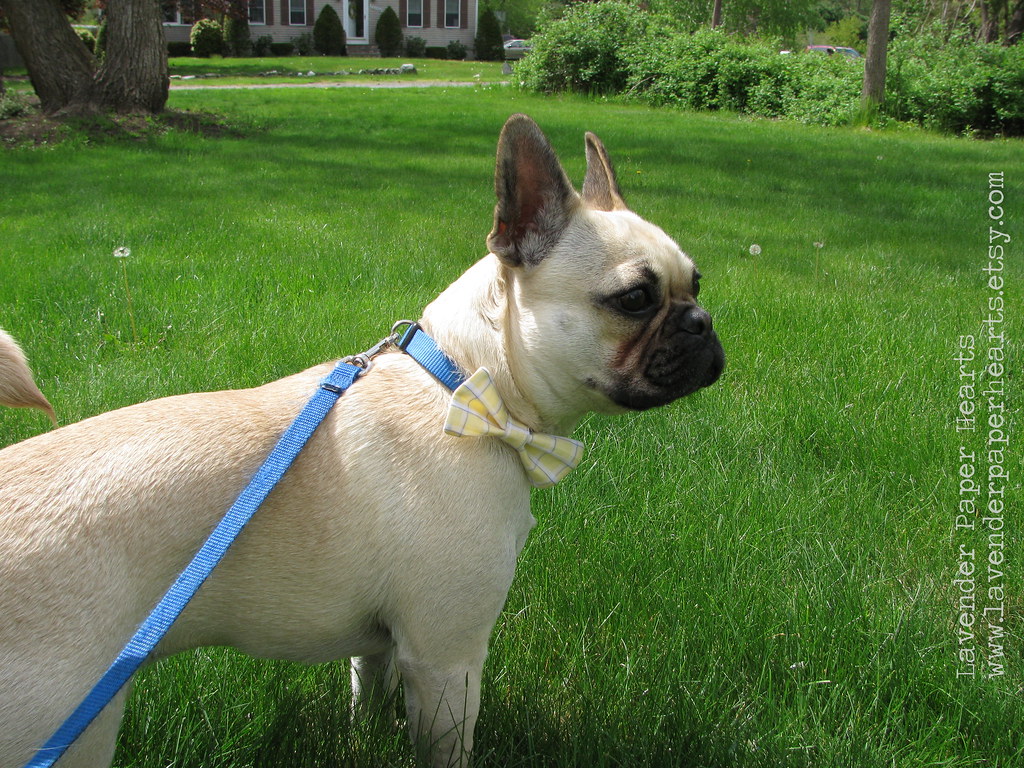
And, let's be honest, he makes my bowties look extra dapper:
Lavender Paper Hearts Handmade: Satin Fancy Pet Bowtie

But he also helps out in my other line of work - teaching:

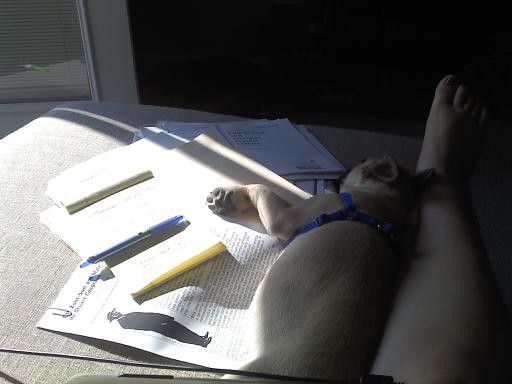
Bailey loves to help lesson plan... See? He's letting me know which article is useful for class by drooling (or sometimes chewing) on the articles he likes.

He also watches me like a hawk to make sure I'm fair when grading:

Since Bailey is so helpful, it seemed only fair that we really make sure his birthday was extra special. I fell into a Pinterest loophole one evening a few months back and came across a dog cupcake recipe. I knew that I could modify the recipe to suit Bailey's tastes. It's his birthday after all so I figured he might as well get what he likes!!  Plus, as I found with the dog treat recipes out there, a lot of the recipes have ingredients in them that I just don't think dogs need.  I eliminated the honey, for example, because my version has bananas that will give them lots of flavor - plus dogs don't really need honey?! I mean, I guess it can't hurt, but I figured that if I can easily eliminated it, why not. (Pro-tip: I also halved the recipe since he's the only dog around. Extra cupcakes can be frozen and defrosted when needed). 


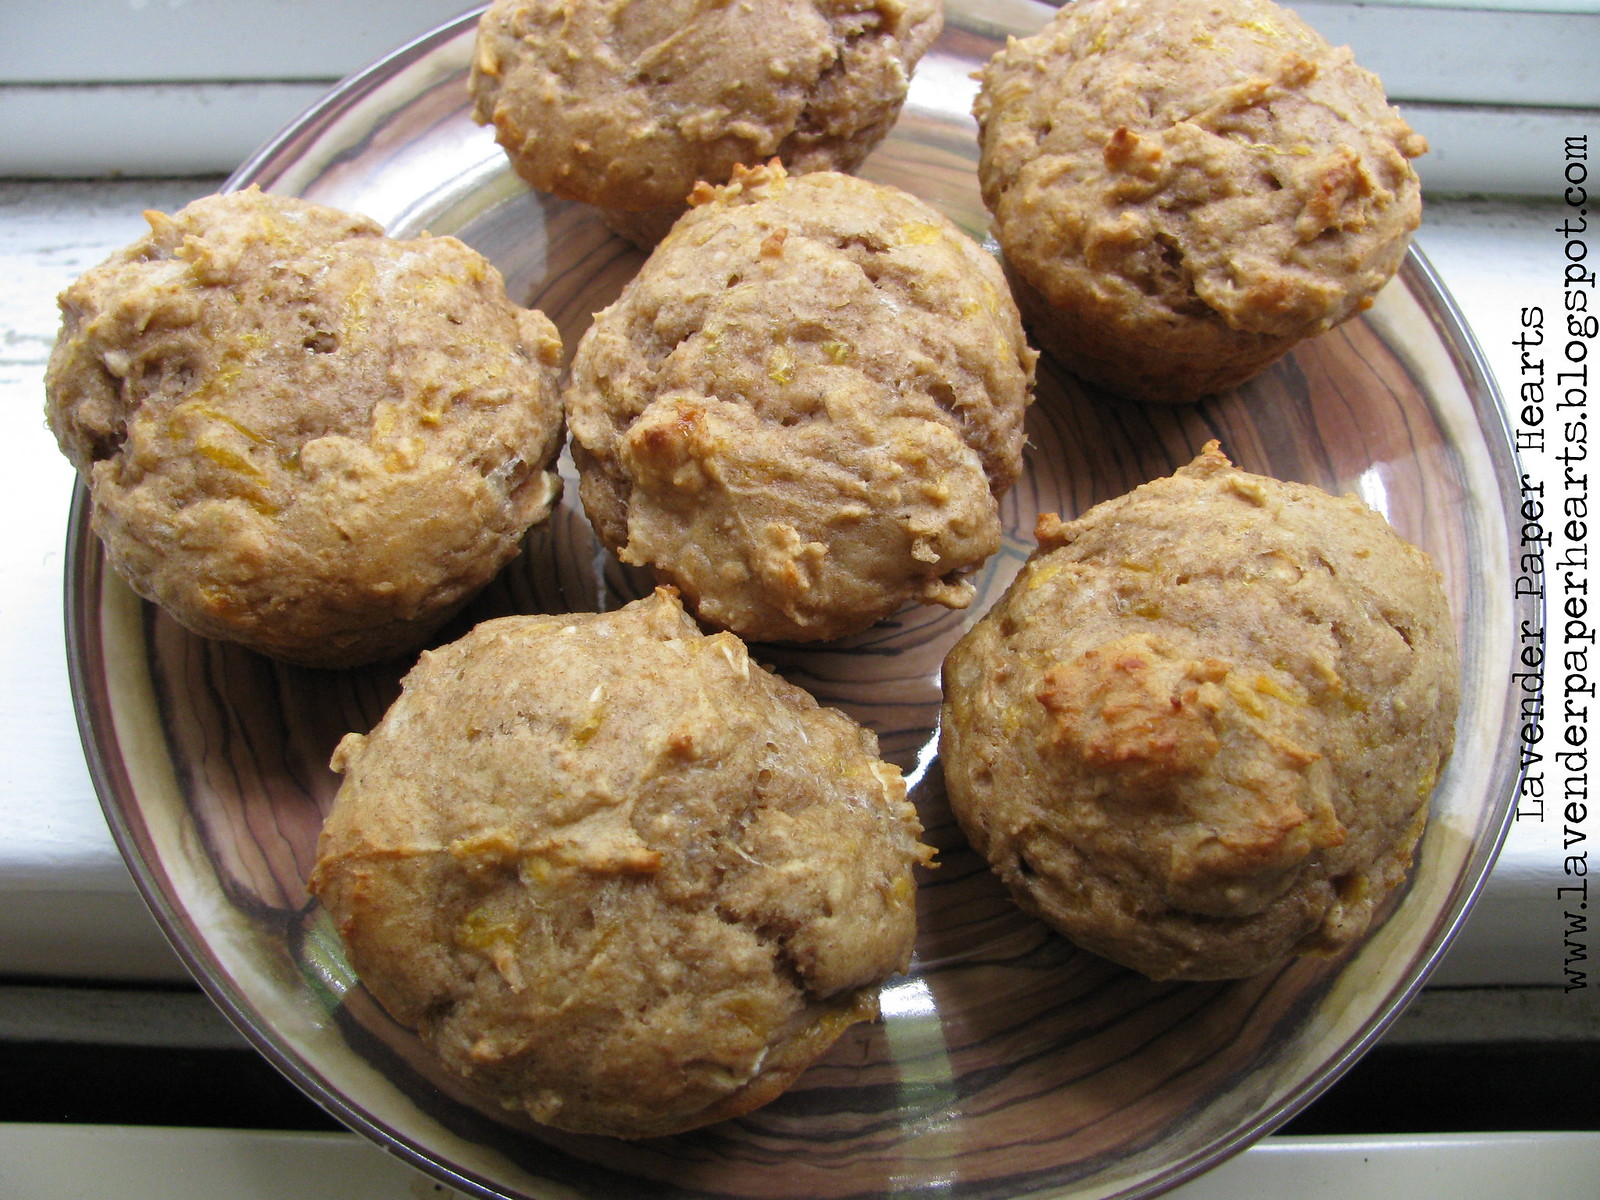
Peanut Butter Banana Pup Cupcakes
(makes 6 big cupcakes)

Ingredients
1/4 teaspoon of baking soda

1/4 cup plain yogurt (I used Greek)
1/4 cup peanut butter 
1 Tbs water
1/2 heaping cup ripe bananas (1 large banana or 2 small)
3/4 cups whole wheat flour1/8 cup oatmeal
1 teaspoon of baking powder
1 egg
2 heaping Tbs grated cheese

Optional Frosting
1/2 stick of low fat cream cheese, room temperature
2-3 Tbs creamy peanut butter

Preheat oven at 375 degrees and grease muffin tins well with butter or a spray. Don't use paper liners. Mix flour, oatmeal, baking powder and baking soda together in a large mixing bowl. Blend the yogurt, water, peanut butter, and egg together and then stir in the cheese and banana. Add the cheese mix to the flour mixture and stir until completely mixed. Have no fear if the batter looks super thick. It will still cook up gloriously.  Spoon into the muffin tins, filling each cup about three quarters full. This will make big cupcakes. I would make the cupcakes smaller next time since Bailey is a smaller dog. If you want to do the same, fill each cup just under 1/2 way full.

Bake pup-cakes for 20 minutes, or until a toothpick poked in the middle of a cupcake comes out clean.

*If your dog is allergic to wheat, you can try using Brown Rice flour as a substitution. I haven't used it, but in my researching, I read it could be good substitution.

The original recipe had a frosting of sorts, but I left that off. If you really want your dog to have frosting, I would use half a stick of low fat cream cheese at room temperature and mix it with 2-3 Tbs of creamy peanut butter.  Cream together and slather gloriously on the pup cupcakes. I will say, however, that Bailey enjoyed them without frosting so it's not necessary!!

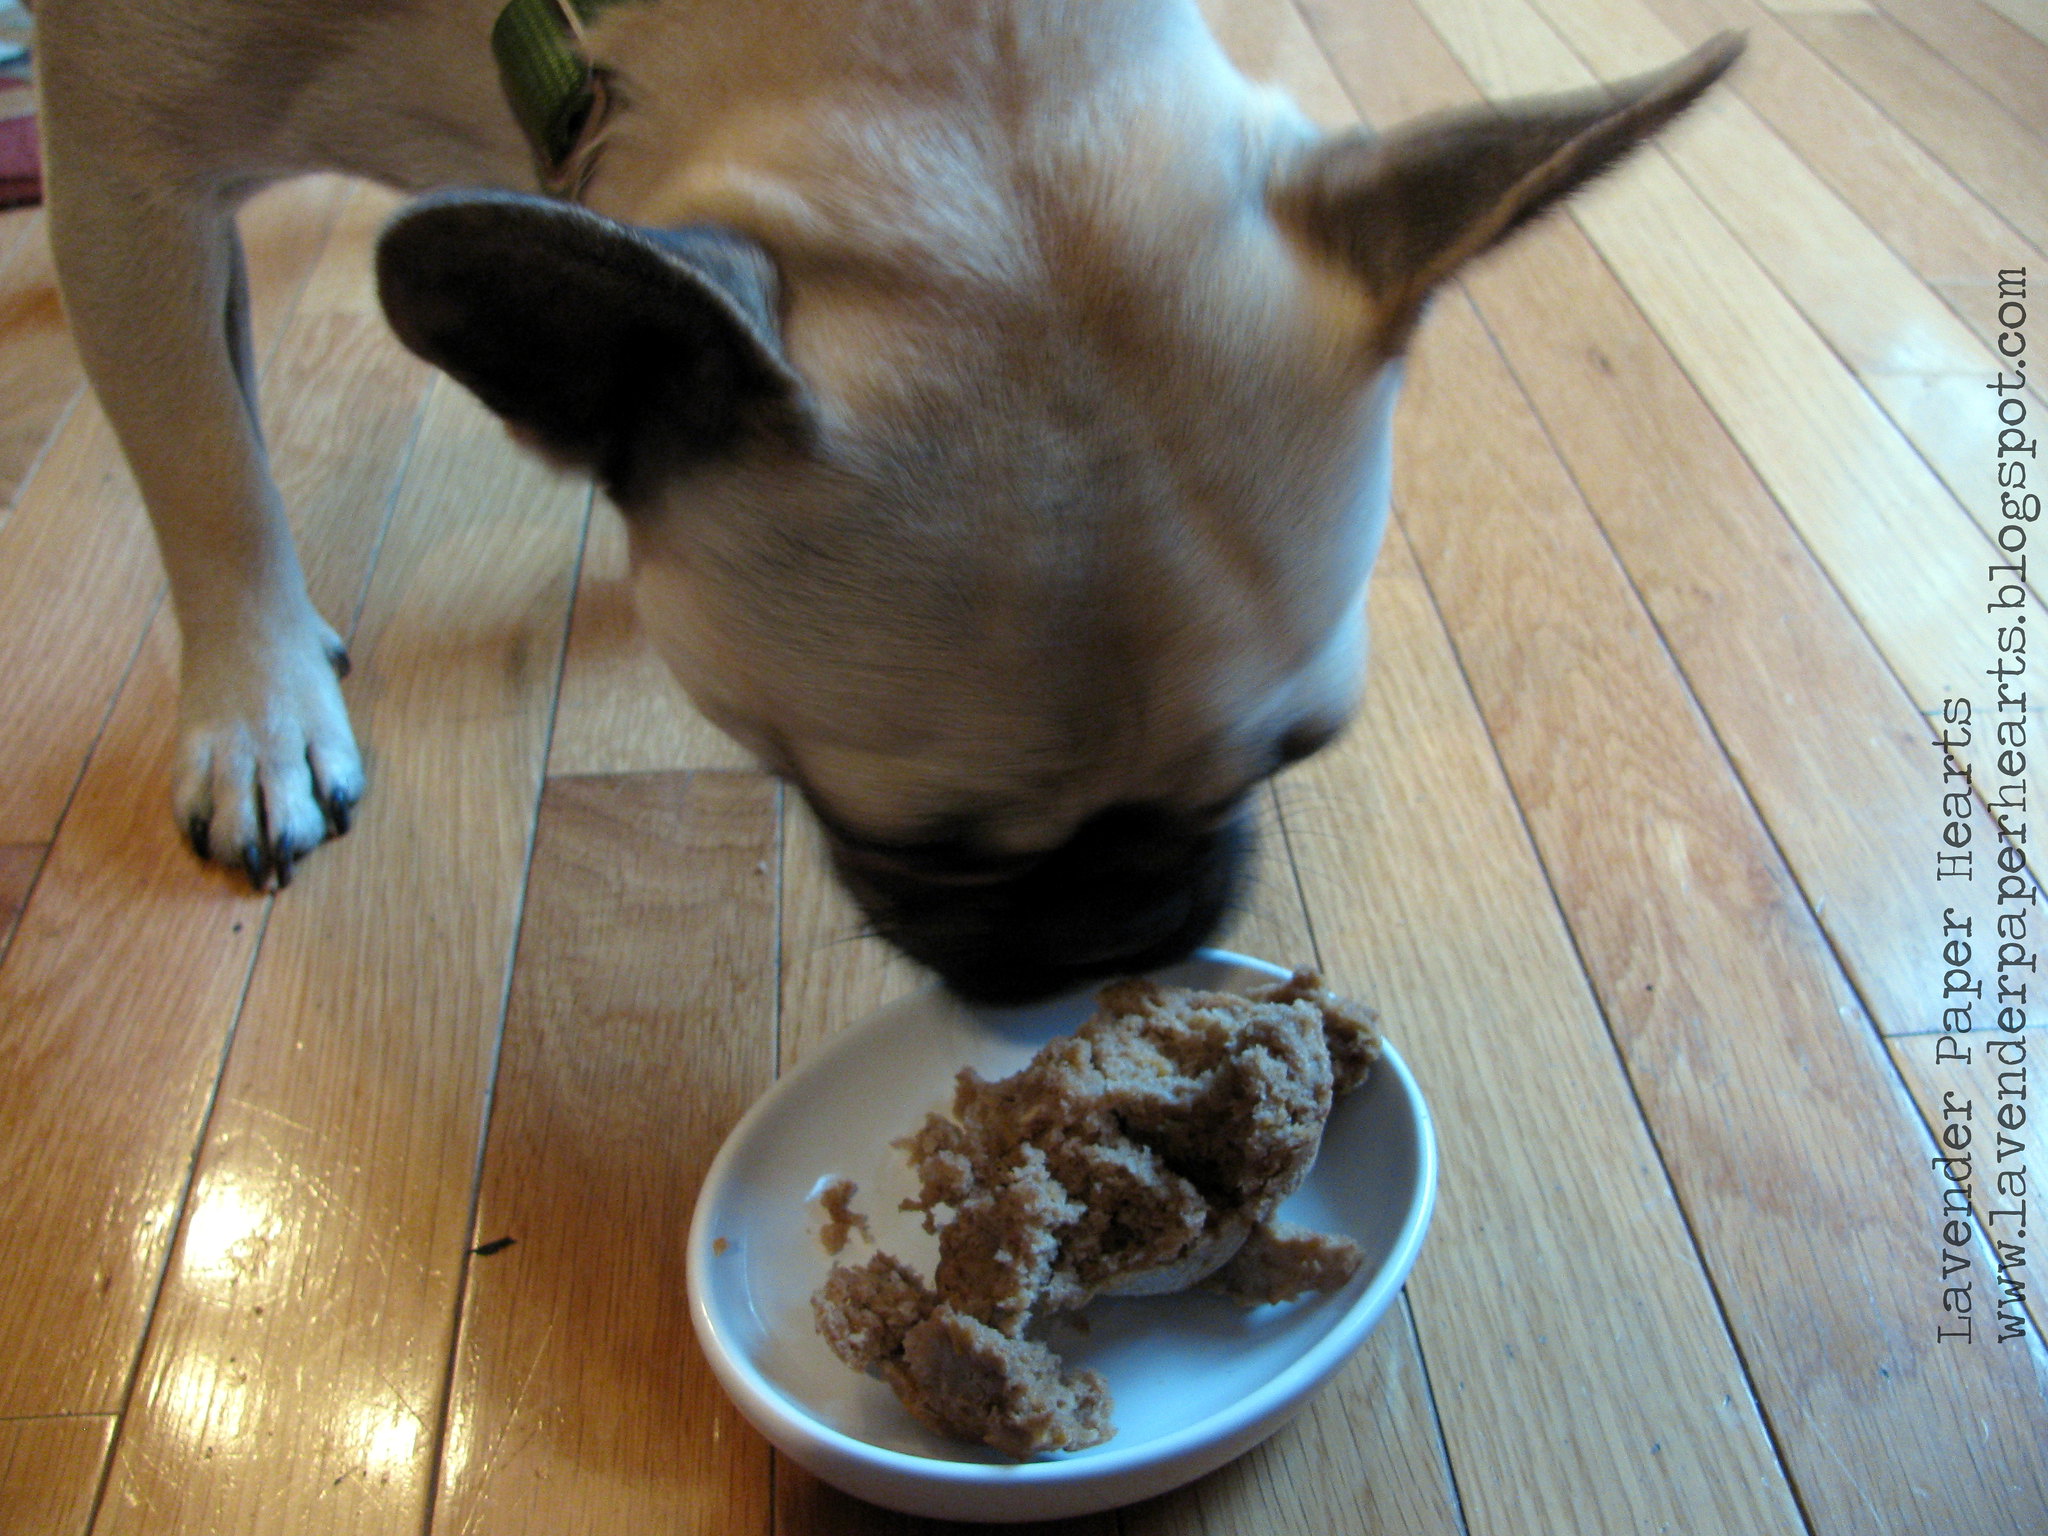
Action shot:  Bailey doesn't eat human food, so he was kind of unsure of what to do with the pup-cake. I had to tear it apart a little bit for him before he dug in.


Happy Birthday, Bailey!! 
Lavender Paper Hearts: Yellow Plaid Fancy Pet Bowties


Follow my blog with Bloglovin

Wednesday, January 16, 2013

DIY Dog Treats

After a glorious amount of precious pups in holiday pet bowties, I thought I'd share my homemade dog treat recipe that I've been whipping up for the in-house model since we moved to the East Coast.  I decided to whip up a big batch for my friends animal babies this Christmas, too.


I had a bit of free time one day and felt like making Bailey some treats from scratch. After searching around online for various homemade recipes, some which had ingredients I didn't understand for a dog (like vanilla, really?) I came up with this one. I've been making treats now for Bailey every few weeks for the last few months, and now whenever Bailey smells sweet potato cooking, he comes running and sits under my feet while I work.  He would eat the whole sweet potato raw if we'd let him.

The recipe is versatile enough that you can use pumpkin or squash too. I had extra canned pumpkin around the holiday time and I used it in the treats and they were met with just as much enthusiasm as the sweet potato!! Also, this recipe really lends itself to halving or doubling. You can make as many or as few treats as you'd like.

Puppy Love Dog Treats

First things first. This recipe requires only 4 ingredients:

  • 1 cup wheat flour
  • 1/2 old fashioned oats (not quick oats)
  • 3/4 cup cooked sweet potato 
  • Some water - the amount you'll need depends on the size of your sweet potato
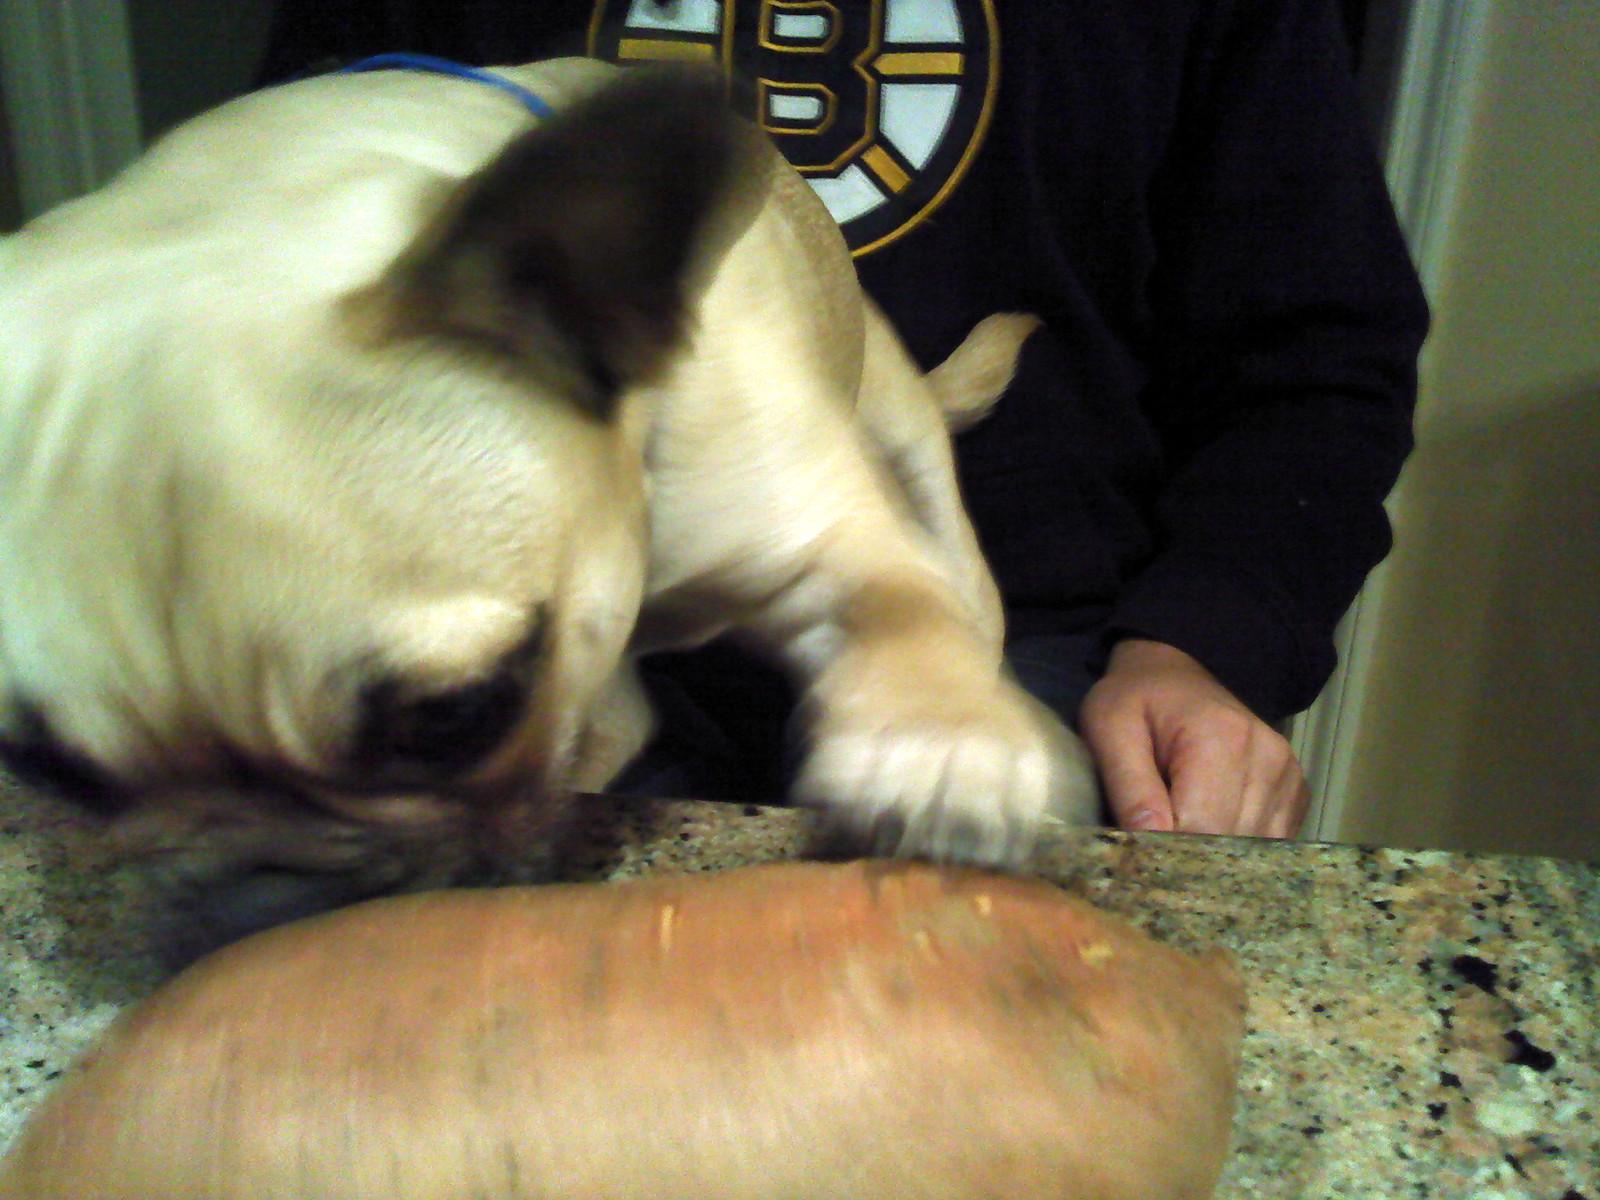
See, Bailey really loves sweet potatoes!! 

You need to start by cooking your sweet potato. I cook mine in the microwave. I wash the sweet potato and then pierce it many times with a fork, put it on a small plate, and pop it in the microwave. Depending on the size of the sweet potato, and how spiffy your microwave is, the cooking time will vary. I usually have to cook mine between 5-10 minutes to get it to be nice and soft.


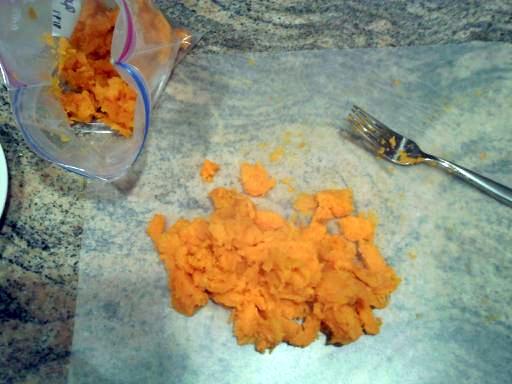
Let the sweet potato cool for a few minutes before digging into it - it's hot!! Scoop out all of the sweet potato (don't use the skin) and throw it in a freezer bag. You'll have more than you need so I always freeze the extra to use next time. Once it's in your bag, you want to add enough water until the mixture closely resembles soft baby food. I usually end up adding at least 1/2 cup if not more, but again this depends on the size of your sweet potato. If you're using canned pumpkin, no need to add water, it's already the right consistency. This step is important to make sure that your treats don't turn out too hard after baking (though they'll probably still be gobbled up).

Next, you want to add all of your ingredients to a medium sized bowl or if you've got one a Kitchenaid bowl.  Mix with whatever you're using (hand mixer, kitchenaid, your own arm) until well combined. Don't over mix though - wheat flour tends to be less forgiving with over mixing and can make the dough really tough. The end product should look like less sticky cookie dough. If your dough is too dry, you can add a teaspoon or two or three of water until the dough looks less dry.


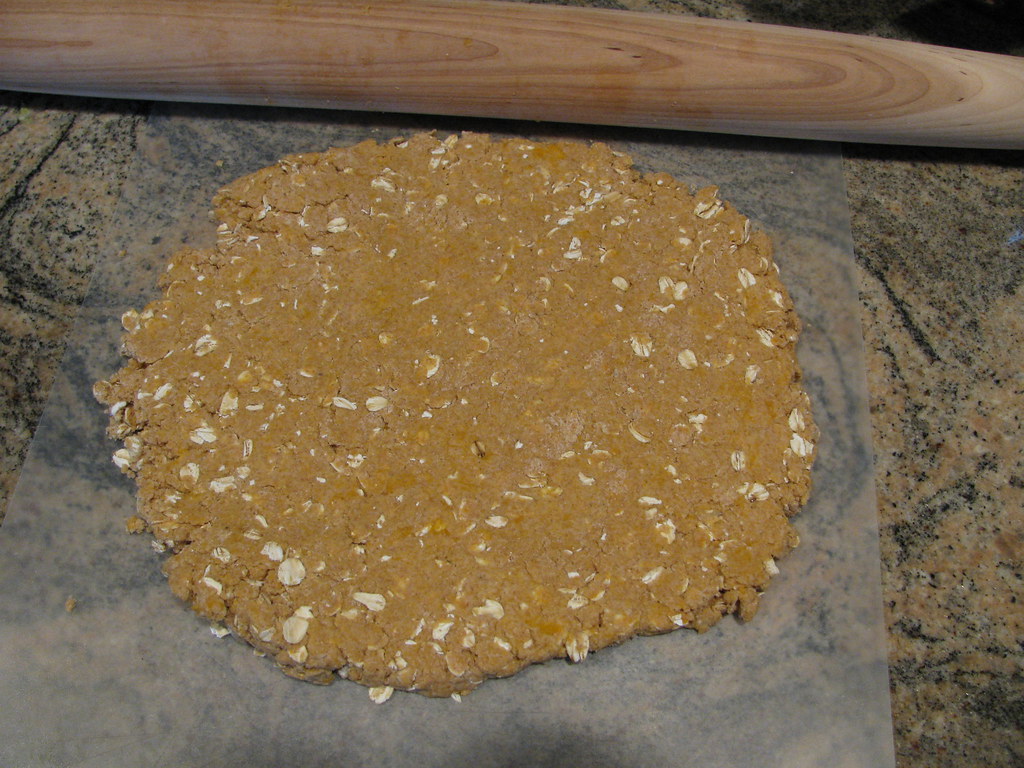
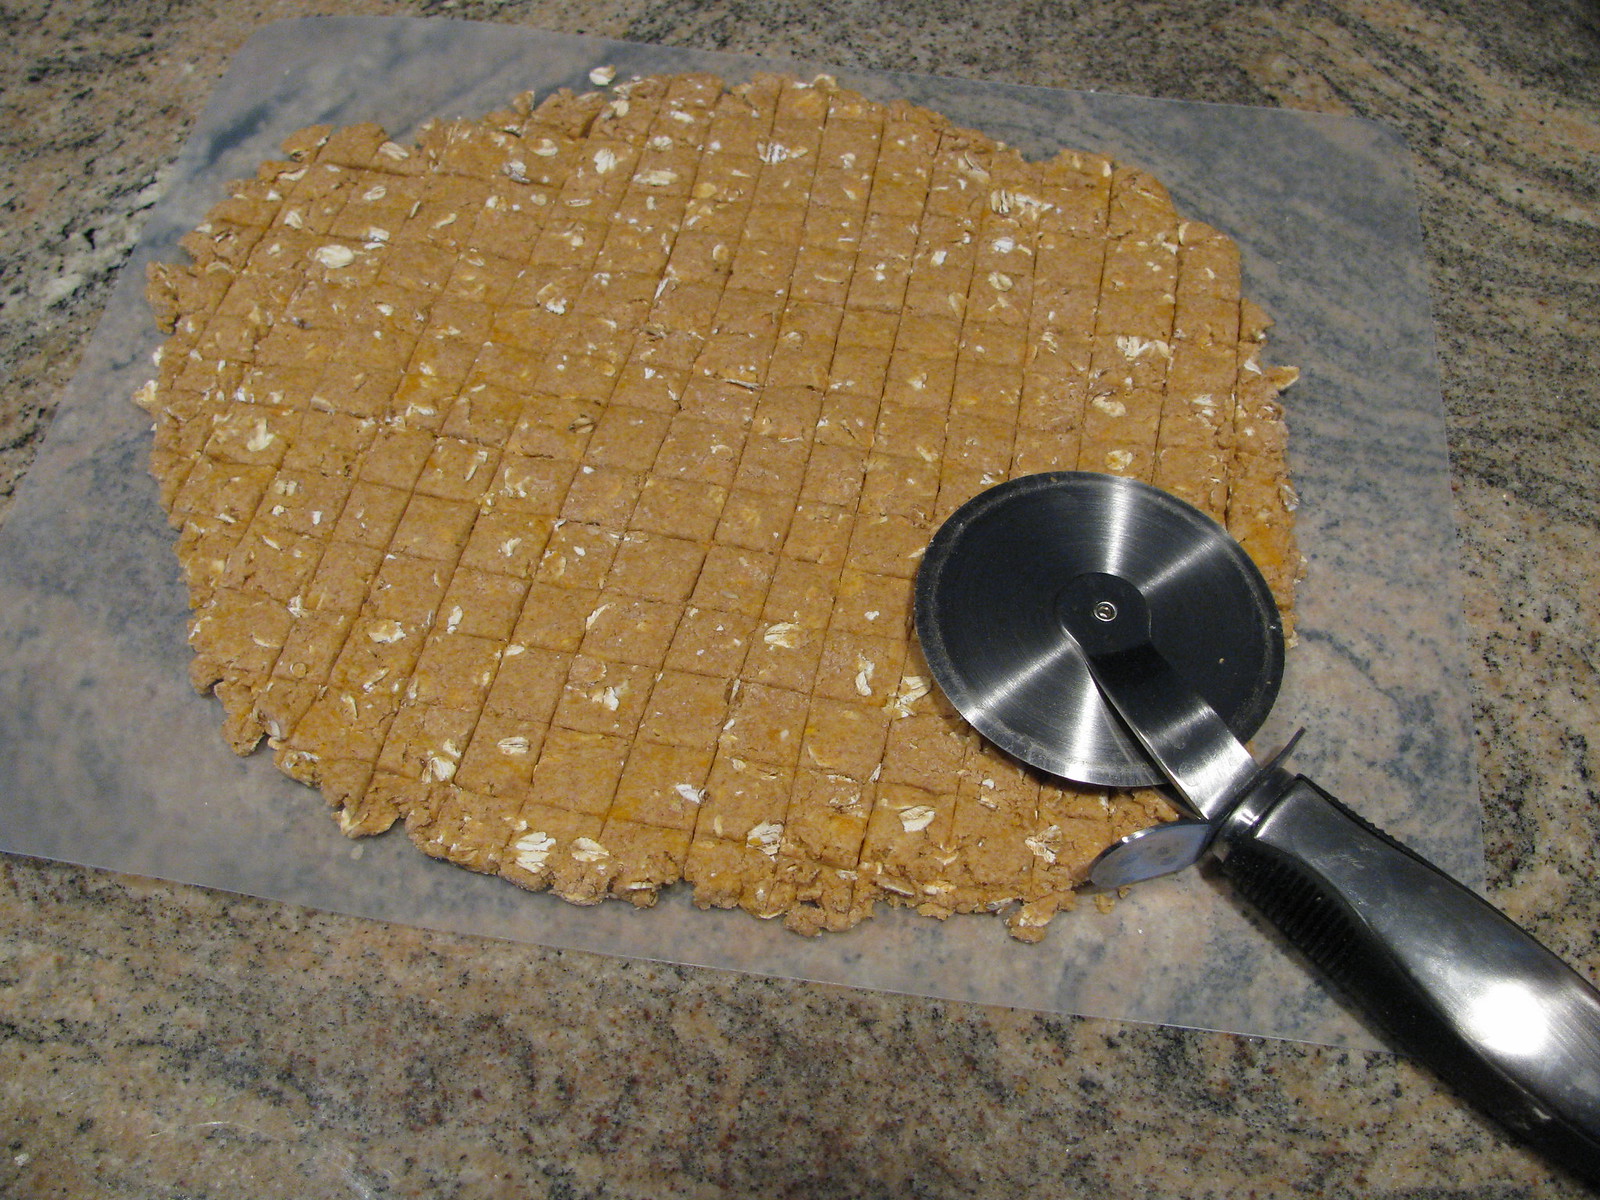
Pre-heat your oven to 350 degrees. Roll the dough out on your counter until it's about 1/4 of an inch thick. It won't look like very much dough, but for most dogs you'll need little treats so it will make more than you think it will. Using a long knife or a pizza cutter, cut up the treats.


The size you decide to make your treats depends on you. When Bailey was a little little puppy I made mine about 1cm by 1cm. Now that he's a bit bigger I've started to make my treats bigger. If you've got a big dog, you can also use a dog bone cookie cutter!


Once you've scored up your dough, carefully transfer your treats to a parchment or silpat lined sheet (skip the pan liner if you don't have any). Using a spatula might help here. This part for some reason usually takes me the longest. Don't worry too much about over crowding your cookie sheet. Depending on the size I go with, I usually use 2 sheets.

Cook your treats for 20 minutes. If you've got 2 sheets, rotate their oven position half way through. Once you've hit the 20 minute mark turn off your oven and leave them in there for 20 more minutes - leave the oven door shut!! Once they've sat in the oven for 20 minutes with the oven off, remove the treats and set them somewhere to cool. Don't let your cute dog tempt you into giving them a treat straight from the oven. The treats can be super hot!! Also, do not box up your treats until they've completely cooled of you risk them getting soggy (and possibly moldy down the road).

These treats last 3-4 weeks in a tupperware or a sealable plastic bag. There's no need to refrigerate them.

Enjoy!!

I should add that I'd be happy to make batches of these to sell if doing them yourself seems like too much trouble.  Just contact me at my Etsy shop Lavender Paper Hearts and I'd be happy to whip some up for you!!

This post is Treat-Crazed-Bailey approved: