Hey there! Lavender Paper Hearts is going to be participating in a local craft fair. Bridgewater, Massachusetts is hosting the 20th Annual Christmas on the Common December 1st from 1-4pm, and I'm officially inviting you to come on out and say howdy.
Bonus sharing: I've also received some lovely feedback from a Holiday Hairpiece order. Be sure to take advantage of my Early Bird coupon special. Enter: earlybird13 when checking out at Etsy and you'll receive 10% off of your order (does not include custom orders.)
Showing posts with label christmas. Show all posts
Friday, November 22, 2013
Wednesday, November 13, 2013
Oh, Sweet Joy - For the Littles Category
Today Lavender Paper Hearts is being featured along with a handful of other amazing handmade artists over at Oh, Sweet Joy's 2013 Holiday Gift Guide!!
Kim's gift guide is a fantastic way to get your holiday shopping done early, support handmade artists, AND score some amazing gifts and deals. Don't forget each artist has put up a coupon to their shop (including me), and on Saturday there will be a big ol' giveaway that you don't want to miss!!
Tuesday, November 12, 2013
Holiday Gift Guide
Hey there - sorry it's been a while. I've been incredibly busy with work as well as getting prepped for my first craft show. I'll share more about that experience next week, but this week I wanted to make sure to share the fantastic 2013 Holiday Gift Guide over at Oh, My Joy. Each day Kim will be featuring a specific theme of gorgeous handmade items. She's helping you get your holiday shopping early (and might even convince you to buy yourself a thing or two - you deserve it after all.
.
Be sure to keep checking back each day for great handmade artists and COUPONS for sweet discounts to each and every shop!! Lavender Paper Hearts will be featured later in the week.
Also, check back here in a few days for my holiday themed items!
.
Be sure to keep checking back each day for great handmade artists and COUPONS for sweet discounts to each and every shop!! Lavender Paper Hearts will be featured later in the week.
Also, check back here in a few days for my holiday themed items!
Wednesday, December 19, 2012
Happy Holidays!!
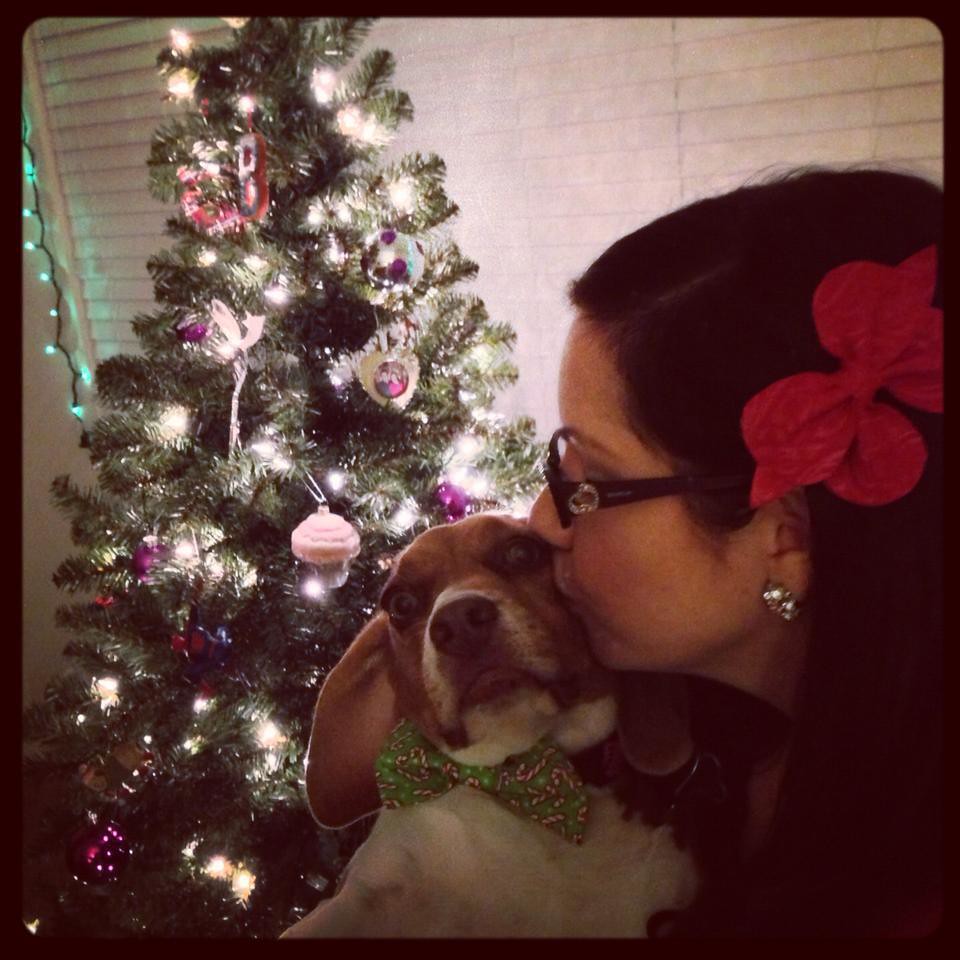
This will be my last post for the next few weeks, and we're going to go out with a cuteness overload. Some of the proud dog mommies send me the most ADORABLE photos of their pups modeling their holiday bowties.
Without further adieu, prepare to make all kinds of ridiculous noises of glee was you scroll...
First up we have our in-house model:
Without further adieu, prepare to make all kinds of ridiculous noises of glee was you scroll...
First up we have our in-house model:
Next up we have Louie & Luce, two adorable ladies from Southern California:
Spiderman and his owner are each modeling items from my shop:
The red felt bow can be found here!!
Little Boo is beyond cute in this series of shots:
I love that Sadie prepares for the holiday rush with a good nap!!
Charlie is kickin' it in front of the Christmas tree and looking oh so adorable!!
I'll be posting more bowtie photos as they come in, because the cuteness must be shared!!
I hope you all have an incredible holiday season!!
Wednesday, December 12, 2012
Holiday Spirit:
Sorry if some of this is a repeat for some of you. I tried to move it to another date, but it somehow went live anyway. For those of you who saw it, I've added a few more items to the post!! Enjoy (again)!!
I thought I'd share a few more simple DIY/re-crafted Christmas projects that have been going on around here. We're usually not around our own house for the holidays so we don't tend to decorate all that much. While this year is no different, we have a few more things hung up for the season.
First, from last week, we've got the Santa belt pillows from my DIY tutorial last week snazzing up our couch:
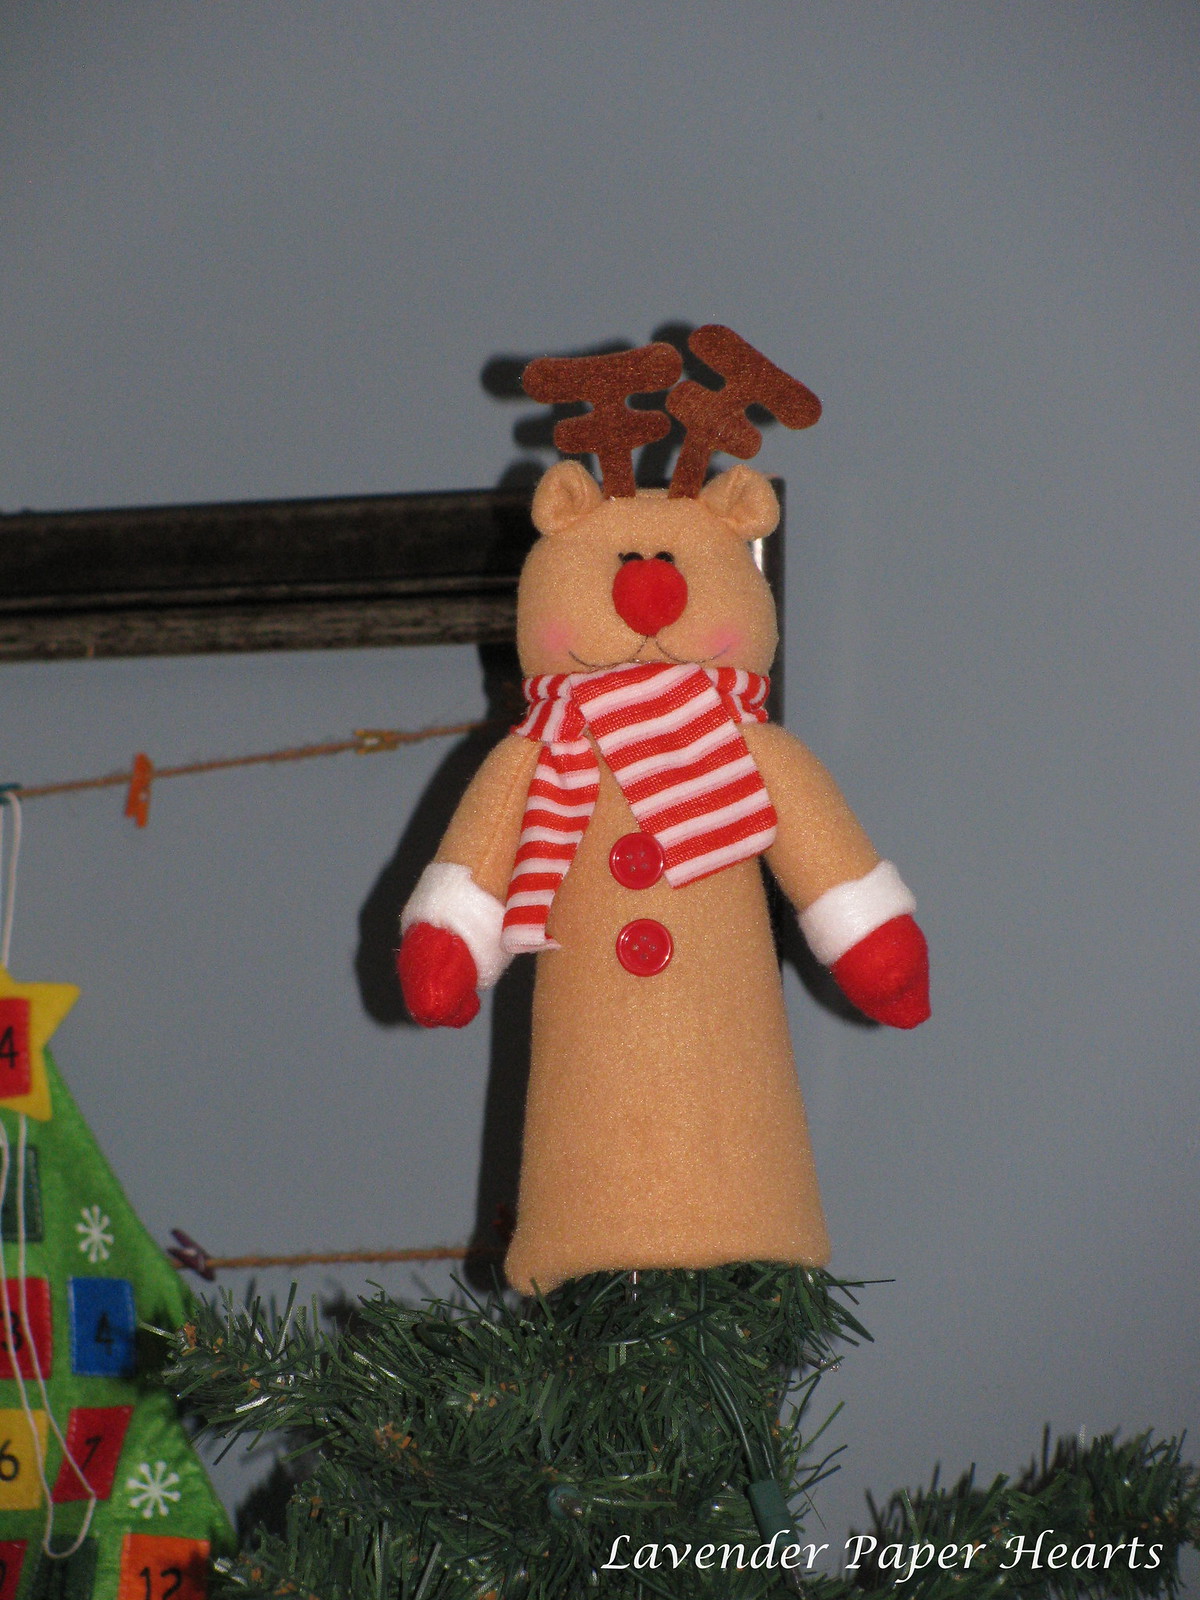
We borrowed a fake Christmas tree, and suddenly needed a tree topper. I'd seen this really cute one at the Dollar Tree, but our tree is only 5-ish feet tall, so Mr. Reindeer was rather large at 12 1/4 inches tall, and he threw the symmetry of the tree off a bit (ya think?!). Also, I picked him up a bit late in the game (Thanksgiving weekend did a number on my local Dollar Tree), so the only reindeer left in the store were a bit decrepit. I found one that looked like it could be worked with and promptly rescued him.
After: Isn't he cute?!!
Next up, my sister-in-law had given me 4 placemats that had accidentally shrunk in the wash to craft with. I had them sitting around for a while until I figured out what I could make with them. I really liked the quilted pattern so I knew I could make SOMETHING fun out of them. Then one afternoon when I got home from work it hit me...
They started out looking like this:
I thought I'd share a few more simple DIY/re-crafted Christmas projects that have been going on around here. We're usually not around our own house for the holidays so we don't tend to decorate all that much. While this year is no different, we have a few more things hung up for the season.
First, from last week, we've got the Santa belt pillows from my DIY tutorial last week snazzing up our couch:
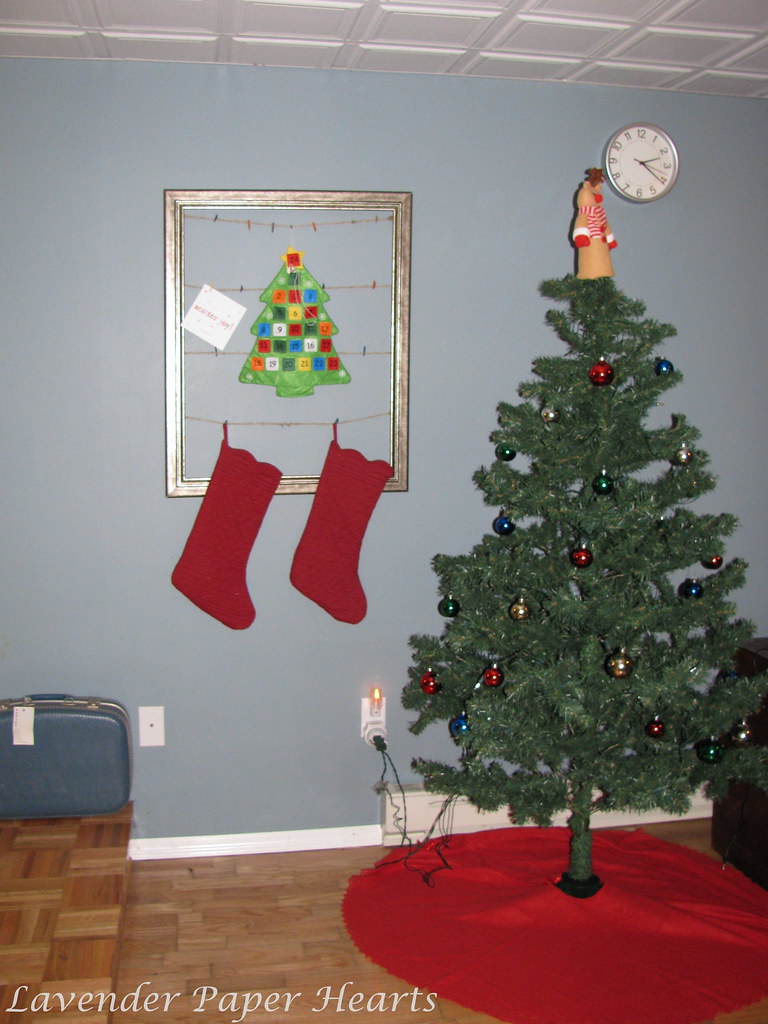
We borrowed a fake Christmas tree, and suddenly needed a tree topper. I'd seen this really cute one at the Dollar Tree, but our tree is only 5-ish feet tall, so Mr. Reindeer was rather large at 12 1/4 inches tall, and he threw the symmetry of the tree off a bit (ya think?!). Also, I picked him up a bit late in the game (Thanksgiving weekend did a number on my local Dollar Tree), so the only reindeer left in the store were a bit decrepit. I found one that looked like it could be worked with and promptly rescued him.
Before: He looks great here, mine was not this nice looking.... plus, SO TALL. My store also didn't have the Santa or Snowman.
After: Isn't he cute?!!
I got some scissors and my glue gun and got to work. I cut off about 4 - 5 inches from the bottom of Mr. Reindeer (it was just plastic, and then I tucked under the extra body felt) and then removed and re-positioned his buttons. But then I realized that his arms were now really disproportionately long to his new shorter body. He looked hilarious/ridiculous. The arms were tucked under the scarf so I very carefully cut them off and made them about an inch and a half shorter and easily glued them back into place. I also tacked down the scarf with glue to securely hide his, um, surgery. BOOM, he's a new man and he looks super cute on our little tree!!
They started out looking like this:
They ended up like this:
Now, if you look closely you can see that they're not identical. It doesn't really bother me, in fact, I think it gives them a little character... plus, you really have to look at them to notice. To make these I simply drew the stocking pattern free-handed on to the placemats, pinned them together and quickly sewed them. I cut off the extra fabric, grabbed a scrap and ran it through the machine to make two loops to hang them with, and boom - done. It honestly took less than 10 minutes. I especially love the quilted pattern and the little scalloped edge at the top.
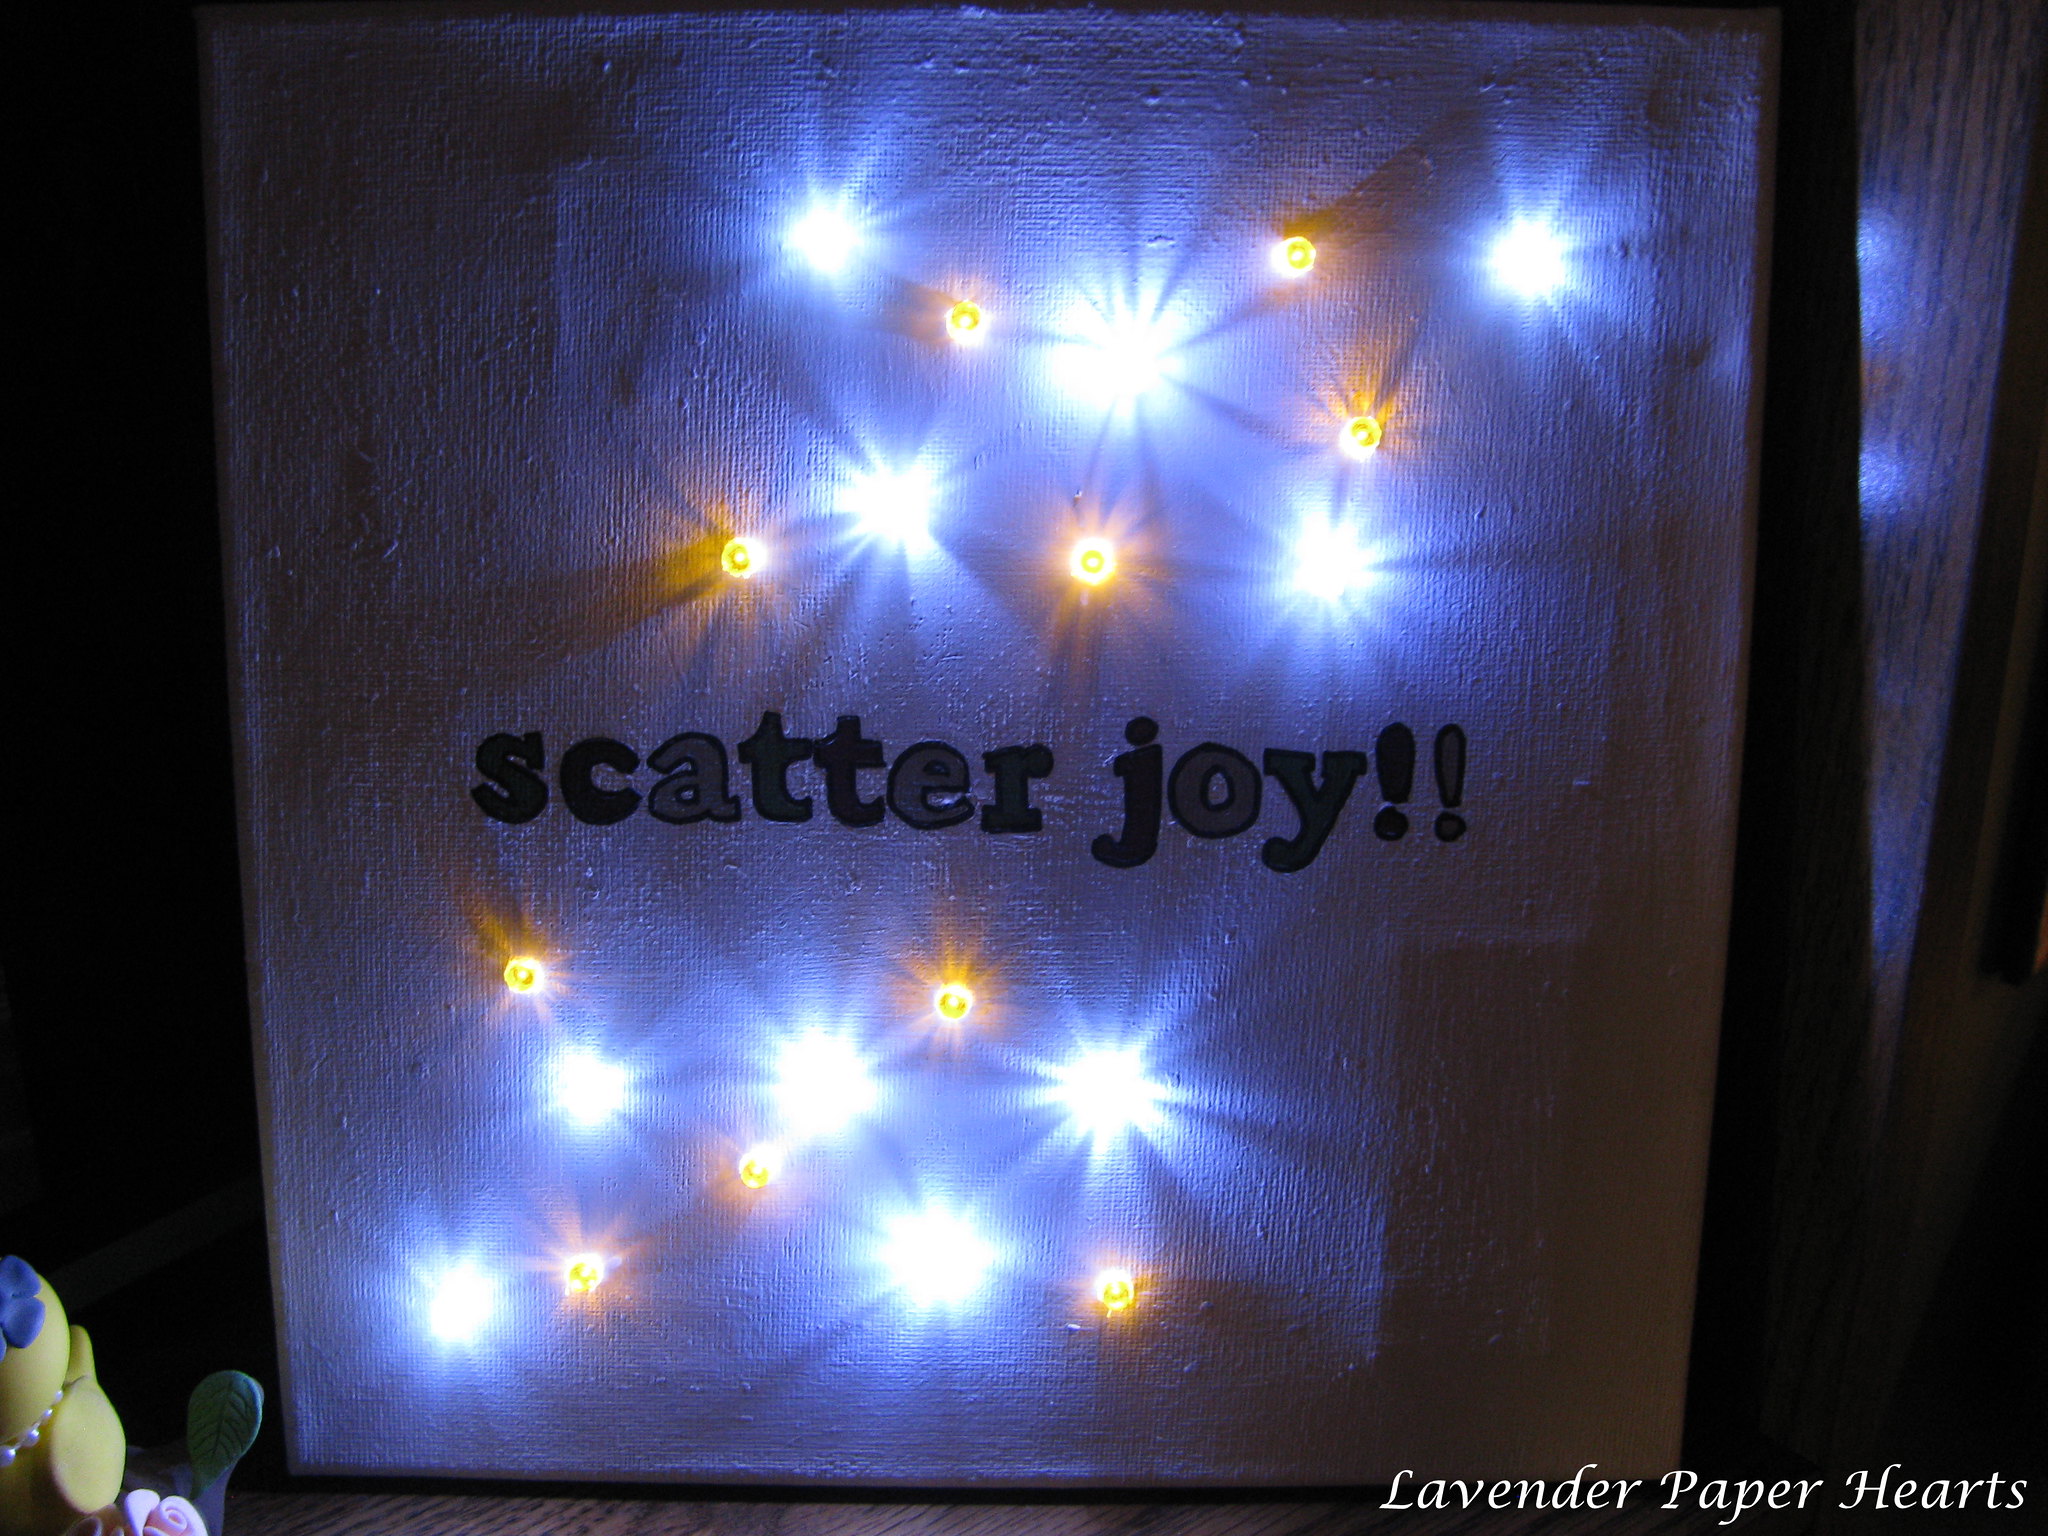
I was inspired to make the craft below after getting our first Christmas card of the season. Hubs and I thought the Emerson quote was so sweet and simple and, well, great, that I wanted to see if I could turn it into a bit of a bigger canvas somehow and with twinkle lights, because everyone loves twinkle lights.
Original:
I just finished this up after searching a few times at the Dollar Tree for lights. I bought a paint-by-number canvas at the Christmas Tree Shop and then lightly scrubbed off the paint by numbers part. I then covered the canvas in white paint, freezer paper stenciled on my phrase. The colors are red, green, and silver. Then I got my tool that looks like an ice pick, and after hot-melt gluing the battery box in place I used a pencil where I wanted my lights to go (they're strings of 10 lights), adjusted accordingly, and then gently poked through the canvas until the hole was just a little bit smaller than the light. I carefully pushed just the tip of the light of the led through the hole and then hot-glued them in place on the back. Boom. Done. :) I kind of super love it. These lights are my new favorite thing.
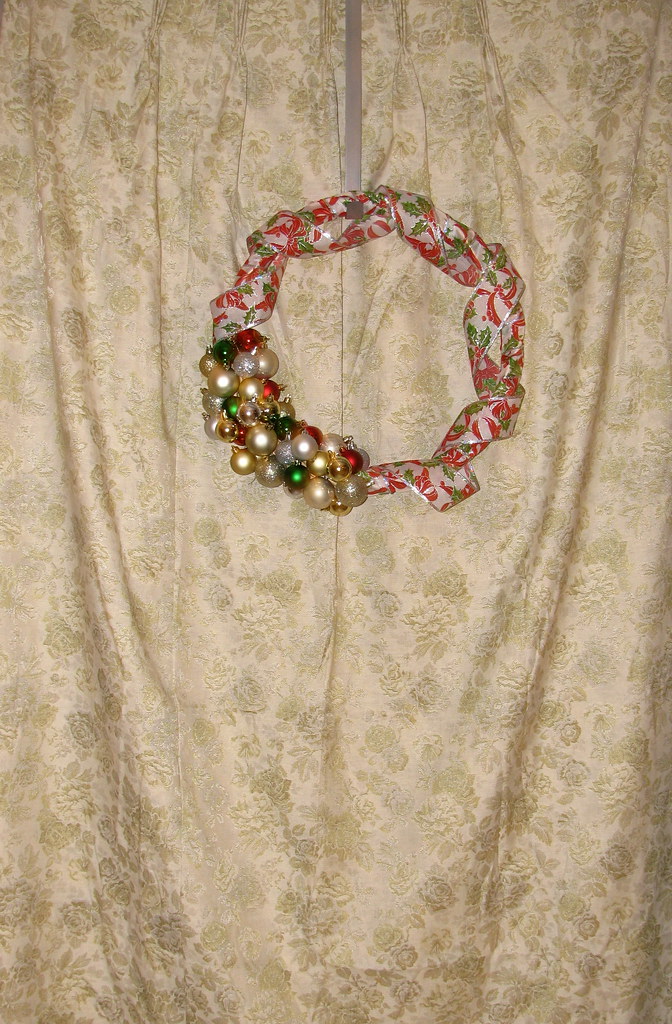
I made this wreath last Christmas. I found ALL of the supplies from the Dollar Tree (it ended up costing about $7 total). We hung it up on a door we have in our living space.
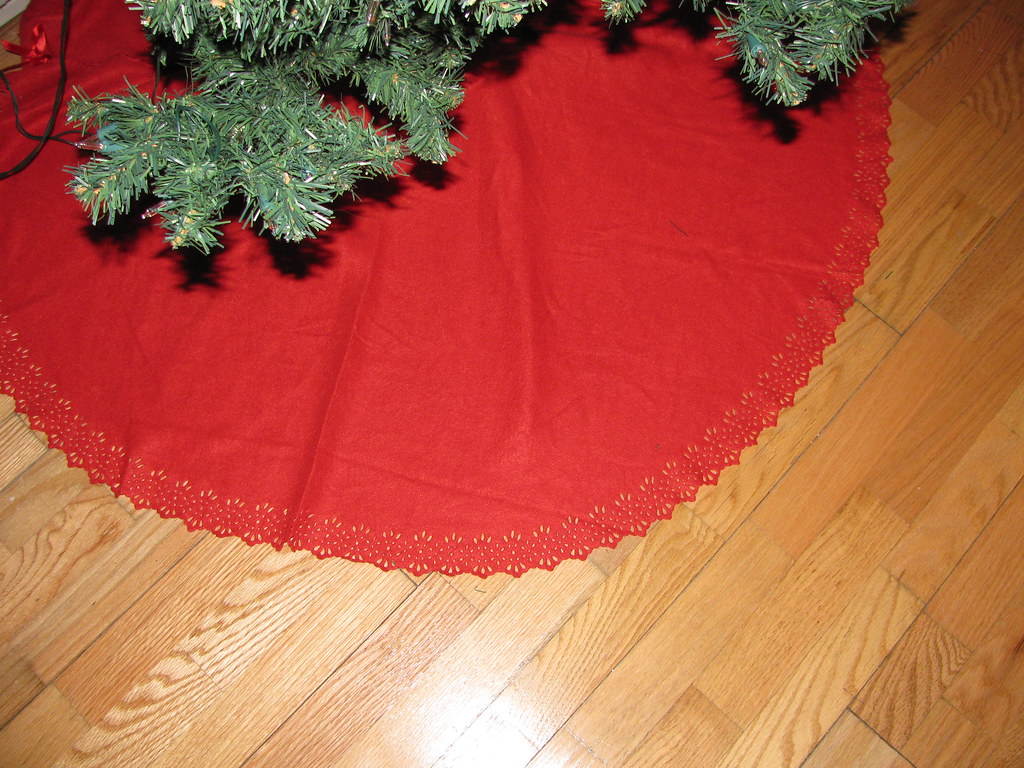
Lastly, and I did not make this, but I picked up a tree skirt from the Christmas Tree shop that would match the red in Mr. Reindeer's scarf. It was a good deal and I really loved the detailed edge!!
All together they look like this:
Or like this with the lights on (more impressive, in my opinion).
Wednesday, December 5, 2012
Custom Order: Holiday Pet Bowties
BOWTIES ARE NOW UP FOR SALE ON MY ETSY PAGE: HERE
I got a custom order for doggie bowties & bows last week from my sister. She's going to a Christmas party this weekend and wanted to give something special to the pets in her friend's lives. After gathering supplies I finished them up this morning, quickly snapped some photos, and mailed them off. I can't wait to see them in action on all of her friend's dogs!!
My sister sent me photos of the pups so that I could get a feel for their size and adjust the bows accordingly. The dogs ranged in size from big, medium, and small.
Because I knew she was giving them as gifts, I whipped up a simple but cute packaging for her too.
The doggie model checks out the goods...
These bowties and bows would look great on dogs OR cats!! Custom orders can be made by sending me a convo on Etsy or messaging me on my Facebook shop page.
BOWTIES ARE NOW UP FOR SALE ON MY ETSY PAGE: HERE
Wednesday, November 28, 2012
Holiday DIY Tutorial: Santa Pillows
Since Thanksgiving is officially over now, boo, it's time to be moving on to Christmas. I thought I'd share a super easy tutorial that you could whip up in no time. Like I said on Facebook last week, I had to run some errands after work and went a new way home. As luck would have it I stumbled across a Dollar Tree I'd never been to before. I was in no rush so I stopped in to check it out.
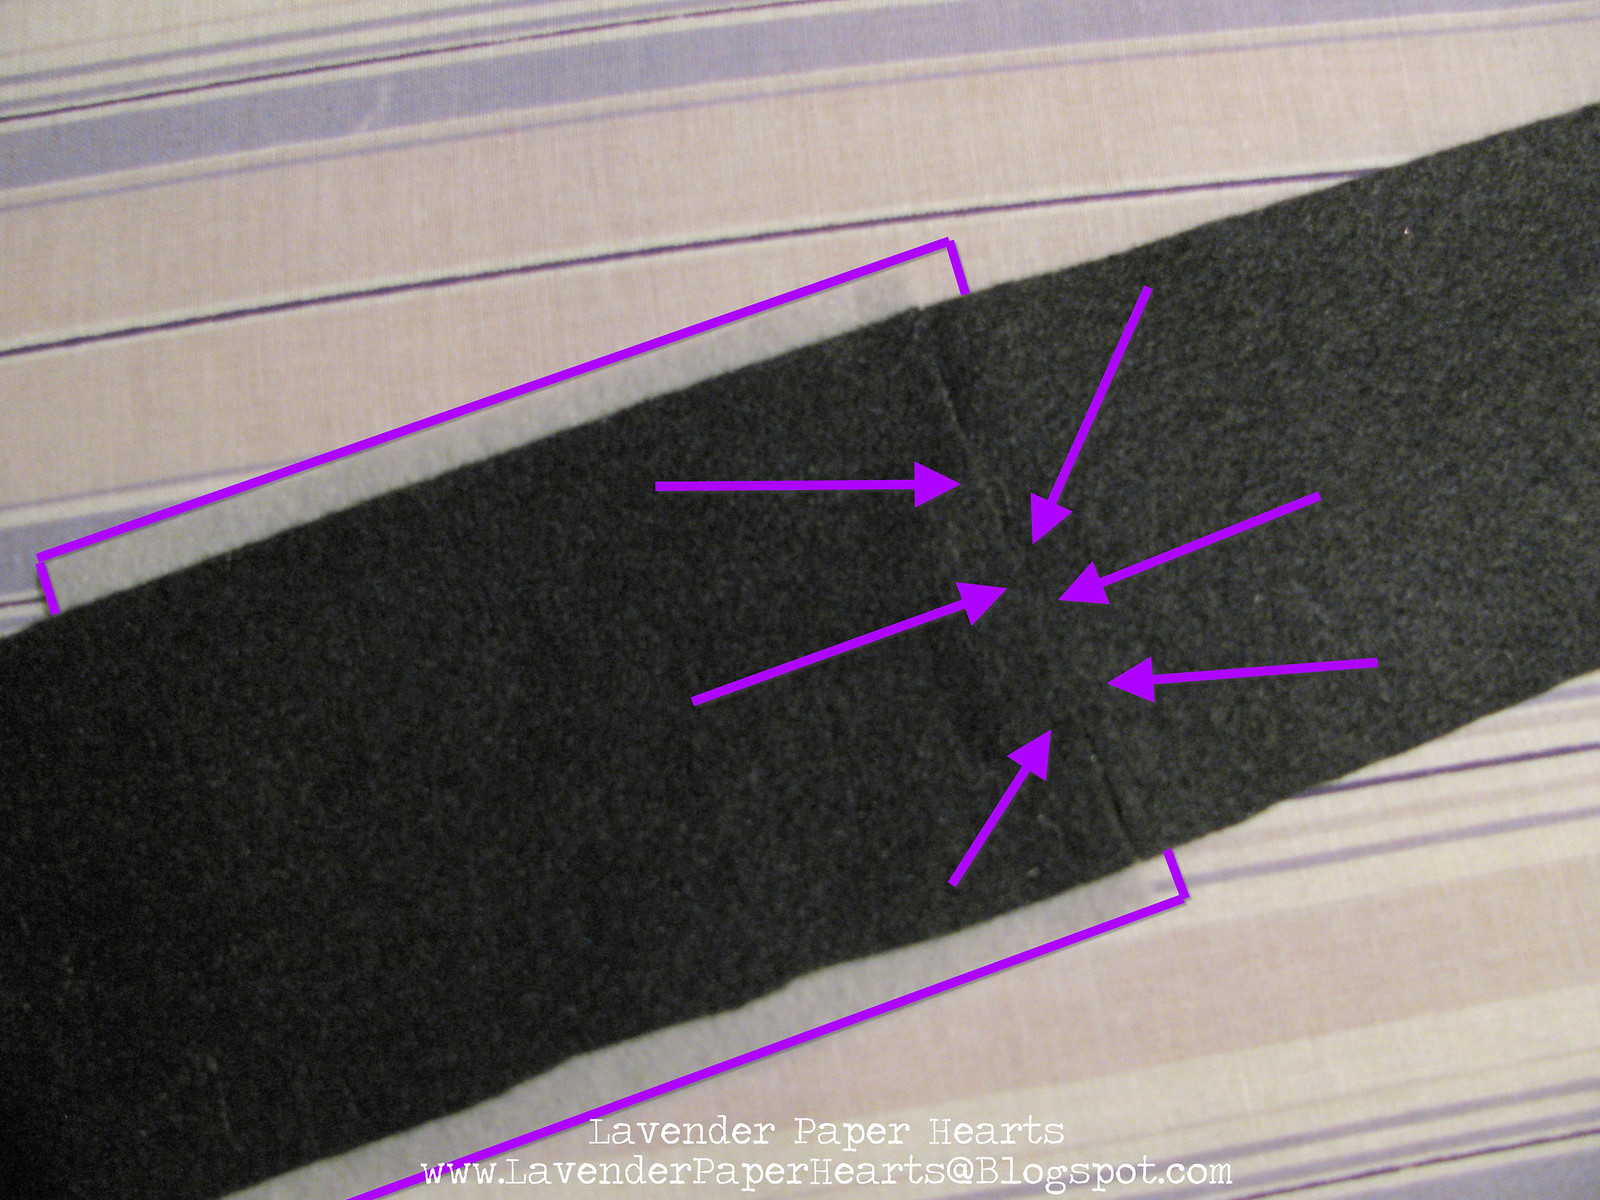
Now, pin the template to your black felt and you'll get the first 11 inches of your belt. The pillows I used were 16 inches wide, and I was using felt sheets which are something like 8 x 11 so I had to cut another piece and then glue the two pieces together to make one 16 inch belt. (If you're making two belts, repeat this step for belt #2.)
Super cute, right?!! Now go and make yourself some cute Santa pillows!! Next week I'll share some of the other holiday crafts I've been dabbling in to decorate our living space.
I knew that the Dollar Tree sold pillow cases because my husband is a bit rough on our couch pillows and I'd already bought a navy blue set to cover our current pillows. I'd been thinking of this craft for a while but couldn't find any pillow cases, let alone red ones, at my local store. I had other things on my mental DT must-search-for-list so I remembered to look for them at the VERY last minute. I mean, I'd already been standing in line and was about to be rung up when I grabbed my stuff and dashed off in the hopes of finding some. It was like a Christmas miracle!!
Supplies for 2 Santa Pillows:
- Red pillow cases - $2.00 *Save the cardboard topper
- Black felt (2 8x11 sheets) $0.29 each - I had it on hand
- Grey felt $0.29 each - I had it on hand
- Measuring tape - on hand
- Sharp scissors - on hand *This is important!!
- Crafting glue - on hand
- Sewing pins - on hand
- Fabric marking pen or pencil - on hand *Not pictured below... I forgot
- A scrap of cardboard big enough to fit into the pillow
Project total for me: $2
This tutorial (and its measurements) are geared towards these Dollar Tree pillows, but the tutorial is pretty straight forward and can easily be done with other pillows. Start by gathering your supplies. I had all the supplies on hand to make these with the exception of the red pillows. I like to make templates to make things easier on myself, especially when attempting to make two identical items. I also don't like to waste supplies so I looked around and decided that half of the cardboard topper that had been attached to the pillows would make a great width for the Santa belt. I cut the cardboard in half to make my belt template. Half of the cardboard measures 3 inches wide and about 16 inches long.
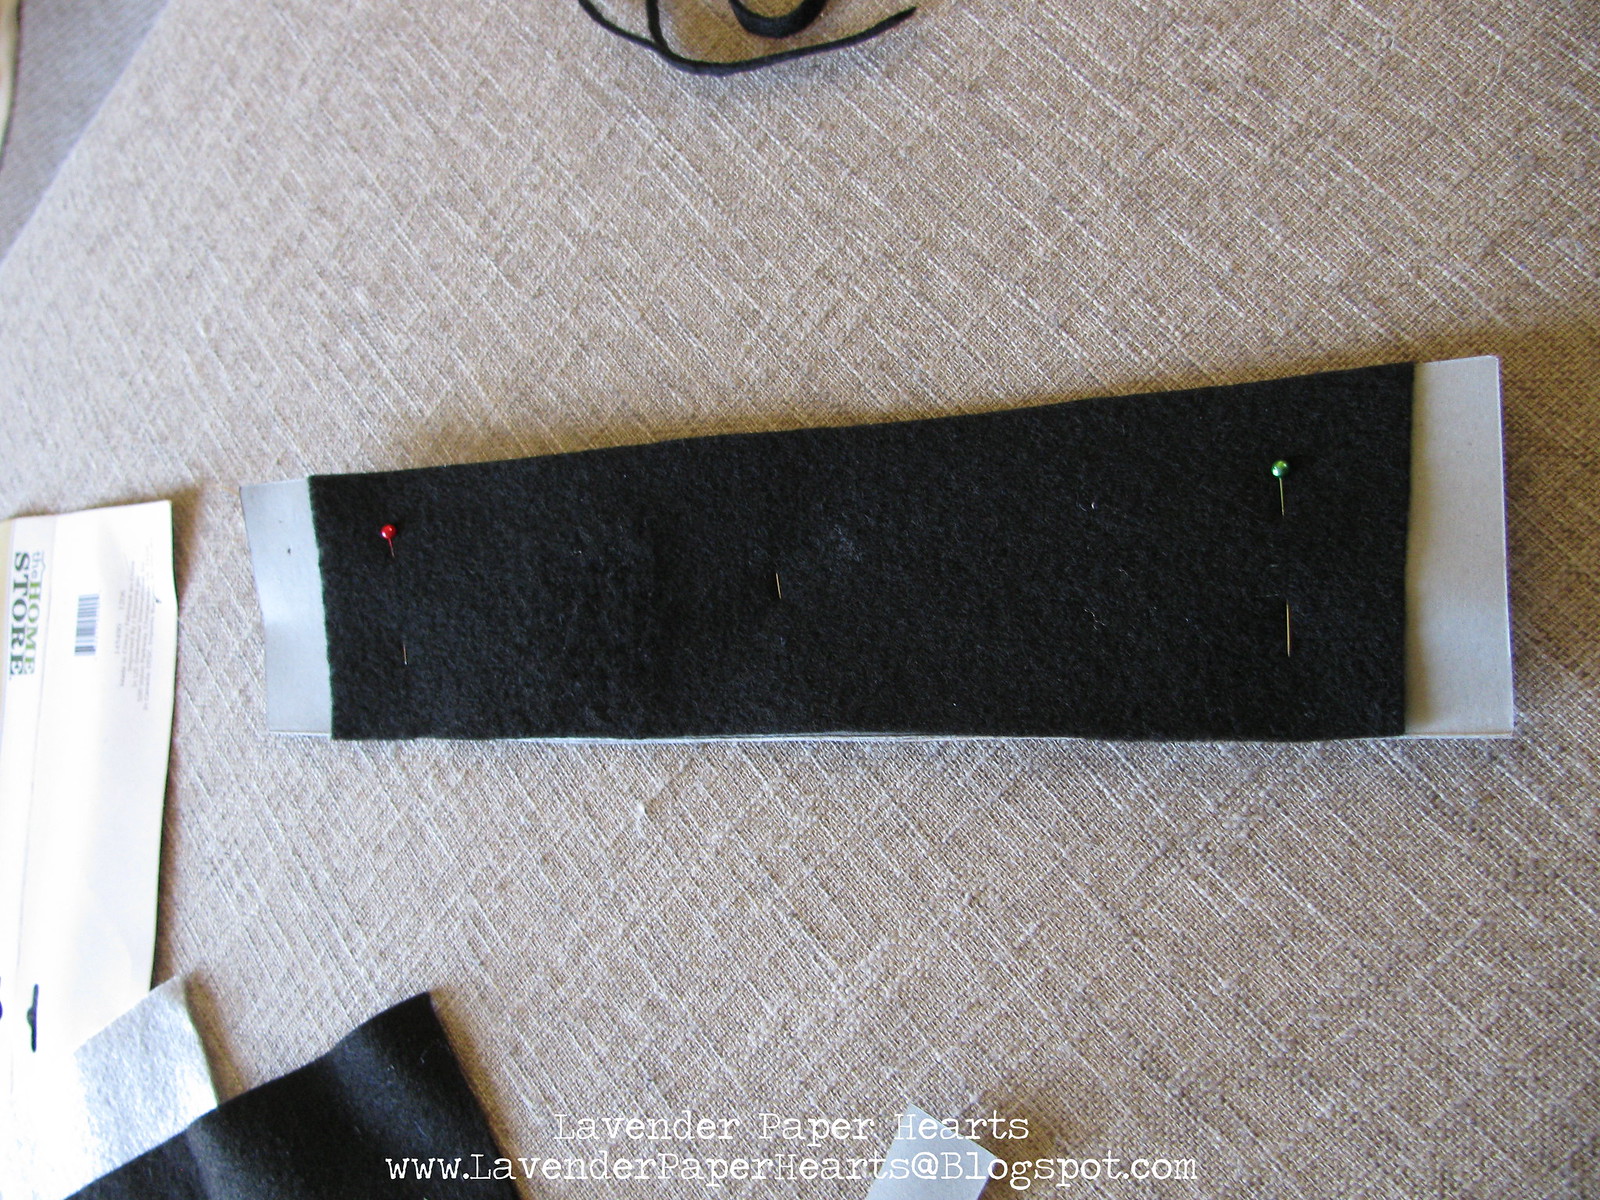
Now, pin the template to your black felt and you'll get the first 11 inches of your belt. The pillows I used were 16 inches wide, and I was using felt sheets which are something like 8 x 11 so I had to cut another piece and then glue the two pieces together to make one 16 inch belt. (If you're making two belts, repeat this step for belt #2.)
Here you might be say, but Kelly, then we'll see the seam and that just won't do, Santa's belt can't have a seam. What will the elves think?! I know, I know... so here's where you get sneaky! You're going to hide the seam under the felt "belt" part. If I've just blown your mind, take a minute to gather yourself and come back when you're ready.
Once you've gotten your belts cut out it's now onto the buckle. Grab that grey felt and the other half of the cardboard pillow packaging and continue. I eyeballed my buckle and it ended up being 4 3/4 inches by 3 1/2 inches tall. I then eye-balled again and cut out a piece of cardboard to help me trace the inside of the belt using the extra cardboard. Trim as necessary to get the size you want. As you can see below, I then used my fabric marker to trace out the middle and then cut it out with my scissors. Easy peasy.
Next is assembly. I forgot to take pictures of this part but it's also pretty straight forward. Using crafting glue, glue the thin edges of your black felt together... or, just glue them touching each other to your grey buckle felt piece. DO NOT OVERLAP THE BLACK FELT - it will create a bulky seam that you'll see under the buckle. Just do your best to glue the seam together, or glue them directly to the felt. Let it dry for about 15-20 minutes and then come back to it.
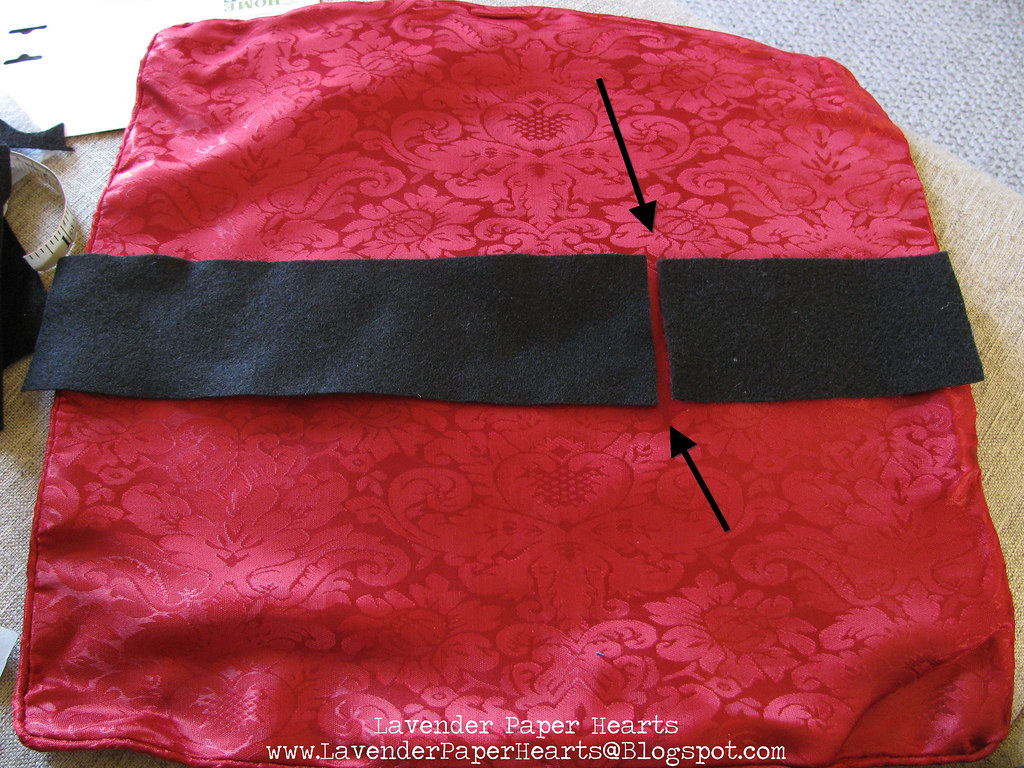
Hiding the seam under one of the buckle sides, make sure that you've lined it up so that you've got enough black felt on either side of the pillow to touch each side of the pillow, so 16 inches across. Look at the photo above with the red pillow and the belt if that's a bit unclear. Since a felt sheet is only 11 inches, you're going to need to sort of share the off-centered-ness and make sure that the felt buckle successfully hides the seam. Glue the buckle to the belt. Let this sit for 15 - 20 minutes to dry a bit. Once it's dry-ish, lay the belt on top of the pillow, mark the middle of the buckle (1 3/4 inches in) with your fabric marker and find the 8 inch mark on the pillow and line up the center of the buckle at the 8 inch mark. At this step, it's a good idea to cut off the extra black belt felt on either end. DON'T CUT OFF TOO MUCH - measure twice, cut once.
Okay, you're ready to glue the belt to the pillow... Here is where you'll need your cardboard scrap. You want it to be big enough so that it will fit inside the pillow and so you can glue the belt to the pillow and not have the two pillow sides accidentally glue themselves together. This would be no bueno. I used a USPS priority mail envelope that I had laying around and angled it inside the pillow. Next, you can either eyeball or measure to find the center of the pillow and glue your belt in place. Some people like their belts dead center, some people like them a little more towards the "top" part of the pillow. The choice is up to you. I decided on the center and glued away. I just ran the glue around the outer edge of my belt felt and used it sparingly (it will weep through the felt if you push too hard, but if this happens it should dry clear).
Give the pillows several hours to dry completely before attempting to stuff new pillows into the covers. Be gentle as you stuff the pillow, the felt belt isn't delicate, but it should be treated with a bit of care. Throw them on your couch and enjoy. Below are the pillows jazzing up our couch!!
Super cute, right?!! Now go and make yourself some cute Santa pillows!! Next week I'll share some of the other holiday crafts I've been dabbling in to decorate our living space.
Be sure to check out some of my other holiday crafts here.
What holiday decorations have you been whipping up??
Subscribe to:
Posts (Atom)