I knew that the Dollar Tree sold pillow cases because my husband is a bit rough on our couch pillows and I'd already bought a navy blue set to cover our current pillows. I'd been thinking of this craft for a while but couldn't find any pillow cases, let alone red ones, at my local store. I had other things on my mental DT must-search-for-list so I remembered to look for them at the VERY last minute. I mean, I'd already been standing in line and was about to be rung up when I grabbed my stuff and dashed off in the hopes of finding some. It was like a Christmas miracle!!


Supplies for 2 Santa Pillows:
- Red pillow cases - $2.00 *Save the cardboard topper
- Black felt (2 8x11 sheets) $0.29 each - I had it on hand
- Grey felt $0.29 each - I had it on hand
- Measuring tape - on hand
- Sharp scissors - on hand *This is important!!
- Crafting glue - on hand
- Sewing pins - on hand
- Fabric marking pen or pencil - on hand *Not pictured below... I forgot
- A scrap of cardboard big enough to fit into the pillow
Project total for me: $2

This tutorial (and its measurements) are geared towards these Dollar Tree pillows, but the tutorial is pretty straight forward and can easily be done with other pillows. Start by gathering your supplies. I had all the supplies on hand to make these with the exception of the red pillows. I like to make templates to make things easier on myself, especially when attempting to make two identical items. I also don't like to waste supplies so I looked around and decided that half of the cardboard topper that had been attached to the pillows would make a great width for the Santa belt. I cut the cardboard in half to make my belt template. Half of the cardboard measures 3 inches wide and about 16 inches long.

Now, pin the template to your black felt and you'll get the first 11 inches of your belt. The pillows I used were 16 inches wide, and I was using felt sheets which are something like 8 x 11 so I had to cut another piece and then glue the two pieces together to make one 16 inch belt. (If you're making two belts, repeat this step for belt #2.)
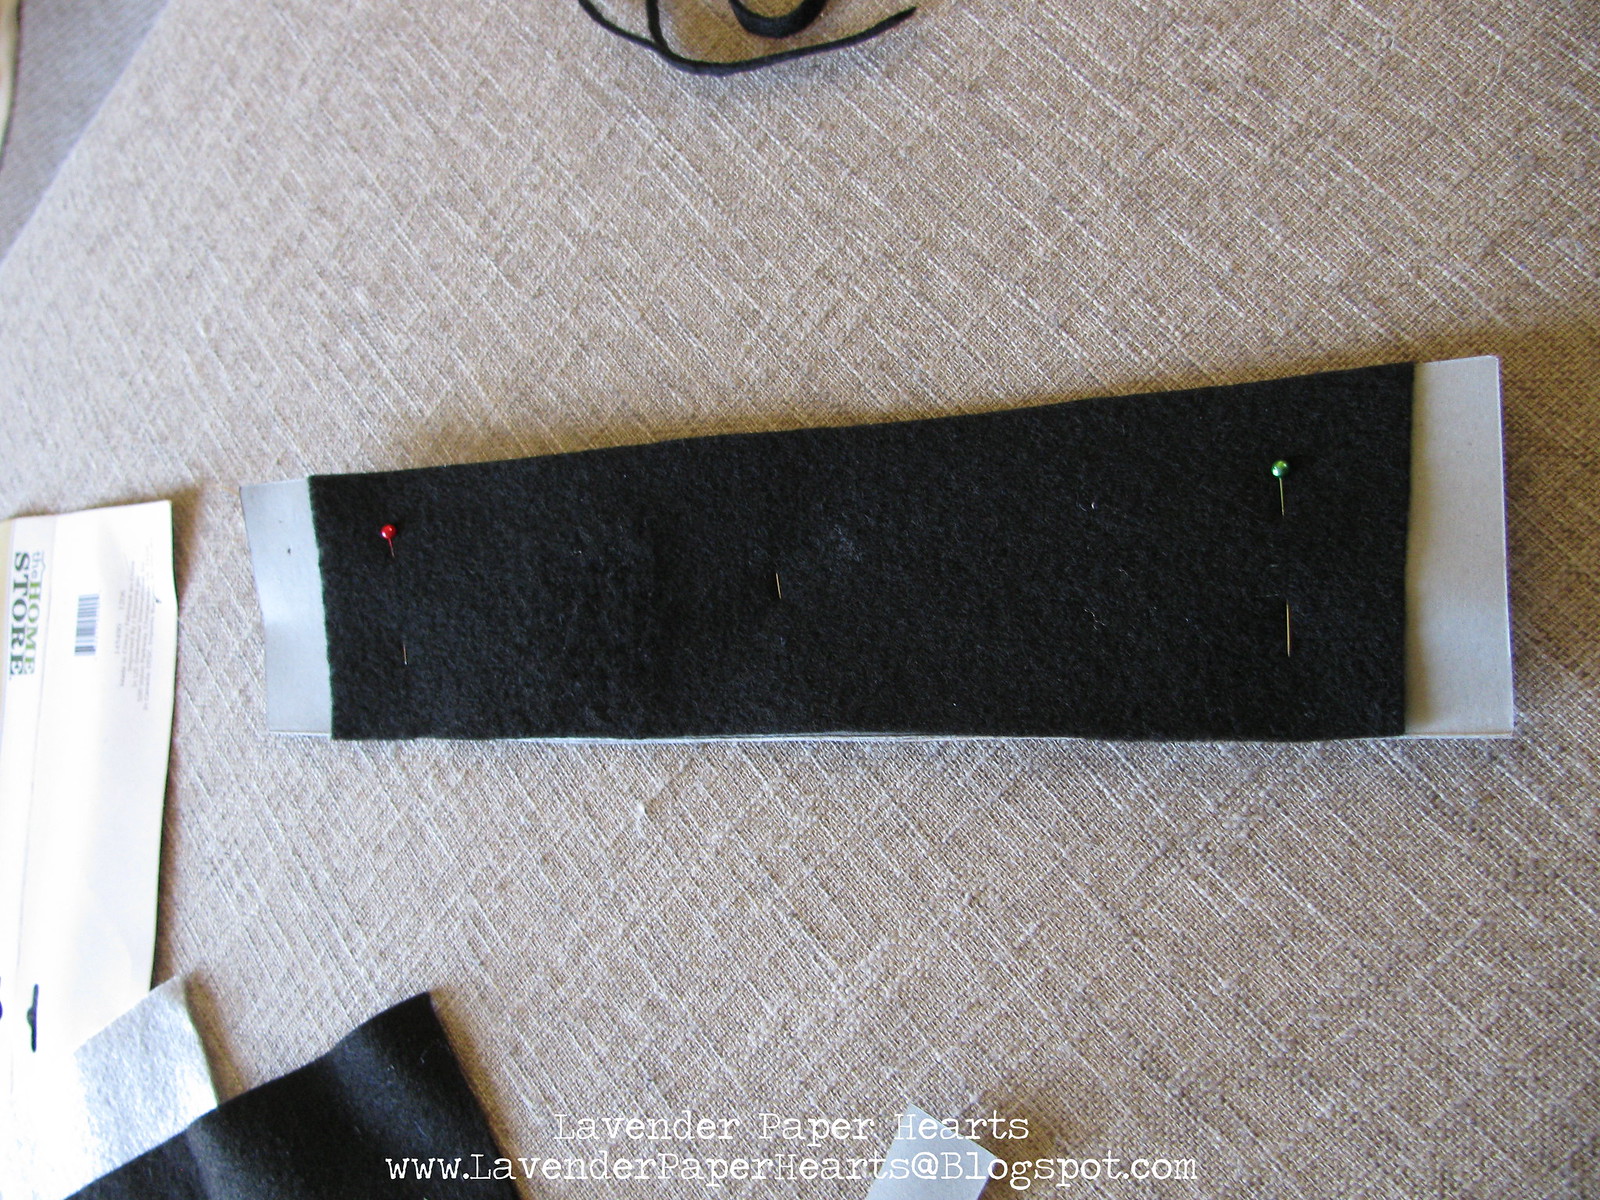
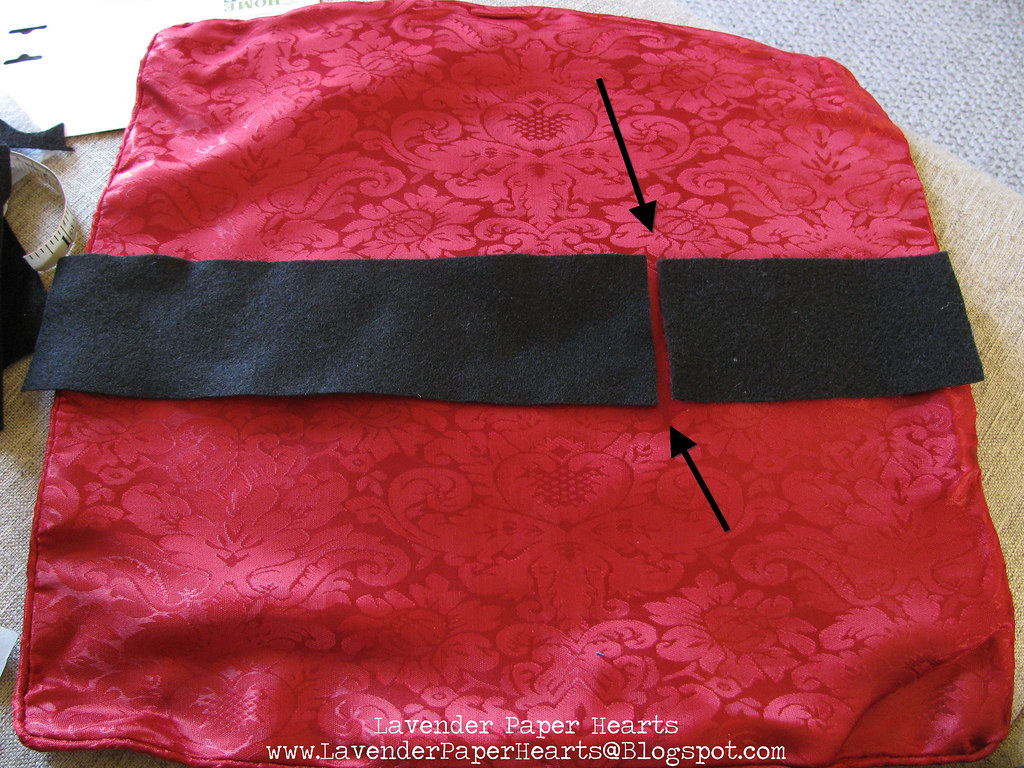
Here you might be say, but Kelly, then we'll see the seam and that just won't do, Santa's belt can't have a seam. What will the elves think?! I know, I know... so here's where you get sneaky! You're going to hide the seam under the felt "belt" part. If I've just blown your mind, take a minute to gather yourself and come back when you're ready.
Once you've gotten your belts cut out it's now onto the buckle. Grab that grey felt and the other half of the cardboard pillow packaging and continue. I eyeballed my buckle and it ended up being 4 3/4 inches by 3 1/2 inches tall. I then eye-balled again and cut out a piece of cardboard to help me trace the inside of the belt using the extra cardboard. Trim as necessary to get the size you want. As you can see below, I then used my fabric marker to trace out the middle and then cut it out with my scissors. Easy peasy.

Next is assembly. I forgot to take pictures of this part but it's also pretty straight forward. Using crafting glue, glue the thin edges of your black felt together... or, just glue them touching each other to your grey buckle felt piece. DO NOT OVERLAP THE BLACK FELT - it will create a bulky seam that you'll see under the buckle. Just do your best to glue the seam together, or glue them directly to the felt. Let it dry for about 15-20 minutes and then come back to it.
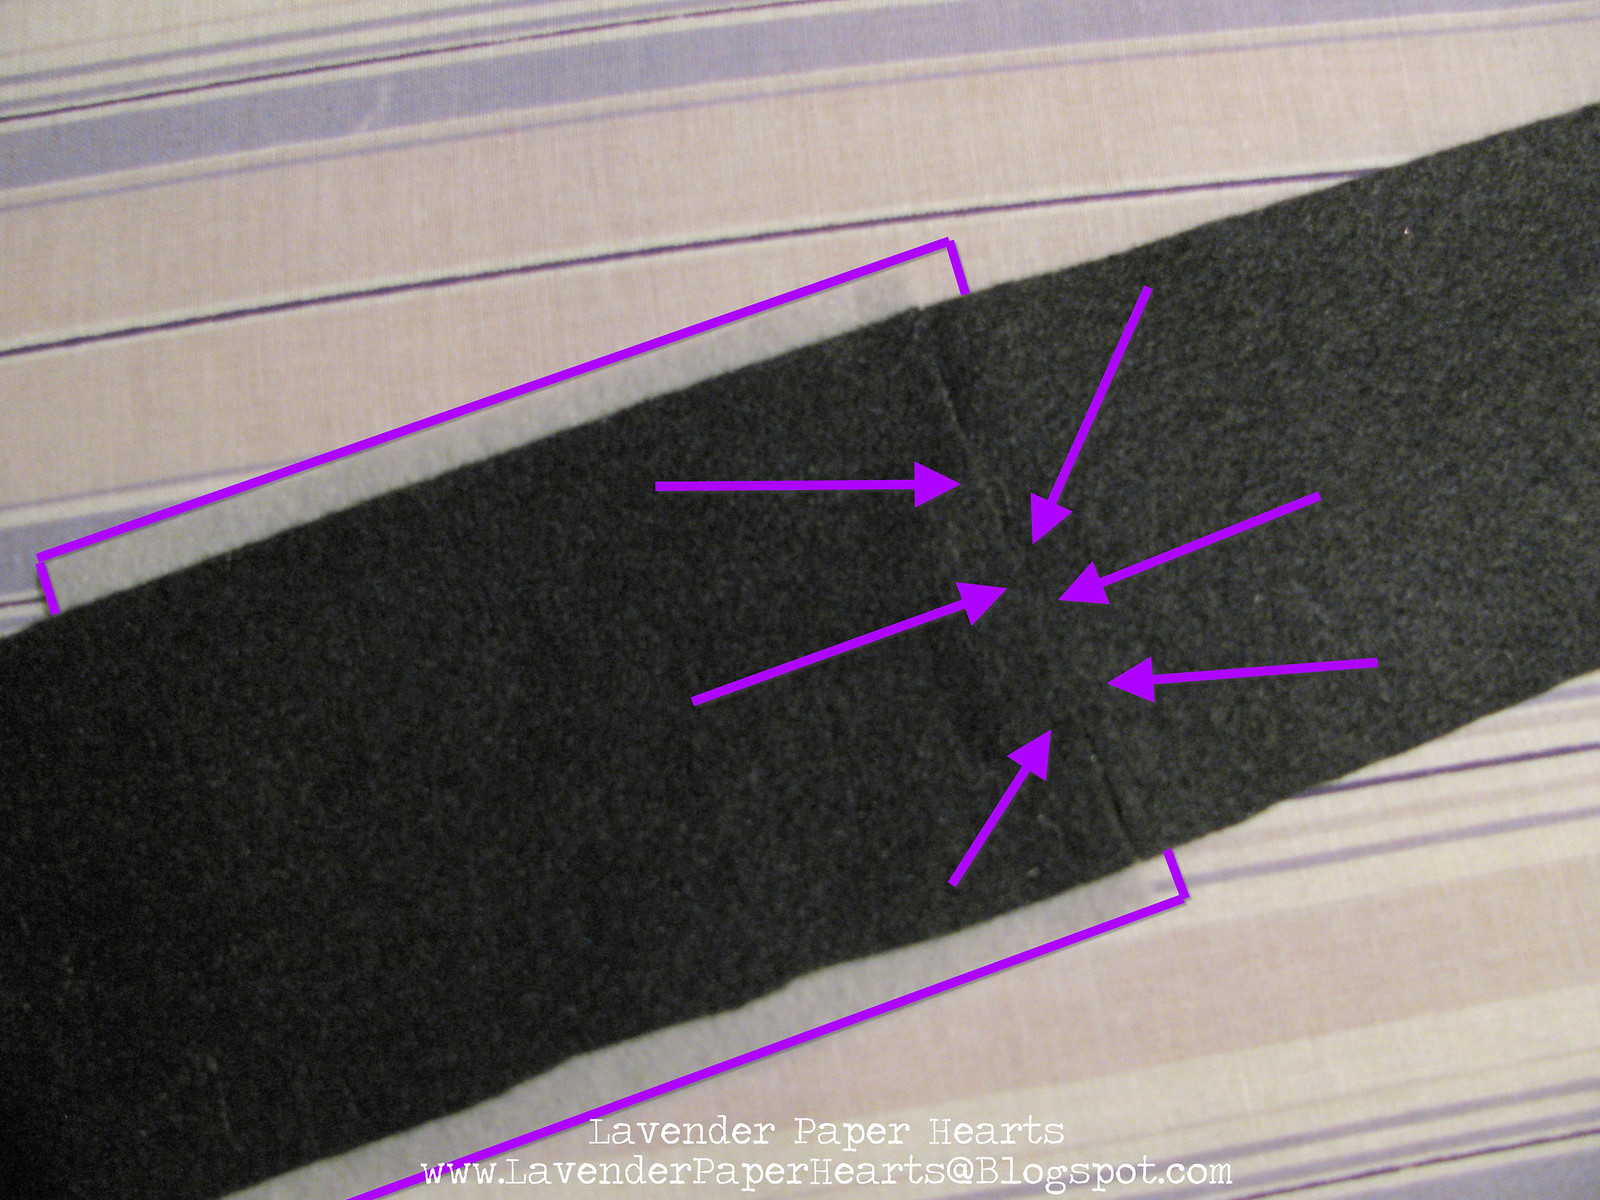
Hiding the seam under one of the buckle sides, make sure that you've lined it up so that you've got enough black felt on either side of the pillow to touch each side of the pillow, so 16 inches across. Look at the photo above with the red pillow and the belt if that's a bit unclear. Since a felt sheet is only 11 inches, you're going to need to sort of share the off-centered-ness and make sure that the felt buckle successfully hides the seam. Glue the buckle to the belt. Let this sit for 15 - 20 minutes to dry a bit. Once it's dry-ish, lay the belt on top of the pillow, mark the middle of the buckle (1 3/4 inches in) with your fabric marker and find the 8 inch mark on the pillow and line up the center of the buckle at the 8 inch mark. At this step, it's a good idea to cut off the extra black belt felt on either end. DON'T CUT OFF TOO MUCH - measure twice, cut once.
Okay, you're ready to glue the belt to the pillow... Here is where you'll need your cardboard scrap. You want it to be big enough so that it will fit inside the pillow and so you can glue the belt to the pillow and not have the two pillow sides accidentally glue themselves together. This would be no bueno. I used a USPS priority mail envelope that I had laying around and angled it inside the pillow. Next, you can either eyeball or measure to find the center of the pillow and glue your belt in place. Some people like their belts dead center, some people like them a little more towards the "top" part of the pillow. The choice is up to you. I decided on the center and glued away. I just ran the glue around the outer edge of my belt felt and used it sparingly (it will weep through the felt if you push too hard, but if this happens it should dry clear).
Give the pillows several hours to dry completely before attempting to stuff new pillows into the covers. Be gentle as you stuff the pillow, the felt belt isn't delicate, but it should be treated with a bit of care. Throw them on your couch and enjoy. Below are the pillows jazzing up our couch!!

Super cute, right?!! Now go and make yourself some cute Santa pillows!! Next week I'll share some of the other holiday crafts I've been dabbling in to decorate our living space.
Be sure to check out some of my other holiday crafts here.
What holiday decorations have you been whipping up??