I thought I'd share a few more simple DIY/re-crafted Christmas projects that have been going on around here. We're usually not around our own house for the holidays so we don't tend to decorate all that much. While this year is no different, we have a few more things hung up for the season.
First, from last week, we've got the Santa belt pillows from my DIY tutorial last week snazzing up our couch:
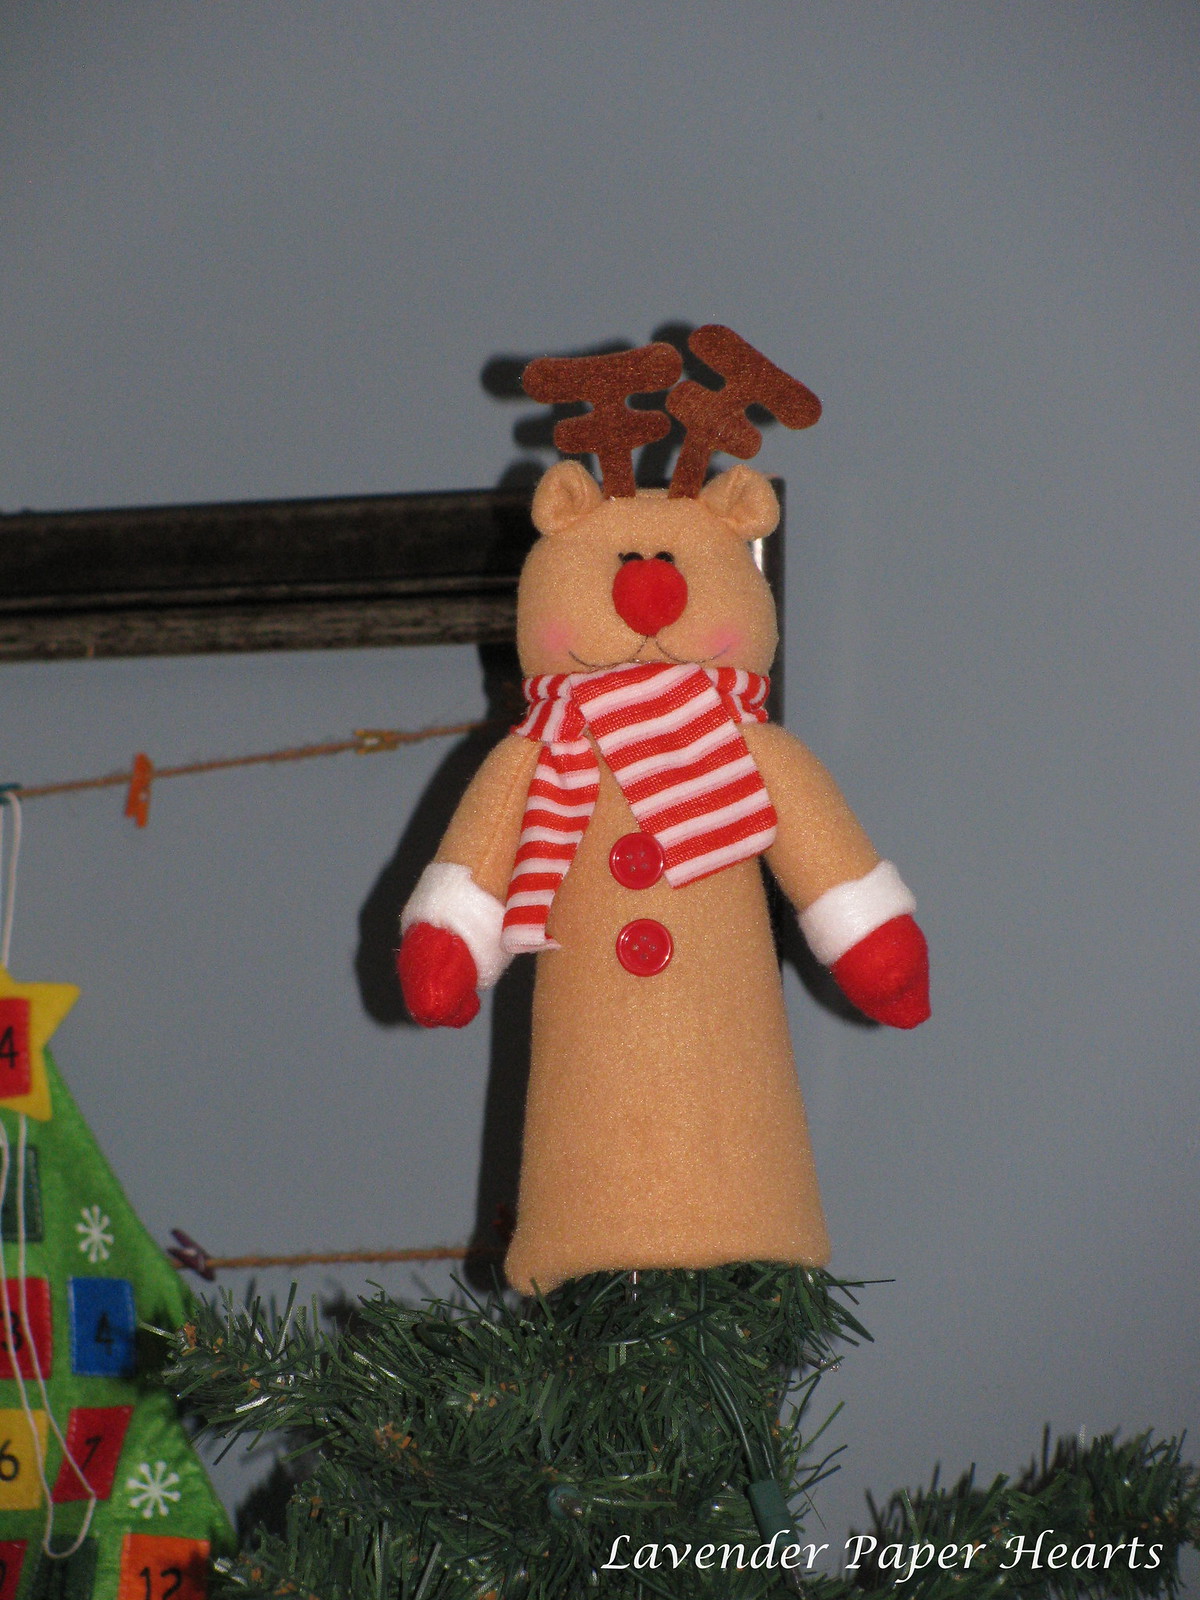
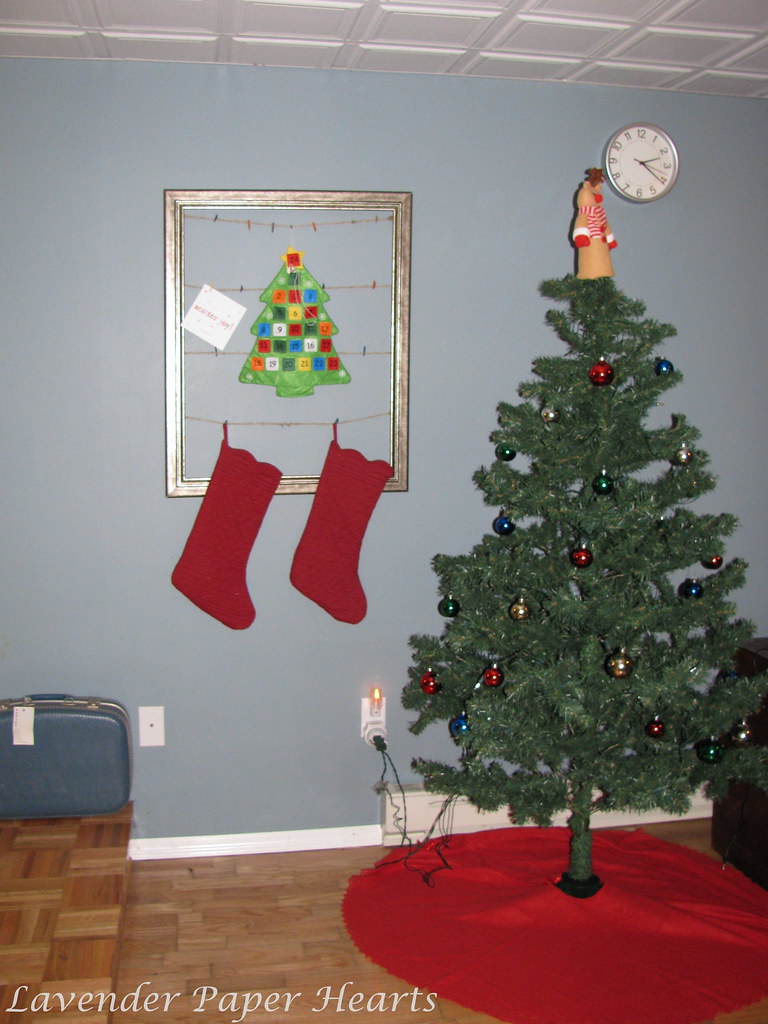
We borrowed a fake Christmas tree, and suddenly needed a tree topper. I'd seen this really cute one at the Dollar Tree, but our tree is only 5-ish feet tall, so Mr. Reindeer was rather large at 12 1/4 inches tall, and he threw the symmetry of the tree off a bit (ya think?!). Also, I picked him up a bit late in the game (Thanksgiving weekend did a number on my local Dollar Tree), so the only reindeer left in the store were a bit decrepit. I found one that looked like it could be worked with and promptly rescued him.
Before: He looks great here, mine was not this nice looking.... plus, SO TALL. My store also didn't have the Santa or Snowman.
After: Isn't he cute?!!
I got some scissors and my glue gun and got to work. I cut off about 4 - 5 inches from the bottom of Mr. Reindeer (it was just plastic, and then I tucked under the extra body felt) and then removed and re-positioned his buttons. But then I realized that his arms were now really disproportionately long to his new shorter body. He looked hilarious/ridiculous. The arms were tucked under the scarf so I very carefully cut them off and made them about an inch and a half shorter and easily glued them back into place. I also tacked down the scarf with glue to securely hide his, um, surgery. BOOM, he's a new man and he looks super cute on our little tree!!
They started out looking like this:
They ended up like this:
Now, if you look closely you can see that they're not identical. It doesn't really bother me, in fact, I think it gives them a little character... plus, you really have to look at them to notice. To make these I simply drew the stocking pattern free-handed on to the placemats, pinned them together and quickly sewed them. I cut off the extra fabric, grabbed a scrap and ran it through the machine to make two loops to hang them with, and boom - done. It honestly took less than 10 minutes. I especially love the quilted pattern and the little scalloped edge at the top.
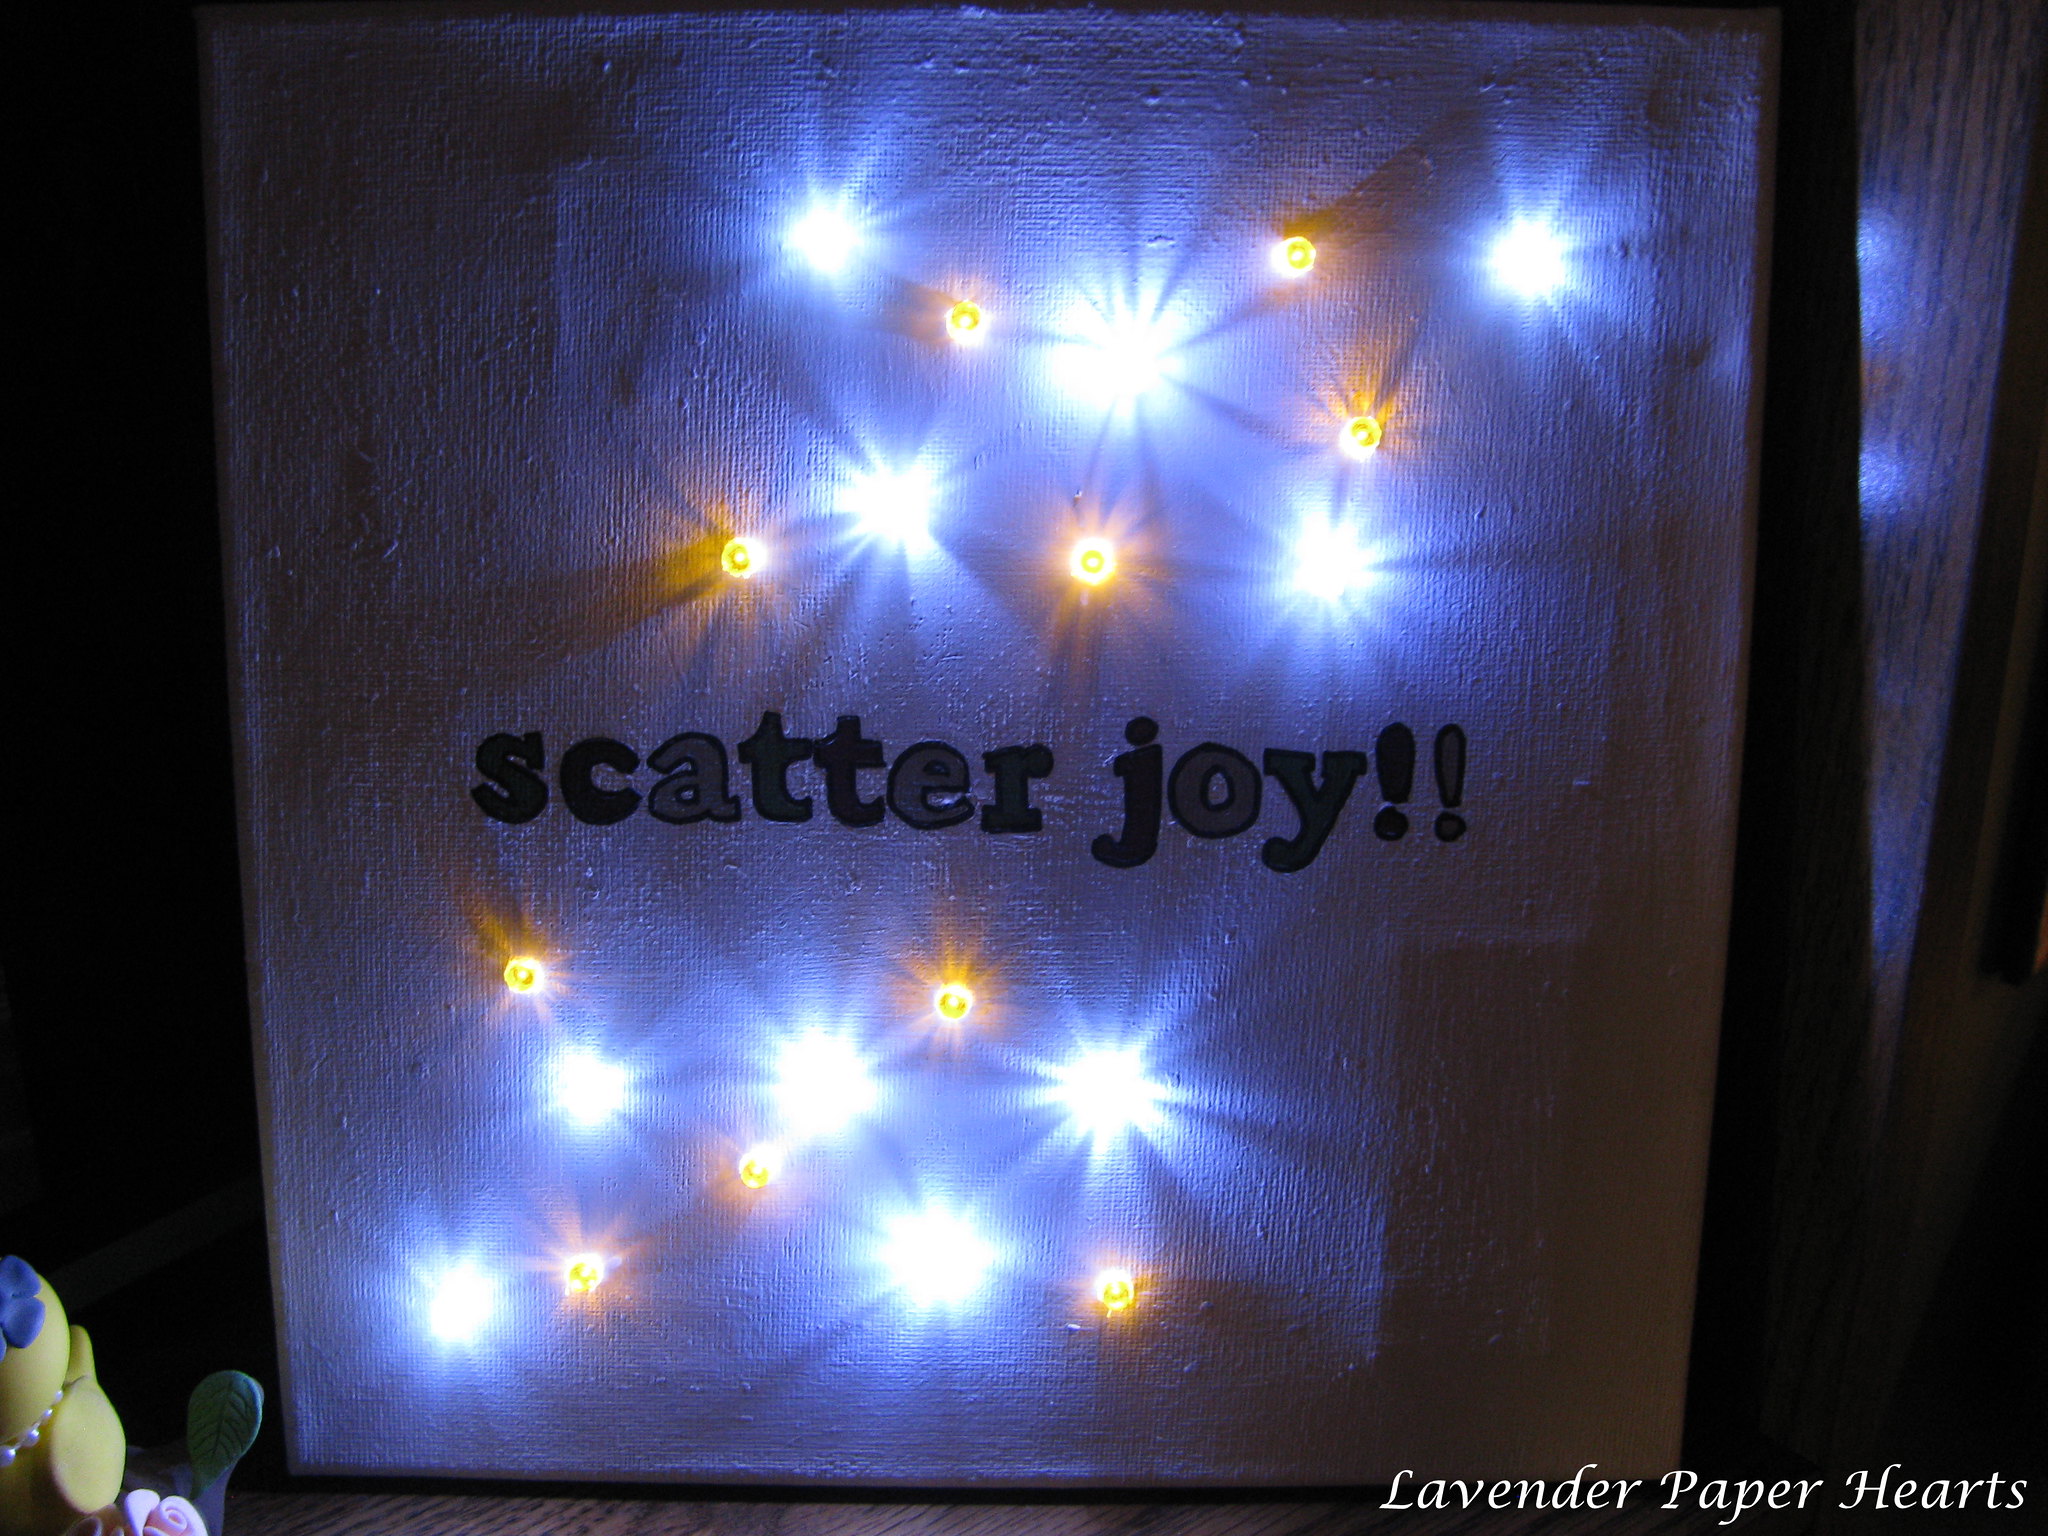
I was inspired to make the craft below after getting our first Christmas card of the season. Hubs and I thought the Emerson quote was so sweet and simple and, well, great, that I wanted to see if I could turn it into a bit of a bigger canvas somehow and with twinkle lights, because everyone loves twinkle lights.
Original:
I just finished this up after searching a few times at the Dollar Tree for lights. I bought a paint-by-number canvas at the Christmas Tree Shop and then lightly scrubbed off the paint by numbers part. I then covered the canvas in white paint, freezer paper stenciled on my phrase. The colors are red, green, and silver. Then I got my tool that looks like an ice pick, and after hot-melt gluing the battery box in place I used a pencil where I wanted my lights to go (they're strings of 10 lights), adjusted accordingly, and then gently poked through the canvas until the hole was just a little bit smaller than the light. I carefully pushed just the tip of the light of the led through the hole and then hot-glued them in place on the back. Boom. Done. :) I kind of super love it. These lights are my new favorite thing.
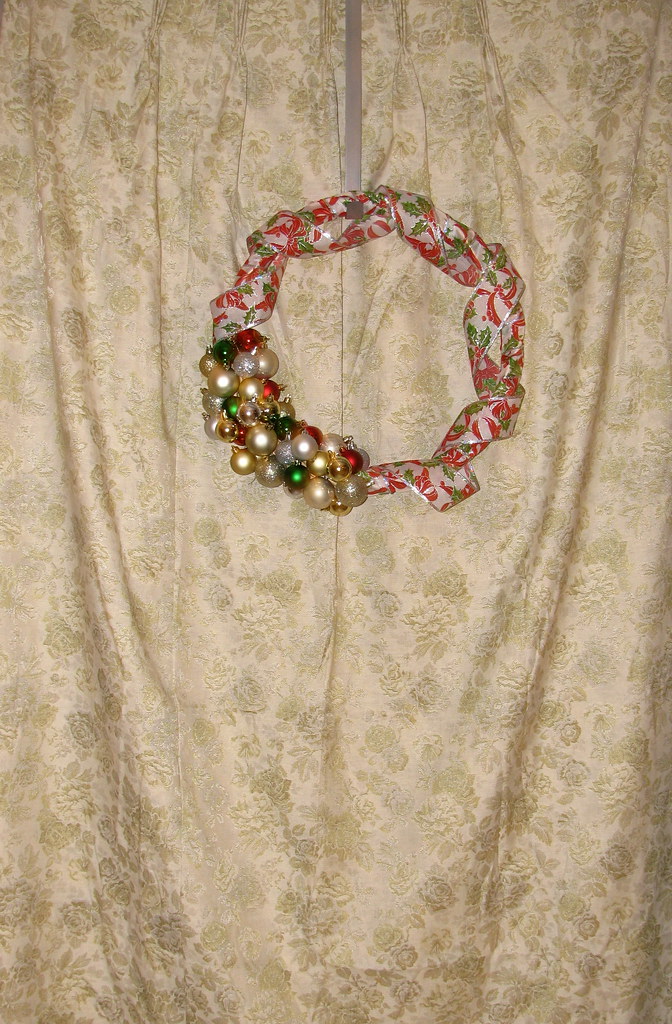
I made this wreath last Christmas. I found ALL of the supplies from the Dollar Tree (it ended up costing about $7 total). We hung it up on a door we have in our living space.
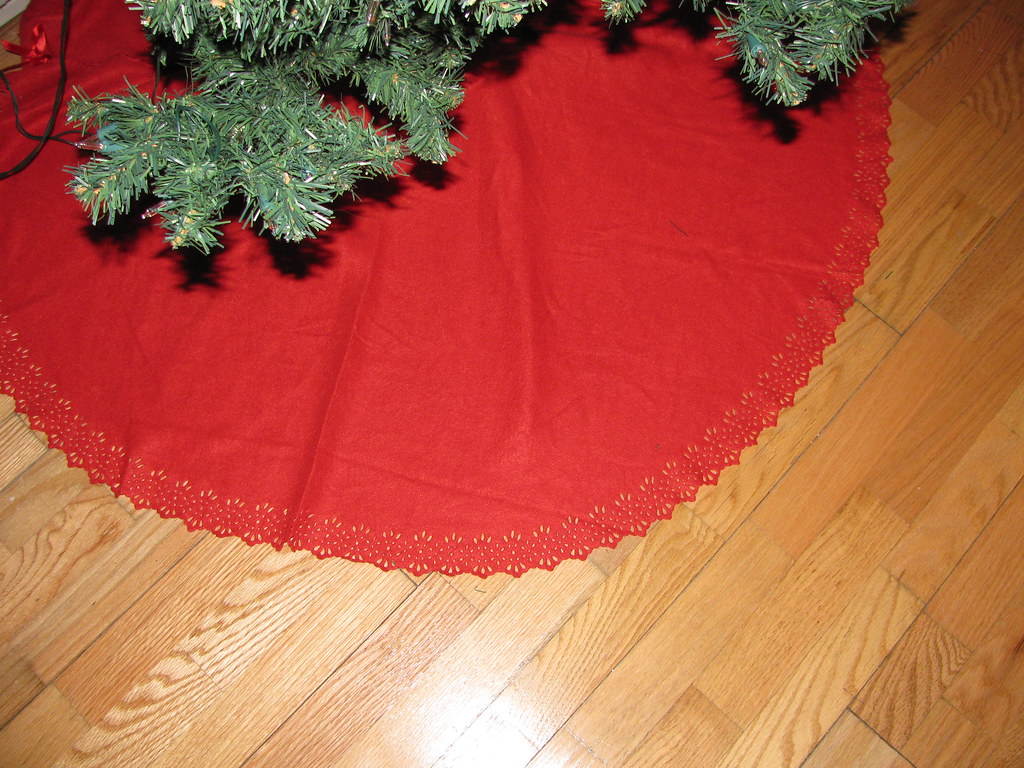
Lastly, and I did not make this, but I picked up a tree skirt from the Christmas Tree shop that would match the red in Mr. Reindeer's scarf. It was a good deal and I really loved the detailed edge!!
All together they look like this:
Or like this with the lights on (more impressive, in my opinion).





No comments:
Post a Comment