Tuesday, August 20, 2013

DIY Elastic Belt

I don't know about you, but sometimes I find it hard to track down the right belt for certain outfits.  I don't know if that's because the belts I'm envisioning just don't exist or I'm incredibly picky, but I got it in my head that I wanted to try and make my own and the bonus was that it was actually wayyy cheaper than buying one!!  I decided to make a belt with elastic material. I like the gentle stretch of the material and it's easy to work with.  

This process ended up being pretty easy and after a trial and error run (during which I discovered that the clear plastic snaps that seemed like a good idea, were actually defective.) I thought I'd share this super easy tutorial with you!! 

I made this belt from some colorful elastic, like I mentioned earlier, but I also made it snap on (and off) so that it could be swapped out for a different colored elastic depending on how I was feeling and or how it would compliment an outfit. Multiple belts in one!! And even with the purchase of two different colors of elastic, it was still cheaper than buying a belt. 


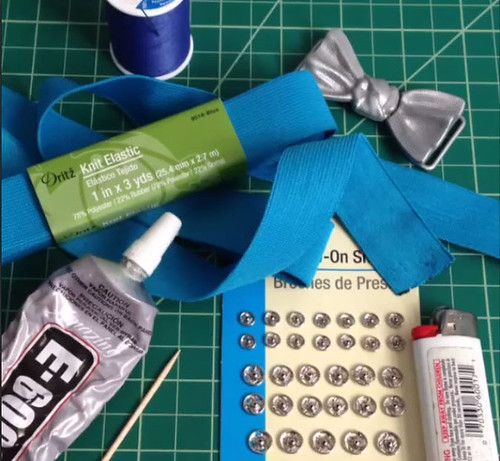
Supplies: 
Fashion Belt Buckle Notion - The one I used comes in gold, but I painted it silver
Toothpick
Thread
Needle
Lighter

You can find all of these items at Jo-Ann's fabrics. Don't forget to use a coupon. If you have an smart phone, download the app and you'll never be without one! 

First, measure out the length you want by wrapping the knit elastic around your waist. You'll want it to be just a little bit smaller than your waste so that the belt has a little give when it's hooked together (this will help it stay on). Also be sure to then add 2 inches back on so that you have a space to add on the sew-on snaps.


You'll need to use your lighter here to lightly seal the edges. Quickly swipe the edge of the elastic through the flame and it should do the trick. 

Next you're going to glue on the pointy side of the snaps. I recommend E-6000 glue because it's strong and sturdy!


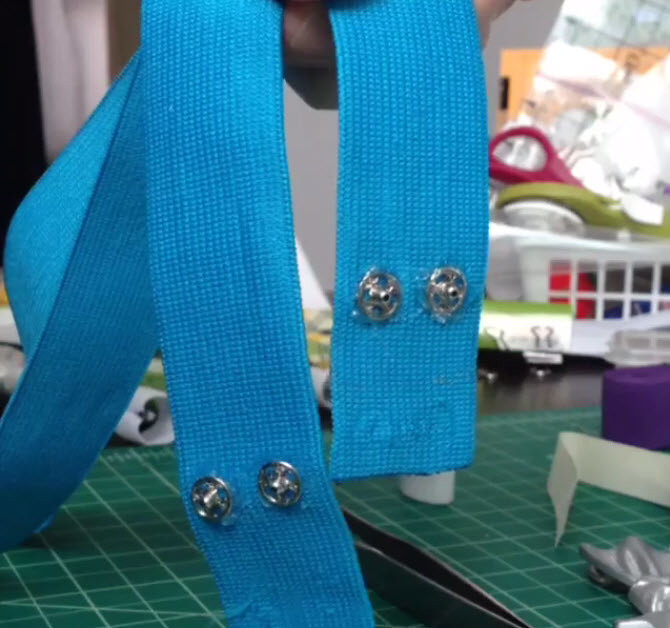
I've chosen to glue the snaps on one side, and then sew them on the inside edge so that you won't see the stitch marks when you're wearing the belt. You can see in the photo below that the belt from the front doesn't have any visible marks - the magic is in gluing!!


I eye-balled and ended up putting my glue 1 1/8th inches from the end of the elastic. I used a toothpick to plop down two blobs of glue and then used tweezers to set the nipple side of the snaps (with nipple up) into the glue.


You'll do this with all 4 snaps, making sure they're well-seated into the glue. Let the glue dry for at least a few hours before starting the other side.


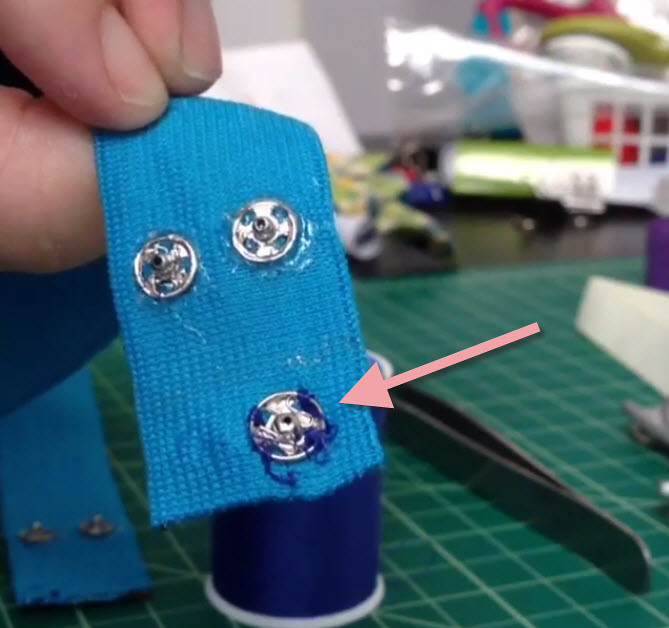
Next you're going to hand sew on the other side of the snap. I folded the elastic in half and used the nipples to sort of mark the elastic to show me where I needed to sew on the secondary snap.  Also, be sure to experiment a bit to make sure the snap is the correct side. I accidentally sewed my first one on backwards (which you can see in the photo below)!!


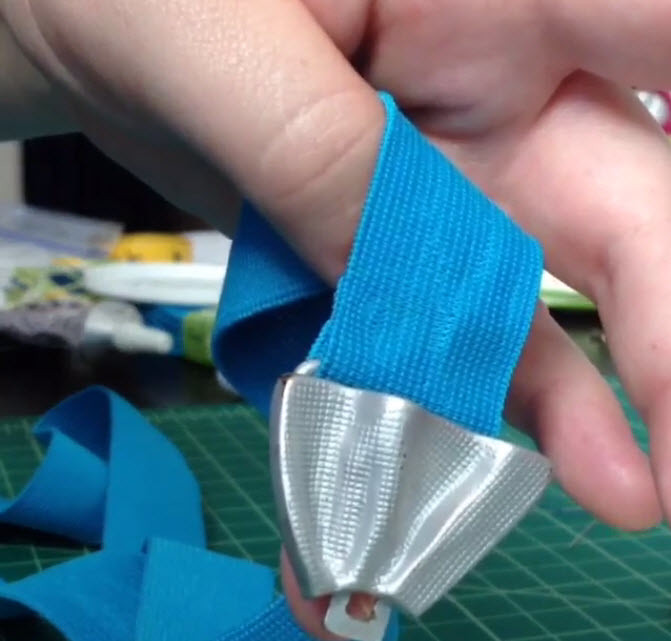
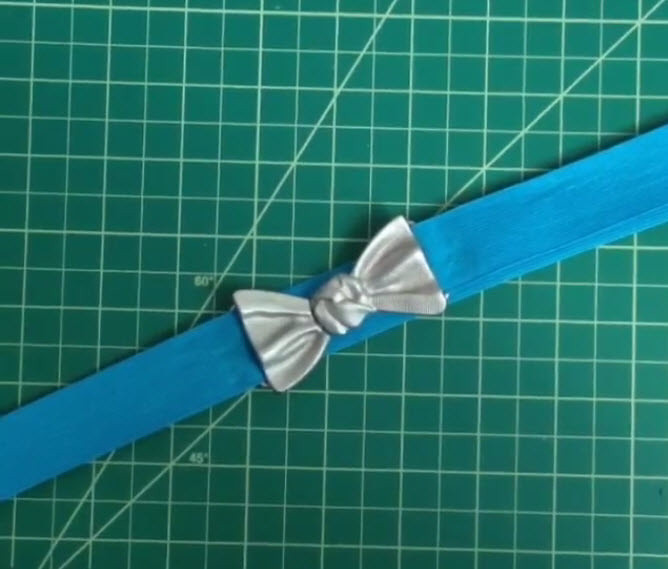
Once you've sewed on all 4 snaps you're basically done. You'll need to just snap your belt notion in place (with the sewed side on the inside) and magic - you're done!


Here's a quick step by step video I made for Instagram. It's fast, only 13 seconds, but it's always a fun challenge to see if it's possible to convey everything in 15 seconds max, and when not having the ability to delete anything or re-record.

Wednesday, August 14, 2013

Custom Baby Mobile: Family Fun

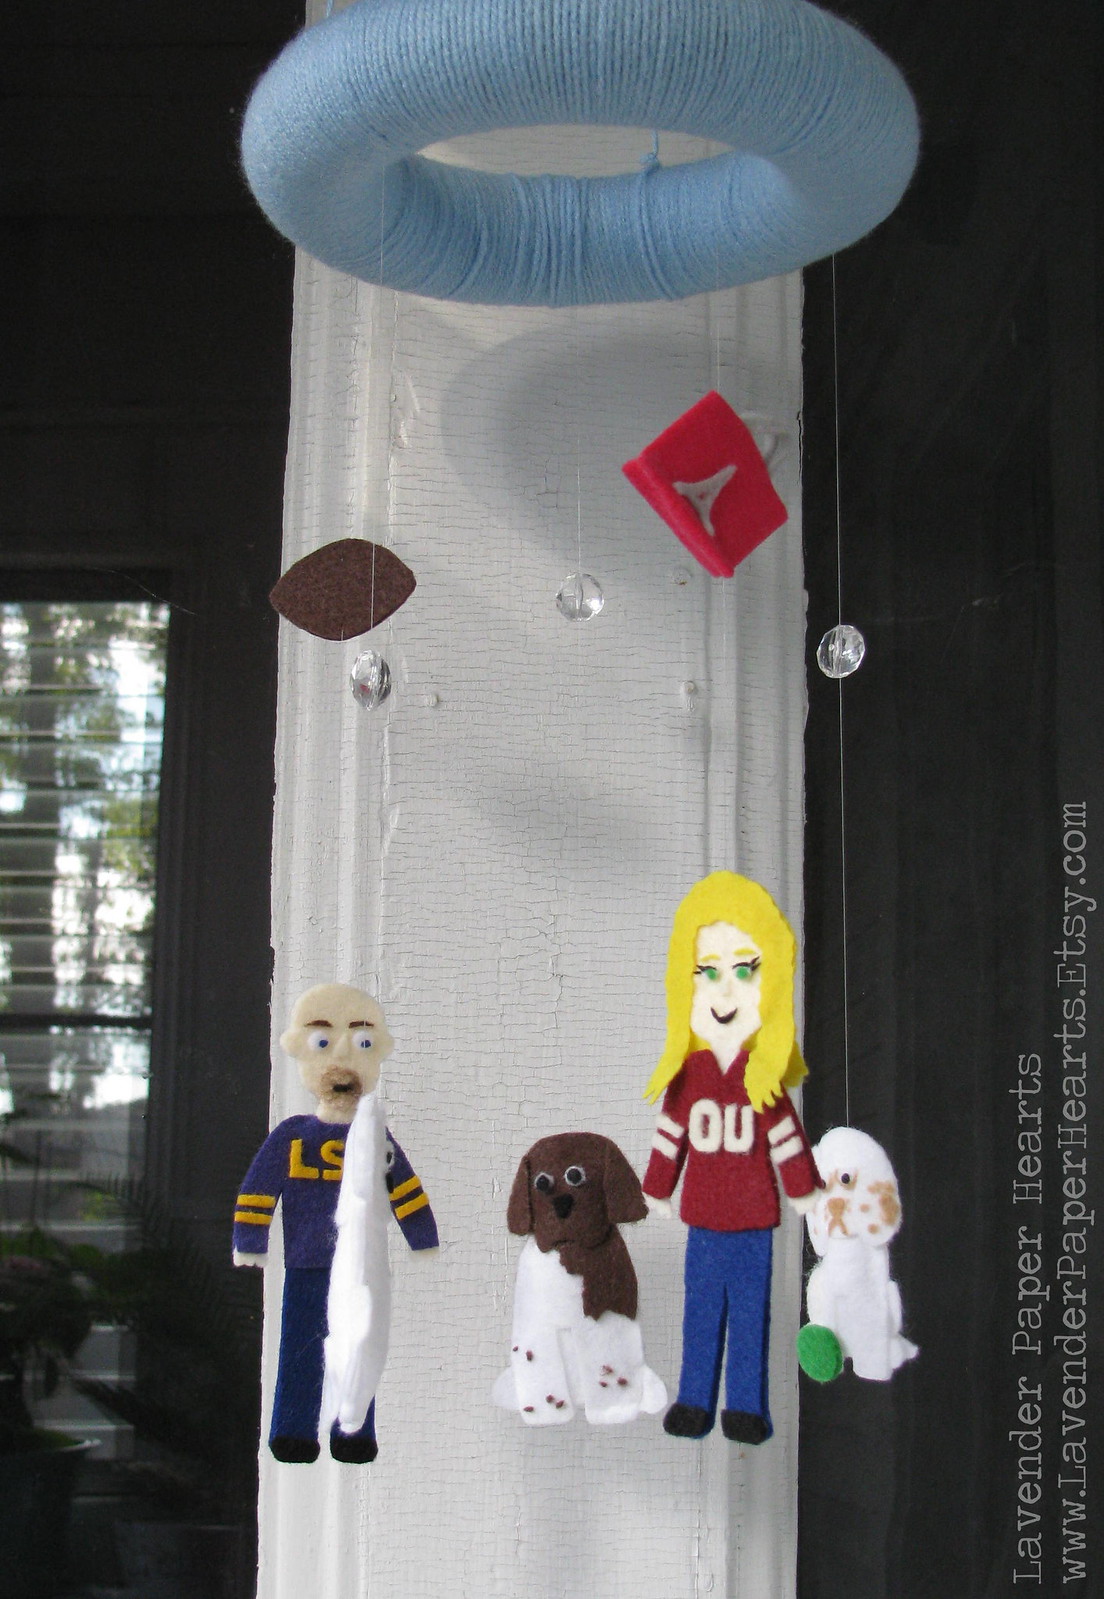
In July I was commissioned to make a super-duper custom mobile for a special little baby.  Baby's aunt asked me to make a mobile that reflected mom and dad, and their three dogs!


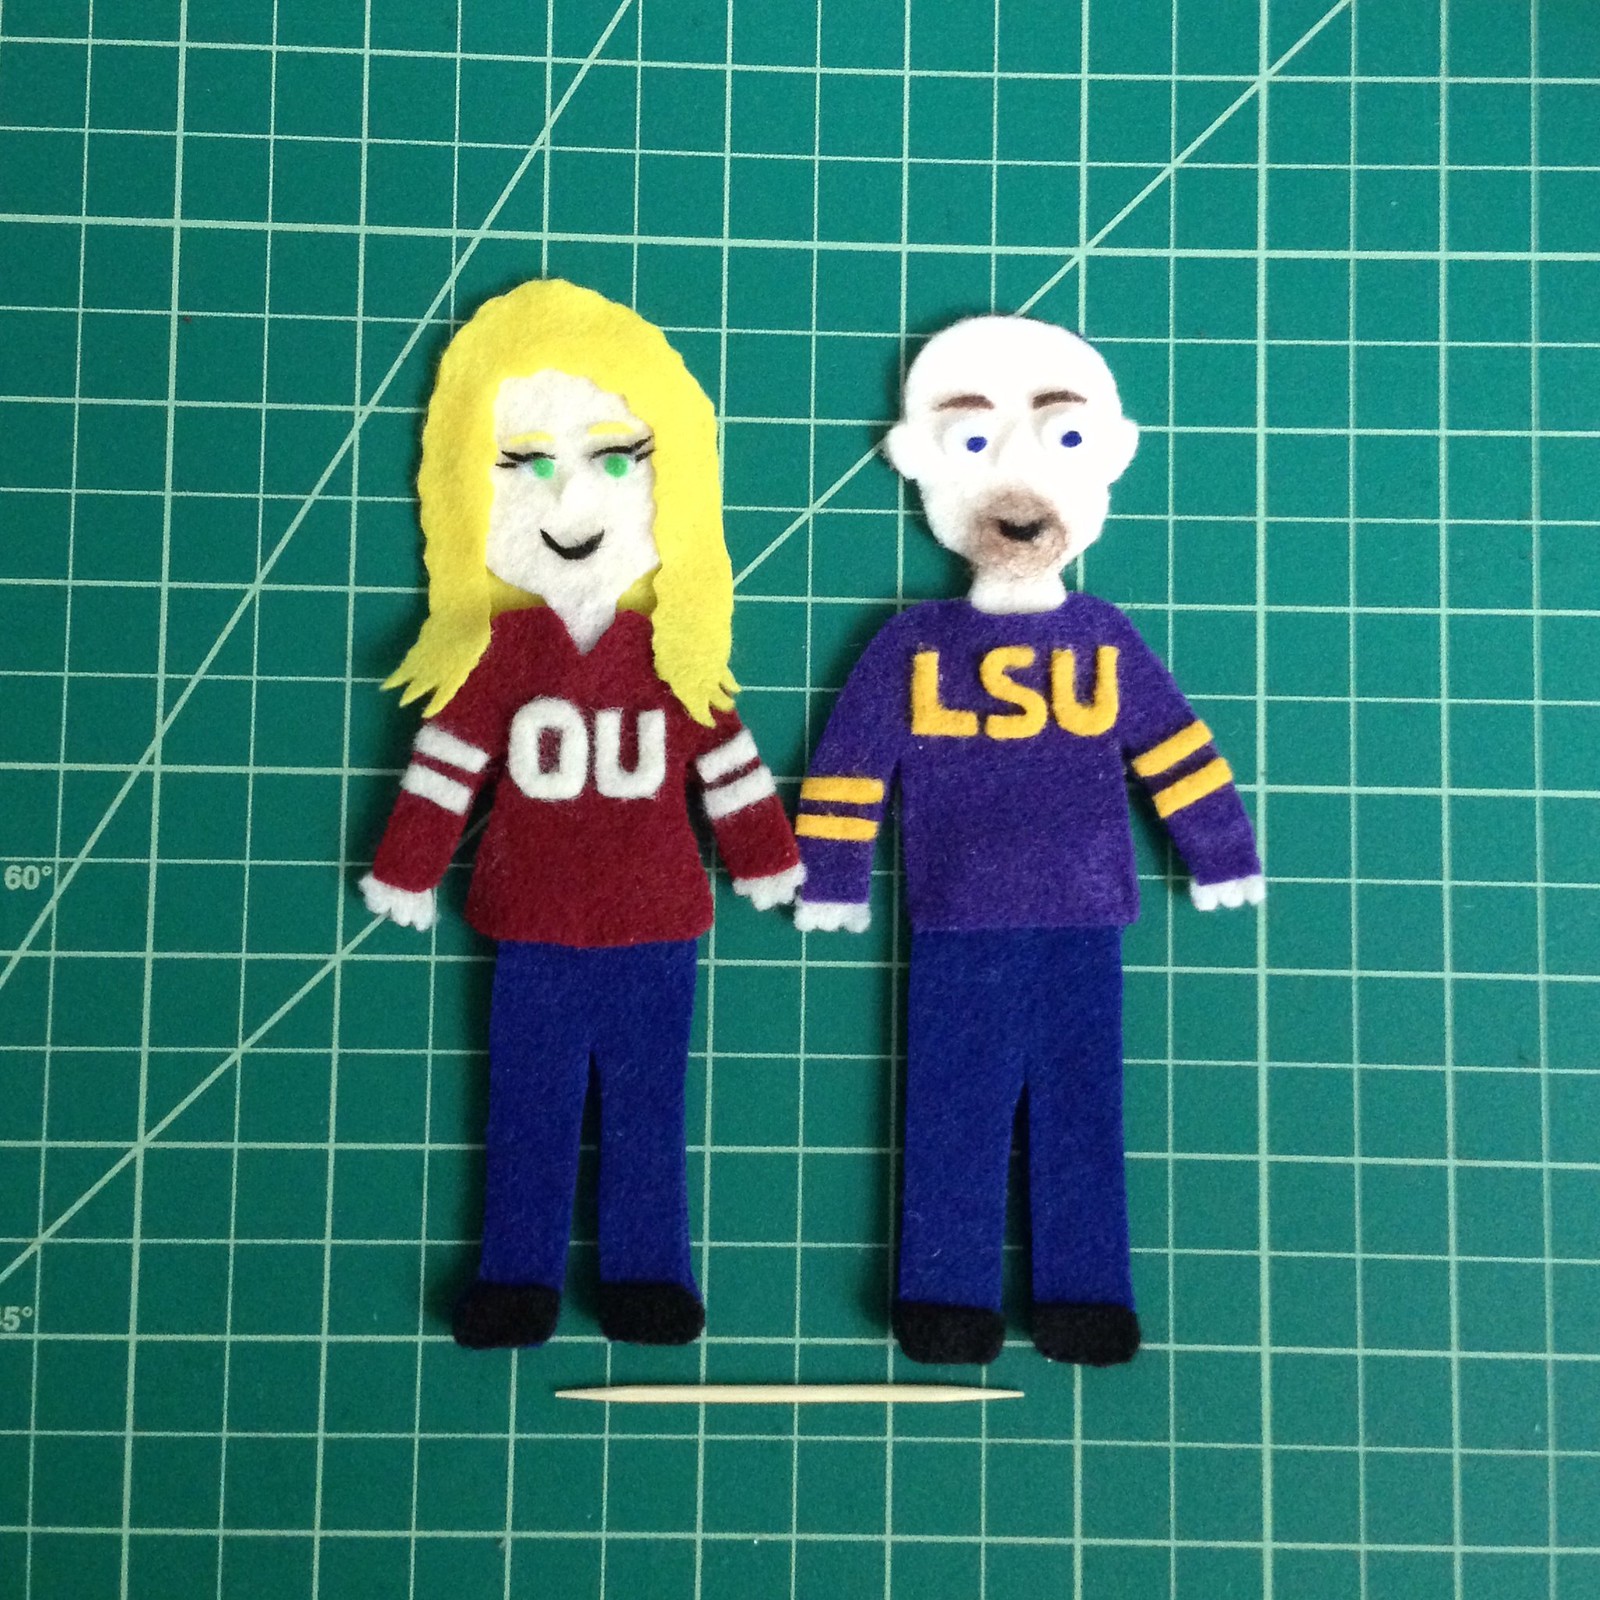
The specifics: Auntie requested that baby's parents be dressed in jerseys from their favorite college football teams - Oklahoma University and Louisiana State University. I was told mom loves to wear black eye liner and fierce eye lashes so I was sure to do them up, and I was told that dad loves to rock a goatee and has bright blue eyes!

*I usually throw in a toothpick to give a sense of the mobile figure's size. 

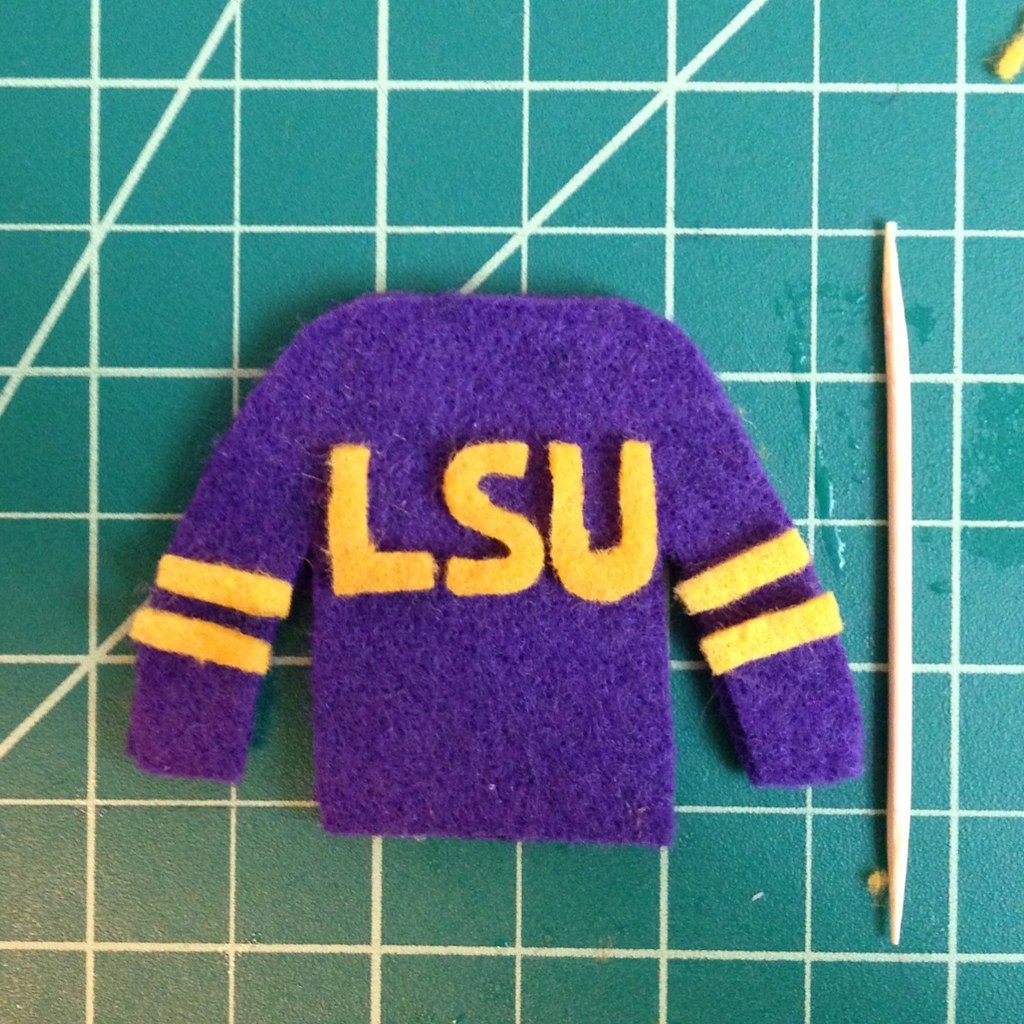
Look at this teeny tiny jersey!


This gives you a sense of how I built their faces. It takes a lot of layering to get the features just right. 


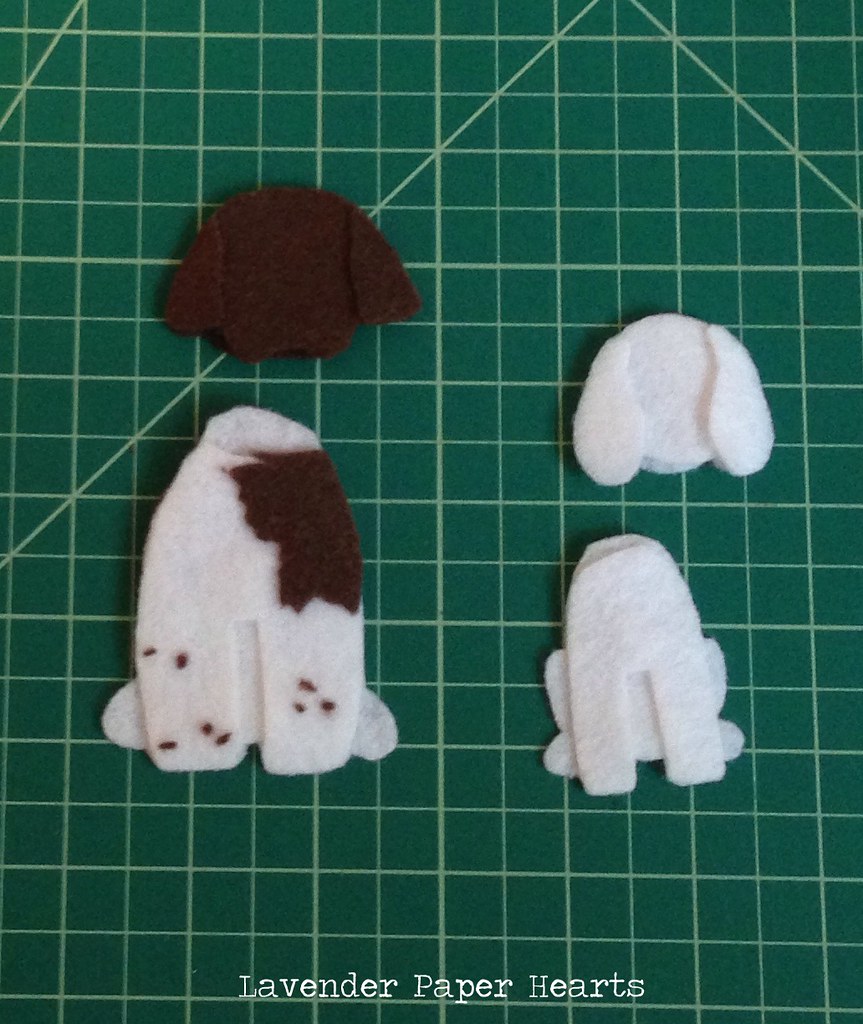
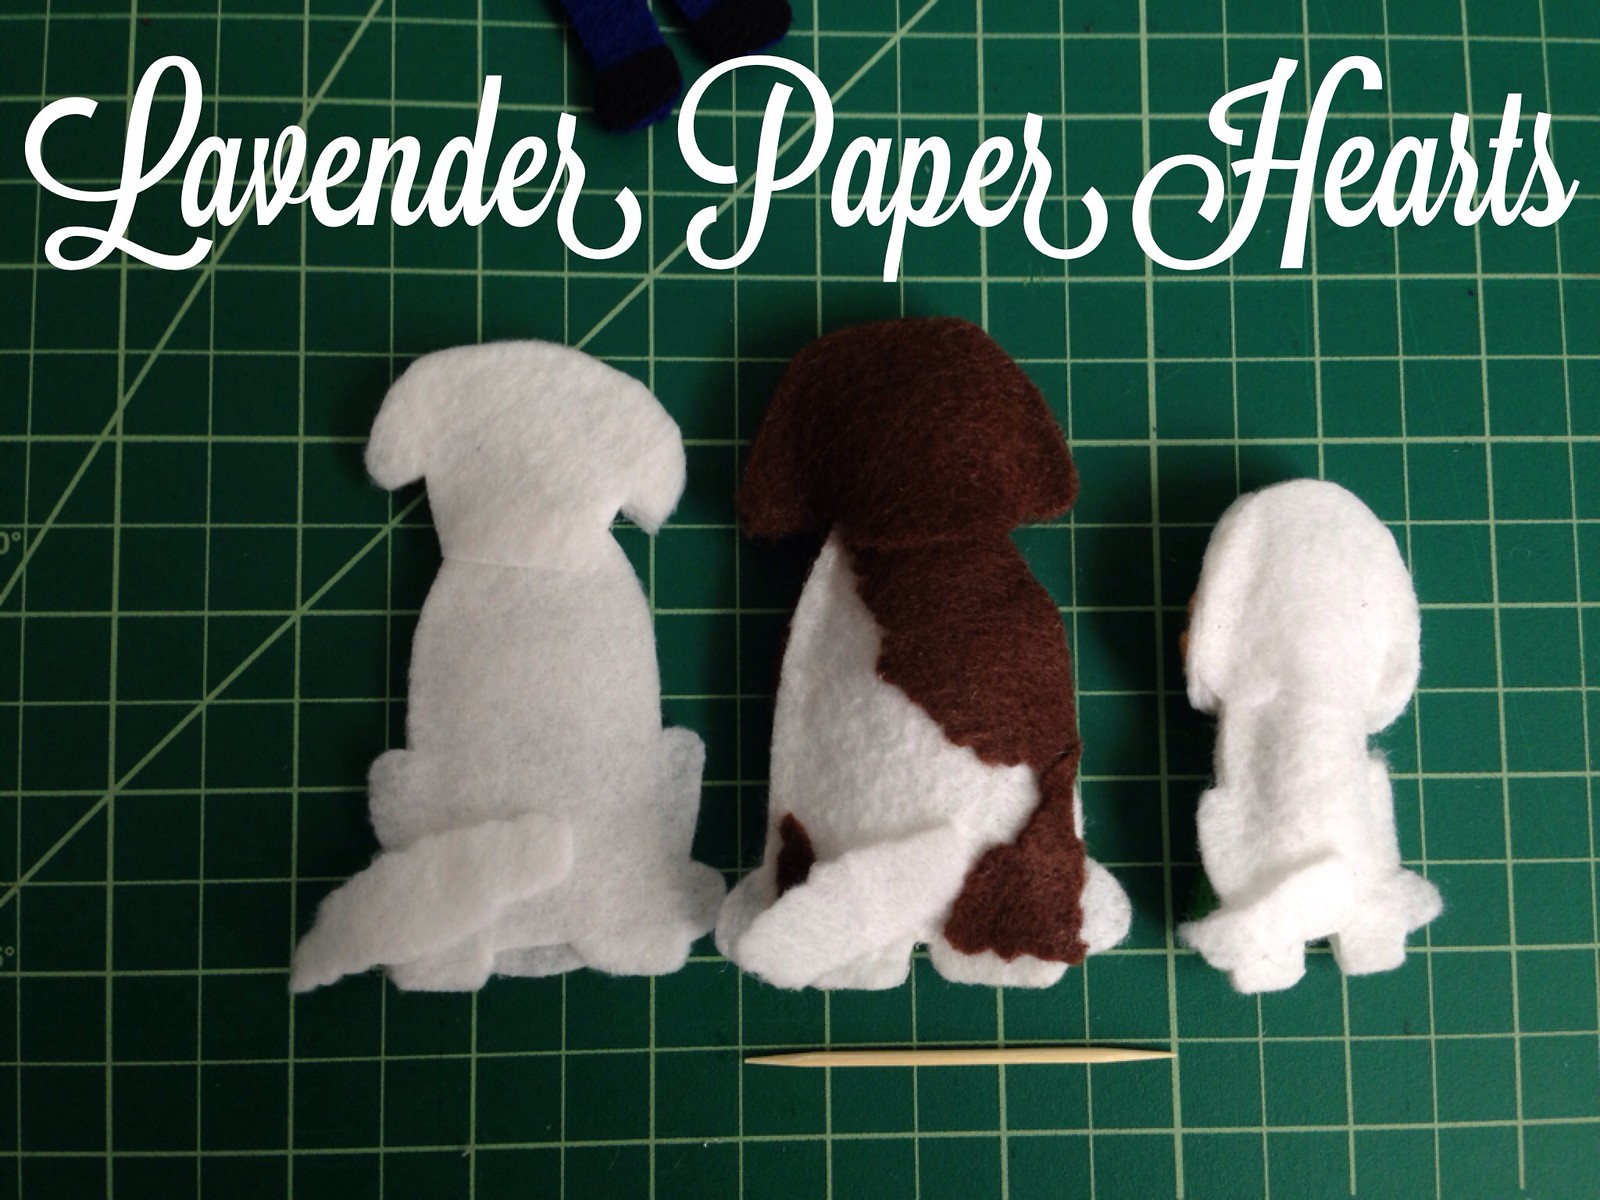
Here is a photo of two of the puppies in progress. I worked hard to make them as three dimensional as possible.

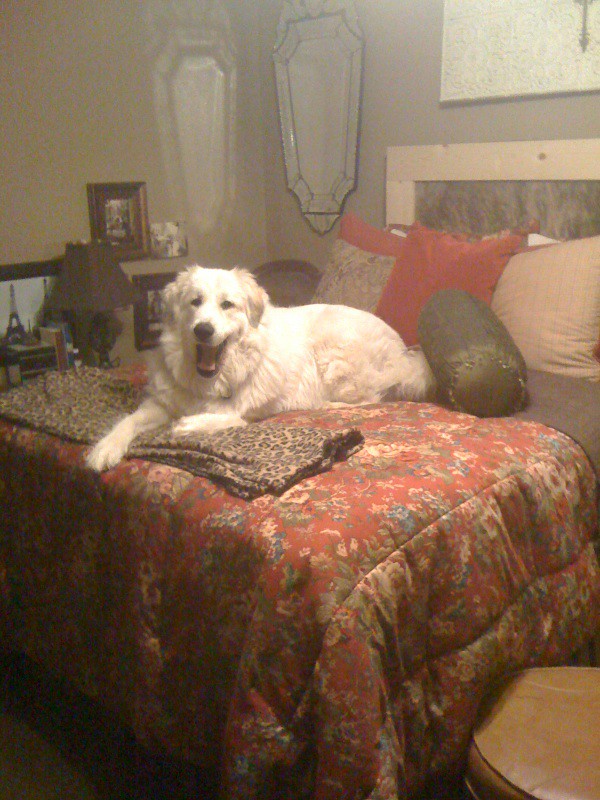
Here are the photos of the dogs that my buyer sent me: 
 
Bear is a Newfoundland and is a big boy at 200 lbs. 

Drake, a Clumber Spaniel, is actually the smallest at 65 lbs. 

Nancy Reagan is a Great Pyrenees and weighs 130 lbs. 


I did my best to incorporate each puppies specific spots, coat textures, and other details.  


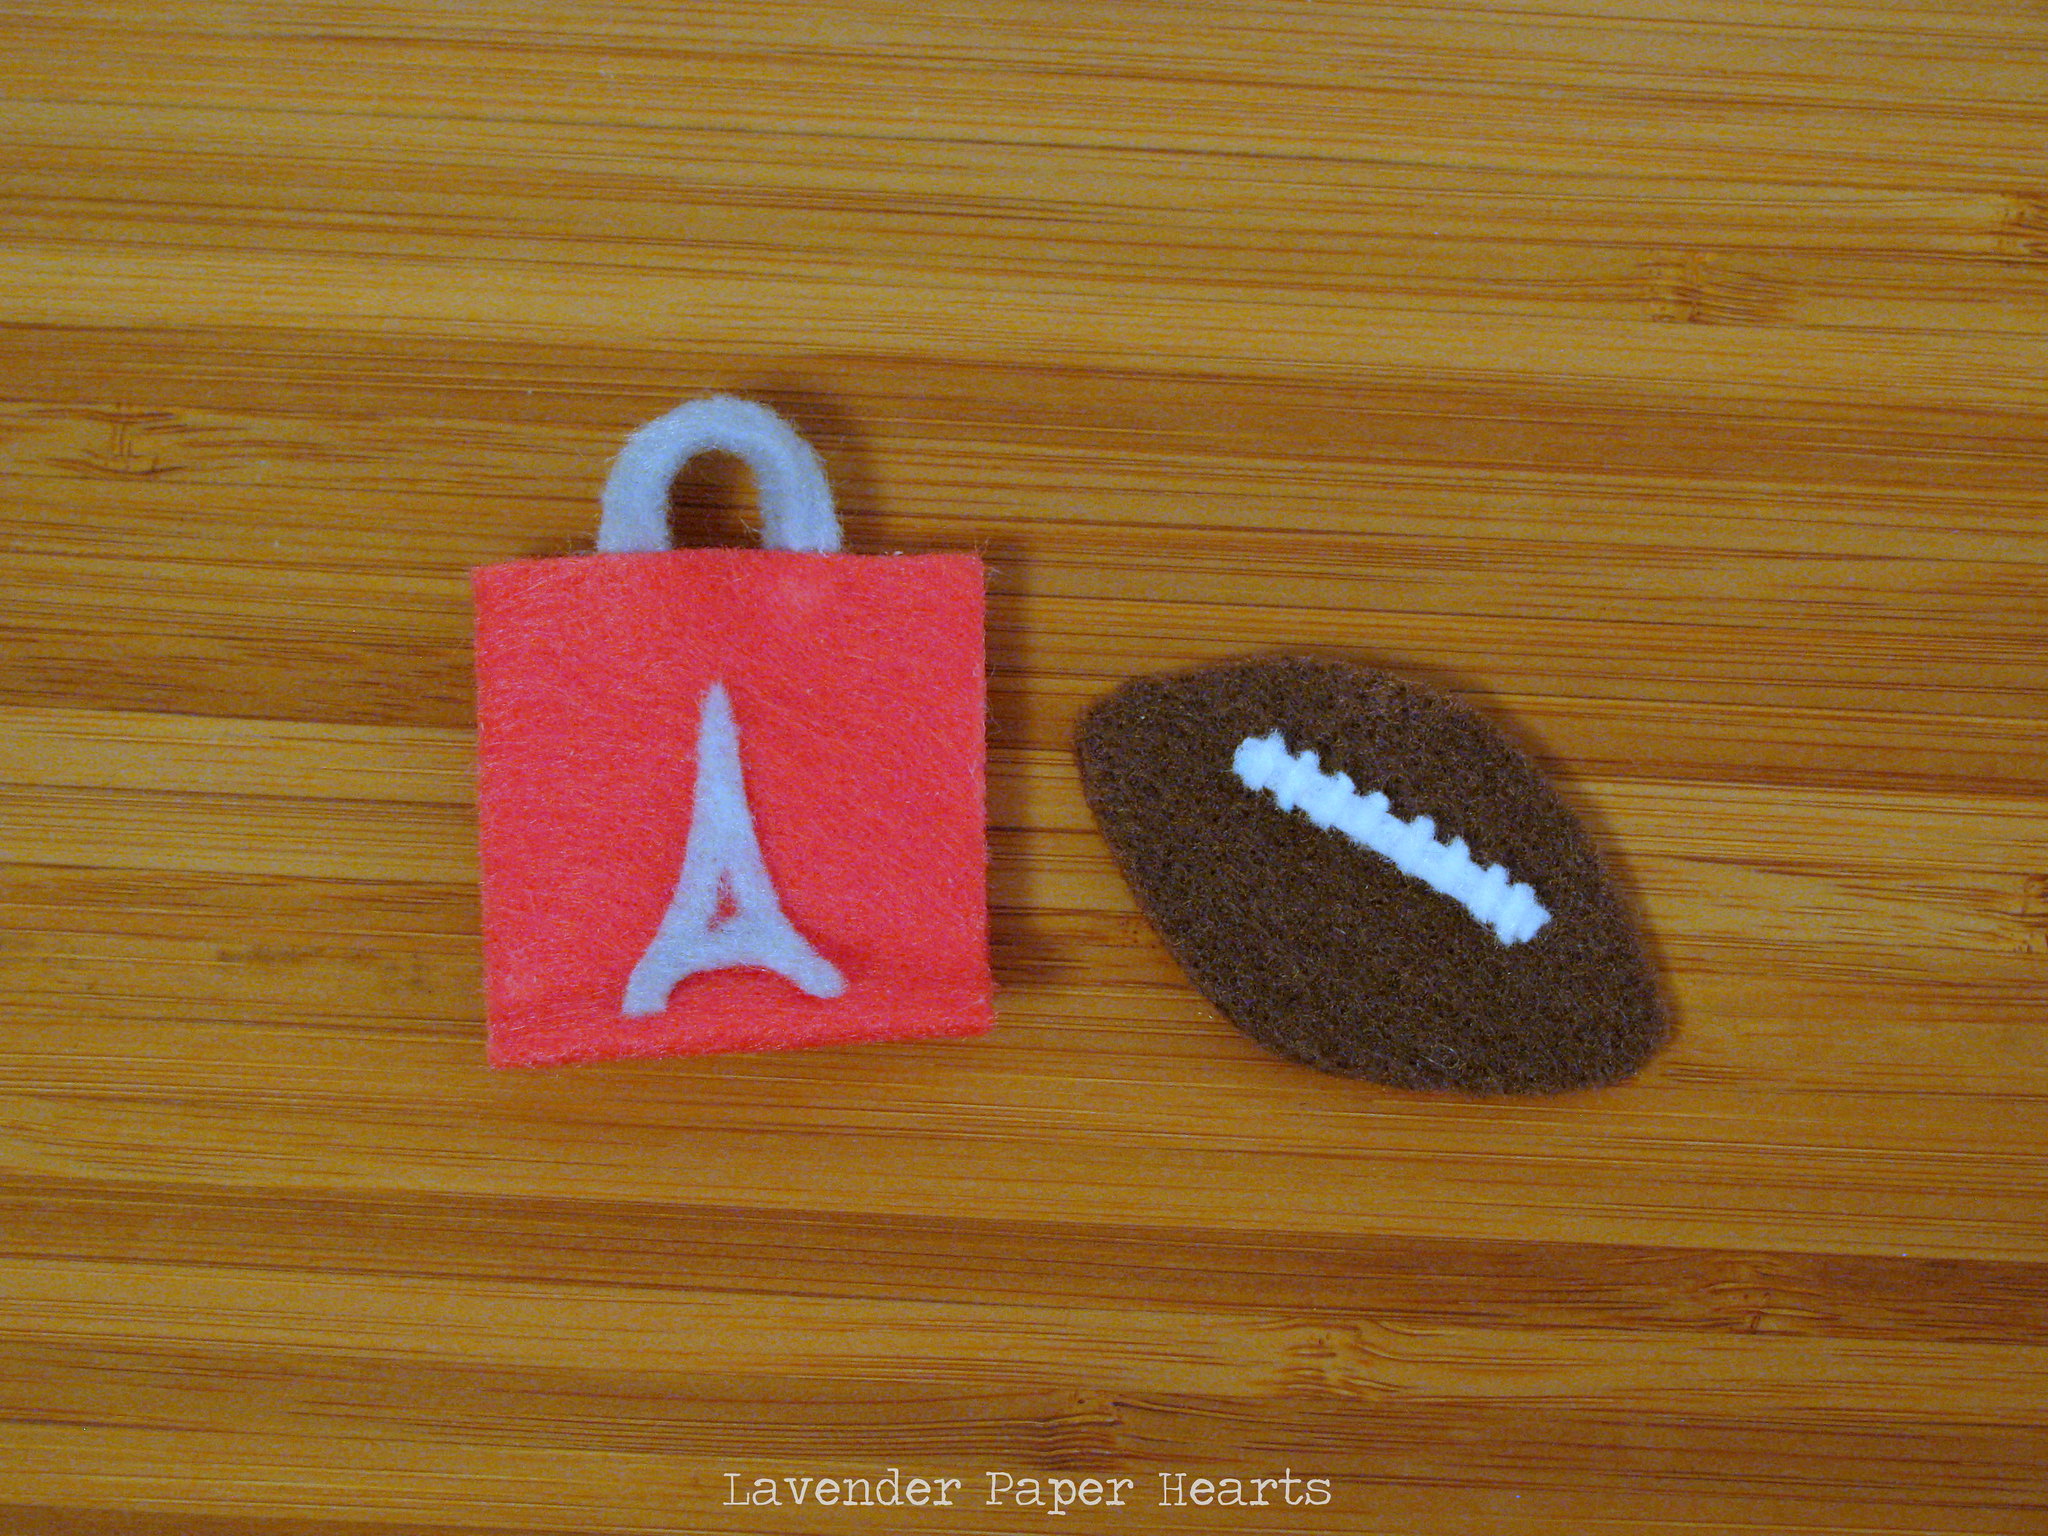
I ended up adding a shopping bag above mom since she loves to shop, and a football above dad.  Did you know footballs have 8 laces? Google told me.  


I included some of my homemade dog treats to the package for the dogs and shipped it off. It's being given to the new parents at their family baby debut party and I hope they love it!! 

You can check out my other baby mobiles in my shop: HERE. Do you have a custom mobile idea you'd like to see come to life? Contact me on Etsy at Lavender Paper Hearts or you can drop me an email at LavenderPaperHearts at gmail dot com. 


Wednesday, August 7, 2013

Dulce de Leche Ice Cream

It's summertime and officially ice cream season. If I'm honest, it's ALWAYS ice cream season in our house, but summer always seems a bit more legitimate than, say, February.  My dad used to make ice cream when I was younger so making it always reminds me of him. It was always made in the summer months, and often around the 4th of July if we were home (instead of in Indiana). He used to make strawberry and chocolate and sometimes he would mix it up with peach too. I don't even like peaches, but his homemade peach ice cream was always like heaven.  We had a classic ice cream machine that required adding ice and salt around the edge of the ice cream pot and it always seemed to take hours to make... though that could just have been my impatience.  I use a Kitchen Aid ice cream bowl attachment that we got as a wedding present. My pro-tip for using this is to wrap a clean towel around the top of the bowl to help separate the churning ice cream's exposure to the temperature in your kitchen. It helps it set up faster. We were also given a Cuisinart ice cream maker last year when our friends were moving out of the country. Yes, having 2 ice cream makers makes life even more dangerous.


I've been making ice cream for a few years now but I'm always in search of new and inventive recipes. I tend to rely on my 1978 5 ring red binder Betty Crocker cookbook (FAR superior to the newer versions where the recipes have changed) to start the base for my ice cream. My parents got this when they got married and it was used so much when I was growing up. I found mine on Ebay - and they don't go for cheap either because I think people recognize they're superior!!  I've tried other ice cream recipes but the vanilla ice cream is the one I tend to go back to - at least as far as the ingredient ratios are concerned.  I'd also seen a recipe online from the blog My Big Fat Cuban Family for Dulce de Leche ice cream so I borrowed her method of incorporating the actual dulce de leche into the ice cream.

The third thing I tried was trying to lighten up the recipe. I know you're saying, but you dumped in a whole can of dulce de leche, but the base of the ice cream was in fact lighter - I swear!! I'd been reading ice cream recipes over at Cooking Light and they recommended substituting light or fat free Evaporated milk for whole milk in ice cream recipes and also substituting whipping cream with half and half.  Both of the new substitutions are lighter in calories, but still have a heavy milk weight feel in your mouth so your brain doesn't exactly know what it's missing (the calories - do we ever miss calories?).

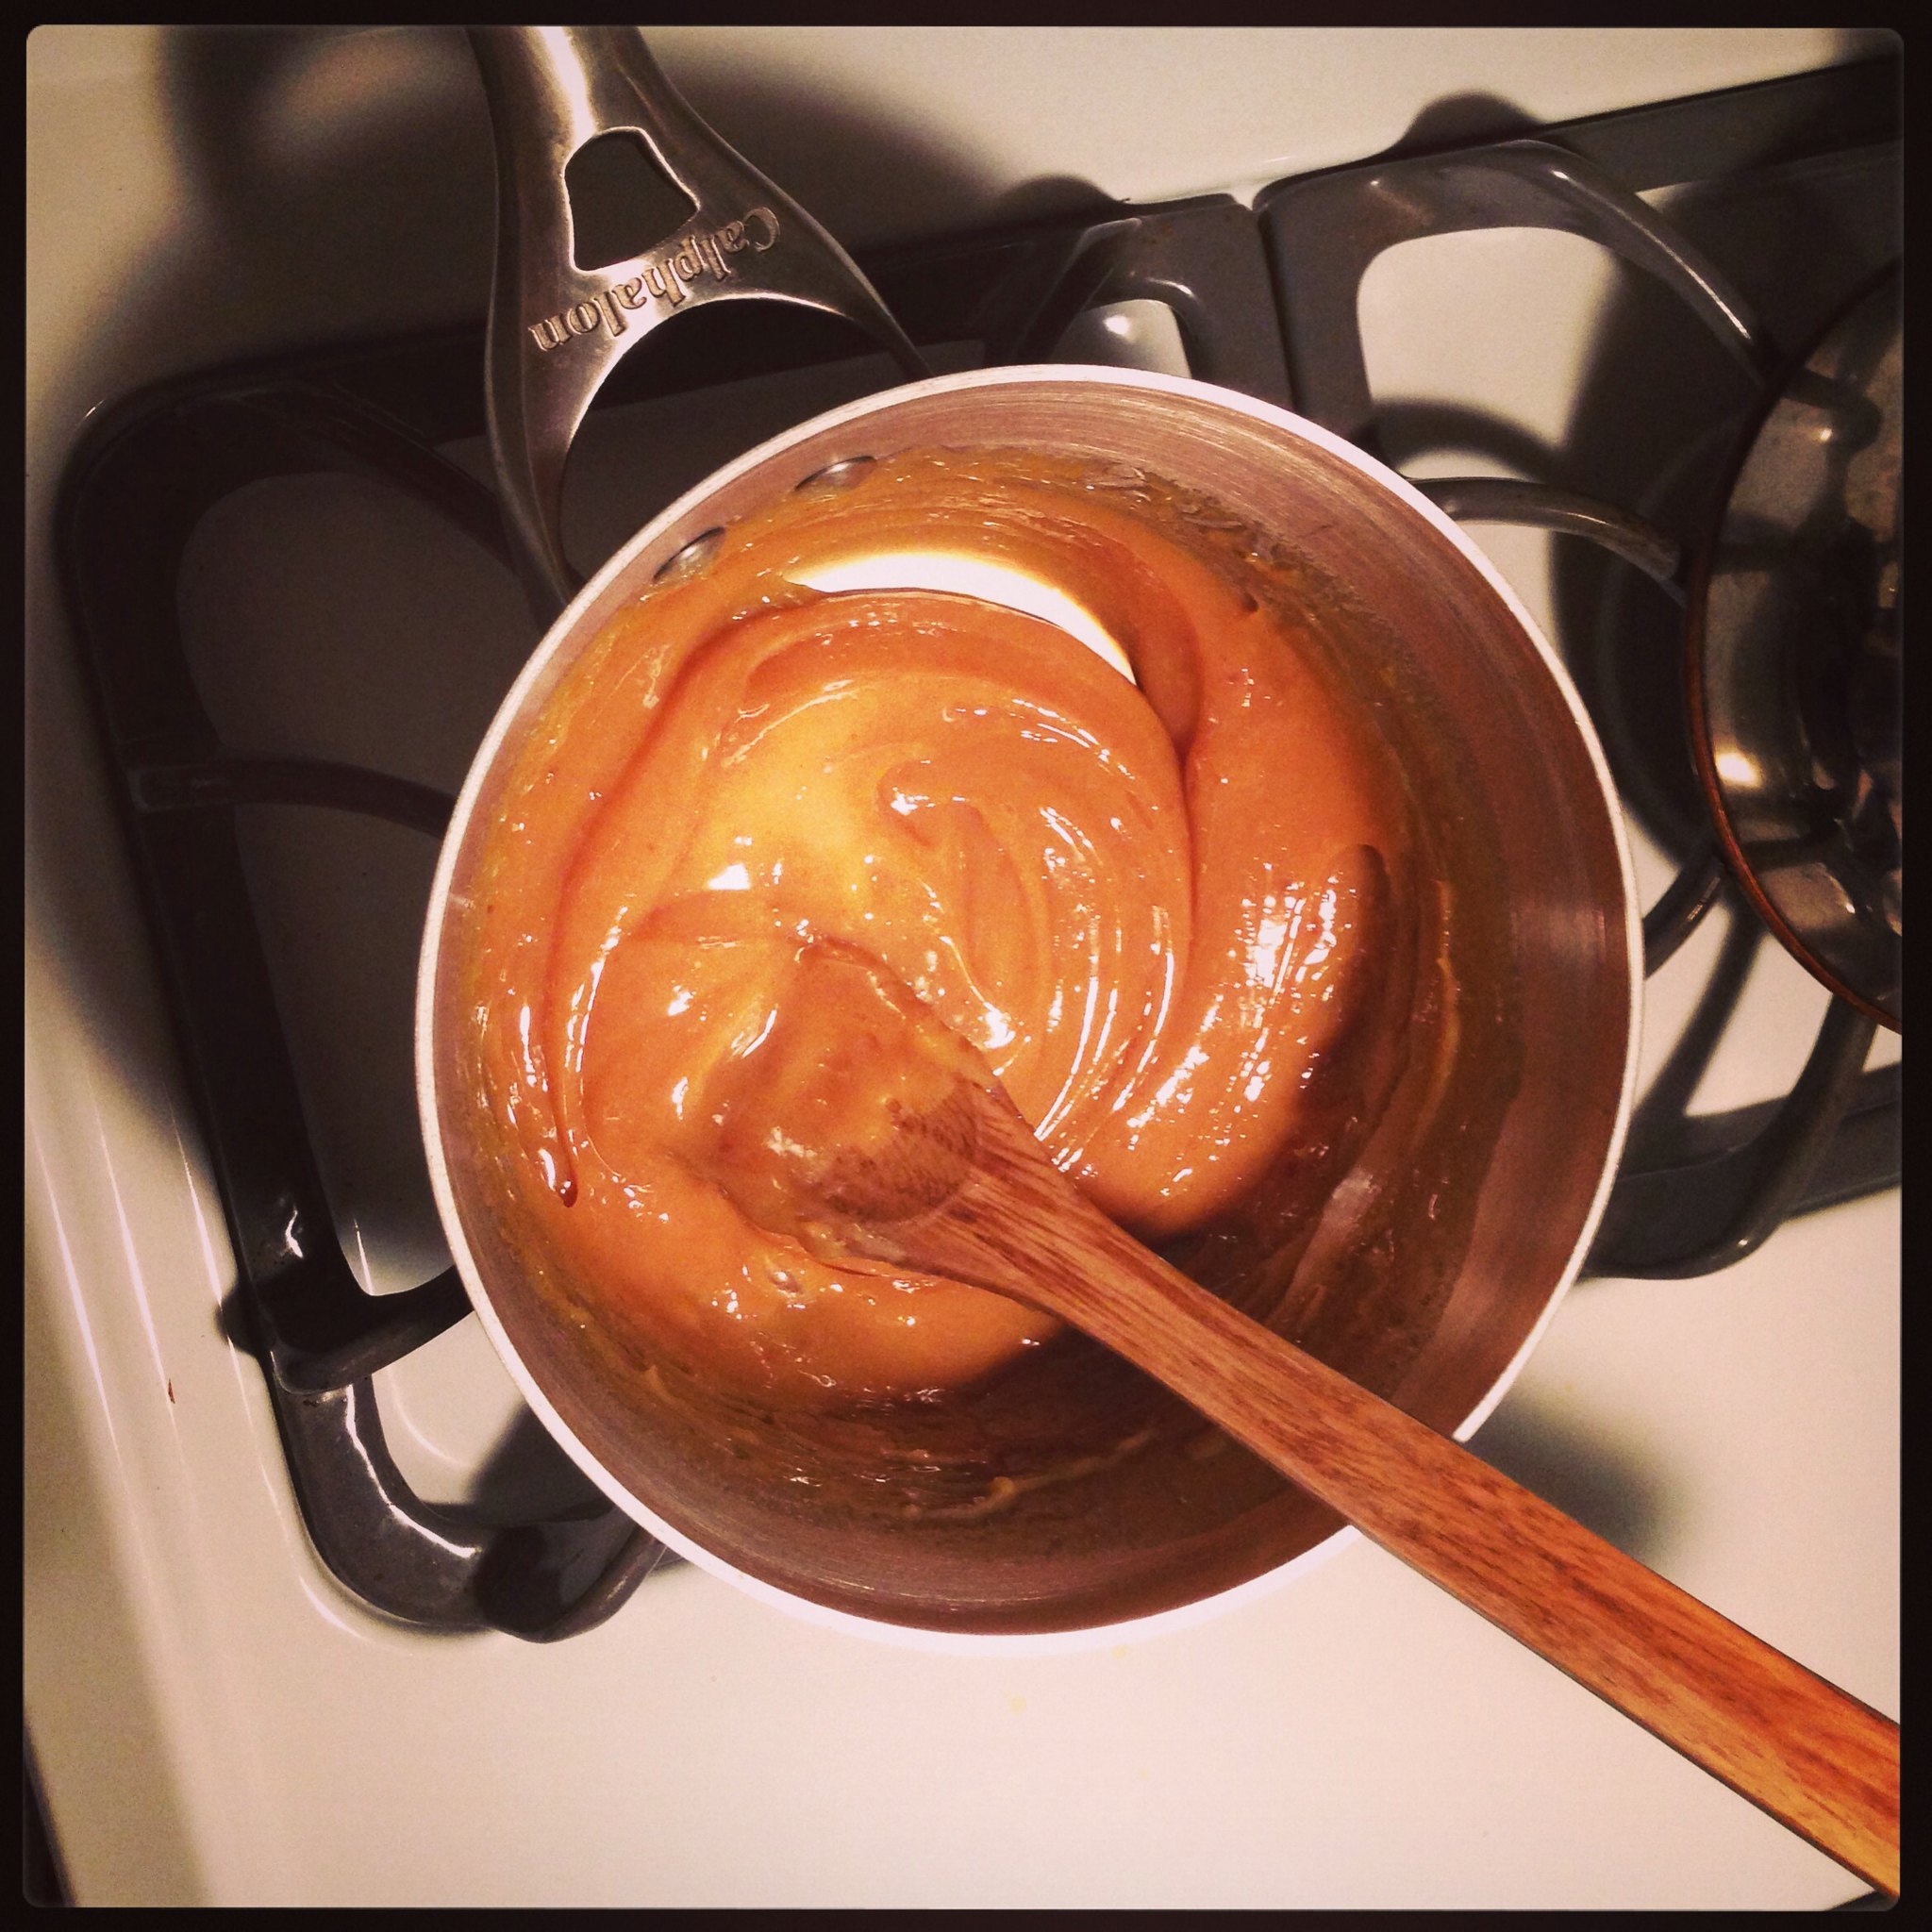
A couple of days before you want to make your ice cream (or even a week in advance) make your dulce de leche.  There are TONS of methods to make this that you can find online. I tend to do the lazy/quick version where you just dump a can of sweet and condensed milk into a sauce pan at medium heat and stir CONSTANTLY (all over in the pan - don't miss a side or corner) for 10-15 minutes until it gets a caramel color and covers the back of a spoon.  Put it in a glass bowl and cover it with plastic wrap and put it in your fridge to use later.


The night before you'll need to put your ice cream canister in the freezer (if this is the method you're using). While you're at it you might as well make your ice cream custard. You need to your ice cream base to be cold before you put it into your canister. The custard takes maybe 15 minutes to make.


Here's my recipe:

Dulce de Leche Ice Cream 

3 egg yolks
1/2 cup sugar
1/8 tsp salt
1 cup Fat Free/Light Evaporated Milk
Dulce de Leche
2 cups Half and Half

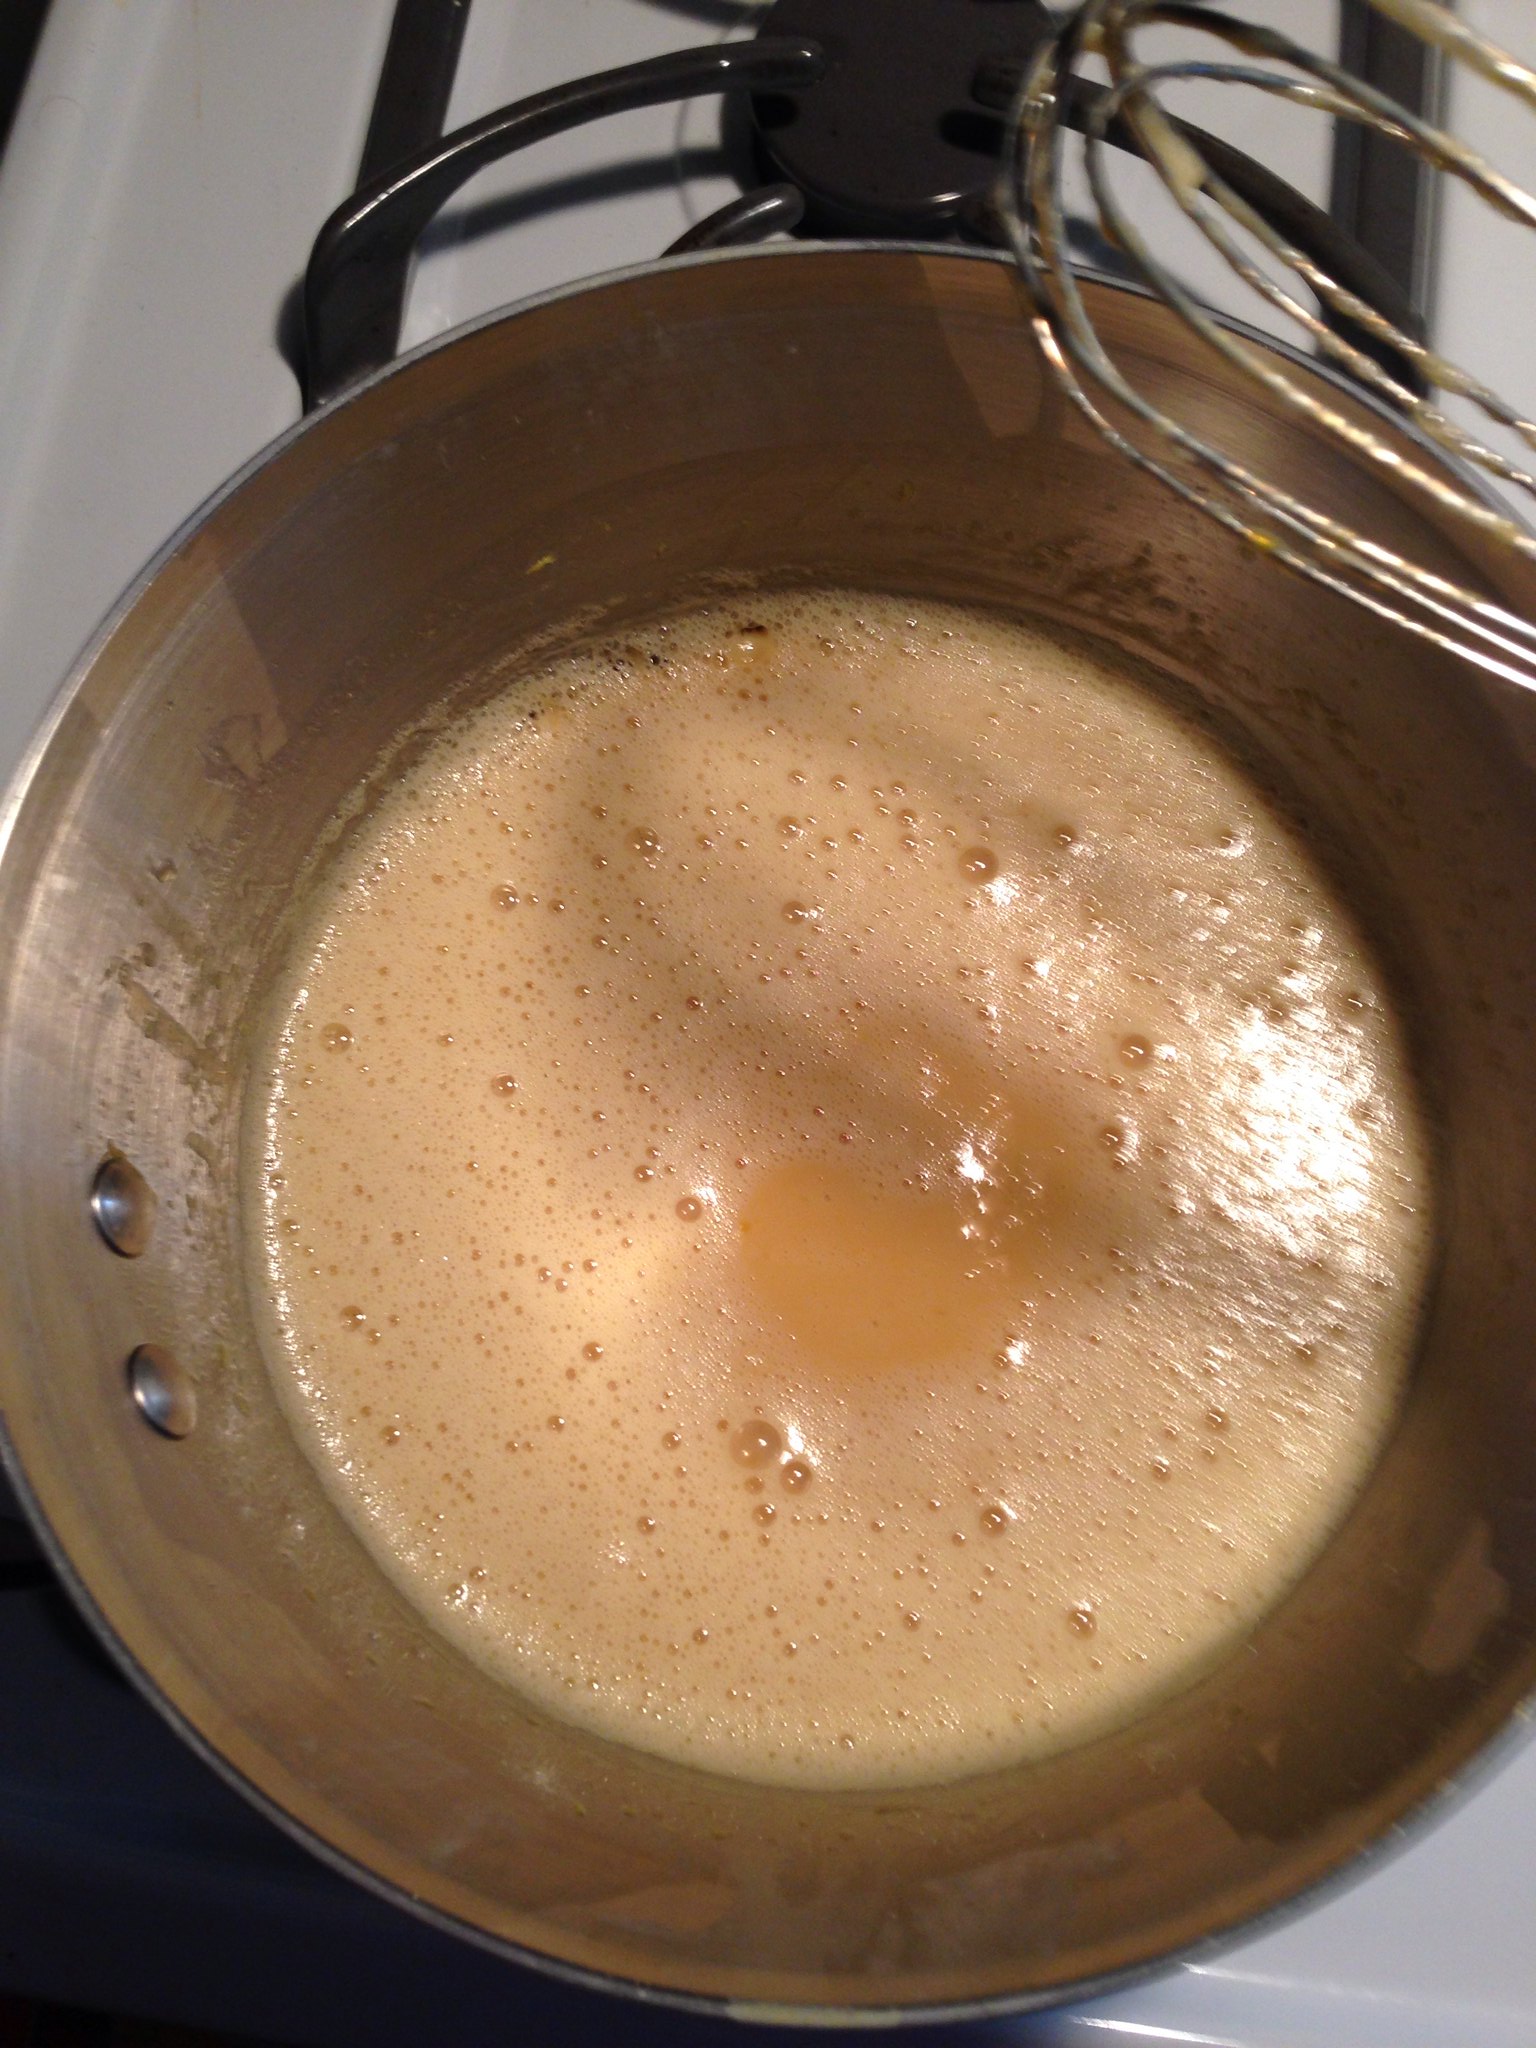
In a sauce pan at medium low heat mix together egg yolks, sugar, salt and Evaporated milk. Make sure it's well combined before you then spoon in 3/4 of the dulce de leche.  Whisk constantly - you don't want your eggs to cook like scrambled eggs, you want the whole liquidy goodness to heat up slowly and together. You'll also need the dulce de leche to melt into the milky mixture so make sure you keep stirring.  When the mixture starts to thicken and you see small bubbles start to form along the outside edge of the pan is when the ice cream mixture is done. This is essentially the ice cream starting to boiling - but don't let it really boil a ton. This takes a while, but when it's ready it happens fast.


Another obstacle is that the dulce de leche makes the mixture froth a bit, so make sure you stop once in a while and check to see if you can find the bubbles along the outside of the pan.  Look in the middle though. Do you see the caramel colored ice cream base goodness in the middle? Yum.

Once the base starts to thicken you'll want to take it off the stove and strain it thought a strainer if you have one fine enough. If you don't, drape some cheese cloth over your strainer and it'll help catch some of the imperfections in the base. Pour the ice cream base into a container with a lid and put it in the fridge. Once it's cool you'll want to add in the half and half and then put the base back in the fridge to continue to cool.


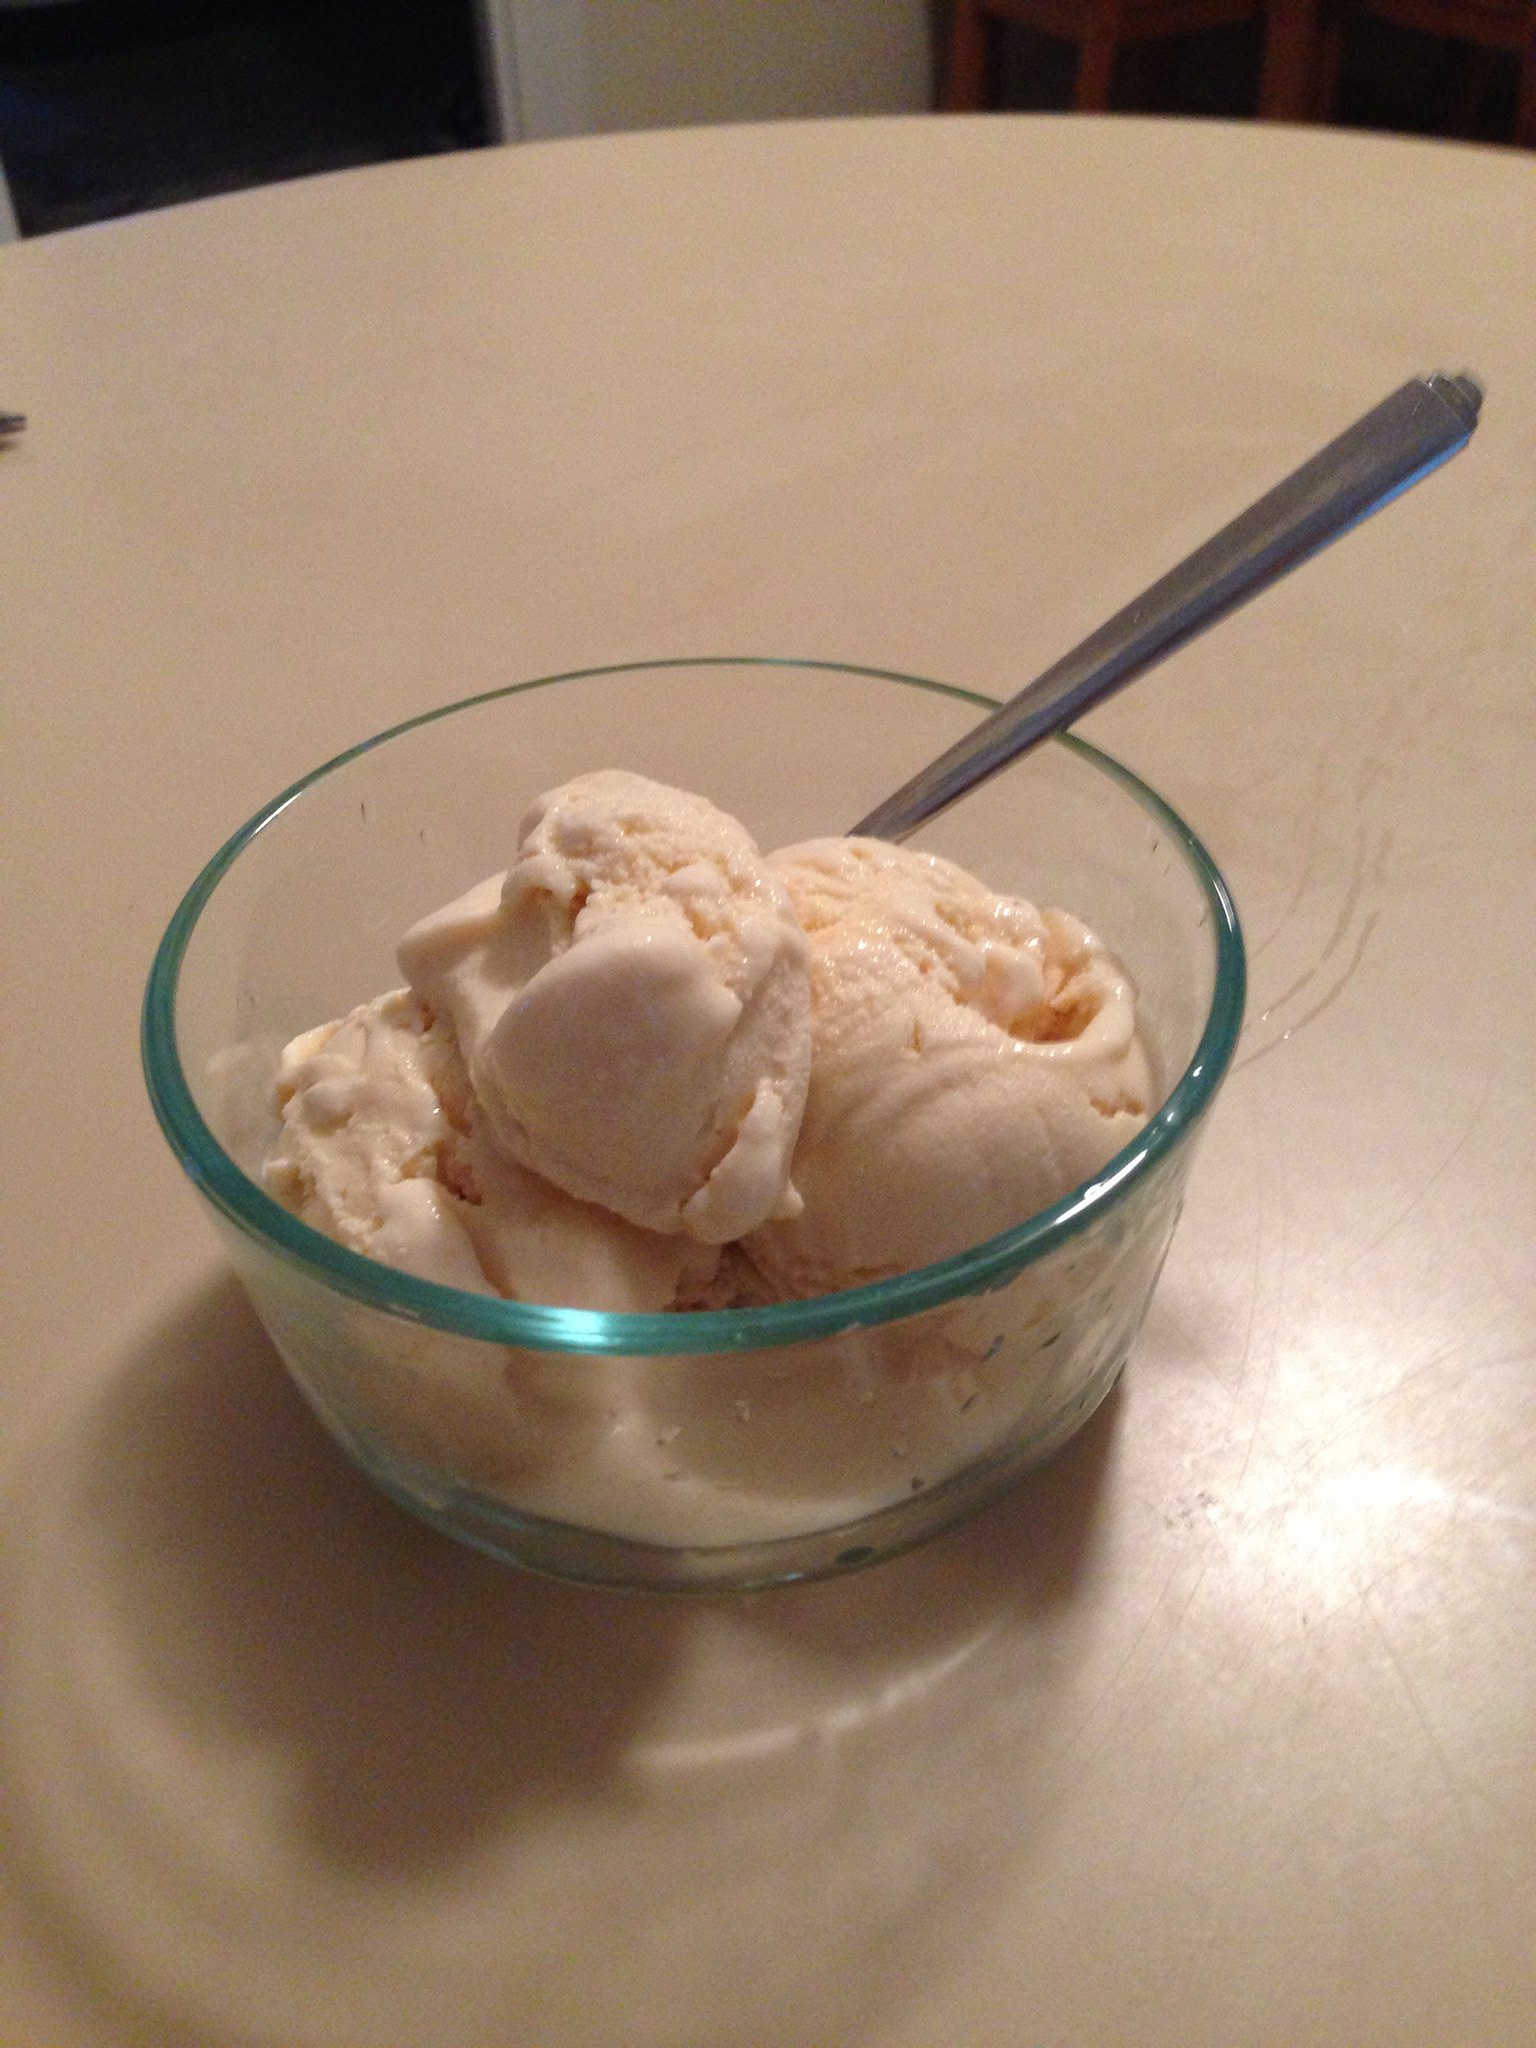
Once your base is cold you can start to make your ice cream. I recommend you chill it for at least 5 hours or over night. Now it's ICE CREAM TIMEEEE!!! Follow your ice cream maker's directions for making your ice cream. For mine, I put my frozen bowl in place, add the churning mechanism, and turn on the machine. Then I slowly pour in the ice cream base and then cover the top with a towel. In 20 minutes I've got ice cream!!  A few minutes before the ice cream is done, I spooned in the leftover dulce de leche and let it incorporate into the ice cream. (If your dulce de leche is too thick, try stirring in some evaporated milk to thin it out a bit.)  Scoop the ice cream into a freezer safe container and pop it in the freezer for a few hours to harden up a bit more.  The only problem you might have at this point is not eating it all at once.  If your ice cream is a bit hard when you're ready to eat it - let it sit on the counter for 5-10 minutes or put it in the fridge for 20 minutes before scooping.

Now I know this isn't the greatest photo ever, but we were more focused on getting the yummy goodness in our bellies. Make some and I promise you won't be disappointed. 

What's your favorite ice cream flavor??

Tuesday, July 30, 2013

Guest Blog Post II at Kiss My Tulle

It's time for my second guest blogger post over at Kiss My Tulle while Cris is on a much deserved and peaceful maternity leave! I've shared some of my tips on re-selling decor and other items after your wedding.  My sister-in-law and I recently did this with her left over wedding stuff and she totally lucked out and in one day sold all of her leftover table mirrors, votives, and all of her centerpiece vases (there were clusters of 3 on each table) in one day after we'd listed them. She recouped $180 in just this one sale and on things that were just taking up space and sitting in her basement for a year.  Head on over to Kiss My Tulle to see my blog post, which you can find HERE, and also to check out some of her tips. They're useful no matter your budget or ideal wedding.

Kiss My Tulle is a fantastic website for couples who are interested in having a great wedding but not breaking the bank. Cris, planned her own dream wedding on the budget of $5000 and her blog is dedicated to sharing tips and strategies for other couples to have the same lovely, but inexpensive weddings.  From her site:
Everything that Kiss My Tulle does is inspired by the mission to make it cheap, make it lovely, make it functional, and make it accessible. Kiss My Tulle is committed to providing its readers with do-able DIY projects, down-to-earth advice, and realistic Big Day expectations.


Wednesday, July 24, 2013

Custom Crossfit Baby Mobile


I've been getting a lot of custom mobile orders in the shop lately which is always a new and fun creative challenge. You saw the cute elephants mobile for Baby Boy Darko last week on the blog, but this week I wanted to share with you a Crossfit themed mobile.  This customer LOVES Crossfit and wanted to tie in the hardcore exercise regiment into her new baby's room.  

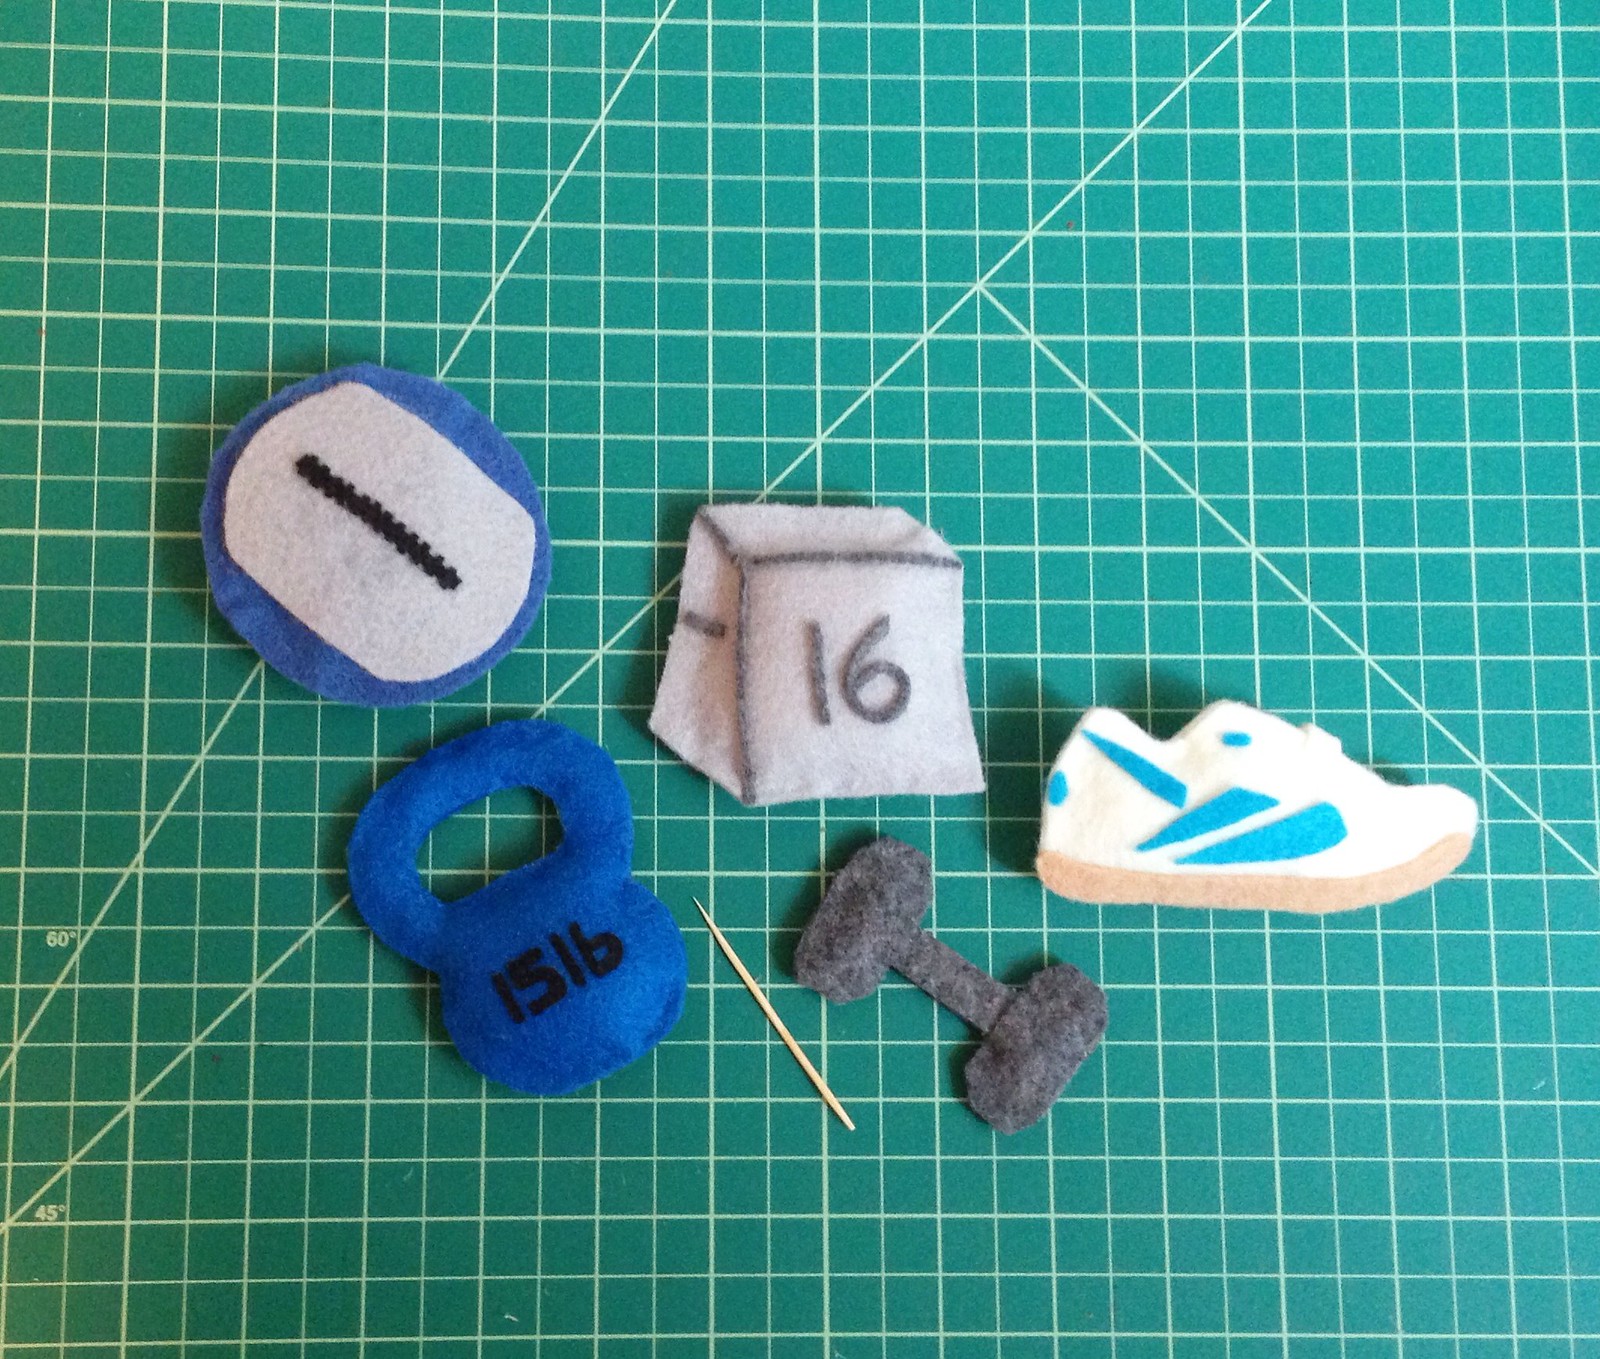
This mom was also waiting until baby was born to find out its gender, so originally we were going with really neutral colors of silver, grey, and tan.  Baby came early though, and was a cute baby boy, so mom gave me permission to tie in some blue too!  As for the main squidgy parts: I was asked to incorporate kettlebells, medicine balls, barbells, Crossfit boxes, and even Crossfit shoes! Here's a photo of the pieces when they were drying after being glued. I also added more details to the kettlebell, and fiddled with the barbell - it just wasn't doing it for me at this stage.  


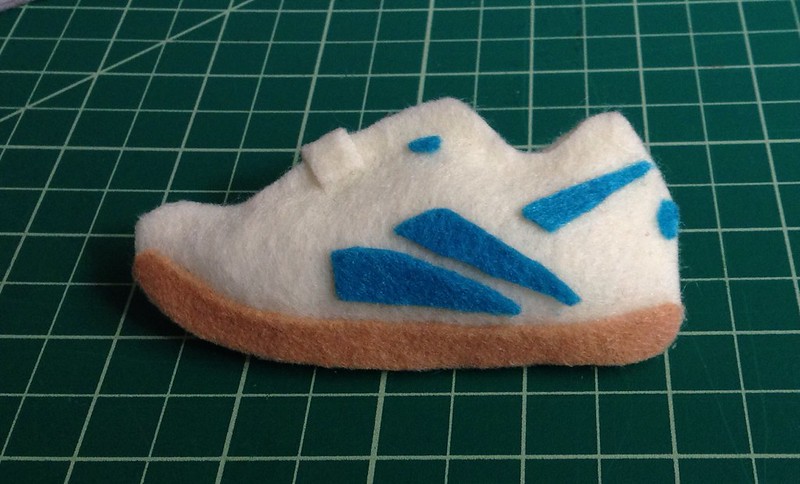
I was so excited about getting this finished and shipped off (and baby arrived early so I was trying to get it done) that I sort of (totally) forgot to take pictures of each piece up close like I normally do. I did, however, take a close up shot of the Crossfit shoe because 1) I love shoes, and 2) I was really tickled by how this particular piece came out!!


Here are the finished Crossfit pieces! 


And lastly, here is the finished mobile in action. 


Does it make you motivated to work out? :)  The mobile is now available in the shop and like my other mobiles, the mobile is completely customizable!!

Baby Mobile - Crossfit Theme