Wednesday, January 16, 2013

DIY Dog Treats

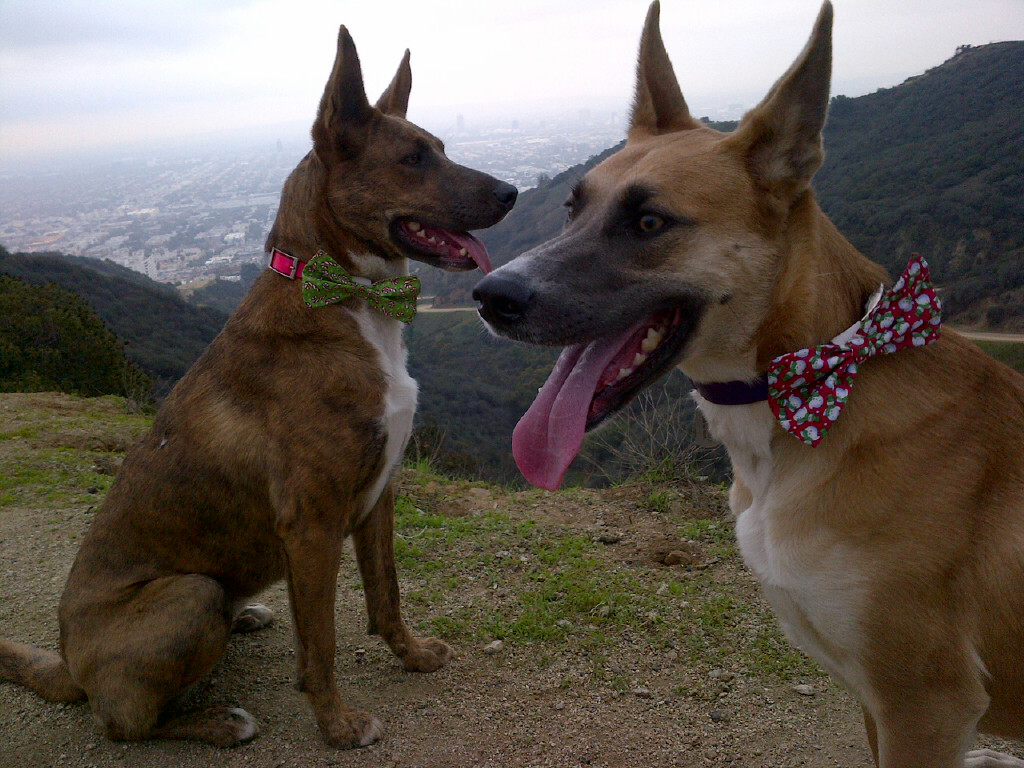
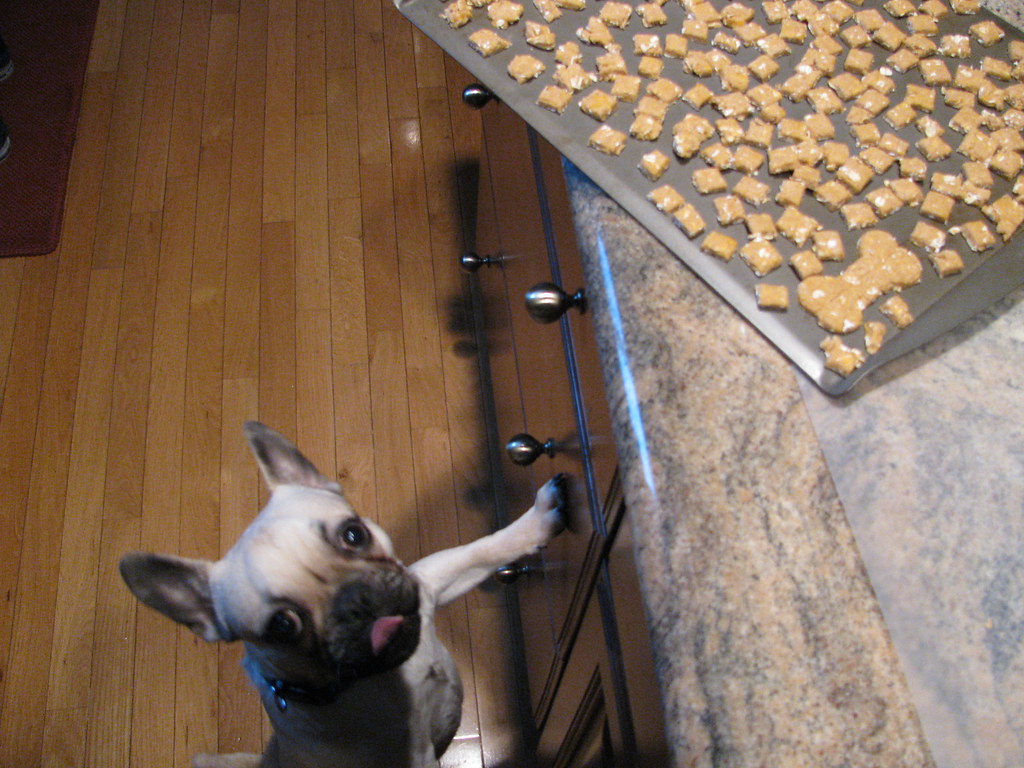
After a glorious amount of precious pups in holiday pet bowties, I thought I'd share my homemade dog treat recipe that I've been whipping up for the in-house model since we moved to the East Coast.  I decided to whip up a big batch for my friends animal babies this Christmas, too.


I had a bit of free time one day and felt like making Bailey some treats from scratch. After searching around online for various homemade recipes, some which had ingredients I didn't understand for a dog (like vanilla, really?) I came up with this one. I've been making treats now for Bailey every few weeks for the last few months, and now whenever Bailey smells sweet potato cooking, he comes running and sits under my feet while I work.  He would eat the whole sweet potato raw if we'd let him.

The recipe is versatile enough that you can use pumpkin or squash too. I had extra canned pumpkin around the holiday time and I used it in the treats and they were met with just as much enthusiasm as the sweet potato!! Also, this recipe really lends itself to halving or doubling. You can make as many or as few treats as you'd like.

Puppy Love Dog Treats

First things first. This recipe requires only 4 ingredients:

  • 1 cup wheat flour
  • 1/2 old fashioned oats (not quick oats)
  • 3/4 cup cooked sweet potato 
  • Some water - the amount you'll need depends on the size of your sweet potato
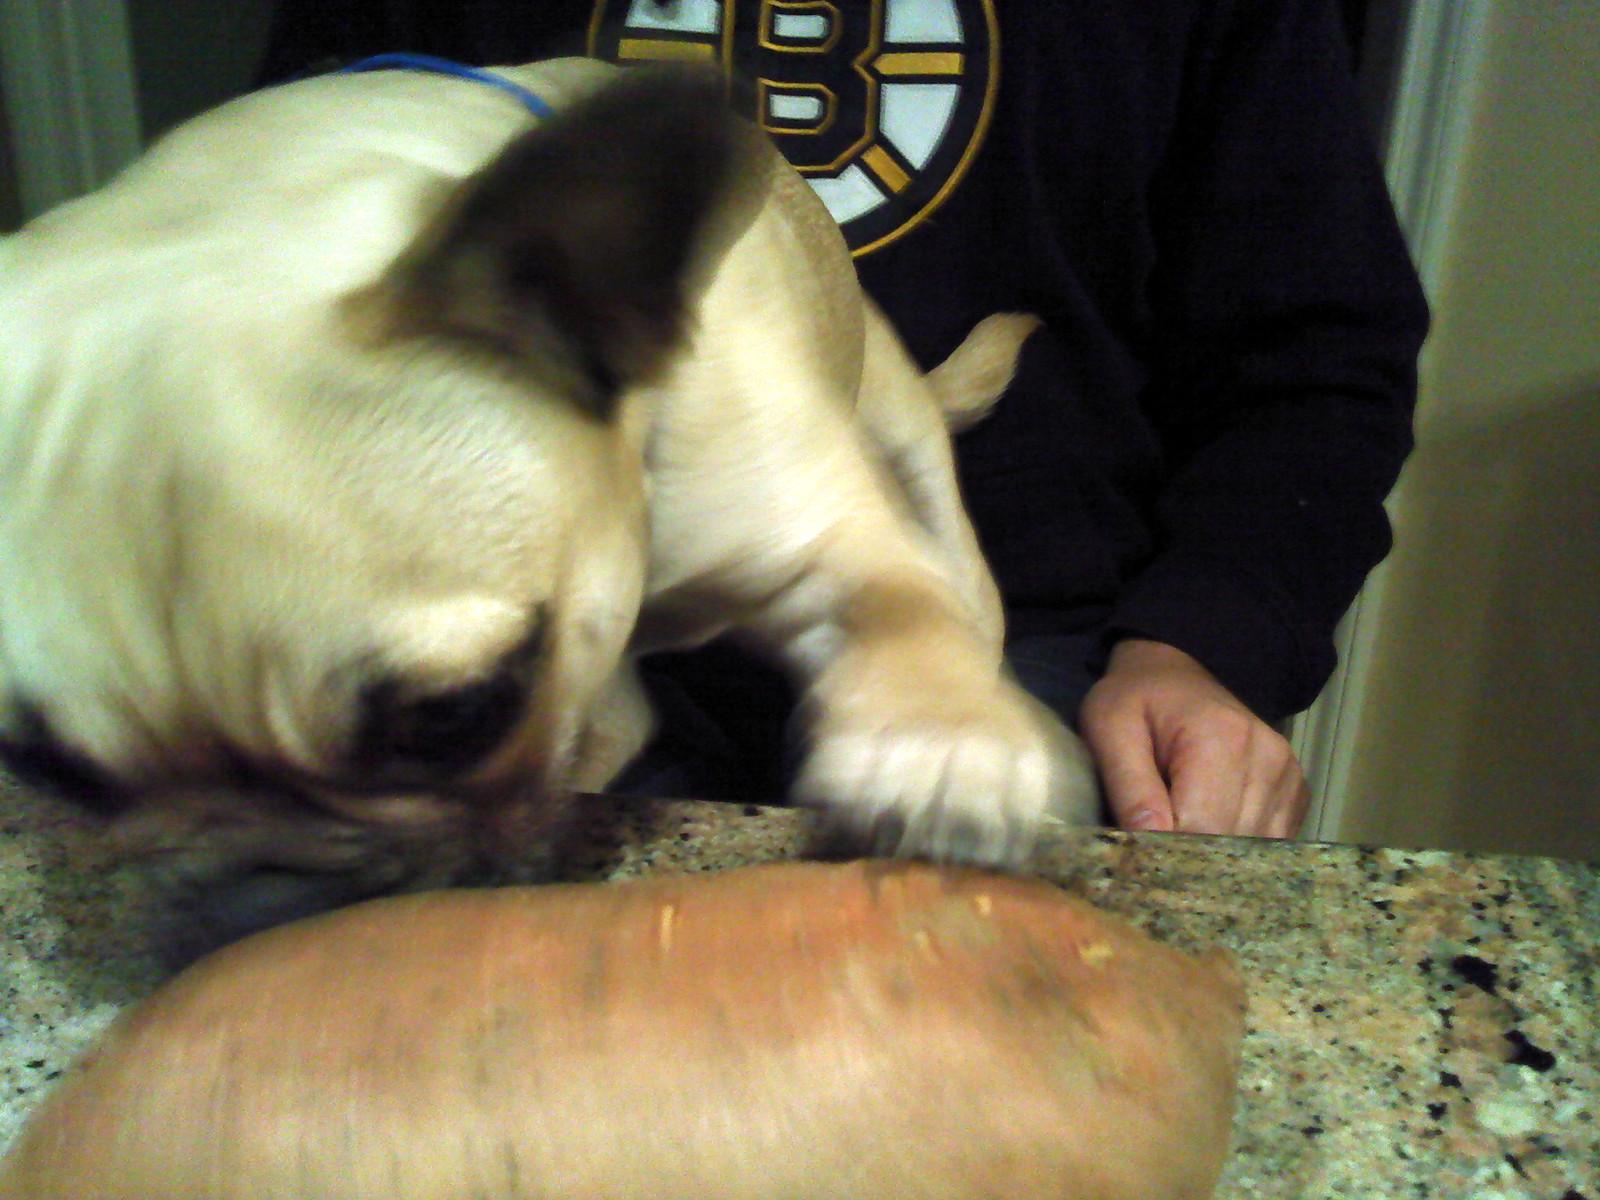
See, Bailey really loves sweet potatoes!! 

You need to start by cooking your sweet potato. I cook mine in the microwave. I wash the sweet potato and then pierce it many times with a fork, put it on a small plate, and pop it in the microwave. Depending on the size of the sweet potato, and how spiffy your microwave is, the cooking time will vary. I usually have to cook mine between 5-10 minutes to get it to be nice and soft.
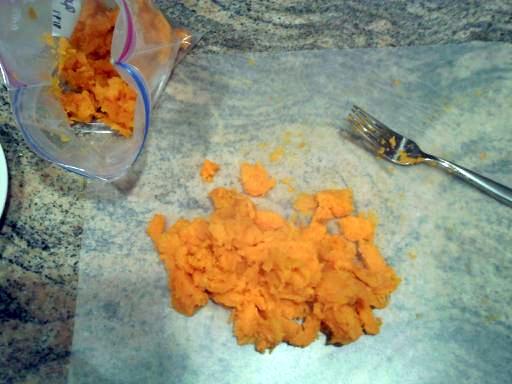

Let the sweet potato cool for a few minutes before digging into it - it's hot!! Scoop out all of the sweet potato (don't use the skin) and throw it in a freezer bag. You'll have more than you need so I always freeze the extra to use next time. Once it's in your bag, you want to add enough water until the mixture closely resembles soft baby food. I usually end up adding at least 1/2 cup if not more, but again this depends on the size of your sweet potato. If you're using canned pumpkin, no need to add water, it's already the right consistency. This step is important to make sure that your treats don't turn out too hard after baking (though they'll probably still be gobbled up).

Next, you want to add all of your ingredients to a medium sized bowl or if you've got one a Kitchenaid bowl.  Mix with whatever you're using (hand mixer, kitchenaid, your own arm) until well combined. Don't over mix though - wheat flour tends to be less forgiving with over mixing and can make the dough really tough. The end product should look like less sticky cookie dough. If your dough is too dry, you can add a teaspoon or two or three of water until the dough looks less dry.
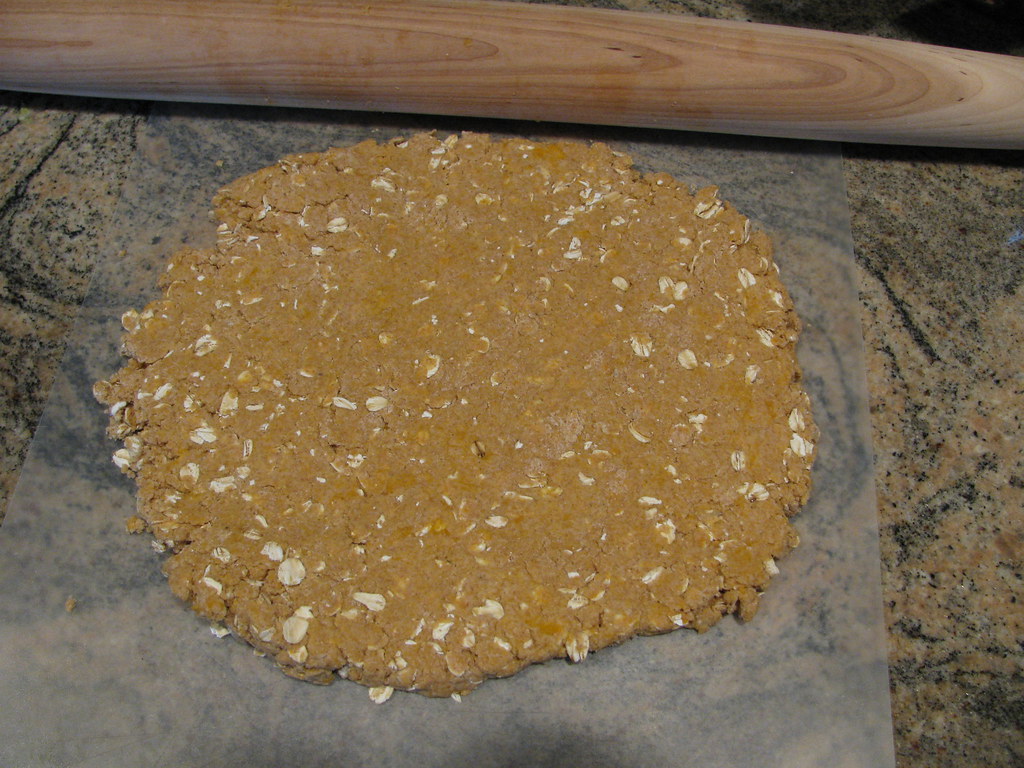

Pre-heat your oven to 350 degrees. Roll the dough out on your counter until it's about 1/4 of an inch thick. It won't look like very much dough, but for most dogs you'll need little treats so it will make more than you think it will. Using a long knife or a pizza cutter, cut up the treats.
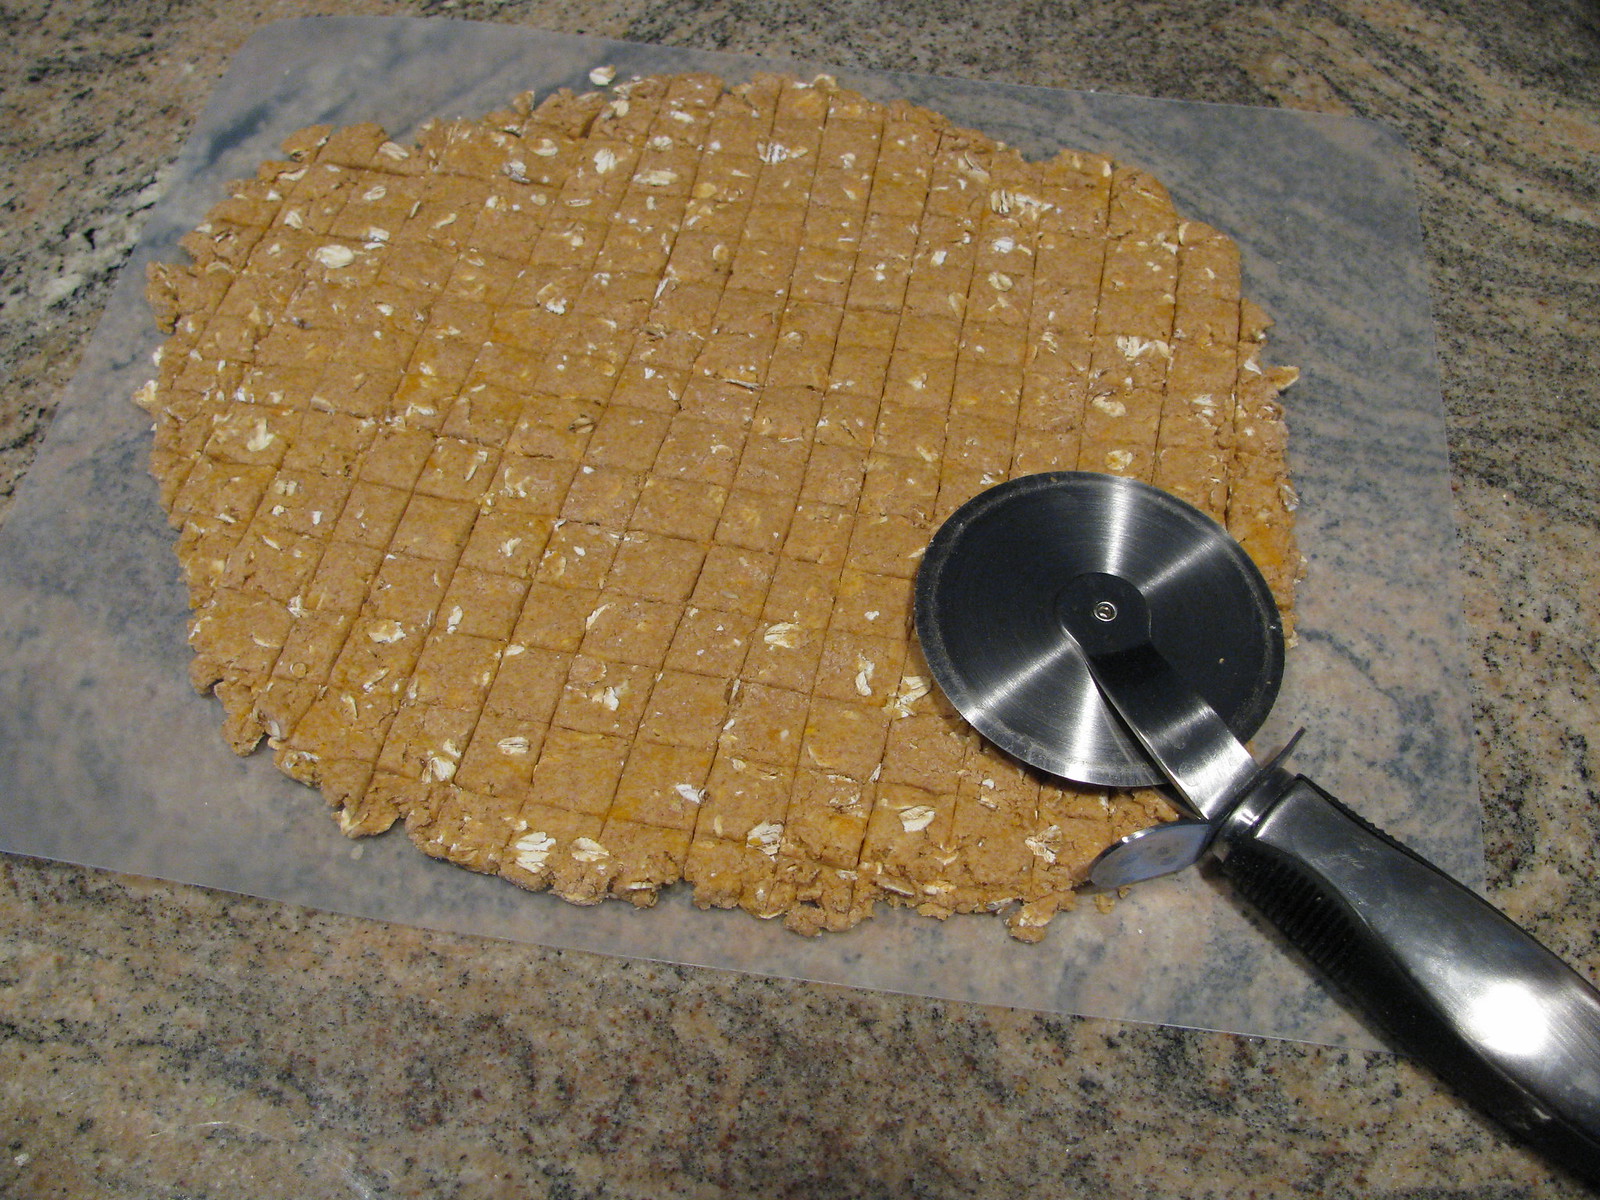

The size you decide to make your treats depends on you. When Bailey was a little little puppy I made mine about 1cm by 1cm. Now that he's a bit bigger I've started to make my treats bigger. If you've got a big dog, you can also use a dog bone cookie cutter!


Once you've scored up your dough, carefully transfer your treats to a parchment or silpat lined sheet (skip the pan liner if you don't have any). Using a spatula might help here. This part for some reason usually takes me the longest. Don't worry too much about over crowding your cookie sheet. Depending on the size I go with, I usually use 2 sheets.

Cook your treats for 20 minutes. If you've got 2 sheets, rotate their oven position half way through. Once you've hit the 20 minute mark turn off your oven and leave them in there for 20 more minutes - leave the oven door shut!! Once they've sat in the oven for 20 minutes with the oven off, remove the treats and set them somewhere to cool. Don't let your cute dog tempt you into giving them a treat straight from the oven. The treats can be super hot!! Also, do not box up your treats until they've completely cooled of you risk them getting soggy (and possibly moldy down the road).

These treats last 3-4 weeks in a tupperware or a sealable plastic bag. There's no need to refrigerate them.

Enjoy!!

I should add that I'd be happy to make batches of these to sell if doing them yourself seems like too much trouble.  Just contact me at my Etsy shop Lavender Paper Hearts and I'd be happy to whip some up for you!!

This post is Treat-Crazed-Bailey approved:


Wednesday, January 9, 2013

More cute doggies!!

A few more adorable dogs in bowties have come in that I wanted to share!

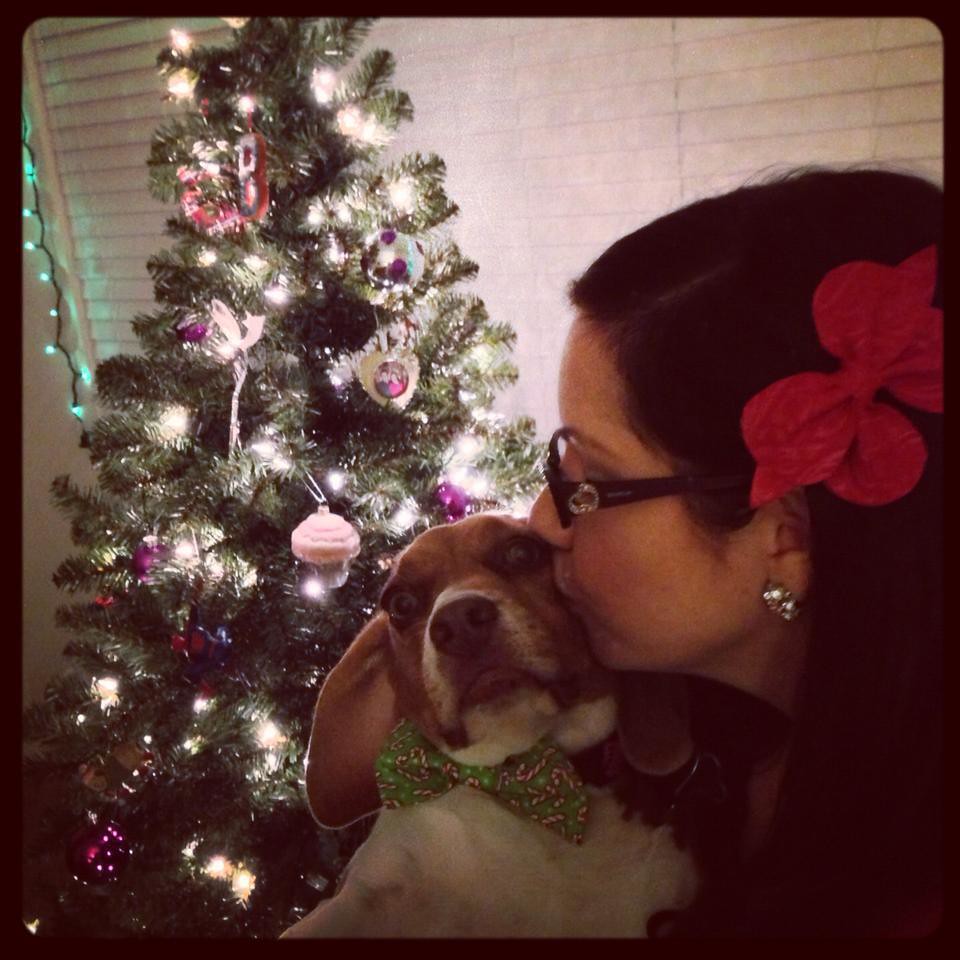
I posted this one on Christmas, but I thought I'd post it again.  Barley looks amazingly precious in front of the Christmas tree!!


Gunner here looks very regal, and very serious in his holiday bowtie!

My newest photo features Fig, and boy does he look dapper!!


Tuesday, December 25, 2012

Wednesday, December 19, 2012

Happy Holidays!!

This will be my last post for the next few weeks, and we're going to go out with a cuteness overload.  Some of the proud dog mommies send me the most ADORABLE photos of their pups modeling their holiday bowties.

Without further adieu, prepare to make all kinds of ridiculous noises of glee was you scroll...

First up we have our in-house model:

Next up we have Louie & Luce, two adorable ladies from Southern California:


Spiderman and his owner are each modeling items from my shop: 

The red felt bow can be found here!!

Little Boo is beyond cute in this series of shots: 


I love that Sadie prepares for the holiday rush with a good nap!!


Charlie is kickin' it in front of the Christmas tree and looking oh so adorable!!


I'll be posting more bowtie photos as they come in, because the cuteness must be shared!! 

I hope you all have an incredible holiday season!! 


Wednesday, December 12, 2012

Holiday Spirit:

Sorry if some of this is a repeat for some of you. I tried to move it to another date, but it somehow went live anyway. For those of you who saw it, I've added a few more items to the post!! Enjoy (again)!!  

I thought I'd share a few more simple DIY/re-crafted Christmas projects that have been going on around here.  We're usually not around our own house for the holidays so we don't tend to decorate all that much.  While this year is no different, we have a few more things hung up for the season.

First, from last week, we've got the Santa belt pillows from my DIY tutorial last week snazzing up our couch:

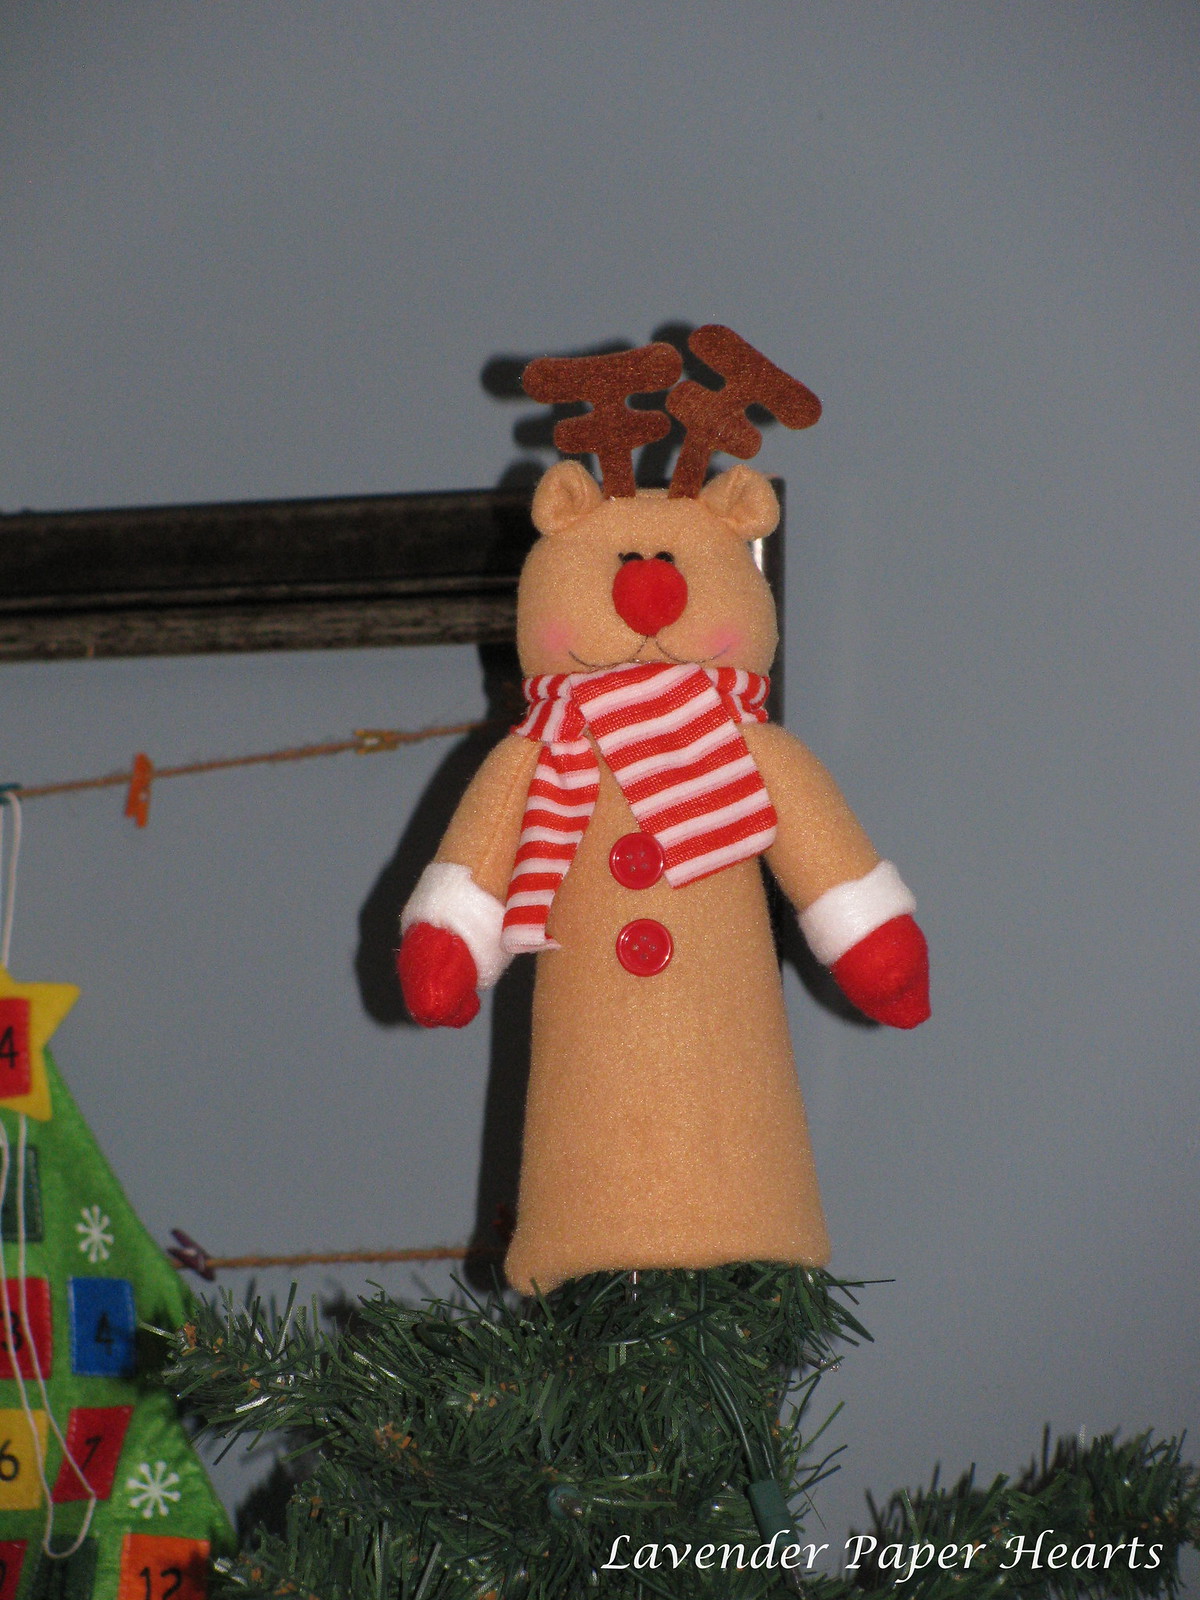
We borrowed a fake Christmas tree, and suddenly needed a tree topper. I'd seen this really cute one at the Dollar Tree, but our tree is only 5-ish feet tall, so Mr. Reindeer was rather large at 12 1/4 inches tall, and he threw the symmetry of the tree off a bit (ya think?!).  Also, I picked him up a bit late in the game (Thanksgiving weekend did a number on my local Dollar Tree), so the only reindeer left in the store were a bit decrepit. I found one that looked like it could be worked with and promptly rescued him.

Before: He looks great here, mine was not this nice looking.... plus, SO TALL. My store also didn't have the Santa or Snowman.  

After: Isn't he cute?!!

I got some scissors and my glue gun and got to work.  I cut off about 4 - 5 inches from the bottom of Mr. Reindeer (it was just plastic, and then I tucked under the extra body felt) and then removed and re-positioned his buttons. But then I realized that his arms were now really disproportionately long to his new shorter body.  He looked hilarious/ridiculous. The arms were tucked under the scarf so I very carefully cut them off and made them about an inch and a half shorter and easily glued them back into place. I also tacked down the scarf with glue to securely hide his, um, surgery.  BOOM, he's a new man and he looks super cute on our little tree!! 

Next up, my sister-in-law had given me 4 placemats that had accidentally shrunk in the wash to craft with.  I had them sitting around for a while until I figured out what I could make with them.  I really liked the quilted pattern so I knew I could make SOMETHING fun out of them.  Then one afternoon when I got home from work it hit me...

They started out looking like this:

They ended up like this:


Now, if you look closely you can see that they're not identical. It doesn't really bother me, in fact, I think it gives them a little character... plus, you really have to look at them to notice.  To make these I simply drew the stocking pattern free-handed on to the placemats, pinned them together and quickly sewed them.  I cut off the extra fabric, grabbed a scrap and ran it through the machine to make two loops to hang them with, and boom - done.  It honestly took less than 10 minutes.  I especially love the quilted pattern and the little scalloped edge at the top. 

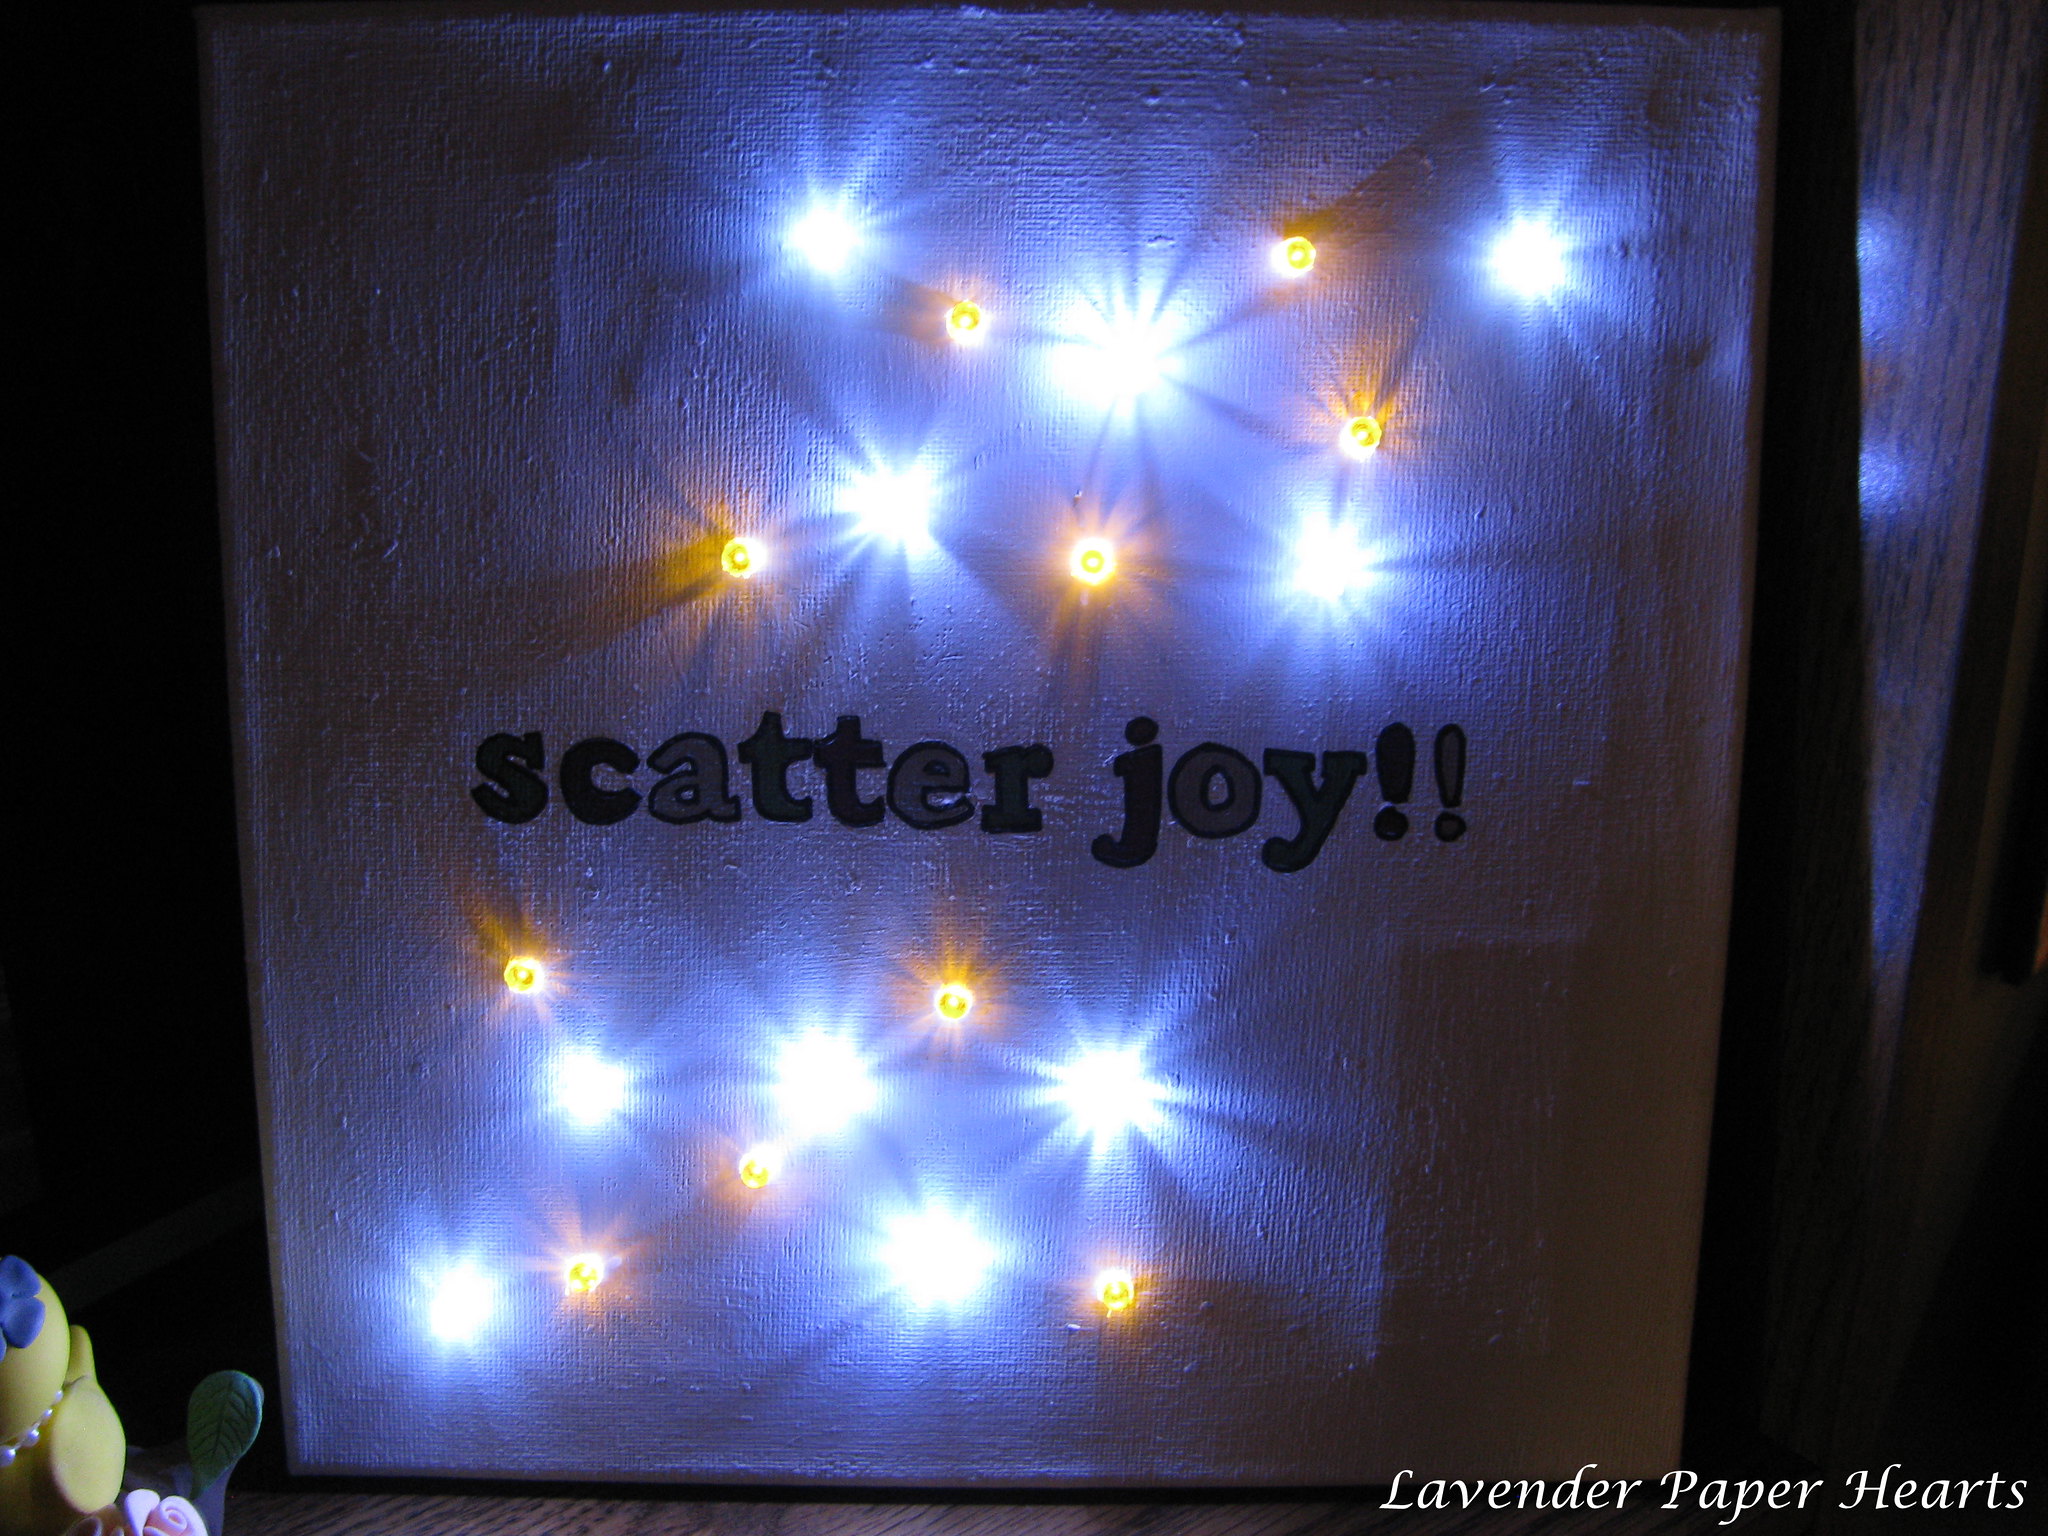
I was inspired to make the craft below after getting our first Christmas card of the season. Hubs and I thought the Emerson quote was so sweet and simple and, well, great, that I wanted to see if I could turn it into a bit of a bigger canvas somehow and with twinkle lights, because everyone loves twinkle lights. 

Original: 

I just finished this up after searching a few times at the Dollar Tree for lights. I bought a paint-by-number canvas at the Christmas Tree Shop and then lightly scrubbed off the paint by numbers part.  I then covered the canvas in white paint, freezer paper stenciled on my phrase.  The colors are red, green, and silver.  Then I got my tool that looks like an ice pick, and after hot-melt gluing the battery box in place I used a pencil where I wanted my lights to go (they're strings of 10 lights), adjusted accordingly, and then gently poked through the canvas until the hole was just a little bit smaller than the light.  I carefully pushed just the tip of the light of the led through the hole and then hot-glued them in place on the back.  Boom. Done. :)  I kind of super love it.  These lights are my new favorite thing.


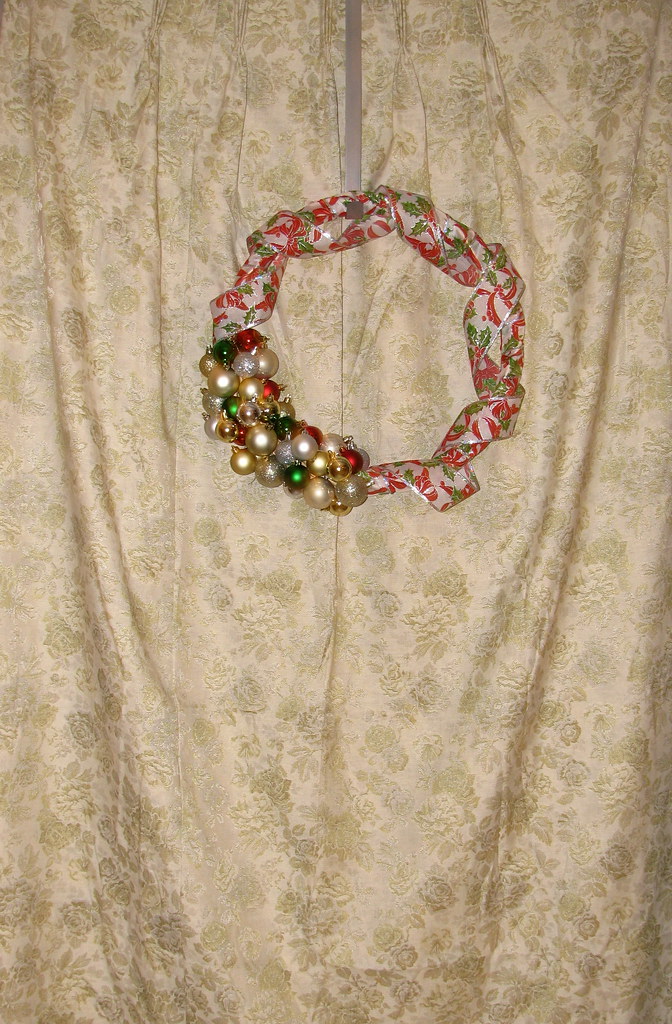
I made this wreath last Christmas. I found ALL of the supplies from the Dollar Tree (it ended up costing about $7 total).  We hung it up on a door we have in our living space. 


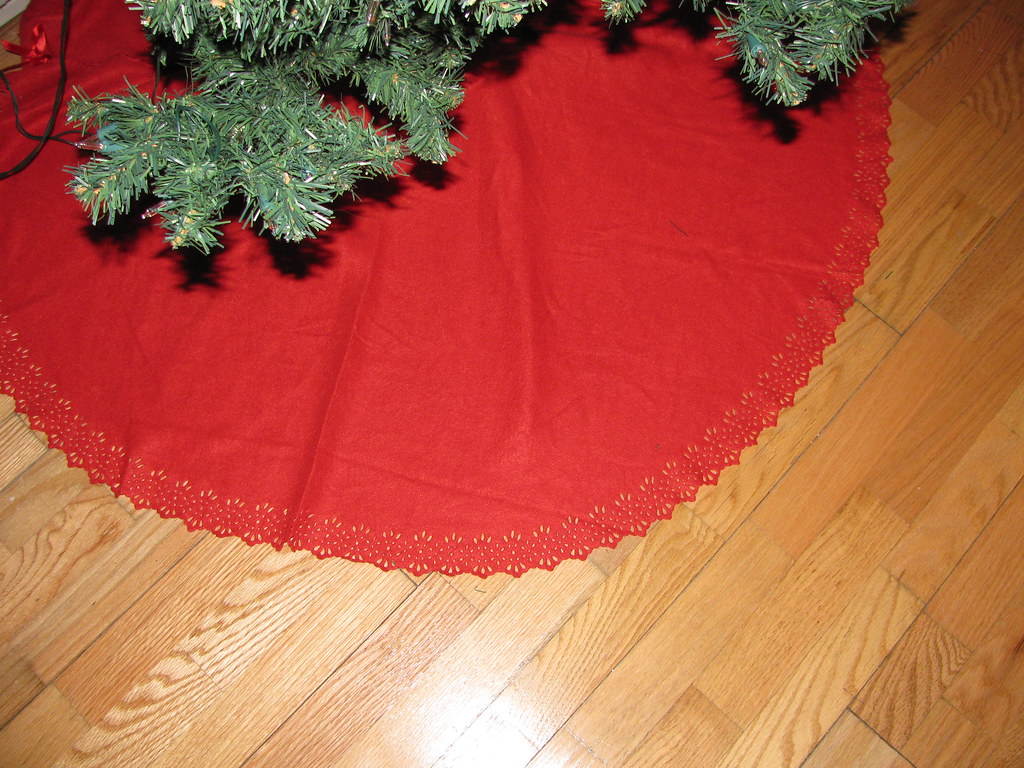
Lastly, and I did not make this, but I picked up a tree skirt from the Christmas Tree shop that would match the red in Mr. Reindeer's scarf.  It was a good deal and I really loved the detailed edge!!  


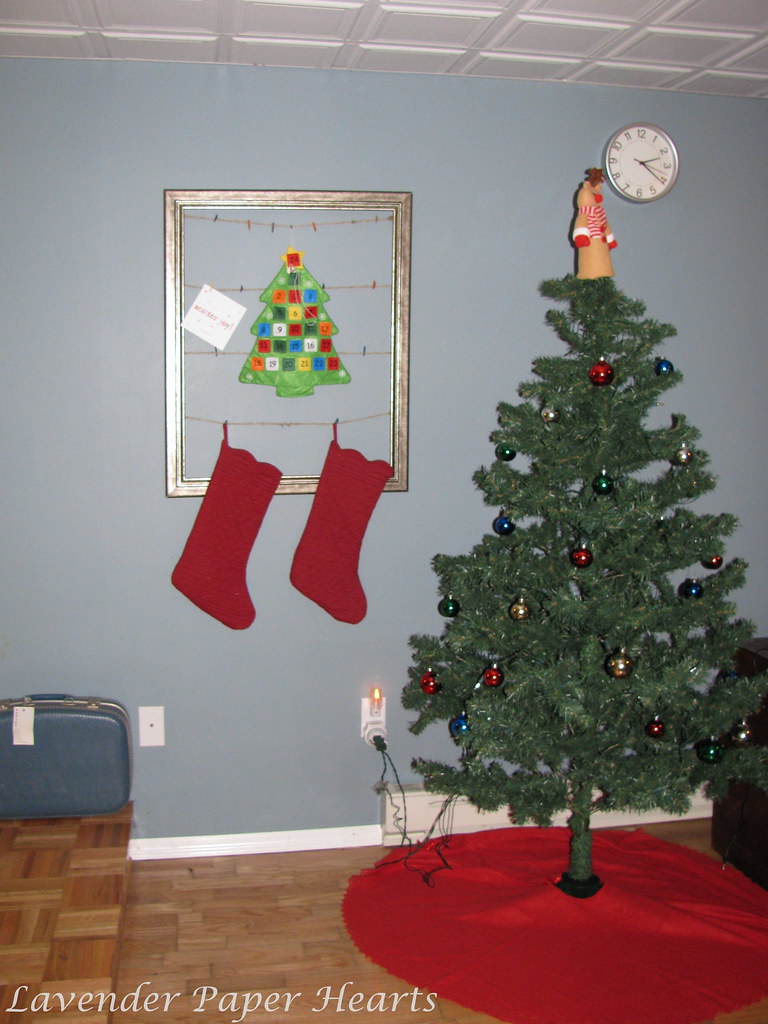
All together they look like this: 


Or like this with the lights on (more impressive, in my opinion).