A lot of Cuban recipes call for blood oranges so they're something I've always heard of, but that's it. These fancy oranges seem to be a bit illusive as I've never actually been able to find them in any grocery store I've ever been too - and I've lived all over the country. Apparently a lot of them are grown in California so I'm even more confused as to why I could never find them. Go figure. So what does a blood orange taste like? Well, they're an orange that is both a bit sweet and a wee bit bitter so they're usually used in marinating and cooking pork - yum!! Since they're so difficult to find we usually substitute a combination of oranges with lemon and/or limes to mimic the flavor. Last week I was running some errands and stopped by our local fruit and vegetable stand and, lo and behold, they had mounds of blood oranges!! It turns out that
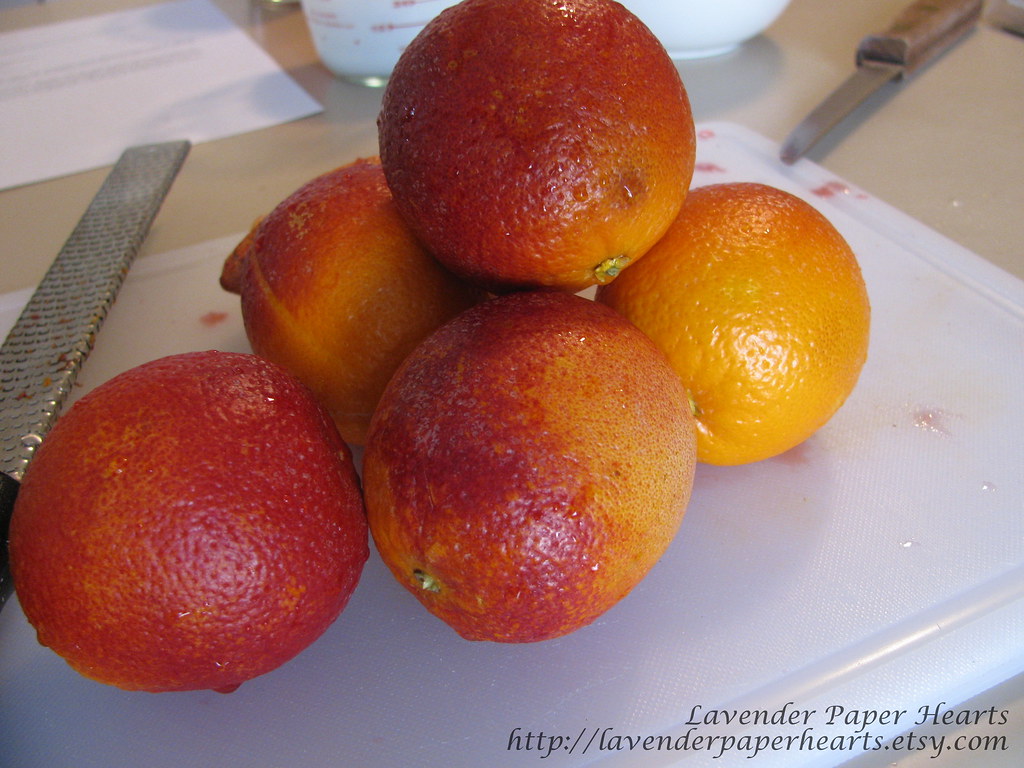
blood oranges, like clementines, are a winter fruit so this may be why they've been so hard to find. How Cubans have them on hand for all their recipes is a bit more confusing, but I'll let that one go for now. These oranges are really beautiful with their orange and red colored rinds.
Once I had the blood oranges I tried eating one like you'd eat an orange. I ripped into it with my fingers and not only was the red of the orange a bit off-putting (maybe like blue ketchup would be?) and the flavor was not to my liking. I guess, even though that I knew they were not supposed to be super sweet, they were more bitter than I was expecting. I now totally understand why a combination of oranges and lemons are used as a substitution though - it's exactly what they taste like!!
See how the red varies from photo to photo? I'm guessing that this has to do with the maturity of the fruit itself. The photo in the top right was the freshest blood orange - its peel had less red on the outside and interestingly the red color seems to be spread throughout the fruit. You can see in the top left photo that the orange is the deepest red, and the color seems to have spread to the outer most part of the fruit.
Once I had my blood orange booty I was contemplating what to do with them. I purchased about 12 of these beauties so they weren't all going to be used for marinating pork. I decided that regardless of what I was doing with them, I'd zest and juice them all and then go from there. If you look at the photo below, no, I didn't kill something, that's what blood oranges look like - intense, right? Halfway through juicing the oranges all I could do was laugh. It was a red blood orange mess and if you didn't know I was juicing oranges you'd think I was butchering an animal. Oy!
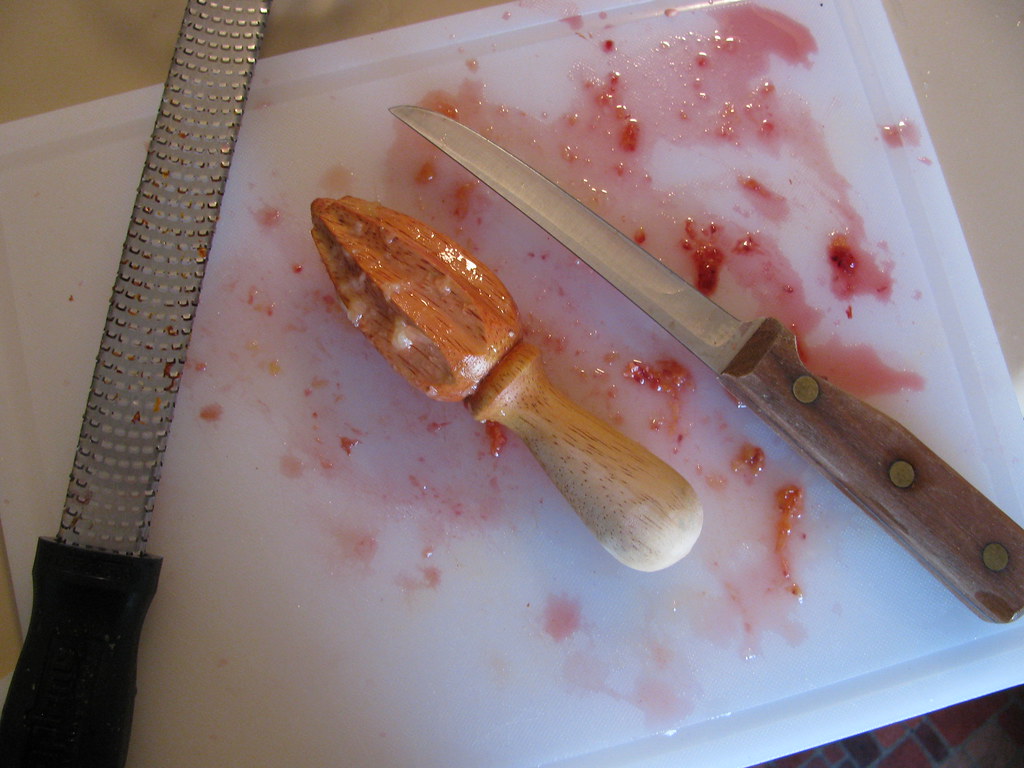
Fun fact: I usually buy a bag of lemons at a time because I find it to be less expensive than buying one at a time. I don't always have a use for that many lemons at a time so I zest them, juice the lemons, and then freeze the juice. That way I always have lemon juice on hand!! I just pull it down when I need lemon juice, defrost it, use what I need, and then refreeze the juice. I zest my lemons (using my favorite kitchen tool - the microplane featured on the left side of the photo below) to up the lemon flavor - you don't have to, but I love citrus so the more flavor the merrier in my book.
I took this as I was cleaning up - it's a bit frightening, no?
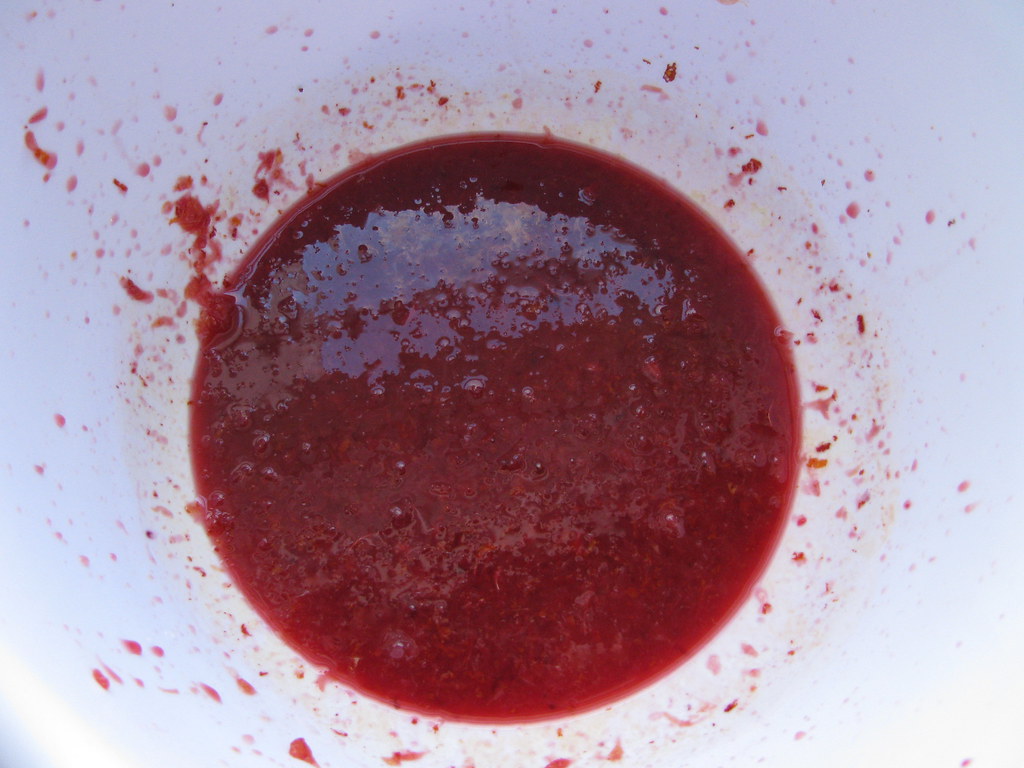
The color of the juice is really beautiful though once you separate it from the mess.
These would make really beautiful mimosas!! I had other plans though. I was doing a lot of baking in preparation for Easter and I knew that my cake recipe called for egg whites, but then I would be left with 6 yolks. I hate throwing them away if I don't have to so I suddenly knew exactly what I was going to make - Blood Orange Curd!!
I've made clementine curd before using a Jamie Oliver recipe, and it was pretty easy and exceptionally tasty so while the cakes were in the oven I whipped up some glorious pink blood orange curd. I used this easy and straight forward recipe from the blog
Use Real Butter and after 10 minutes of whisking (with the help of my husband who took over while I cleaned up the blood orange mess) we had glorious pink-orange blood orange curd. The only changes I made to the recipe was using salted butter, because I didn't have unsalted on hand - and it tastes just fine. The recipe only called for 3/4 of a cup of blood oranges (and I only made half a recipe) so I've got a cup and a half to two cups of blood orange juice in my freezer!! I've already got plans to add some of the curd to
ice cream later in the summer (I found a recipe for that from the blog
Scoop Adventures) and depending on how much I have left, the
Blood Orange Tart over at the Bonjon Gourmet looks pretty glorious as well. In the meantime, I think I'm going to whip up some biscuits to slather it on next weekend!
Now on to Easter!!
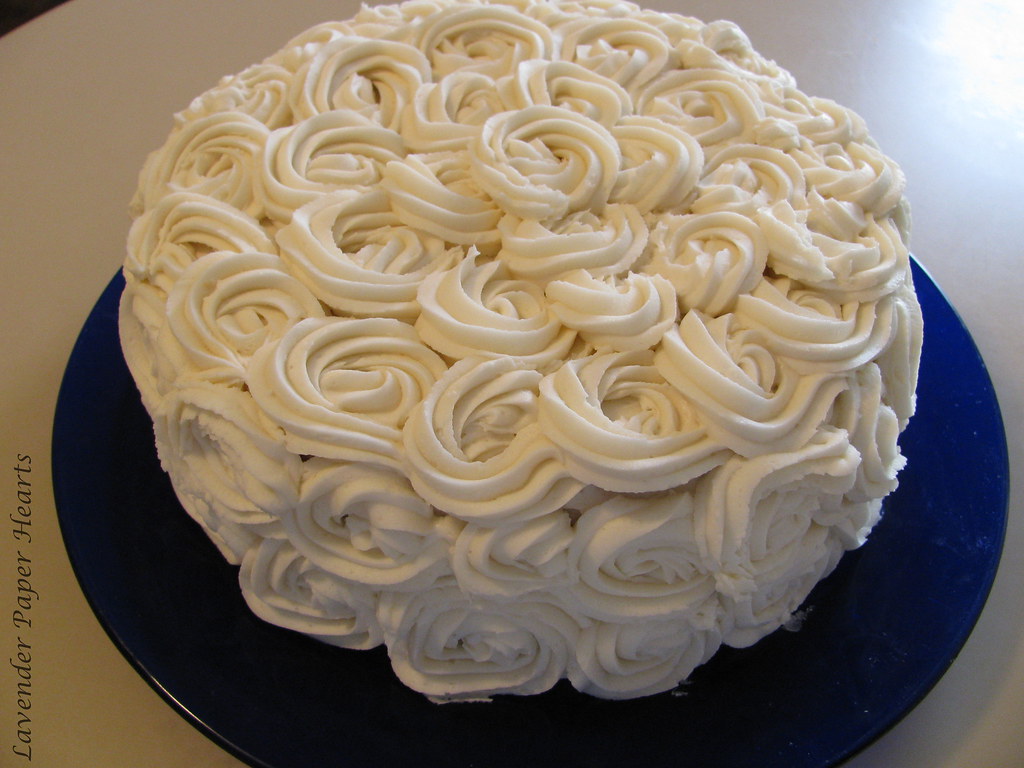
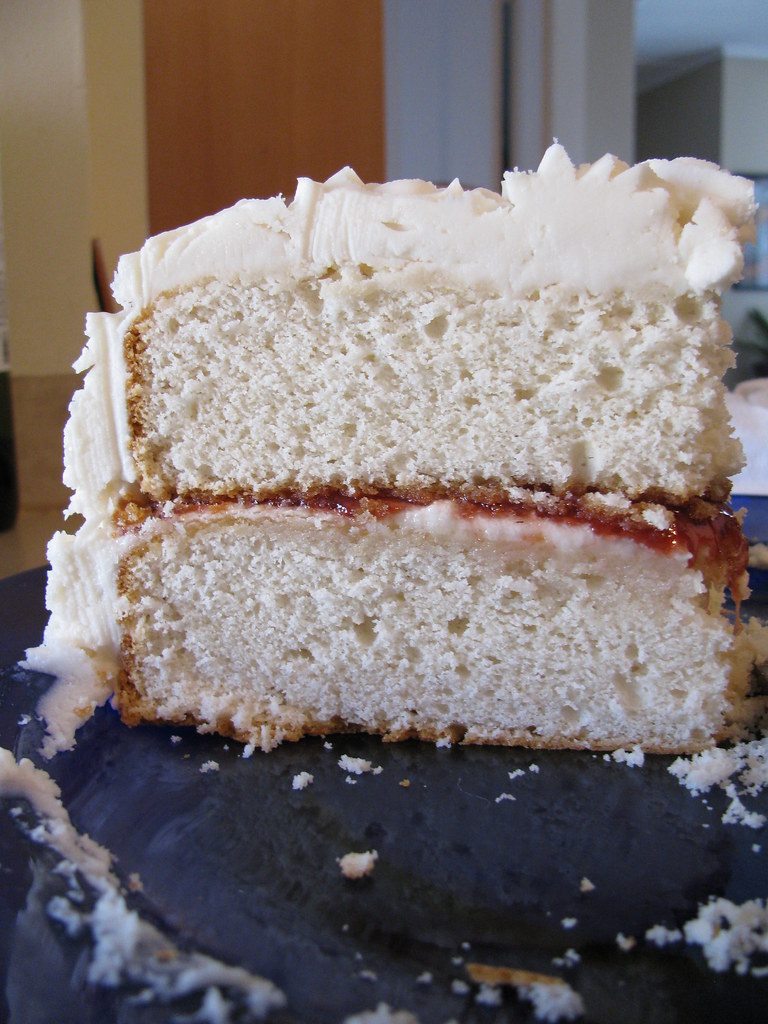
Rose Cake - White Cake, with Strawberry Filling and Buttercream Frosting
I was in charge of making the cake for Easter this year and my Sister-in-Law requested almond cake with strawberry jam filling (the same flavors as our wedding cake!) and shortly after her request
I am Baker posted a
fantastic looking recipe which was a white cake with almond flavor. Perfect! She also also has a great
rose cake tutorial that I've wanted to try since I stumbled upon it so it was an
I am Baker day inspired cake all around!!
The cake batter for this recipe was glorious. It was thick and luscious and I was really excited when I was mixing it together. Her
Buttercream Frosting recipe (I used the half butter half shortening recipe listed) was also really easy - make sure your butter is really at room temperature before you start mixing or you will never get it to mix with the shortening - trust me.
I think next time I would also take the cake out of the oven a bit earlier than I ended up doing this time; a couple of minutes seems to really make a difference. The only things I might change was to paint on some simple syrup before assembling the cake, and then taking it out of the refrigerator for several hours before serving. I'd followed her directions to put the cake in the fridge after frosting, but didn't realize how long it would need to come to room temperature before serving it. The cake was still rather cold when we cut into it and it make the cake seem really dry. I thought it was a disaster. After it came to room temperature (when I had some later that night for dessert - again) it tasted MUCH better and much like it was supposed to. Oy - that's what I get for using a bunch of new recipes all in one day, but now that I know the recipe will be glorious going forward.
*Ignore the frosting and crumbs on the plate - this was a rushed shot.
The rose frosting technique was also pretty easy and while I think I can make it prettier next time (and remember to make a batch and a half recipe of frosting), I was also happy with my first attempt. I think I need to overlap my flowers more next time and remember to finish the rose at the top so it is hidden more. Here's a video on how she does it: