Wednesday, February 27, 2013

Eek: Fancy Bowties for Your Favorite Pet!!

Okay, I promise PROMISE I'll have more posts lined up a bit more regularly soon, but things have been really crazy and I just can't find the time. Please take these RIDICULOUSLY cute photos of the in-house model as penance for my neglect.

I had a request about a month ago for a pet bowtie in a more neutral everyday-wear pattern.  This person also (wisely) requested that the bowtie be the color lavender. While I was at the fabric store I also stumbled across some adorably cute blue seersucker in the remnant bin (and everyone loves a good bargain on fabric) so I snatched it up!!

I've sold a few more of these now but had yet to actually take a picture of them in action for my Etsy shop and Facebook Shop page.  I'm donating a bowtie to a local-ish animal rescue organization called S.N.O.R.T. (small nose only rescue team - so for dogs just like my in-house model). They're holding an online charity auction in a few weeks and I wanted to be able to help them raise a little money.

So I popped over to my SIL's house to sweet talk the in-house model, Bailey, into taking some photos for me. I must say, he was in top form today and I was able to bang out three different bowtie looks in about 10 minutes. This pup knows how to work the camera and get things done!!  (Which was nice, because I had some other stuff on my list of things to do today, AND  it even left us time to play in the snow, because Bailey LOVES to play in the snow.)

Now for your viewing (and squeeing) pleasure...

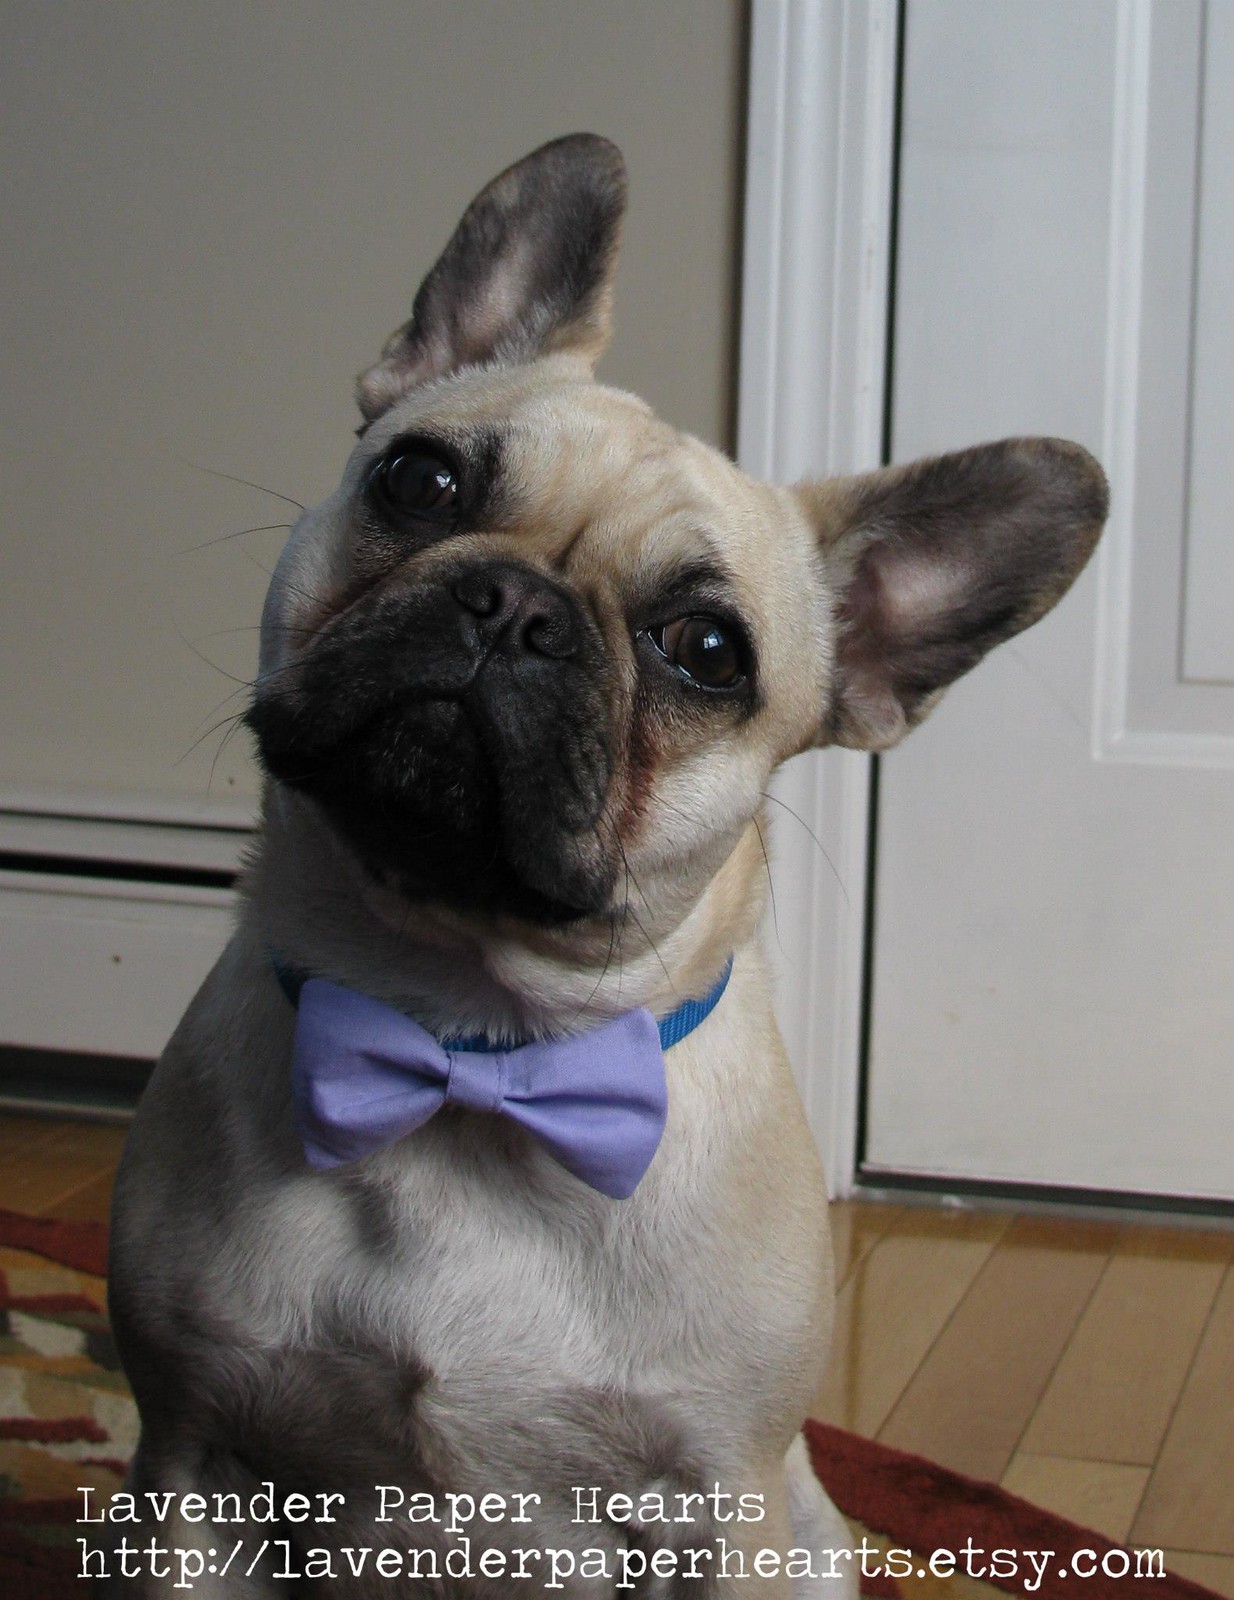
First up is the Lavender Bowtie: I ended up using this cute photo for my ad for the bowtie that I'm giving to the charity auction!!
You can find the lavender bowtie here. 

Now, a Blue Seersucker Bowtie with a bit of side-eye from Bailey!!!

You can find the Blue Seersucker Bowtie here. 

And lastly, my sister mentioned that one of her friends was possibly interested in a bowtie for her dog to wear to her wedding and I'd just found some navy satin in the remnant bin (to fix my sister's shirt so it's, like, full circle here). I thought the satin would make an AWESOME and extremely fancy bowtie.  Bailey brought his A-game and really upped the charm for this photo:

 You can find the Navy Satin Fancy Bowtie here. 


Have a great week!!

Wednesday, February 13, 2013

Holiday Coat Makeover

Sorry for the lack of posting the last few weeks. We moved 2 weeks after getting back from holidays in California and things have been a bit bananas ever since then.

I thought I'd share a quick post to show a coat makeover I did for my sister over the holidays. My sister had stockpiled a bunch of sewing & mending projects for when I arrived and she kept me busy!! I'd found this coat on Old Navy on super-mega-discount sometime in early December and being a good older sister I sent the info over to my sister Nikki.  I just so happens to be in her favorite color, and that girl is always in the market for new coats, so I knew she'd be an easy sell. (Plus, I'm pretty sure I found it when it'd been marked down to $27, free shipping, and 4% cash back from Ebates - for a WOOL COAT. I told you it was a good deal!!) The only thing I wasn't thrilled about were the coat's GOLD buttons. Seeing them in person they were actually much better looking, but still, after the DIY coat makeover post we knew we could find something much more fun!  We dragged my husband into a few Joann's Fabric stores all over Santa Monica before we found buttons we liked. Then we had to call around to another store near my mom's house (where we were staying) so that we could find a few more to make sure we replaced ALL the gold buttons on the coat and not just the buttons on the front.  There were two buttons on the back, and of course the first store only had 6 buttons.

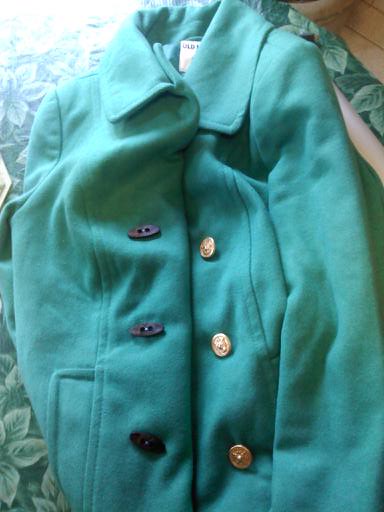
Here is a photo of the coat.  You'll notice that the coat's original buttons are on the right side of the photo, and the oval shaped buttons we chose (they looked like wood) are on the left side.  Nikki also wanted the thread on the buttons to pop a bit, so she picked a bright lighter blue colored thread! It added a really nice subtle touch to the coat.


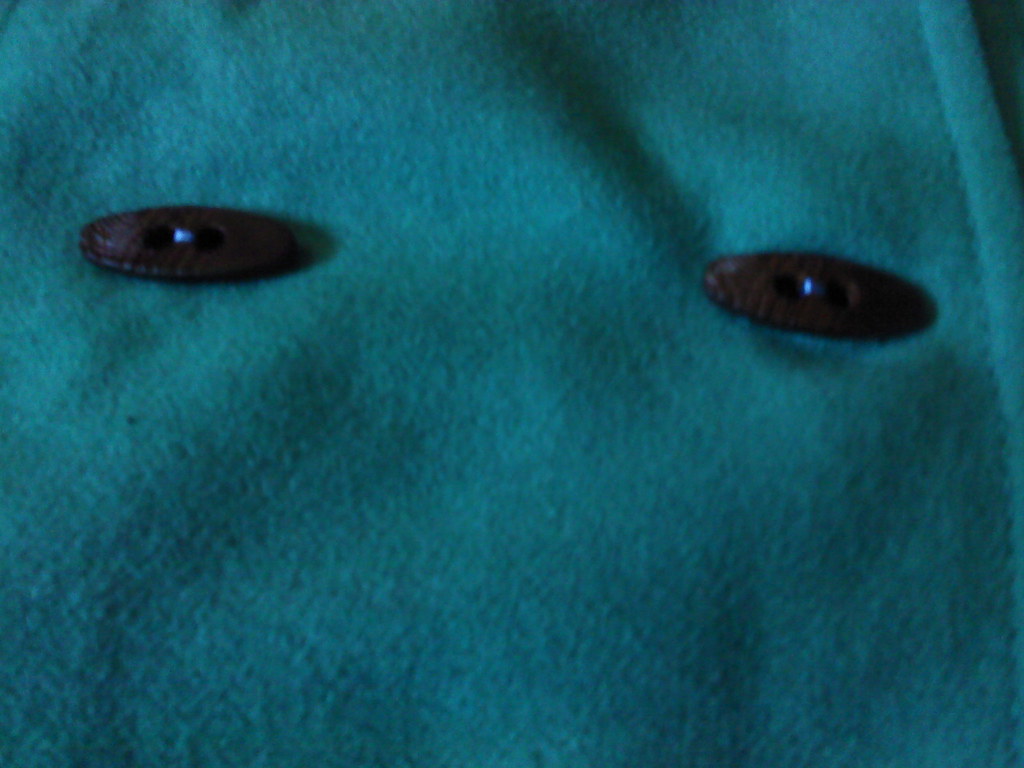
Here you can see the thread a bit better (but it's still blurry - cell phone picture):


Here's the finished coat: 


Ta-da!!  See, it's so easy, and it really changes the look of a coat from it's original look and then you can easily change it up from season to season!!

I'm hoping to get my craft room set up sometime this coming week and when I get some free time I'm going to work on a few new hair piece ideas to add to the shop.  Stay tuned!!


Wednesday, January 16, 2013

DIY Dog Treats

After a glorious amount of precious pups in holiday pet bowties, I thought I'd share my homemade dog treat recipe that I've been whipping up for the in-house model since we moved to the East Coast.  I decided to whip up a big batch for my friends animal babies this Christmas, too.


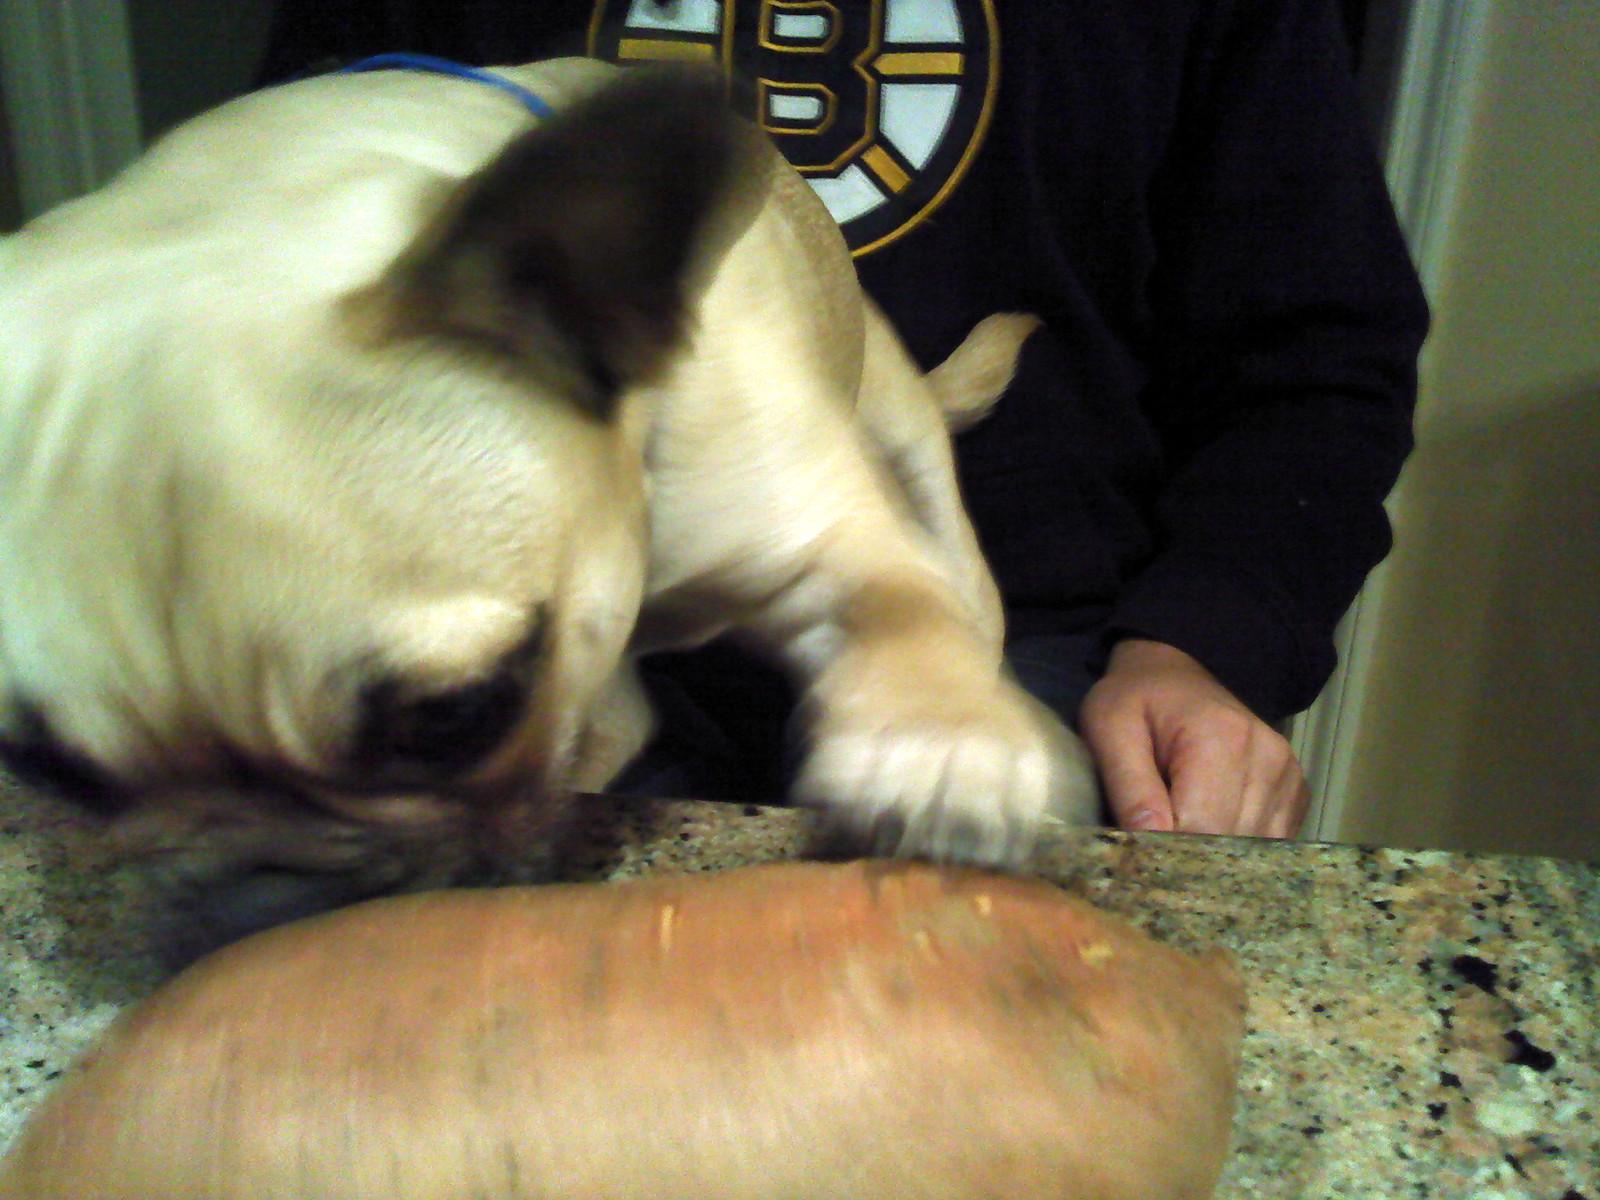
I had a bit of free time one day and felt like making Bailey some treats from scratch. After searching around online for various homemade recipes, some which had ingredients I didn't understand for a dog (like vanilla, really?) I came up with this one. I've been making treats now for Bailey every few weeks for the last few months, and now whenever Bailey smells sweet potato cooking, he comes running and sits under my feet while I work.  He would eat the whole sweet potato raw if we'd let him.

The recipe is versatile enough that you can use pumpkin or squash too. I had extra canned pumpkin around the holiday time and I used it in the treats and they were met with just as much enthusiasm as the sweet potato!! Also, this recipe really lends itself to halving or doubling. You can make as many or as few treats as you'd like.

Puppy Love Dog Treats

First things first. This recipe requires only 4 ingredients:

  • 1 cup wheat flour
  • 1/2 old fashioned oats (not quick oats)
  • 3/4 cup cooked sweet potato 
  • Some water - the amount you'll need depends on the size of your sweet potato
See, Bailey really loves sweet potatoes!! 

You need to start by cooking your sweet potato. I cook mine in the microwave. I wash the sweet potato and then pierce it many times with a fork, put it on a small plate, and pop it in the microwave. Depending on the size of the sweet potato, and how spiffy your microwave is, the cooking time will vary. I usually have to cook mine between 5-10 minutes to get it to be nice and soft.


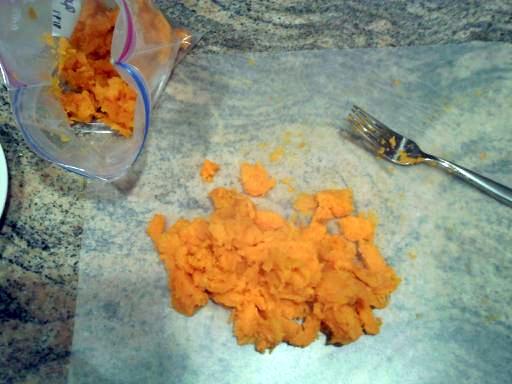
Let the sweet potato cool for a few minutes before digging into it - it's hot!! Scoop out all of the sweet potato (don't use the skin) and throw it in a freezer bag. You'll have more than you need so I always freeze the extra to use next time. Once it's in your bag, you want to add enough water until the mixture closely resembles soft baby food. I usually end up adding at least 1/2 cup if not more, but again this depends on the size of your sweet potato. If you're using canned pumpkin, no need to add water, it's already the right consistency. This step is important to make sure that your treats don't turn out too hard after baking (though they'll probably still be gobbled up).

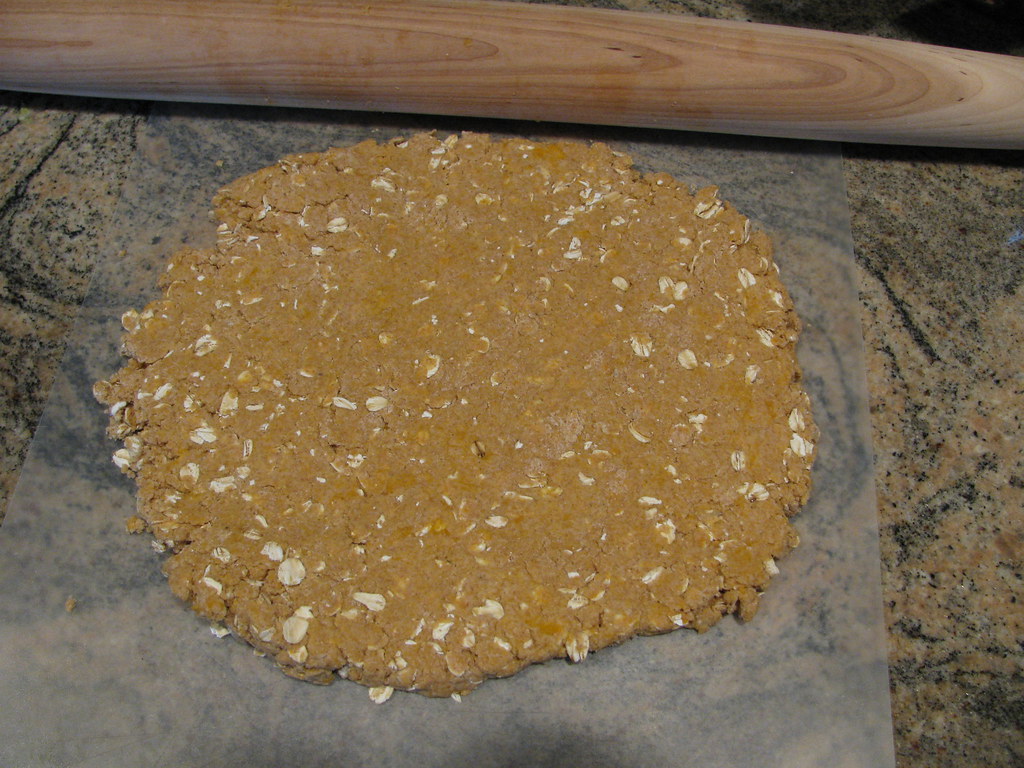
Next, you want to add all of your ingredients to a medium sized bowl or if you've got one a Kitchenaid bowl.  Mix with whatever you're using (hand mixer, kitchenaid, your own arm) until well combined. Don't over mix though - wheat flour tends to be less forgiving with over mixing and can make the dough really tough. The end product should look like less sticky cookie dough. If your dough is too dry, you can add a teaspoon or two or three of water until the dough looks less dry.


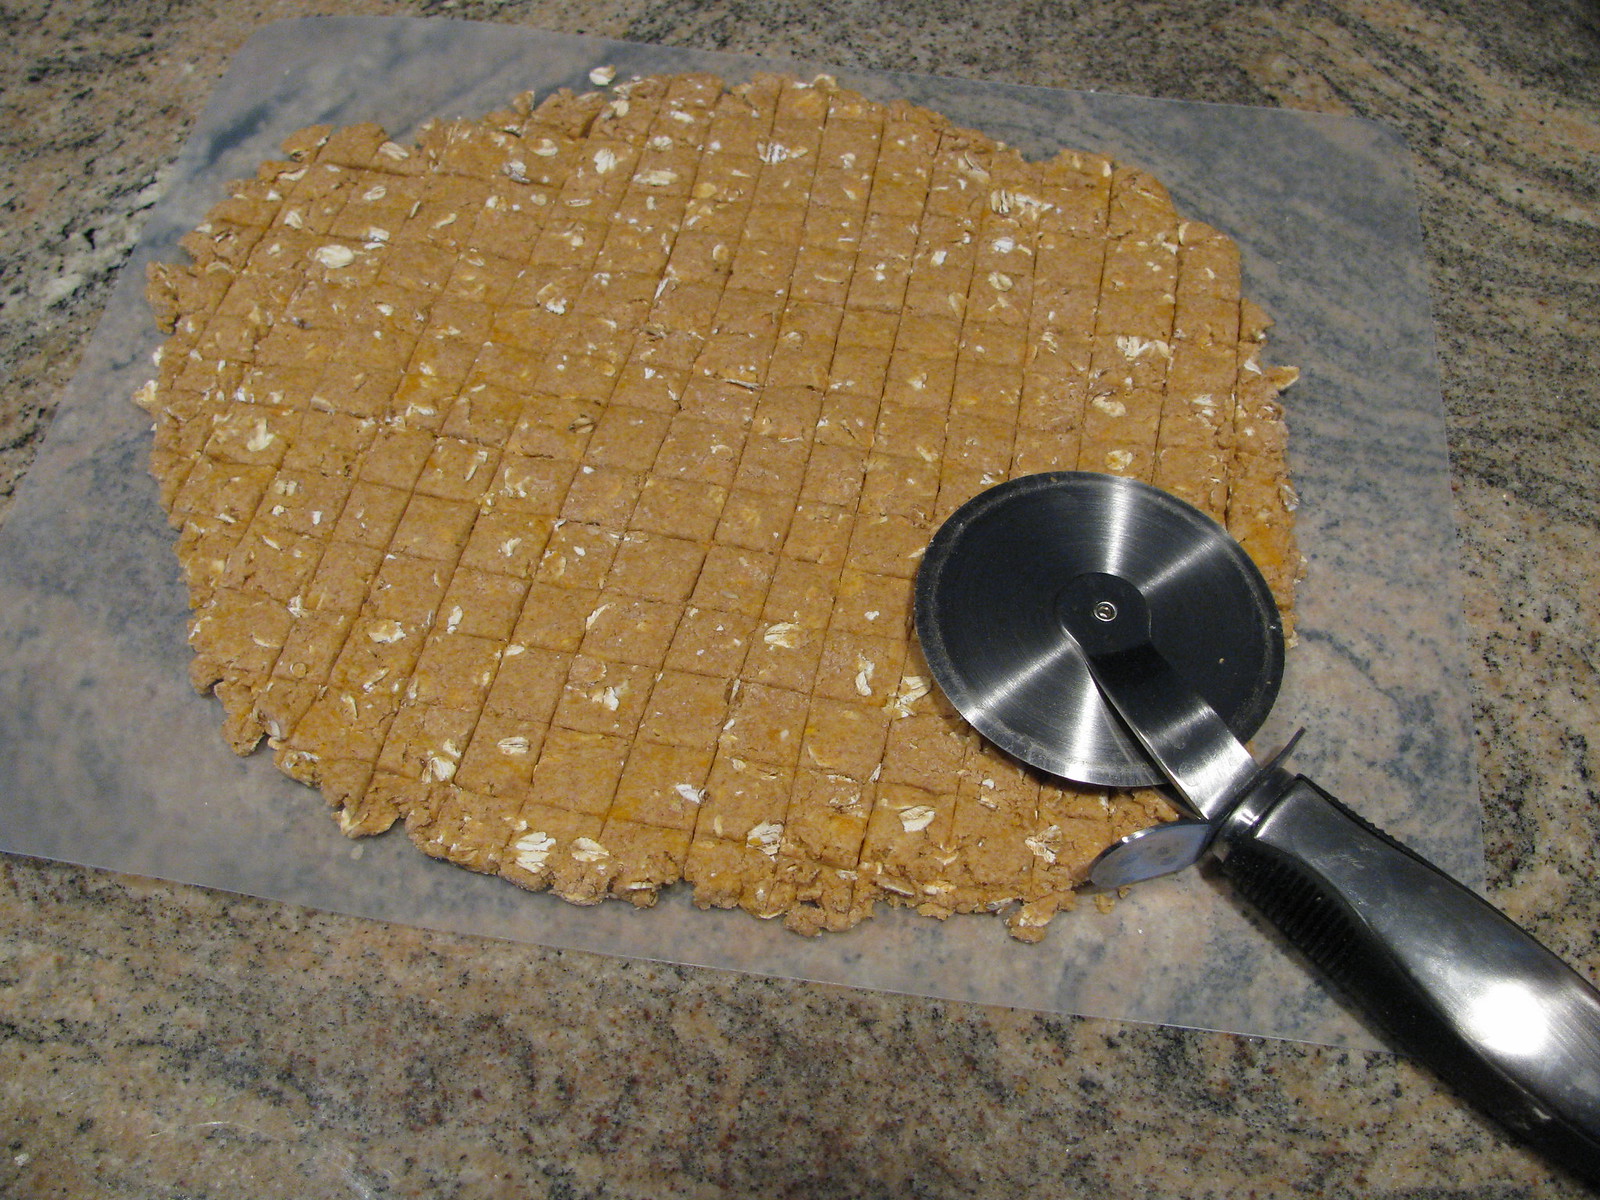
Pre-heat your oven to 350 degrees. Roll the dough out on your counter until it's about 1/4 of an inch thick. It won't look like very much dough, but for most dogs you'll need little treats so it will make more than you think it will. Using a long knife or a pizza cutter, cut up the treats.


The size you decide to make your treats depends on you. When Bailey was a little little puppy I made mine about 1cm by 1cm. Now that he's a bit bigger I've started to make my treats bigger. If you've got a big dog, you can also use a dog bone cookie cutter!


Once you've scored up your dough, carefully transfer your treats to a parchment or silpat lined sheet (skip the pan liner if you don't have any). Using a spatula might help here. This part for some reason usually takes me the longest. Don't worry too much about over crowding your cookie sheet. Depending on the size I go with, I usually use 2 sheets.

Cook your treats for 20 minutes. If you've got 2 sheets, rotate their oven position half way through. Once you've hit the 20 minute mark turn off your oven and leave them in there for 20 more minutes - leave the oven door shut!! Once they've sat in the oven for 20 minutes with the oven off, remove the treats and set them somewhere to cool. Don't let your cute dog tempt you into giving them a treat straight from the oven. The treats can be super hot!! Also, do not box up your treats until they've completely cooled of you risk them getting soggy (and possibly moldy down the road).

These treats last 3-4 weeks in a tupperware or a sealable plastic bag. There's no need to refrigerate them.

Enjoy!!

I should add that I'd be happy to make batches of these to sell if doing them yourself seems like too much trouble.  Just contact me at my Etsy shop Lavender Paper Hearts and I'd be happy to whip some up for you!!

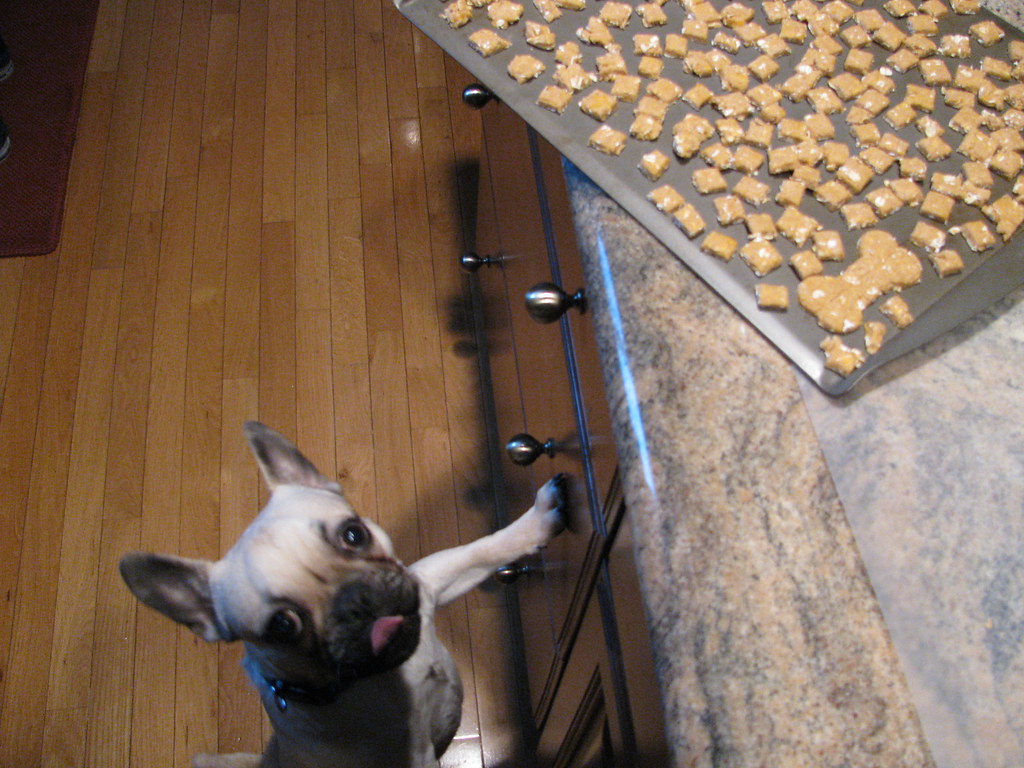
This post is Treat-Crazed-Bailey approved:


Wednesday, January 9, 2013

More cute doggies!!

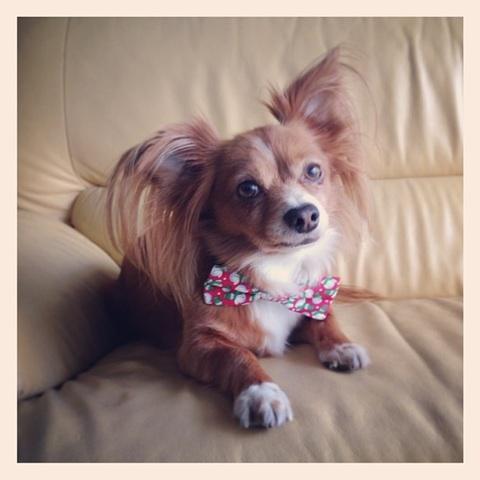
A few more adorable dogs in bowties have come in that I wanted to share!

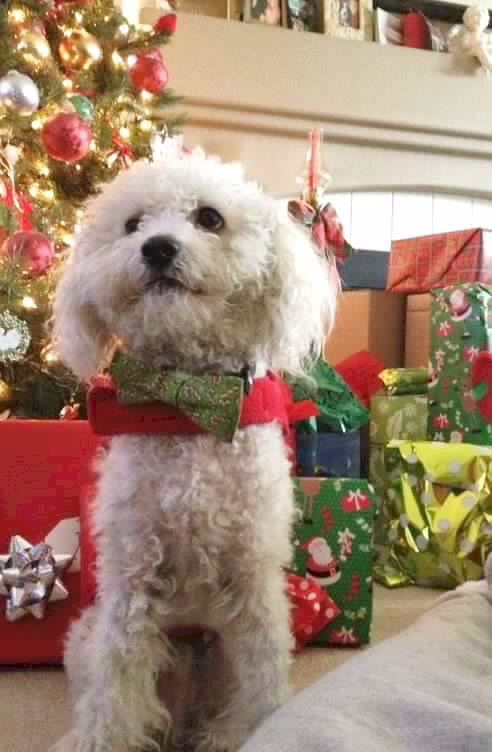
I posted this one on Christmas, but I thought I'd post it again.  Barley looks amazingly precious in front of the Christmas tree!!


Gunner here looks very regal, and very serious in his holiday bowtie!

My newest photo features Fig, and boy does he look dapper!!


Tuesday, December 25, 2012