
This is a tutorial for dying a crinoline or petticoat. Now, not all wedding dresses require you to wear a crinoline, but for some dresses they really help to give the overall skirts portion of your dress definition and extra puff...plus, they're kind of fun. Think late 1800s ladies fashion, or the gimongo ball gown skirts from My Big Fat Gypsy Wedding... Okay, well mine wasn't that puffy, but if you can work that look, go for it!!
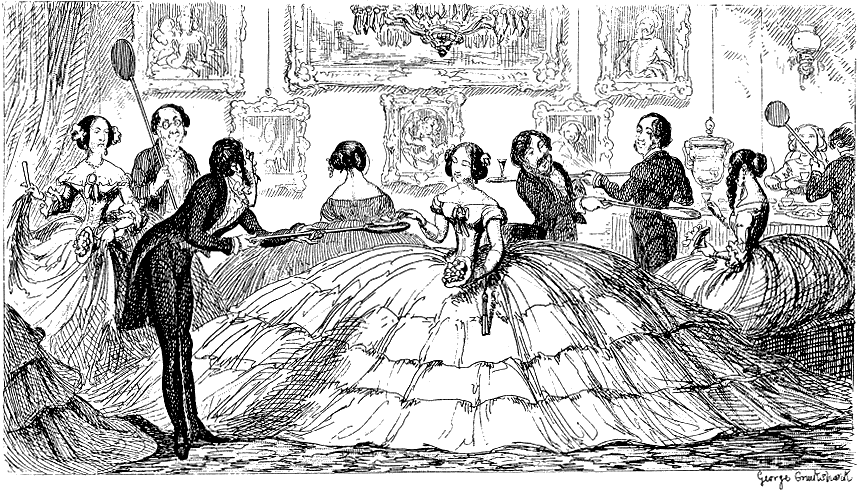
Photo courtesy of Wikipedia

Photo courtesy of: NY Times article on My Big Fat Gypsy Wedding
Since we're talking about My Big Fat Gypsy Wedding, while their over the top wedding dresses are admittedly not my style, I would JUMP at the chance to try one of those bad boys on. I just think it would be fun, even if I couldn't really walk and or do much of anything other than stand all day. The ladies who wear the huge dresses on that show certainly evoke the old saying "beauty is pain," as some of the dresses weigh up to 200+ lbs and the weight of the dresses sometimes scar their hips!!
Okay, back to the tutorial...
Basics of coloring your crinoline: There are two basic ways of going about dying your crinoline. Version one is to dye the whole ENTIRE skirt. This includes the crinoline's outer skirts as well as the tulle underneath. Admittedly, dying the whole thing is the easier way of going about coloring a crinoline. If you want to dye the whole thing,
skirts and all, merely
follow the directions on the package of dye, starch and steam the heck
out of the tulle section of the skirt, and you’re done. Off Beat Bride
has a great DIY tutorial on how to do this: HERE. I found that dying
the whole thing tends to give the crinoline a much darker color overall which wasn't what I was going for. Since my
wedding shoes were so bright (see awesome photo below), I wanted my crinoline to be more subtle in color. Thus we have version two of dying a crinoline... This version is a little bit more work, but I like that it's more subtle - go figure!
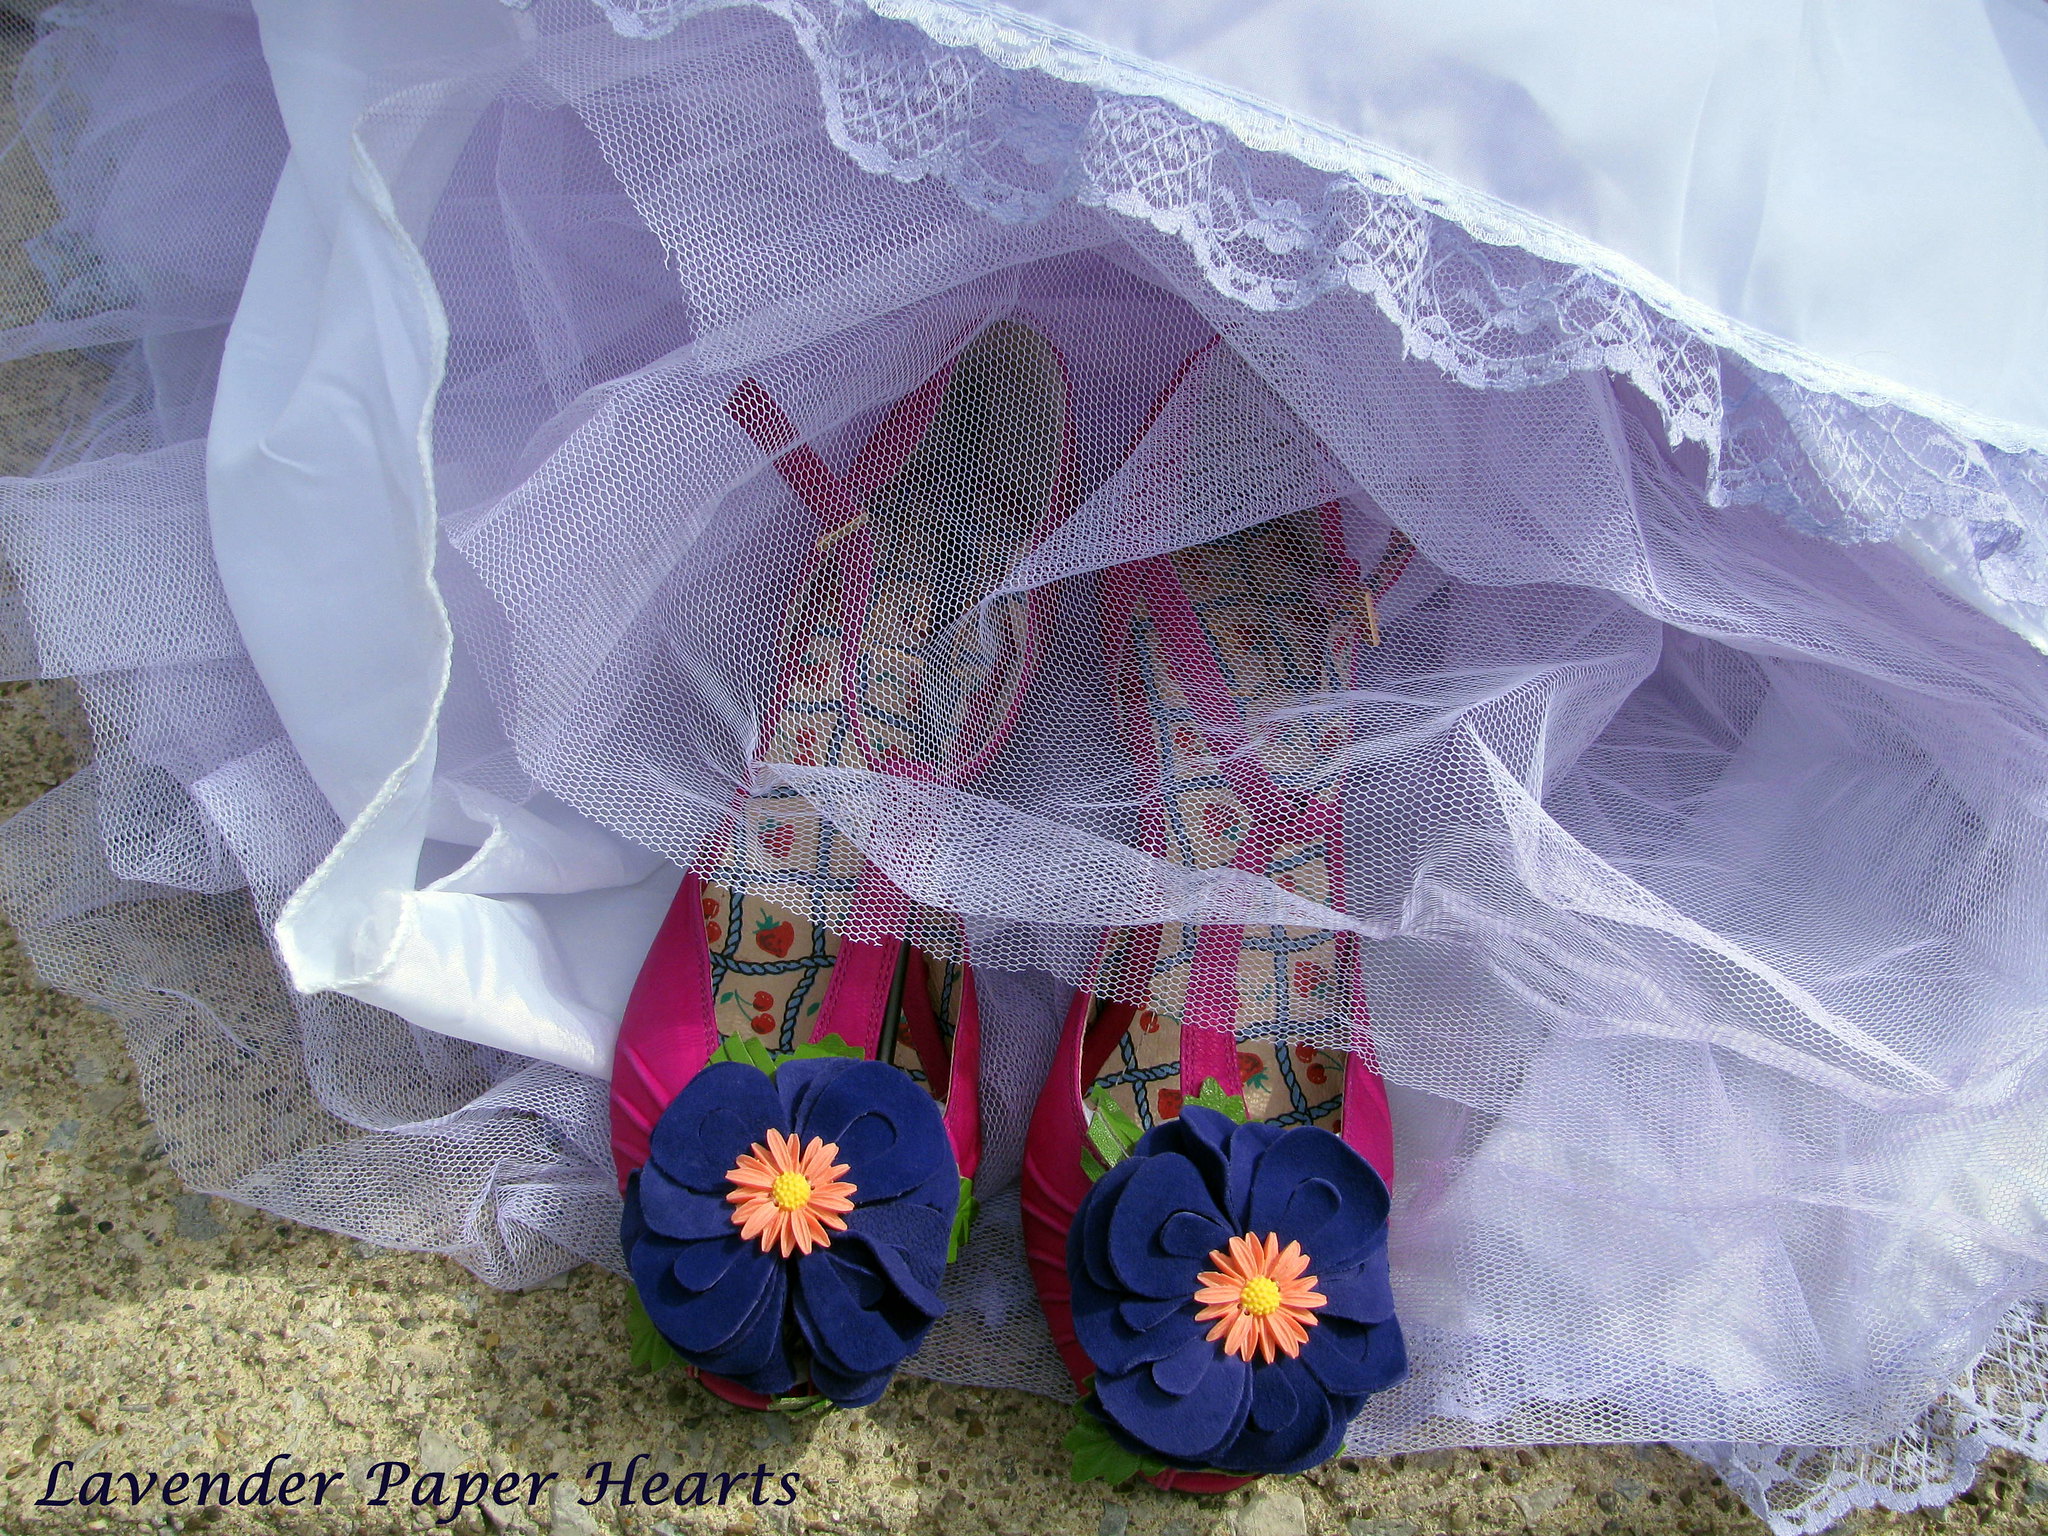
My shoes are by Miss L.
Fire. They're amazing shoes, and FANTASTIC BRAND from over in the U.K.!! They were really soft
leather and were a dream to wear all day! *They also have incredible
customer service.
Supplies:
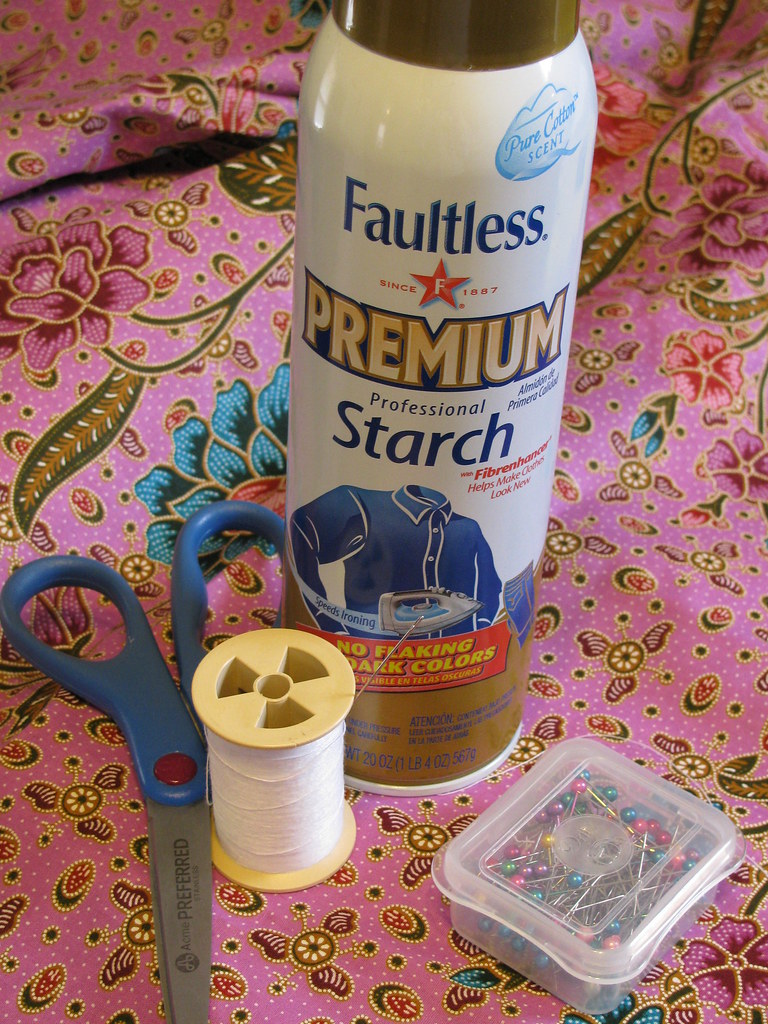
- Crinoline – I bought mine from Angels Bridal on Ebay - $20 with shipping.
- 1 Box RIT Dye, powder - $3. You can use an additional box, or liquid if you want a darker color. I was going for a subtle pop of color. Here is a really useful guide to mixing their colors.
- Clothing Starch - $3. I read online that liquid can be more effective, but I used Faultless Premium Professional Starch and had no problems.
- Scissors
- Needle and Thread
- Sewing Pins
- Iron, with steamer function
- Lace - $1 at Hobby Lobby (optional)
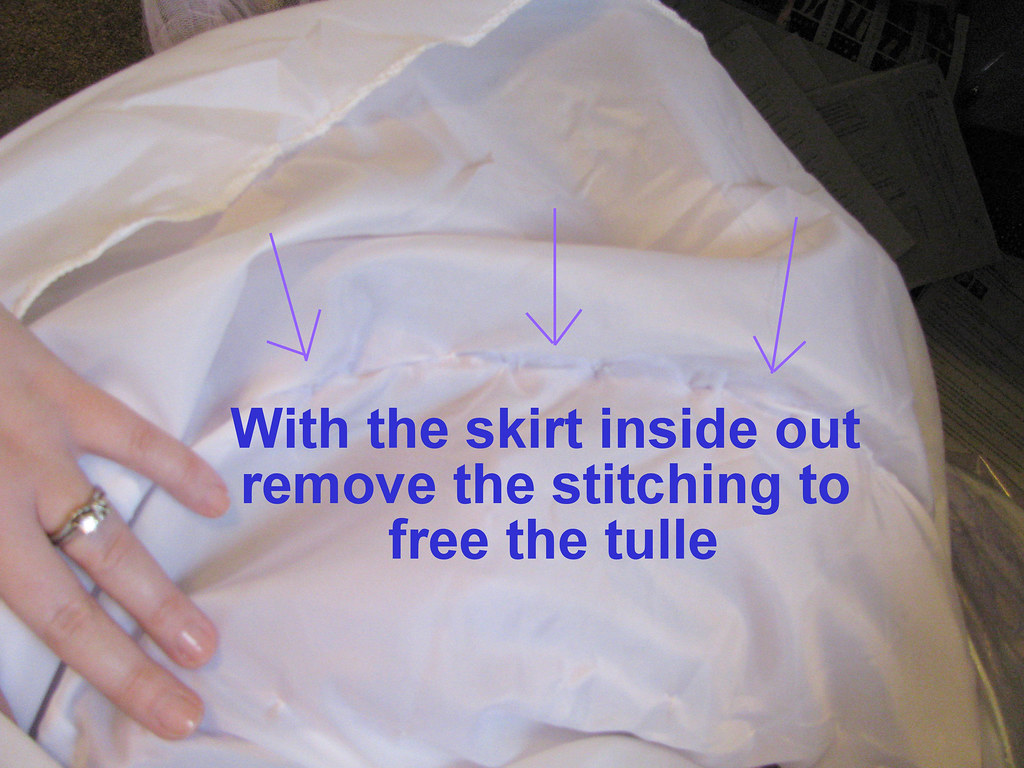
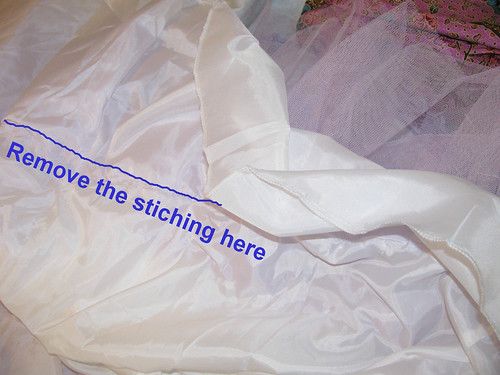
Step 1: Use a pair of scissors and turn the skirt inside out. On the inside of the innermost skirt (this should now be on the outside) carefully snip away the seam that attaches the tulle or netting to the inner skirt. To save yourself time when reattaching the netting, be really careful not to snip the thread that makes the gathering in the skirt. You may have more than one layer of tulle/netting to your skirt. Be sure to remove all layers.
Step 2: Set the skirts aside - you’re going to be dying just the
tulle/netting at this point. You’ll need
to thoroughly rinse the tulle before starting the dying process. This helps to
remove the starch that is already in the skirt, it will help the tulle to take the color, and is an important step that
should not be skipped. Next, follow the
directions on your RIT dye box. I used a big rubbermaid container to dye my skirt. I didn't want to take any chances and accidentially dye my bath tub or my washing machine (I'm a renter). Once
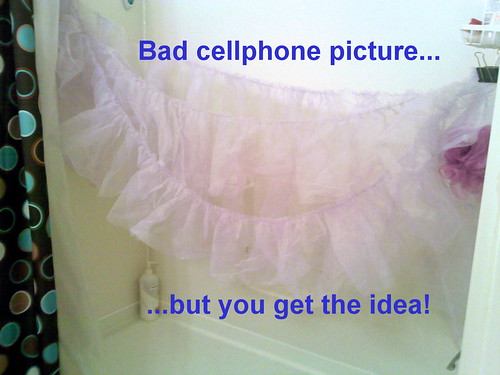
you’re done dying the tulle, and have rinsed it until it the water runs clear, hang your
tulle up to dry. I rinsed out my tulle in the bathtub so I rigged a hanging fancy set up in my
bathroom.... Clearly, it's very fancy.
Step 3: When the tulle is completely dry, start to spray spray
spray that sucker with starch. This step will take a while so be patient. Once the
tulle is completely dry (again) steam the tulle, being careful not to touch the
tulle with the hot iron. These steps
help to give the tulle back the shape you washed out before dying. Your completed crinoline won’t look terrible
if you skip this step, but it will be significantly less puffy. Repeat the starching, drying, and steaming
process several times. *I probably did this 4 – 5 times. The more you do, the puffier your skirt will
be - which is a good thing! On the day of my wedding one of my bridesmaids steamed and fluffed the skirt up one last time since it had to travel from Ohio to Massachusetts in a bag. (Thanks Melinda!!)
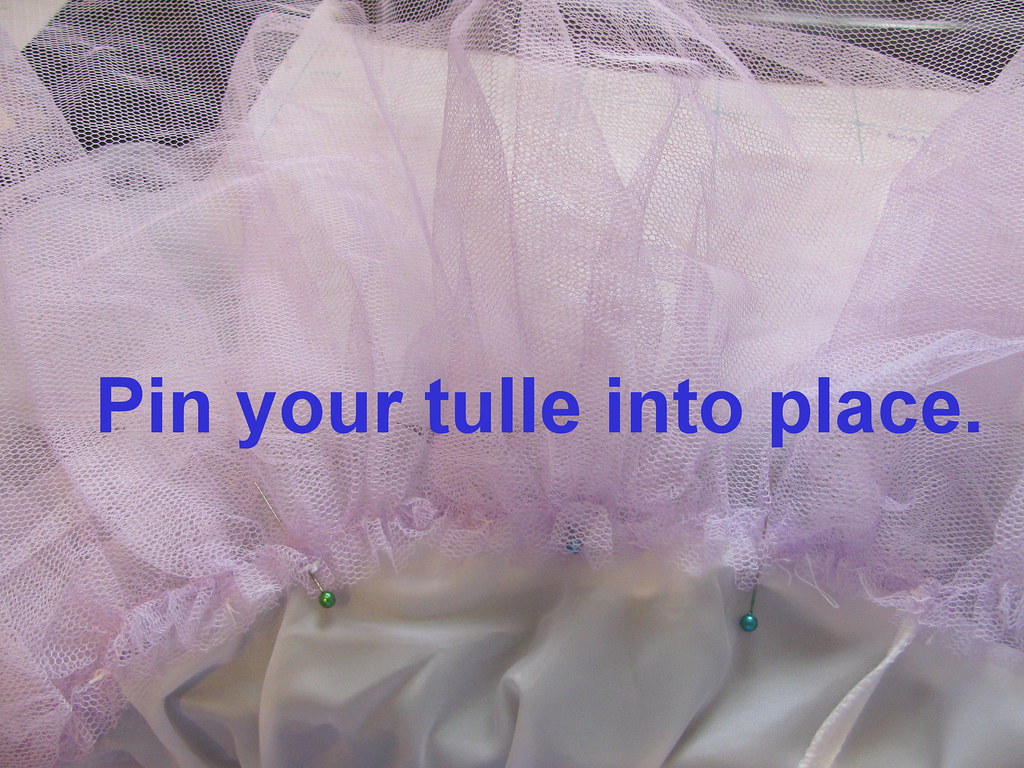
Step 4: Reattaching the tulle: When your tulle has dried
completely lay out the pieces and pin them in to the skirt. I attached one
layer at a time and pined and sewed it back into place, by hand, before
starting the next layer. This will take
some time, unless you use a sewing machine. Either way works, I had an evening of bad tv to watch and thought it would be easier (but slower) to hand sew the tulle back onto the crinoline skirt.
Step 5: Optional – Add a layer of lace to the inside of the
outermost skirt for a bonus pop of color.
I picked up a roll of lace at Hobby Lobby while it was on sale (mine was
9 yards long and just enough). It was a
$1 addition that I think finished off the crinoline nicely. Pin the lace in place and run it through a
sewing machine or attach by hand.
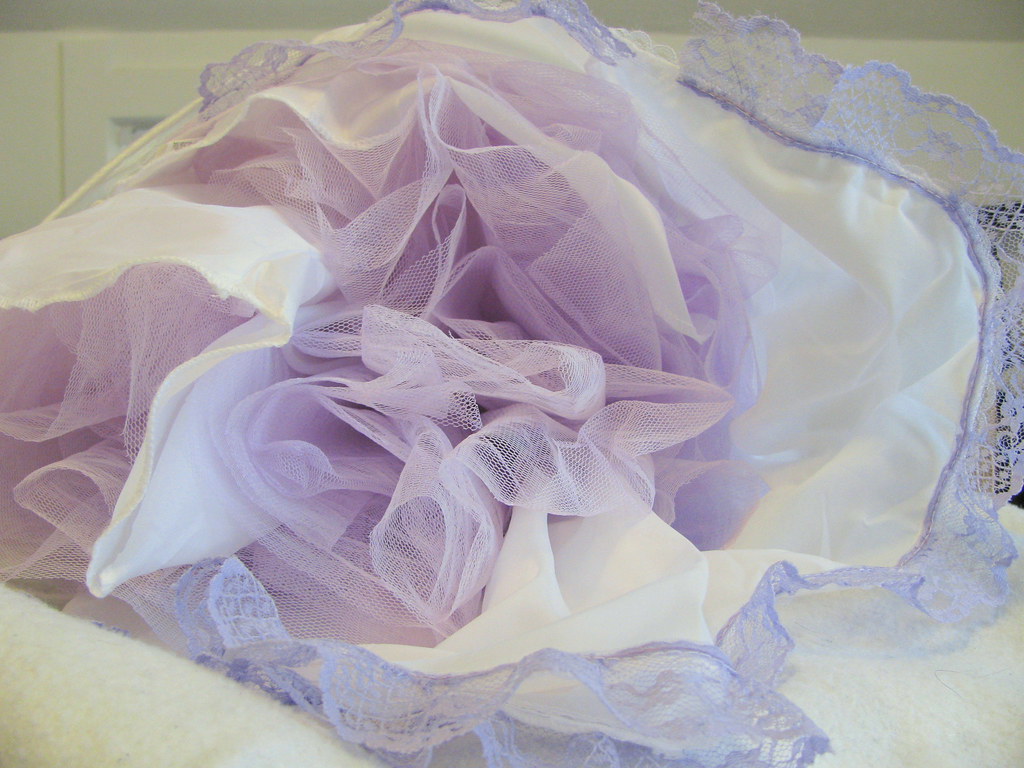
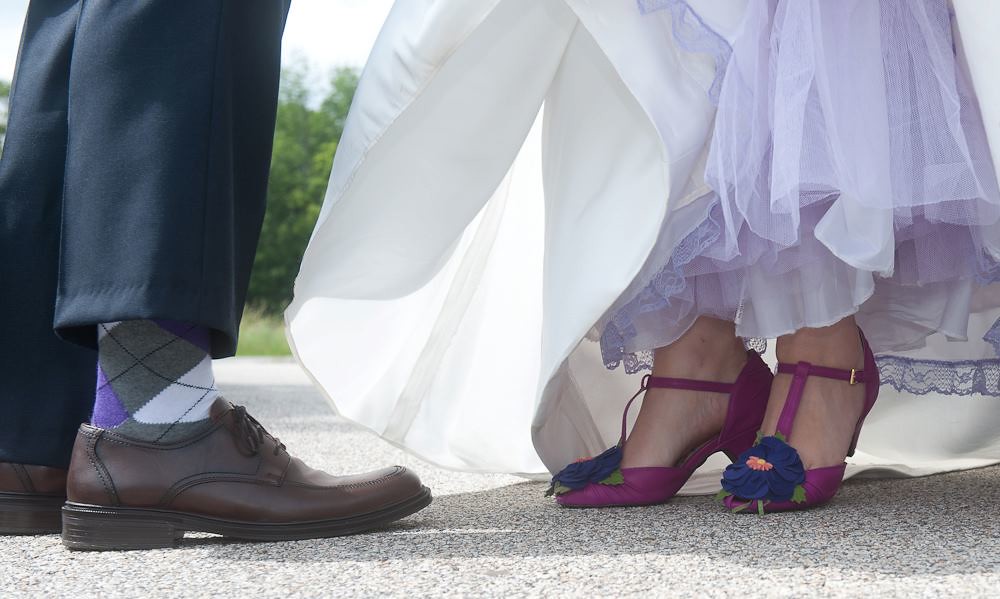
Photo Credit: Metzger Studios
No comments:
Post a Comment